Having trouble starting your Windows laptop? Here’s a troubleshooting guide to help you fix the issue.
Check Power Supply, Charger, and Battery
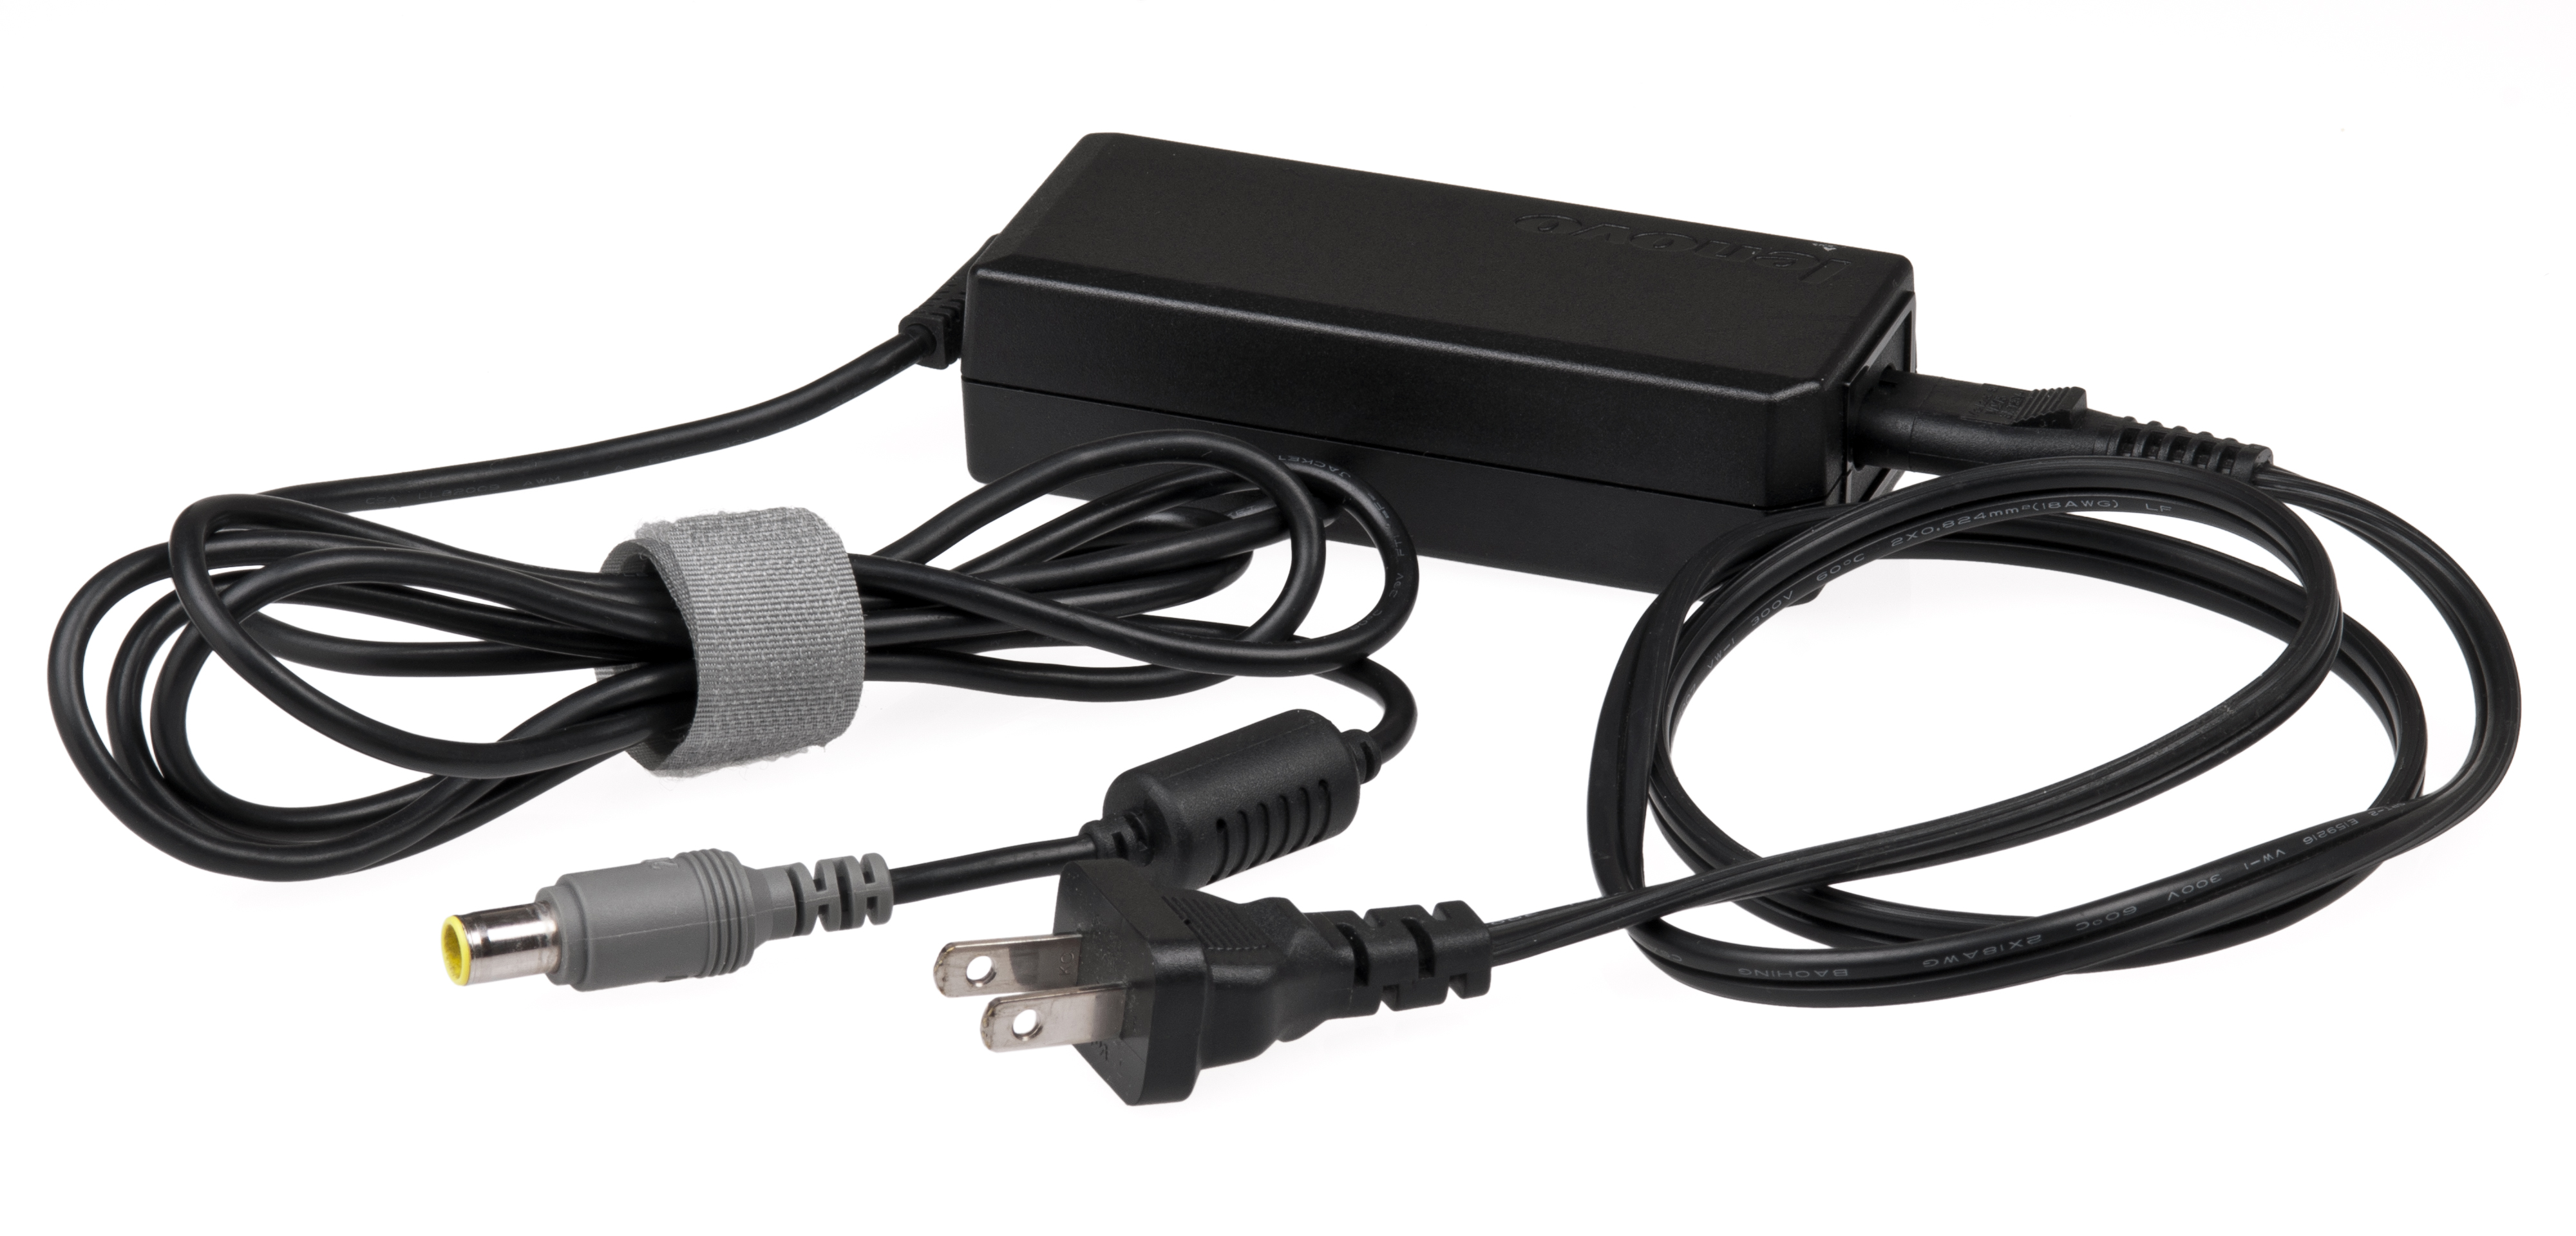
1. Ensure that your laptop is connected to a functioning power source.
– Plug the power cord into a working power strip or wall outlet.
– Verify that the power indicator light on the laptop is on.
2. Inspect the charger and power cord for any signs of damage.
– Look for frayed wires or bent connectors.
– If there is damage, replace the charger with a compatible one.
3. Examine the battery to see if it is properly inserted and charged.
– Turn off the laptop and remove the battery.
– Clean the battery contacts and reinsert it firmly.
– Connect the power cord and let the battery charge for a while.
4. Try a power reset to resolve any temporary issues.
– Disconnect the power cord and remove the battery.
– Hold down the power button for 30 seconds.
– Reconnect the power cord and battery, then try turning on the laptop.
5. If the laptop still won’t start, try using a different power outlet or power strip.
– Sometimes, faulty outlets can prevent the laptop from receiving power.
6. If none of the above steps work, it may be necessary to seek professional assistance.
– Contact the manufacturer’s support or a certified technician for further troubleshooting.
Disconnect All External and USB Devices

Disconnecting all external and USB devices can often help troubleshoot a Windows laptop that won’t start. This step is important as it eliminates any potential conflicts or issues caused by these devices.
To disconnect these devices, follow these instructions:
1. Start by shutting down your laptop completely. You can do this by pressing and holding the power button until it turns off.
2. Once the laptop is off, unplug any external devices connected to it, such as USB flash drives, printers, cameras, or any other peripherals.
3. Also, remove any USB devices, such as keyboards or mice, that are directly connected to the laptop.
4. Check if your laptop has any external displays connected, such as monitors or projectors. Disconnect these as well.
5. If your laptop is connected to a docking station or a charger, unplug it from the power source.
6. Finally, make sure there are no CDs or DVDs in the optical drive of your laptop.
By disconnecting all external and USB devices, you are isolating the laptop and focusing on its internal components. This can help identify if any of these devices were causing the startup issue.
After disconnecting the devices, you can try starting your laptop again. If it starts successfully, you can then connect the devices back one by one to determine which one was causing the problem. This troubleshooting step can save you time and effort by pinpointing the root cause of the issue.
Inspect Laptop Monitor for Issues
Inspecting the laptop monitor is an important step in troubleshooting a Windows laptop that won’t start. Here are some key things to look for:
1. Check for any physical damage or cracks on the monitor. This could indicate a hardware issue that needs repair or replacement.
2. Look for any flickering or dimming of the screen. This could be a sign of a faulty backlight or display driver.
3. Check if the screen is completely black or if there are any error messages or prompts visible. This can help determine if the issue is with the display or something else.
4. Connect an external monitor or TV to the laptop using an HDMI or VGA cable. If the external display works fine, then the problem may lie with the laptop’s internal monitor.
5. Adjust the brightness and contrast settings on the laptop to see if that resolves the issue. Sometimes, the screen may appear black due to incorrect settings.
6. If the laptop has a removable battery, try removing it and then reinserting it. This can sometimes resolve power-related issues that affect the display.
7. Inspect the video cable that connects the monitor to the motherboard. Ensure it is securely connected and not damaged.
8. Update the display driver by going to the manufacturer’s website and downloading the latest driver for your specific laptop model.
9. If all else fails, you may need to seek professional help or contact the laptop manufacturer’s support for further assistance.
Start in Safe Mode or Use Last Known Good Configuration

If your Windows laptop won’t start, there are a few troubleshooting options you can try before seeking further assistance. Two common methods to get your laptop up and running again are starting in Safe Mode or using the Last Known Good Configuration.
To start in Safe Mode, follow these steps:
1. Press the power button to turn on your laptop.
2. As soon as the manufacturer’s logo appears on the screen, press and hold the F8 key repeatedly.
3. This will bring up the Advanced Boot Options menu. Use the arrow keys to select “Safe Mode” and press Enter.
4. Your laptop will now start in Safe Mode, which loads only the basic drivers and services needed for Windows to run.
If using Safe Mode doesn’t resolve the issue, you can try using the Last Known Good Configuration. Here’s how:
1. Press the power button to turn on your laptop.
2. As soon as the manufacturer’s logo appears on the screen, press and hold the F8 key repeatedly.
3. This will bring up the Advanced Boot Options menu. Use the arrow keys to select “Last Known Good Configuration” and press Enter.
4. Windows will now attempt to start using the most recent settings that worked correctly.
These troubleshooting methods can help resolve issues that may be preventing your Windows laptop from starting up properly. If you’re still experiencing problems, it may be necessary to seek professional assistance or consider data recovery options.
Use Startup Repair Tools and Repair Boot Codes
If your Windows laptop won’t start, there are a few troubleshooting steps you can take to try and resolve the issue. One option is to use Startup Repair Tools and Repair Boot Codes, which can help fix common startup problems.
Here’s how you can use these tools:
1. Start your laptop in Safe Mode: Press and hold the F8 key while your laptop is booting up. This will bring up the Advanced Boot Options menu. Select “Safe Mode” and press Enter. Safe Mode starts your laptop with only the essential drivers and services, which can help identify and fix startup issues.
2. Perform a Startup Repair: If your laptop still won’t start in Safe Mode, you can try using the Startup Repair tool. Insert your Windows installation disc or a USB flash drive with a Windows recovery image. Restart your laptop and boot from the disc or USB drive. Select your language preferences and click “Next.” Then, click “Repair your computer.” Follow the on-screen instructions to run the Startup Repair tool.
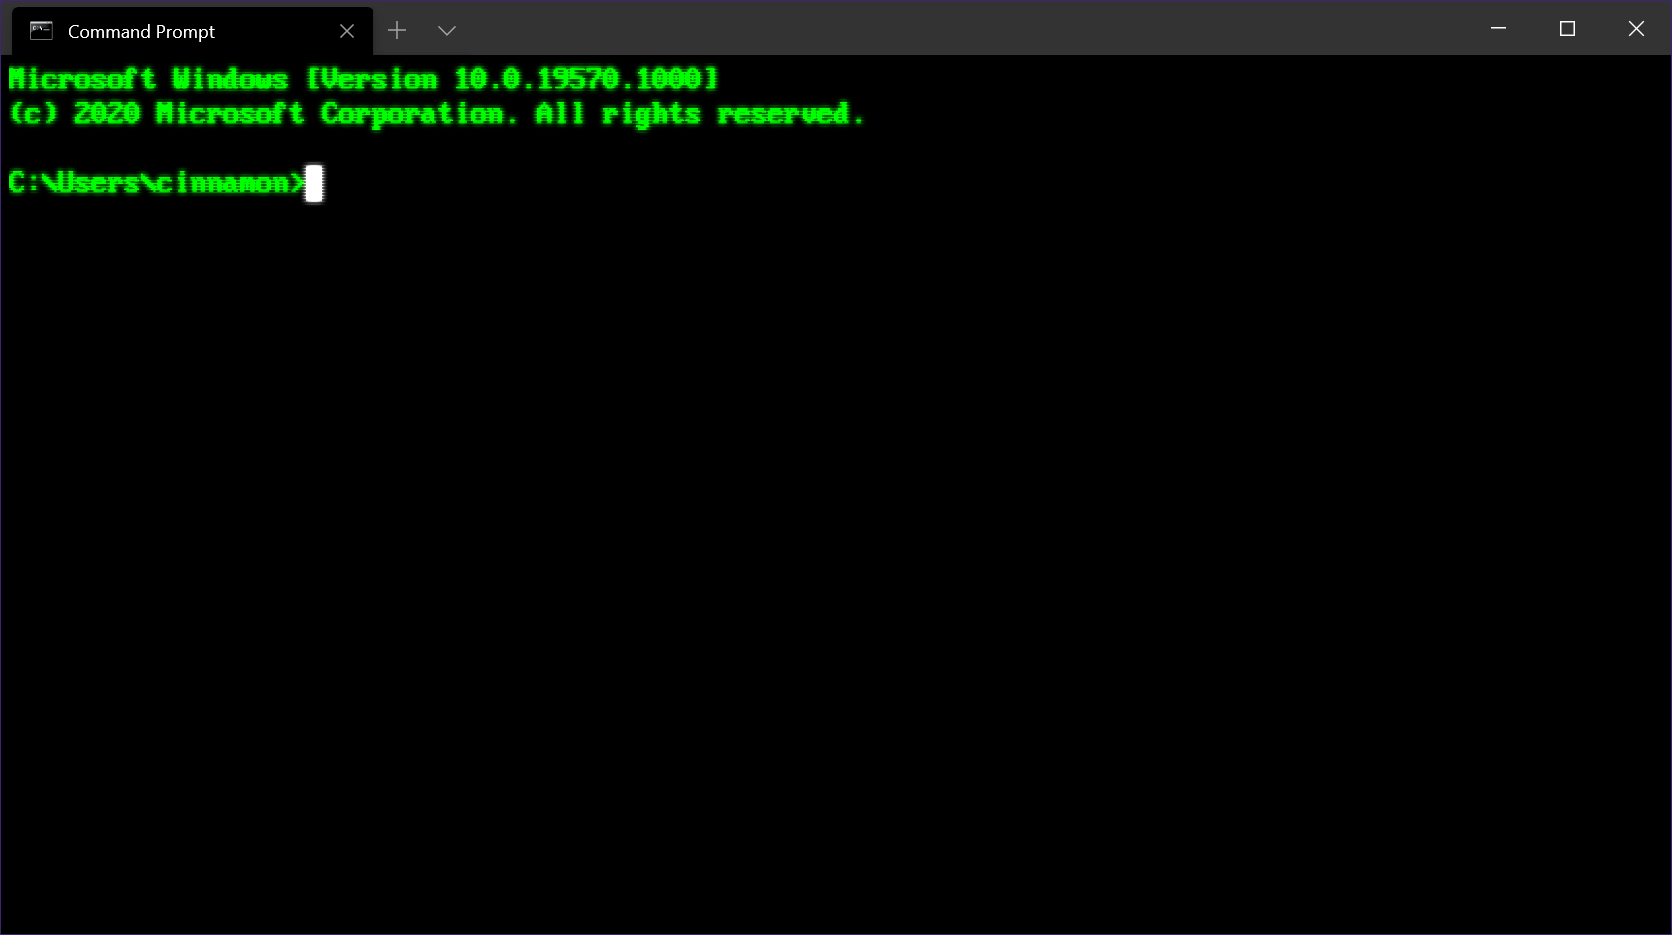
3. Use the Command Prompt: If the Startup Repair tool doesn’t resolve the issue, you can try using the Command Prompt. From the Windows recovery options menu, select “Command Prompt.” This will open a command line interface where you can enter commands to repair your laptop’s boot codes. You can use commands like “bootrec /fixboot” to fix the Master Boot Record (MBR) or “bootrec /rebuildbcd” to rebuild the Boot Configuration Data (BCD).
Restore System and Fix BCD Errors
To restore your Windows laptop and fix BCD errors, follow these steps:
1. Start by inserting a USB flash drive that contains a Windows installation media or recovery disk. If you don’t have one, you can create it from another working computer.
2. Restart your laptop and repeatedly press the appropriate key (usually F12, F2, or Del) to access the boot menu. Choose the USB flash drive as the boot device.
3. Once the Windows installation or recovery environment loads, select your language preferences and click “Next”.
4. Click on “Repair your computer” or “Troubleshoot”, depending on the options available.
5. In the troubleshooting menu, select “Advanced options” and then “Command Prompt”.
6. In the Command Prompt window, type the following command: bootrec /fixboot and press Enter. This will repair the Boot Configuration Data (BCD) on your laptop.
7. After the command completes successfully, type exit and press Enter to close the Command Prompt.
8. Click on “Continue” to restart your laptop.
Your laptop should now start normally without any BCD errors. If the issue persists, you may need to consider other troubleshooting steps or seek professional assistance.
Check and Repair Hard Drive Corruption
1. Start by booting your laptop into Safe Mode. Press the F8 key repeatedly during startup until the Advanced Boot Options menu appears. Select “Safe Mode” and press Enter.
2. Once in Safe Mode, open the Command Prompt by pressing the Windows key + R, typing “cmd,” and pressing Enter.
3. In the Command Prompt, type “chkdsk C: /f” and press Enter. Replace “C:” with the drive letter of the corrupted hard drive if it’s different.
4. The chkdsk utility will scan the hard drive for errors and attempt to fix them. This process may take some time, so be patient.
5. After the scan is complete, restart your laptop normally and check if it starts up without any issues.
If the above steps don’t resolve the issue, you may need to consider data recovery or other advanced troubleshooting options. It’s always recommended to have a backup of your important files before attempting any repairs on your hard drive.
If you’re not comfortable performing these steps yourself, it’s best to seek professional assistance from a reputable computer repair service.
Run Command Prompt and Replace Bootmgr
To troubleshoot a Windows laptop that won’t start, you can use the Command Prompt to replace the Bootmgr file. Follow these steps:
1. Turn on your laptop and press the power button to start it.
2. If the laptop fails to start and you see an error message related to the Bootmgr file, you can use the Command Prompt to fix it.
3. Press the Windows key + R to open the Run dialog box.
4. Type “cmd” and press Enter to open the Command Prompt.
5. In the Command Prompt, type “bootrec /fixboot” and press Enter. This command will fix any issues with the boot sector of your laptop.
6. Next, type “bootrec /scanos” and press Enter. This command will scan your system for any installed operating systems.
7. Finally, type “bootrec /rebuildbcd” and press Enter. This command will rebuild the Boot Configuration Data (BCD) file, which is essential for Windows to start properly.
After running these commands, restart your laptop and check if it starts normally. If the issue persists, you may need to seek further assistance or consider other troubleshooting options.
Reinstall Windows and Factory Reset Your PC
![]()
To reinstall Windows and factory reset your PC, follow these steps:
1. Backup your important files and data. Connect an external storage device and copy any files you want to keep onto it. This will ensure that you don’t lose any important information during the reset process.
2. Access the recovery options. Depending on your laptop’s brand and model, the process may vary slightly. For example, on a ThinkPad, you can access the recovery options by pressing the “F11” key during startup. On a Dell, you may need to press “F8” or “Ctrl + F11” to access the recovery options.
3. Choose the option to reinstall Windows and factory reset your PC. This will delete all files and applications on your laptop, returning it to its original factory settings. Make sure you have backed up any important files before proceeding.
4. Follow the on-screen instructions to complete the reinstallation and factory reset process. This may take some time, so be patient and do not interrupt the process.
5. Set up your laptop again. After the reinstallation and factory reset is complete, you will need to go through the initial setup process, including creating a new user account and configuring your settings.
By reinstalling Windows and factory resetting your PC, you can often resolve startup issues and get your laptop running smoothly again. Just remember to backup your important files before proceeding.
Frequently Asked Questions
How do you fix a laptop that won’t open Windows?
To fix a laptop that won’t open Windows, you can try the following steps:
– Check the power supply, laptop charger, and battery.
– Disconnect all external devices and unplug all USB devices.
– Inspect the laptop monitor.
– Try starting the laptop/computer in Safe Mode.
– Attempt a startup repair.
– Perform a system restore.
Why is my laptop not starting Windows?
Your laptop may not be starting Windows due to various reasons such as memory issues, video card problems, or processor errors. To troubleshoot, try removing the battery, disconnecting the power adapter, and holding the power button for 30 seconds. Then, reconnect the power adapter, wait for 30 seconds, and turn on the system.
How do I force start Windows on my laptop?
To force start Windows on your laptop, you can either click the Start button, then the Power button, or press “Ctrl + Alt + Del” and click the power button in the bottom right-hand corner. Another option is to press Alt + F4 on the Windows desktop, then select “Reboot” from the drop-down menu.
How do I fix Windows failed to start my laptop?
To fix Windows failed to start on your laptop, you can try the following steps:
1. Start your laptop using the installation media for the installed version of Windows.
2. On the Install Windows screen, click on “Next” and then select “Repair your computer.”
3. On the Choose an option screen, choose “Troubleshoot.”
4. On the Advanced options screen, select “Startup Repair.”
