Having trouble with Logitech Capture camera detection? Find solutions and troubleshoot the issue effectively.
Checking Connections and Hardware
When troubleshooting Logitech Capture camera detection issues, it’s important to start by checking your connections and hardware. This step will help ensure that everything is properly connected and functioning correctly.
1. Verify that your webcam is properly connected to your computer: Check that the USB cable is securely plugged into both the webcam and your computer’s USB port. If you have a USB 3.0 port available, try using it for a faster and more stable connection.
2. Check for any physical damage or loose connections: Inspect the USB cable for any signs of damage, such as frayed wires or bent connectors. Ensure that all connections are secure and not loose.
3. Restart your computer: Sometimes, a simple restart can resolve connectivity issues. Restart your computer and see if the camera is detected afterwards.
4. Update device drivers: Outdated or incompatible device drivers can cause problems with camera detection. Visit the Logitech website or the manufacturer’s website to download and install the latest drivers for your webcam.
5. Check privacy settings: Some applications or operating systems may have privacy settings that prevent camera detection. Make sure your camera is allowed to be accessed by the relevant applications by checking their privacy settings.
6. Try a different USB port: If you’re using a USB hub or extension cable, try connecting the webcam directly to a USB port on your computer. This can help rule out any issues with the USB hub or cable.
7. Test the webcam on a different computer: If possible, try connecting the webcam to another computer to see if it is detected. This can help determine if the issue is with the camera itself or your computer’s configuration.
Software and Privacy Settings Check
To troubleshoot Logitech Capture camera detection issues, it is important to check the software and privacy settings. Follow these steps to ensure proper configuration:
1. Check Application Software: Make sure you are using the latest version of Logitech Capture. Visit the Logitech website to download and install any available updates.
2. Verify Software Versioning: Confirm that your operating system is compatible with the Logitech Capture software. Check for any software version mismatches that could impact camera detection.
3. Review Privacy Settings: On Windows, press the Windows key and search for “Privacy Settings.” Open the Privacy Settings menu and click on “Camera” in the left-hand sidebar. Ensure that the toggle switch for “Allow apps to access your camera” is enabled.
4. Grant Camera Access: Scroll down to the “Choose which apps can access your camera” section and verify that Logitech Capture is listed and allowed to access your camera. If it is not listed, click on the “+” button and add Logitech Capture to the list.
5. Disable Other Applications: Close any other applications that may be using your camera, such as Skype, Zoom, or video conferencing software. These applications can sometimes interfere with Logitech Capture’s camera detection.
6. Restart the Camera and Computer: Disconnect the camera’s USB cable from your computer and reconnect it. Additionally, restart your computer to ensure a fresh start.
7. Check Device Drivers: Open the Device Manager by right-clicking on the Start menu and selecting “Device Manager.” Expand the “Cameras” or “Imaging Devices” category and check for any driver issues. If there are any yellow exclamation marks or error messages, right-click on the device and select “Update driver.”
Alternative USB Ports or Computers
If you’re experiencing issues with your Logitech Capture camera not being detected, there are a few troubleshooting steps you can try.
First, check if the camera is properly connected to your computer’s USB port. Sometimes, using alternative USB ports can help resolve detection issues. Try plugging the camera into a different USB port on your computer to see if that makes a difference.
If that doesn’t work, it’s worth checking if there are any issues with the USB hardware on your computer. Open the Device Manager (you can search for it in the Windows Start Menu or press the Windows key + X and select Device Manager) and look for any yellow exclamation marks or error messages next to the USB controllers. If you see any, right-click on them and select “Update driver software” to see if that resolves the issue.
It’s also a good idea to ensure that your Logitech Capture software is up to date. Visit the Logitech website or the software’s official page to download the latest version. Installing the latest firmware for your camera may also help resolve any detection problems.
If you’re using any other video calling or conferencing applications, such as Zoom or Skype, make sure they’re updated to the latest version as well. Sometimes, compatibility issues with outdated software can cause problems with camera detection.
In some cases, a simple restart of your computer can solve the issue. Before doing so, make sure to close any applications that might be using the camera.
Reinstalling Webcam Drivers
If you are experiencing issues with your Logitech webcam not being detected by your computer, it may be necessary to reinstall the webcam drivers. Reinstalling the drivers can help resolve any conflicts or errors that may be preventing your webcam from being recognized.
To reinstall the webcam drivers, follow these steps:
1. Open the Device Manager by pressing the Windows key + X and selecting “Device Manager” from the menu.
2. Expand the “Imaging devices” section and locate your Logitech webcam. It may be listed as “Logitech Capture Camera” or a similar name.
3. Right-click on the webcam and select “Uninstall device” from the context menu.
4. Confirm the uninstallation and wait for the process to complete.
5. Once the webcam has been uninstalled, disconnect it from your computer.
6. Restart your computer to ensure that any remaining traces of the old drivers are removed.
7. After your computer has restarted, reconnect the webcam to a different USB port. If you were using a USB 3.0 port, try using a USB 2.0 port instead, as some webcams have compatibility issues with USB 3.0.
8. Windows should automatically detect the webcam and install the appropriate drivers. If it does not, you can download the latest drivers from the Logitech website and install them manually.
9. Once the drivers have been installed, open the Logitech Capture software or any other video conferencing application you are using and check if the webcam is now detected.
Advanced Troubleshooting and Alternatives
- Click on the Start menu button.
- Select Restart from the power options menu.
- Wait for the computer to shut down and restart.
- Try detecting the Logitech Capture camera again.
Repair Method 2: Update Logitech Capture Software
- Open the Logitech Capture software.
- Click on the Settings icon.
- Select the Software Update option.
- Follow the prompts to update the software to the latest version.
- Restart the computer and check if the camera detection issue is resolved.
Repair Method 3: Check Camera Connection
- Ensure that the Logitech Capture camera is properly connected to the computer.
- Disconnect the camera and reconnect it to a different USB port.
- If using an external hub, try connecting the camera directly to a USB port on the computer.
- Check for any loose or damaged cables and replace if necessary.
- Retry detecting the camera in Logitech Capture.
Repair Method 4: Update USB Drivers
- Open the Device Manager by pressing Win+X and selecting it from the menu.
- Expand the category for Universal Serial Bus controllers.
- Right-click on the USB driver associated with the Logitech Capture camera.
- Select Update driver from the context menu.
- Follow the prompts to update the driver to the latest version.
- Restart the computer and check if the camera detection issue is resolved.
Repair Method 5: Disable and Enable Camera
- Press Win+I to open the Settings app.
- Click on Privacy and then select Camera from the left panel.
- Toggle off the Allow apps to access your camera option.
- Wait for a few seconds and toggle it back on.
- Try detecting the Logitech Capture camera again.
F.A.Qs
How do I set up my Logitech capture camera?
To set up your Logitech capture camera, follow these steps:
1. Download the Logitech Capture software.
2. Add your camera as a source in Logitech Capture.
3. Choose the desired preset for your camera.
4. Adjust the camera image settings to your preference.
5. Switch and layer different sources if needed.
6. Adjust the recording settings according to your requirements.
7. Select the audio input and output options.
8. Set up hotkeys for convenient control.
Is Logitech capture still supported?
No, Logitech Capture is no longer supported by Logitech. The recommended replacement is the Logitech G Hub app, which is designed for gamers and may be more complex for business users.
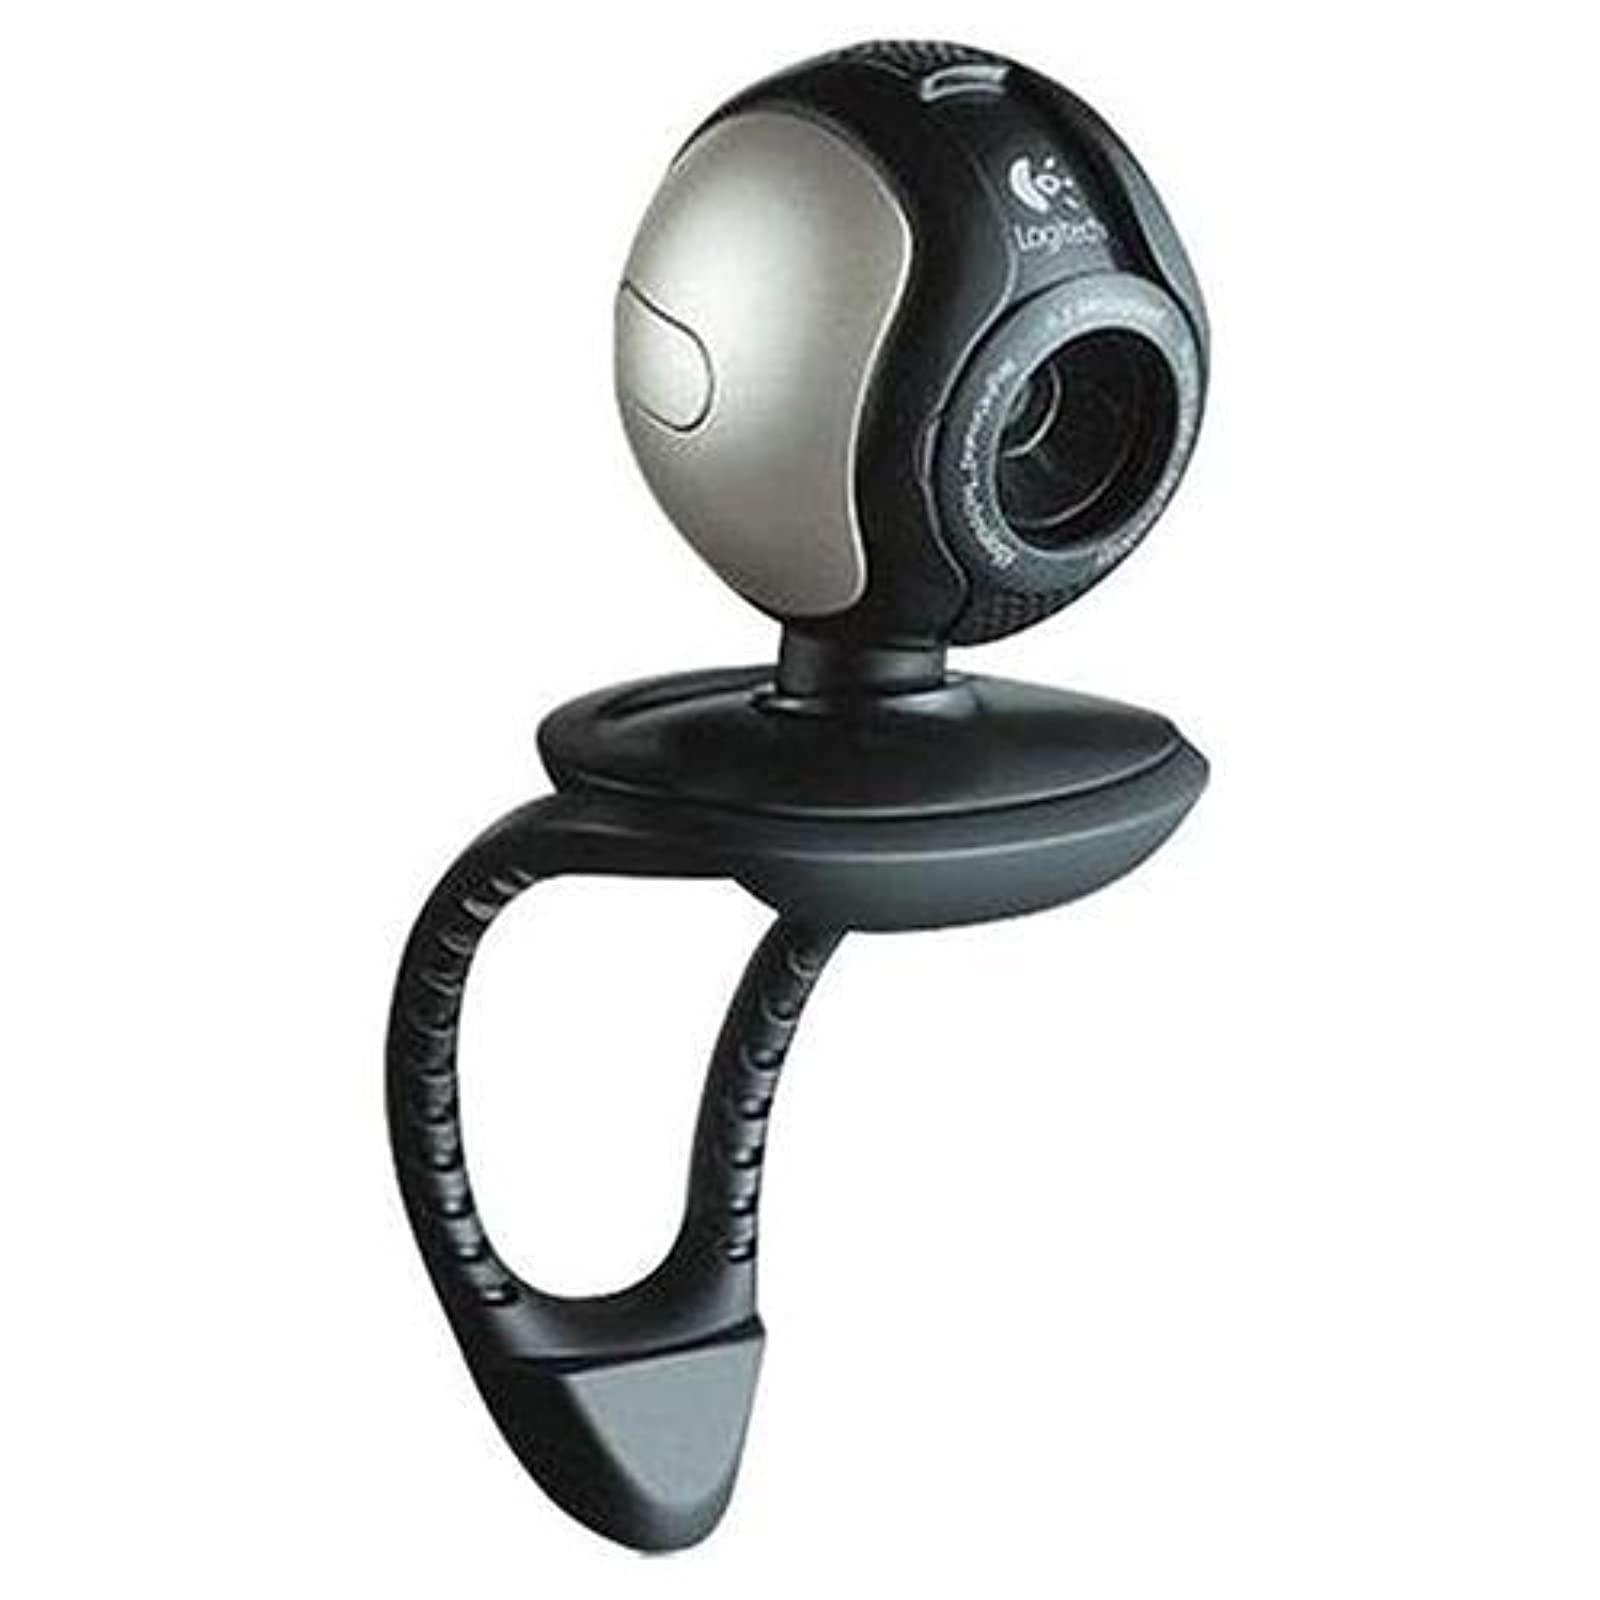
Why is my Logitech webcam not detected?
Your Logitech webcam may not be detected due to various reasons such as damaged physical components, permission issues, misconfigured settings, or outdated/corrupt drivers.
Why is my Logitech capture camera not showing up?
Your Logitech capture camera may not be showing up because the wires may be tangled or the USB connection may be loose in the port.
