Welcome to the ultimate guide on recovering crashed micro SD cards. As someone who has experienced the frustration of lost data, I understand the urgency and importance of finding a solution. In this guide, we will explore effective methods to recover your valuable files and restore your micro SD card to its former functionality.
Recognizing the Signs of a Corrupted SD Card
Signs of a Corrupted SD Card:
1. Inaccessibility: If your SD card suddenly becomes unreadable or inaccessible, it may be corrupted. This means you won’t be able to view or access any of the files stored on the card.
2. Error messages: Another sign of a corrupted SD card is the appearance of error messages when you try to access it. These messages may indicate that the card needs to be formatted or that there is a problem with the file system.
3. Slow performance: A corrupted SD card may also cause your device to slow down when accessing or transferring files. This can be frustrating and indicate that something is wrong with the card.
4. Missing files: If you notice that some or all of your files have disappeared from the SD card, it could be a sign of corruption. This can happen if the file system becomes damaged and is no longer able to properly organize and store the data.
5. Random file names or extensions: Corrupted SD cards may sometimes change the names or extensions of your files. This can make it difficult to locate and open specific files.
What to do if your SD card is corrupted:
1. Stop using the card: As soon as you suspect that your SD card is corrupted, stop using it to prevent further damage. Continued use could overwrite the existing data and make recovery more difficult.
2. Use data recovery software: Use a reliable data recovery software like EaseUS Data Recovery Wizard to recover your files from the corrupted SD card. This software can scan the card and retrieve lost or deleted data.
3. Check for physical damage: Inspect the SD card for any physical damage or signs of wear. If you notice any, it may be necessary to replace the card.
4. Format the card: If you have successfully recovered your data, you can try formatting the SD card to fix any file system errors. However, be aware that formatting will erase all data on the card, so make sure to back up your files before proceeding.
5. Contact a professional data recovery service: If you are unable to recover your files using software or if the SD card is severely damaged, consider contacting a professional data recovery service. They have specialized tools and expertise to recover data from physically damaged or heavily corrupted storage devices.
Initial Steps: Reconnect Using Different Devices or Ports
If you’re experiencing issues with your Micro SD card, one of the initial steps you can take to recover your data is to reconnect the card using different devices or ports. This can help determine if the problem lies with the card itself or with the device you were originally using.
To begin, try connecting the Micro SD card to a different device such as a computer, smartphone, or tablet. Use a card reader or the appropriate adapter to connect the card to the device. This will help rule out any issues with the original device or its ports.
Once connected to a different device, open the file explorer or file manager to see if the card is recognized. If it is, you can proceed with recovering your data. If not, try connecting the card to a different port on the same device or try a different card reader or adapter.
If the card is still not recognized, there are a few additional steps you can try:
1. Check the write protection switch on the side of the card. Make sure it is in the unlocked position.
2. Run a CHKDSK scan on the card using the command-line interface. Open a command prompt and type “chkdsk [drive letter]: /f“. Replace [drive letter] with the appropriate letter assigned to the card.
3. Use a data recovery software like EaseUS Data Recovery Wizard to scan the card for any recoverable files. Follow the software’s instructions to recover your data.
By reconnecting your Micro SD card to different devices or ports, you can troubleshoot the issue and increase your chances of recovering your precious data.
Repair Techniques: Utilize CHKDSK and Error Checking Tools
When it comes to micro SD card crash recovery, utilizing CHKDSK and error checking tools can be incredibly helpful. These tools are designed to scan your micro SD card for any errors or issues that may be causing the crash, and then repair them accordingly. Here’s how you can use these tools to recover your data:
1. Connect your micro SD card to your computer using a card reader or adapter.
2. Open File Explorer and locate your micro SD card under “This PC” or “My Computer”.
3. Right-click on the micro SD card and select “Properties” from the context menu.
4. In the Properties window, navigate to the “Tools” tab.
5. Under the “Error checking” section, click on the “Check” button.
6. A new window will appear, asking if you want to scan and repair the drive. Click on “Scan and repair drive”.
7. The CHKDSK (Check Disk) tool will now start scanning your micro SD card for errors. This process may take some time, depending on the size of your card and the amount of data stored on it.
8. Once the scan is complete, CHKDSK will display a summary of the errors found (if any) and provide options to fix them.
9. Select the option to fix the errors and let CHKDSK repair your micro SD card.
10. After the repair process is complete, you can safely remove your micro SD card from the computer.
By utilizing CHKDSK and error checking tools, you can often recover your data from a crashed micro SD card. However, it’s important to note that these tools may not be able to fix severe physical damage or extensive data corruption. In such cases, it’s recommended to seek professional data recovery services.
Make Hidden Files Visible Again
If you’re experiencing the frustration of hidden files on your Micro SD card, don’t worry – there’s a solution! Follow these simple steps to make your hidden files visible again:
1. Connect your Micro SD card to your computer using a card reader or adapter.
2. Open File Explorer on your Windows 10 computer.
3. Locate and select your Micro SD card from the list of available drives.
4. Right-click on the Micro SD card icon and select “Properties” from the context menu.
5. In the Properties window, navigate to the “General” tab.
6. Uncheck the box next to “Hidden” under the Attributes section.
7. Click “Apply” and then “OK” to save the changes.
8. Now, go back to File Explorer and you should be able to see all the hidden files on your Micro SD card.
Remember, if you want to hide the files again in the future, simply repeat the above steps and check the box next to “Hidden” instead.
Don’t let hidden files cause you unnecessary stress. With these simple instructions, you can easily make your hidden files visible again on your Micro SD card.
Assigning a New Drive Letter
To assign a new drive letter to your Micro SD card, follow these steps:
1. Connect your Micro SD card to your computer using a card reader or adapter.
2. Open “File Explorer” or “My Computer” to view your computer’s drives.
3. Locate your Micro SD card in the list of drives. It may be labeled as a removable disk or have a generic name like “Removable Disk (E:)”.
4. Right-click on the Micro SD card drive and select “Properties”.
5. In the Properties window, go to the “Tools” tab and click on the “Check” button under “Error Checking”.
6. Wait for the computer to scan and fix any errors on the Micro SD card.
7. Once the scan is complete, close the Properties window and go back to “File Explorer” or “My Computer”.
8. Right-click on the Micro SD card drive again and select “Change Drive Letter and Paths”.
9. In the Change Drive Letter and Paths window, click on the “Change” button.
10. In the next window, select a new drive letter from the drop-down menu. Choose a letter that is not already assigned to another drive.
11. Click “OK” to save the changes and assign the new drive letter to your Micro SD card.
12. Close all windows and check if the new drive letter is now visible for your Micro SD card.
Reinstalling Card Drivers for Detection
If you’re experiencing issues with your micro SD card not being detected by your computer or device, reinstalling the card drivers can often solve the problem. Here’s how you can do it:
1. First, connect your micro SD card to your computer using a card reader or adapter.
2. Open the Device Manager on your Windows computer. You can do this by right-clicking on the Start button and selecting “Device Manager” from the menu.
3. In the Device Manager window, locate the “Disk drives” category and expand it.
4. Look for your micro SD card in the list of disk drives. It may be listed under a different name, depending on your device.
5. Right-click on your micro SD card and select “Uninstall device” from the drop-down menu. Confirm the uninstallation if prompted.
6. Once the device is uninstalled, click on the “Action” tab at the top of the Device Manager window and select “Scan for hardware changes.”
7. Windows will now automatically detect your micro SD card and reinstall the drivers for it.
8. After the drivers have been reinstalled, check if your micro SD card is now being detected by your computer or device.
Remember to properly eject your micro SD card before removing it from your computer to avoid any data loss or corruption.
Resolving Issues by Formatting
- Check the connection: Ensure that the micro SD card is properly connected to the device or card reader.
- Try a different device: Test the micro SD card on another device to rule out any compatibility issues.
- Reformat the card: Use the appropriate formatting option to erase all data on the micro SD card and start fresh.
- Use data recovery software: Utilize specialized software to recover lost or deleted files from the micro SD card.
- Update device drivers: Ensure that the drivers for the device or card reader are up to date to avoid any compatibility issues.
- Perform disk error checking: Run a disk error check utility to scan and fix any potential issues with the micro SD card.
- Try a different card reader: Use a different card reader to see if the issue lies with the original card reader.
- Contact professional data recovery services: If all else fails, reach out to professional data recovery services for assistance in retrieving the data from the micro SD card.
Exploring Professional Data Recovery Solutions
When it comes to recovering data from a crashed micro SD card, it’s crucial to explore professional data recovery solutions. These solutions are specifically designed to help you retrieve your important files and documents from a damaged or corrupted micro SD card.
One of the first steps you can take is to connect your micro SD card to a computer using a card reader. This will allow you to access the card and attempt to recover your files. However, if this method doesn’t work, it’s time to turn to professional data recovery software or services.
Data recovery software can be a cost-effective solution for recovering data from a crashed micro SD card. There are several reputable software options available that can scan your card, identify recoverable files, and help you retrieve them. Make sure to choose a software that is compatible with your operating system, such as Windows 10 or Android.
If data recovery software doesn’t work or if your micro SD card is physically damaged, it may be necessary to seek professional data recovery services. These services are provided by experts who have the knowledge and tools to recover data from damaged or inaccessible micro SD cards. They can perform advanced techniques and procedures to retrieve your files, even in the most challenging situations.
Remember to always backup your important files regularly to prevent data loss in the future. Additionally, consider using a reputable antivirus program to protect your micro SD card from viruses or malware that could potentially cause crashes or data loss.
Prevention Tips for SD Card Health
- Regularly backup your data to prevent permanent loss
- Handle your SD card with clean hands to avoid contamination
- Avoid removing the SD card while data is being read or written
- Ensure your device is powered off before inserting or removing the SD card
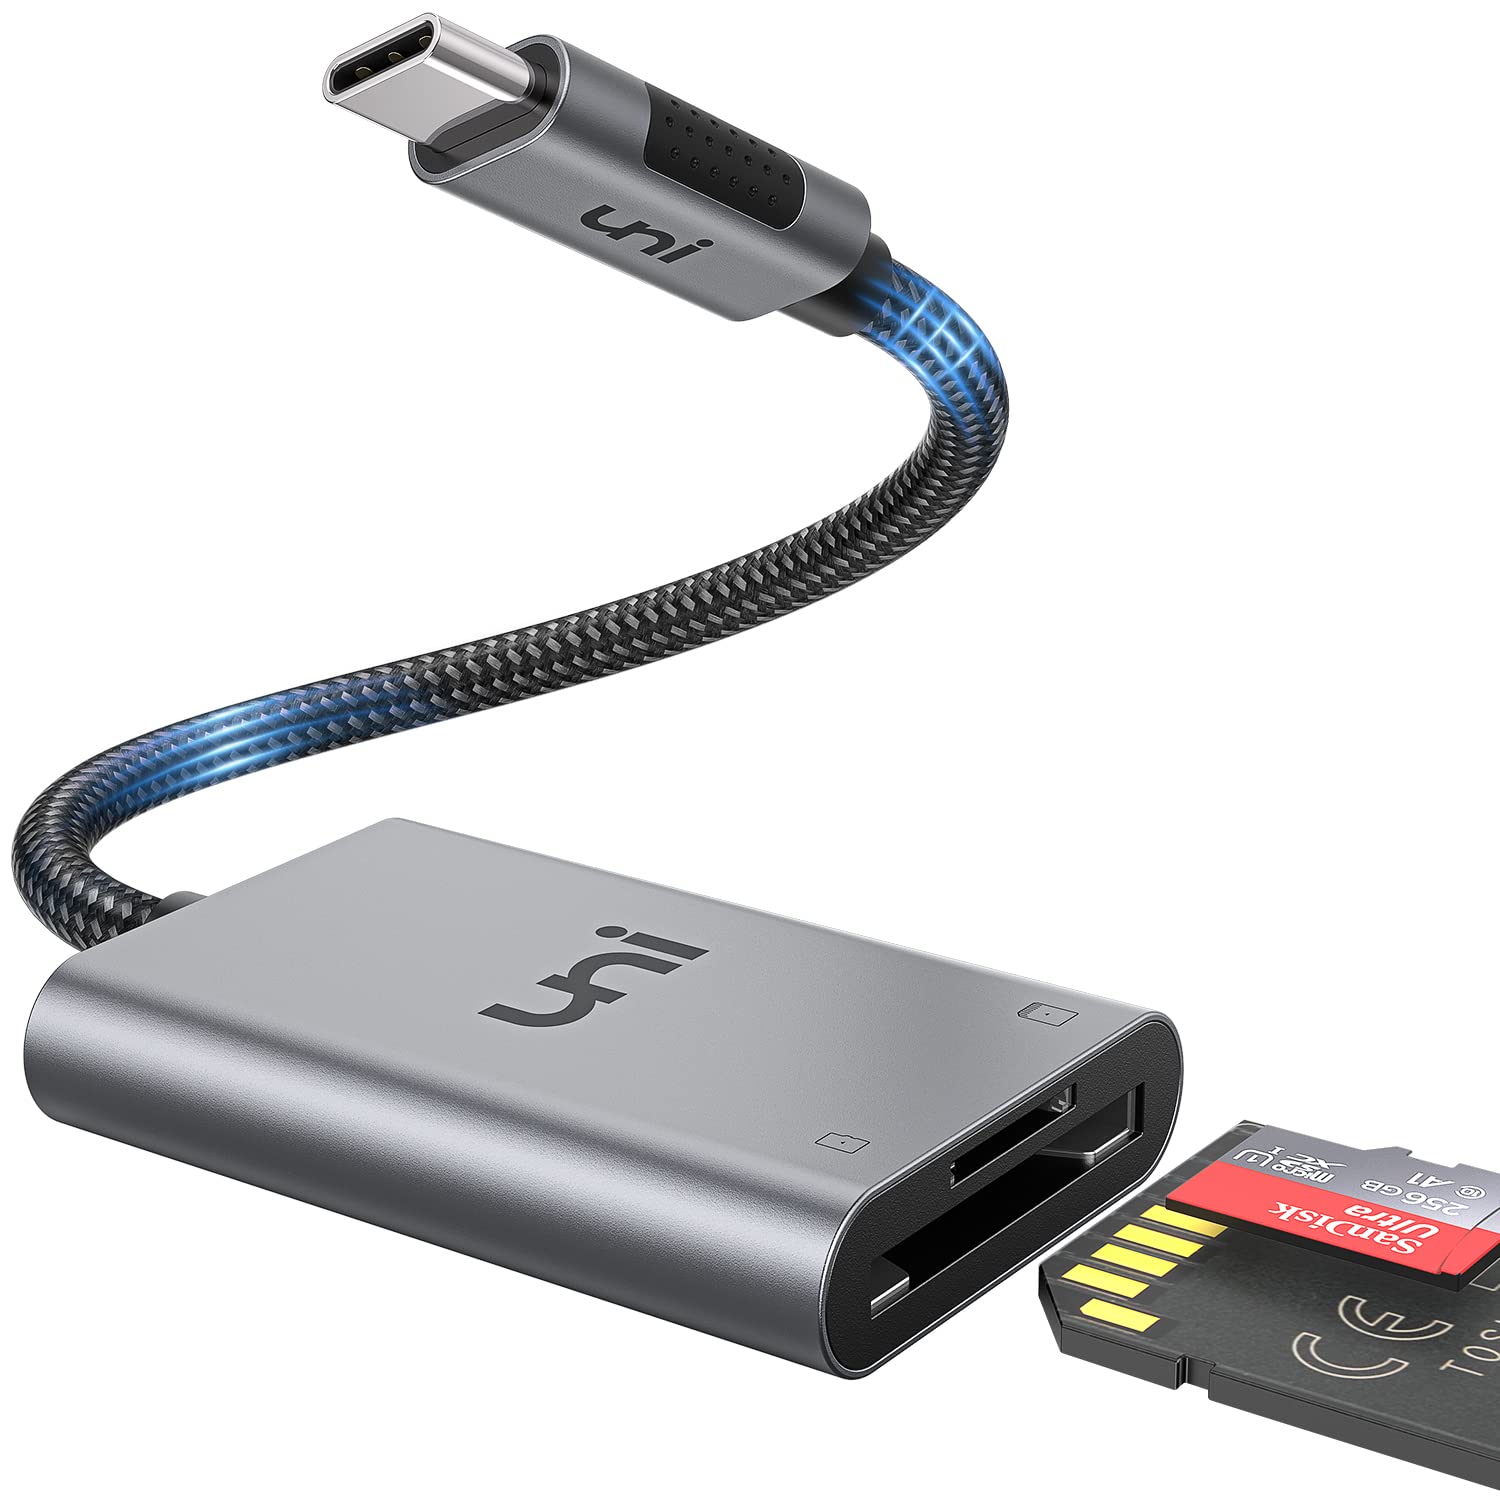
- Format your SD card periodically to prevent file system errors
- Store your SD card in a cool and dry place to prevent damage
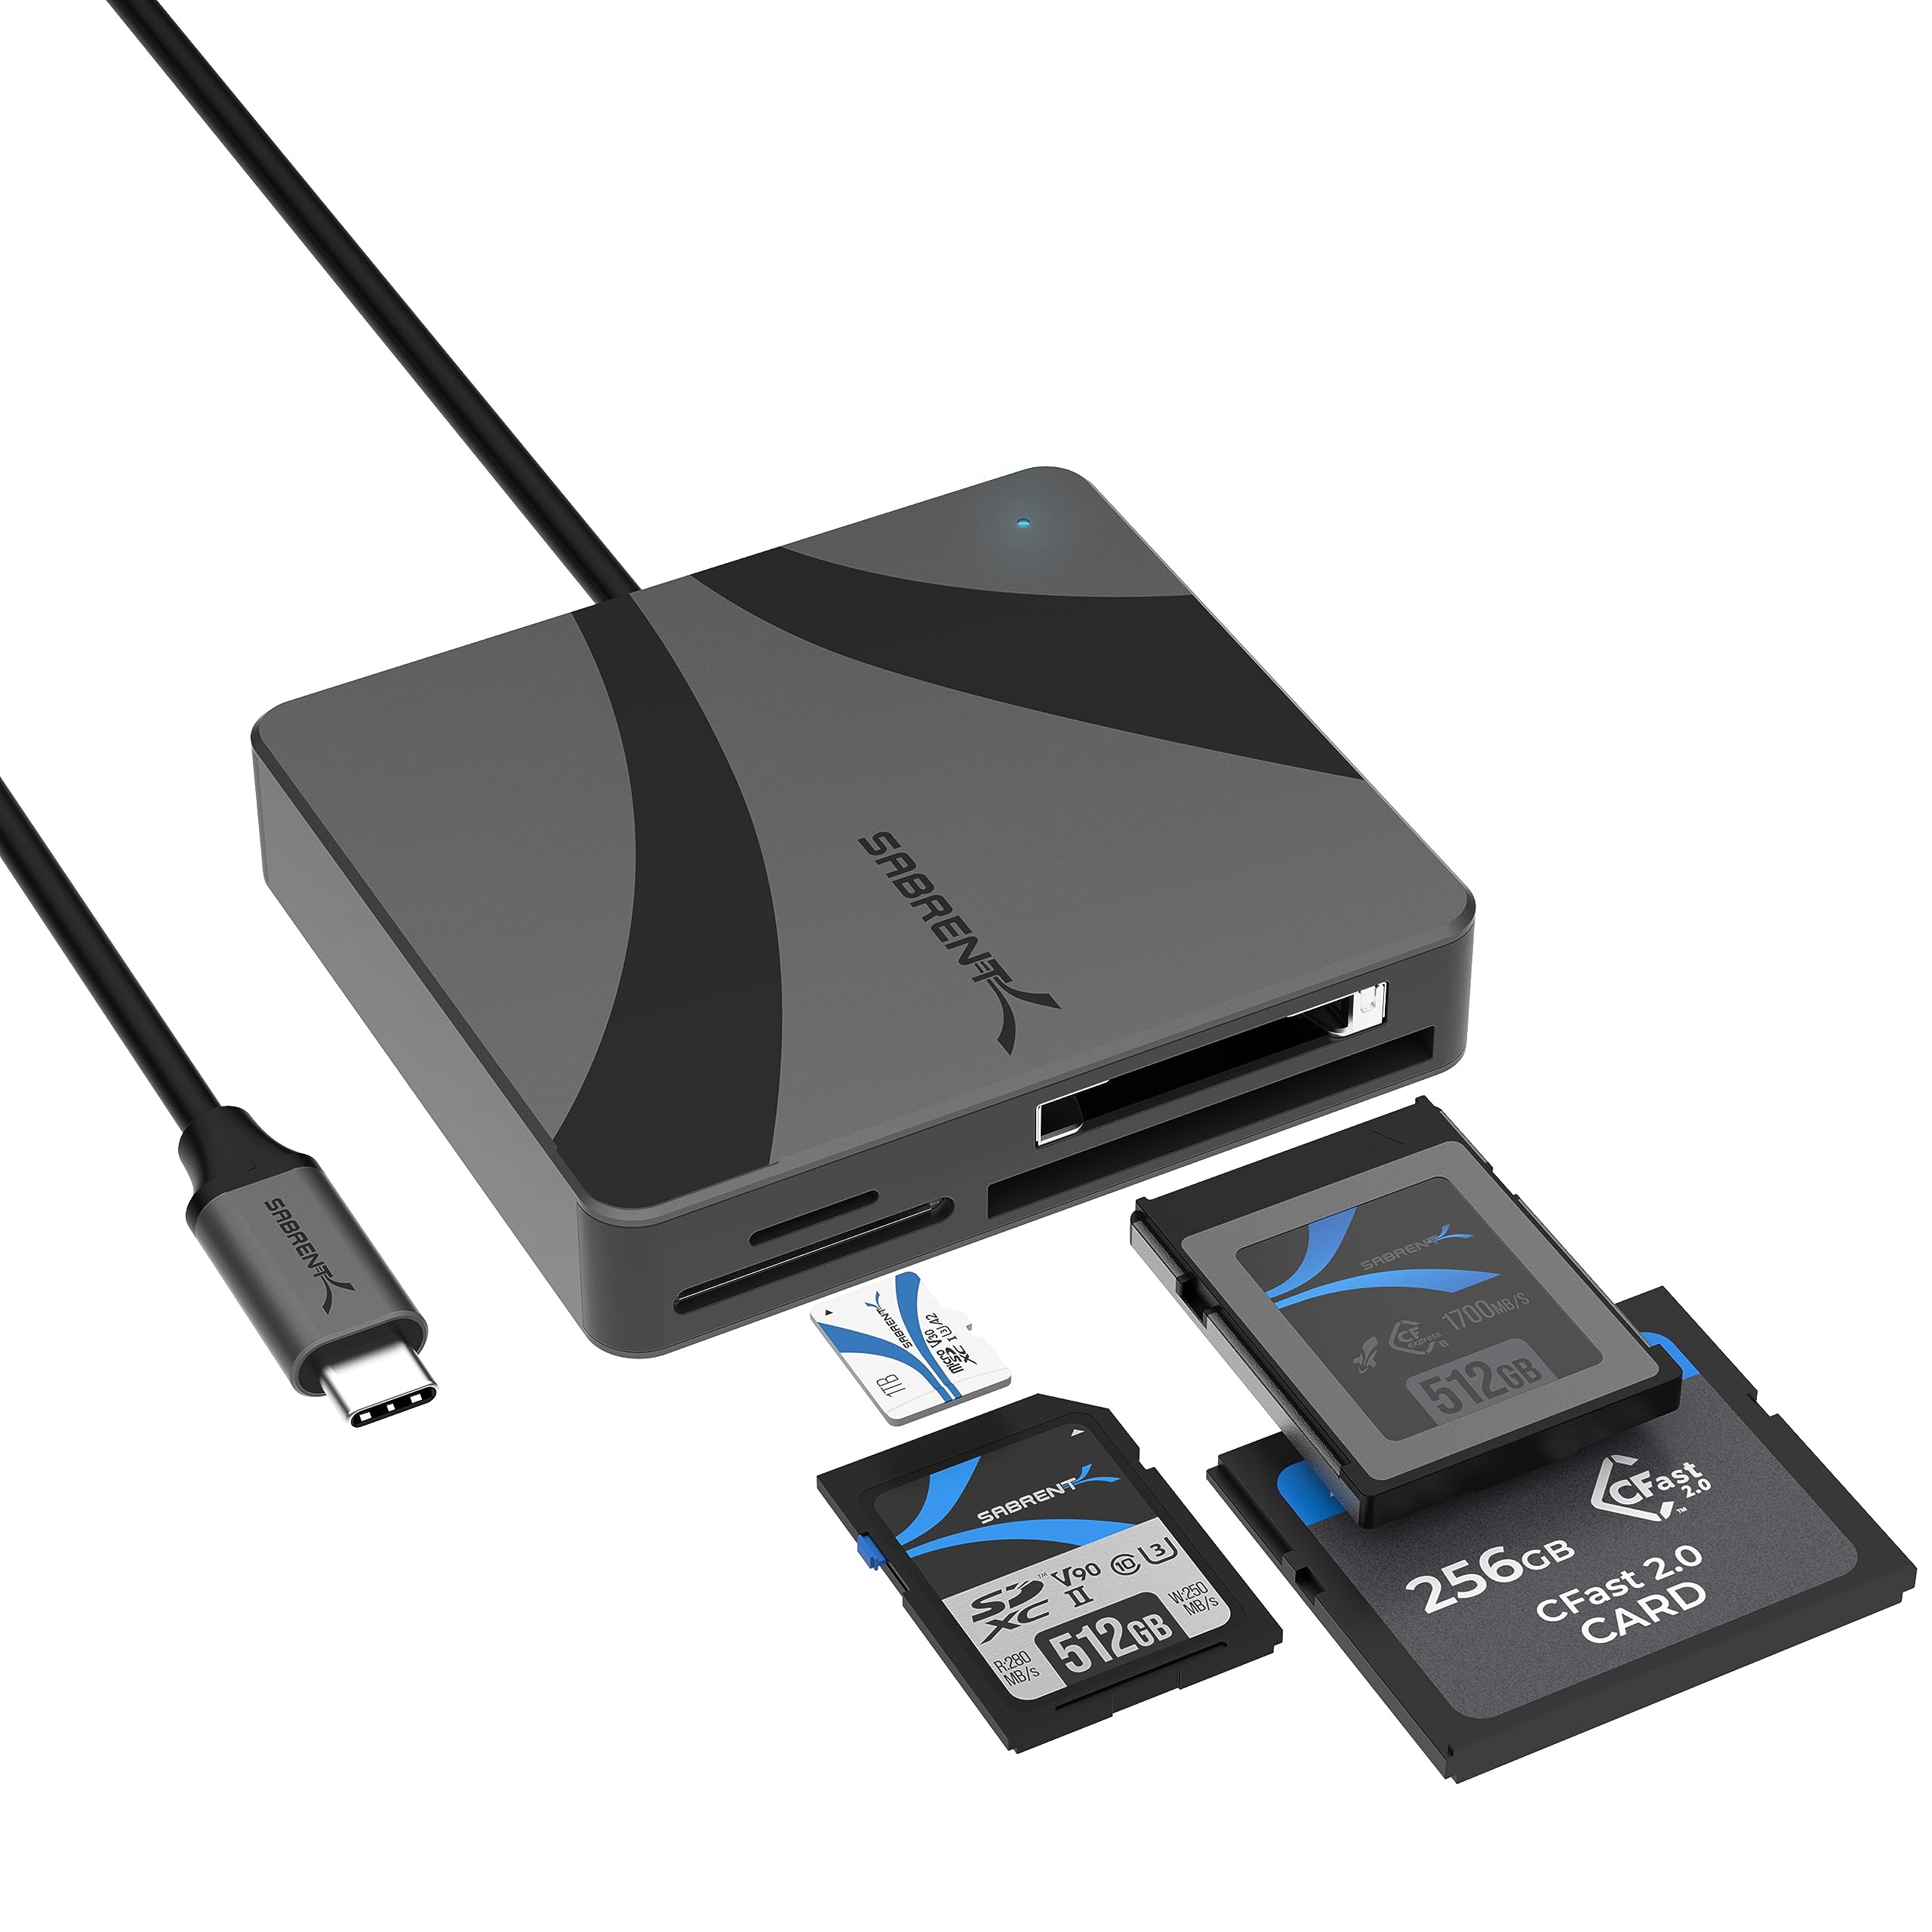
- Use quality and compatible SD card readers and adapters
- Scan your SD card for viruses and malware regularly
- Avoid using your SD card in multiple devices to minimize corruption risks
- Handle your SD card with care, avoiding bending or dropping it
Understanding SD Card Specifications and Capacity
| Specification | Description |
|---|---|
| Card Type | Micro SD, Micro SDHC, Micro SDXC |
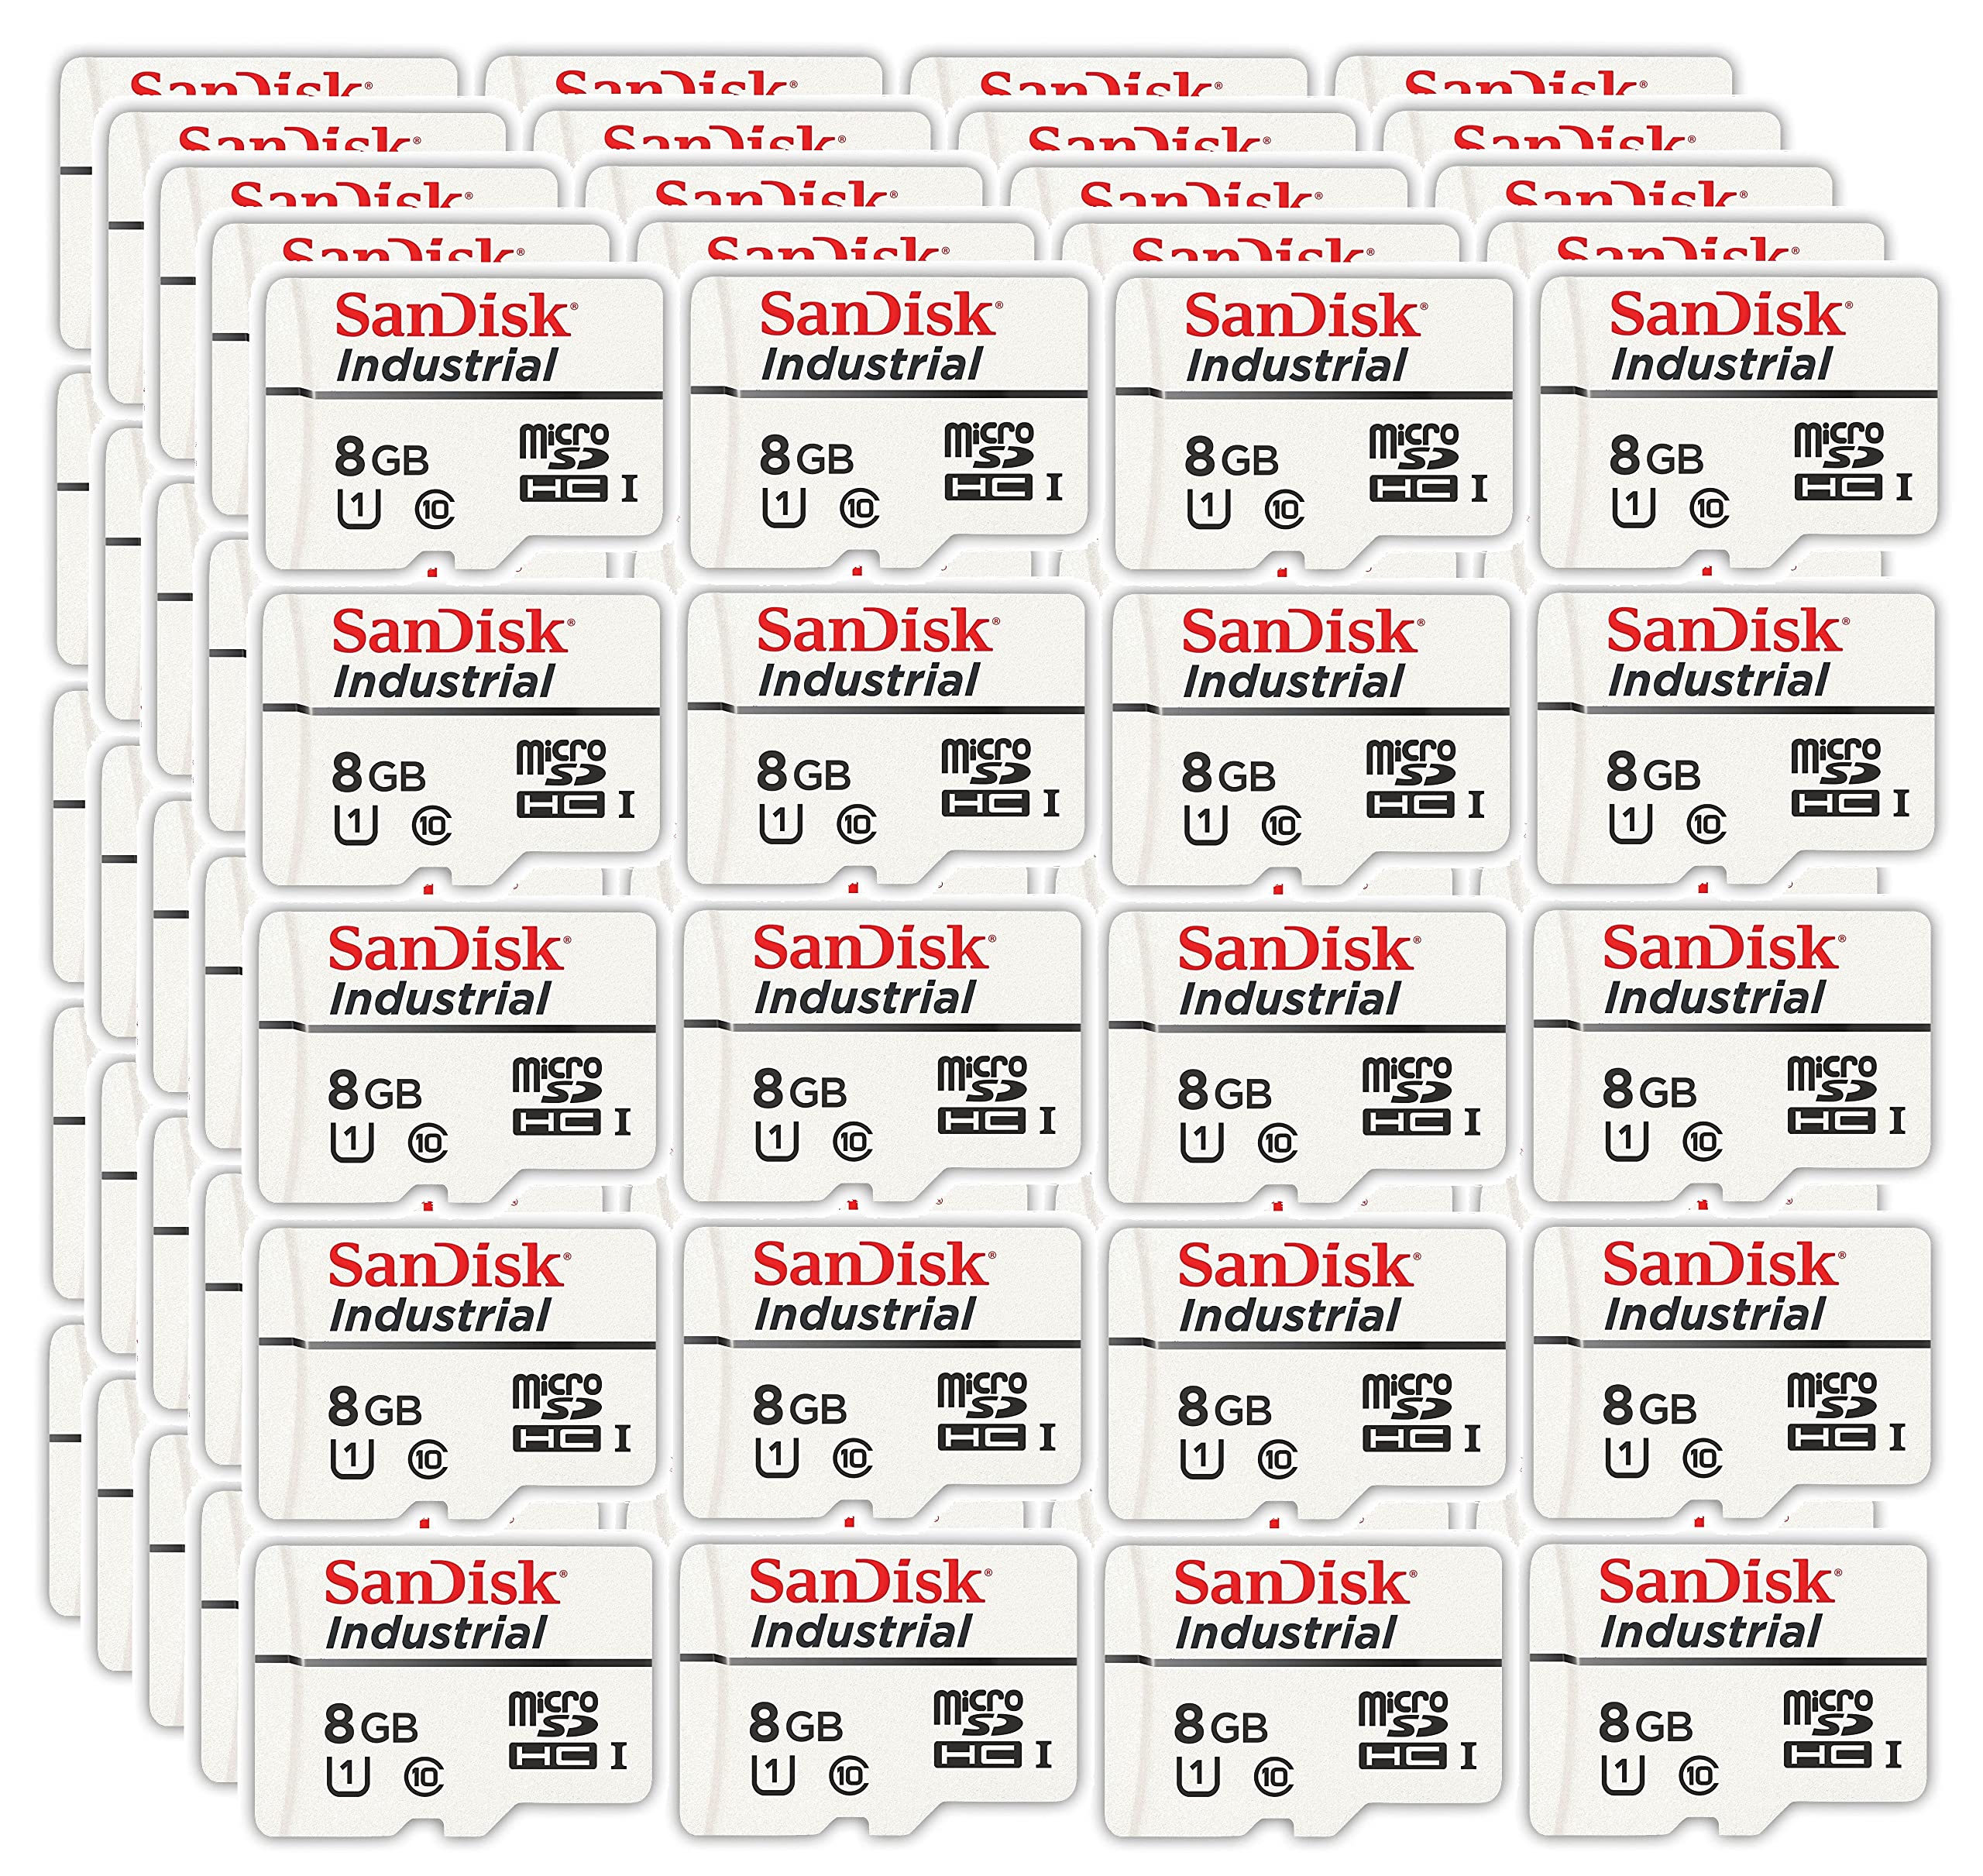
| Capacity | Varies from a few megabytes to several terabytes |
| Speed Class | Indicates the minimum write speed of the card, such as Class 2, 4, 6, or 10 |
| UHS Speed Class | A higher speed class for Ultra High-Speed cards, such as UHS-I or UHS-II |
| Video Speed Class | Defines the minimum sustained write speed for recording video, such as V6, V10, V30, V60, or V90 |
| File System | The format used to organize and store data on the card, such as FAT32 or exFAT |
| Operating Temperature | The range of temperatures in which the card can safely operate |
| Shock Resistance | The ability of the card to withstand physical shocks or drops |
| Waterproof | Indicates if the card is resistant to water damage |
| X-ray Proof | Indicates if the card is resistant to X-ray scans |
FAQ
How do I fix my SD card that won’t read?
To fix an SD card that won’t read, you can try the following steps:
1. Reinstall the SD card reader driver.
2. Assign a new drive letter to the SD card.
3. Use CHKDSK to repair SD card corruption.
4. Create a partition on the SD card.
5. Recover data from the SD card.
How do you revive a dead micro SD card?
To revive a dead micro SD card, you can use CHKDSK, a built-in command line tool on Windows. However, exercise caution as any mistake in the command line can potentially damage the SD card.
Can a corrupted micro SD card be fixed?
Can a corrupted micro SD card be fixed?
In some cases, a corrupted microSD card can be repaired and used again, while in others, the corruption may be irreparable, rendering the card unusable.
How do I recover a crashed SD card?
To recover a crashed SD card, you can follow these steps:
Connect the physically damaged SD card to your computer.
Use a data recovery application like Disk Drill to scan the SD card.
Preview the recoverable files.
Recover the files to a safe location.

