Having trouble with your Microsoft Wireless Display Adapter connection? Here’s how to troubleshoot it effectively.
Reset Your Adapter
To reset your Microsoft Wireless Display Adapter connection, follow these steps:
1. Disconnect the Microsoft Wireless Display Adapter from your device’s HDMI port.
2. On your computer, tablet, or smartphone, navigate to the taskbar and locate the Wi-Fi or network icon. It usually looks like a set of bars or waves.
3. Right-click on the Wi-Fi or network icon to open the context menu.
4. From the context menu, select “Open Network & Internet settings” or a similar option.
5. In the settings window, locate the “Wi-Fi” or “Wireless” section and click on it.
6. Look for the list of available networks and find the one that corresponds to your Microsoft Wireless Display Adapter. It may have a name like “MicrosoftDisplayAdapter_xx:xx:xx” where the x’s represent a unique identifier.
7. Click on the network name to select it, then click on the “Disconnect” button to disconnect from the adapter.
8. After disconnecting, navigate to the “Bluetooth & other devices” section in the settings window.
9. Locate the Microsoft Wireless Display Adapter in the list of devices and click on it.
10. From the options that appear, select “Remove device” or “Forget” to remove the adapter from your device’s memory.
11. Once the adapter has been removed, reconnect it to your device’s HDMI port.
12. Wait a few moments for the adapter to establish a connection. You may need to press the button on the adapter to initiate the connection process.
13. After the connection is established, go back to the network settings and look for the Microsoft Wireless Display Adapter network.
14. Click on the network name and select “Connect” to establish a new connection with the adapter.
15. Your device should now be connected to the Microsoft Wireless Display Adapter.
Reinstall Graphics Card Driver
To reinstall the graphics card driver for your Microsoft Wireless Display Adapter, follow these steps:
1. Press the Windows key + X on your computer keyboard to open the Quick Access Menu.
2. Select “Device Manager” from the menu.
3. In the Device Manager window, expand the “Display adapters” category.
4. Right-click on your graphics card driver and select “Uninstall device”.
5. Confirm the uninstallation by clicking “Uninstall” in the pop-up window.
6. Once the driver is uninstalled, go to the Microsoft Store or the website of your graphics card manufacturer to download the latest driver for your graphics card model.
7. Install the downloaded driver by running the installer file.
8. Follow the on-screen instructions to complete the installation process.
9. After the installation is complete, restart your computer to apply the changes.
10. Once your computer is restarted, the graphics card driver should be successfully reinstalled.
By reinstalling the graphics card driver, you can troubleshoot any connection issues you may be experiencing with your Microsoft Wireless Display Adapter. This process ensures that you have the latest driver version, which can improve compatibility and performance.
Enable 2.4GHz Wireless Frequency Band
To enable the 2.4GHz wireless frequency band on your Microsoft Wireless Display Adapter and troubleshoot connection issues, follow these steps:
1. Open the “Settings” on your Windows 10 computer or tablet.
2. Click on the “System” category.
3. Select “Display” from the left-hand menu.
4. Scroll down and click on “Connect to a wireless display.”
5. Ensure that your Microsoft Wireless Display Adapter is connected to the TV or monitor and turned on.
6. On the “Connect” page, click on “Microsoft Wireless Display Adapter” from the list of available devices.
7. If your device doesn’t appear in the list, press and hold the button on the Microsoft Wireless Display Adapter for a few seconds until the LED light flashes.
8. Once connected, you may need to enter a PIN displayed on the TV or monitor to establish a secure connection.
9. If the connection still fails, try restarting both your computer or tablet and the Microsoft Wireless Display Adapter.
10. If you’re using Windows 11, the steps may vary slightly. Refer to the Microsoft Store for specific instructions or updates.
By enabling the 2.4GHz wireless frequency band, you ensure compatibility with older devices that may not support the 5GHz band. This can help improve the connection between your device and the Microsoft Wireless Display Adapter.
Remember to keep your firmware and device drivers up to date to ensure optimal performance. If you continue to experience connection issues, consider reinstalling the adapter’s mobile app or using the dongle with a different device.
If you encounter any difficulties during the troubleshooting process, consult the Microsoft support website or contact their customer support for further assistance.
Adjust Resolution and Display Settings
Adjusting the resolution and display settings on your Microsoft Wireless Display Adapter can help troubleshoot connection issues. To do this, follow these steps:
1. Open the settings menu on your Windows 10 device. You can do this by clicking the Start button and selecting “Settings” from the menu.
2. In the settings menu, click on “System” and then select “Display” from the left-hand side menu. This will open the display settings for your device.
3. Look for the option to adjust the resolution. Click on it and select the desired resolution from the drop-down menu.
4. Additionally, you can adjust other display settings such as brightness and orientation to optimize your viewing experience.
5. If you’re using a Miracast-enabled device, make sure that the wireless display adapter is selected as the primary display device. You can do this by right-clicking on the taskbar and selecting “Display settings”. Under the “Multiple displays” section, choose the wireless display adapter as the main display.
6. Ensure that your device’s firmware and drivers are up to date. You can do this by visiting the manufacturer’s website and downloading the latest firmware and driver updates for your Microsoft Wireless Display Adapter.
Troubleshoot Video and Audio Playback Issues
1. Check the connection: Ensure that the adapter is properly connected to your display device, such as a high-definition television or monitor. Also, make sure that both the adapter and your computer or mobile device are connected to the same Wi-Fi network.
2. Update the device driver: Visit the Microsoft website and download the latest driver for the Wireless Display Adapter. Install it on your computer or mobile device to ensure compatibility and optimal performance.
3. Restart your devices: Sometimes, a simple restart can fix minor connectivity issues. Restart both your computer or mobile device and the Wireless Display Adapter. This can help refresh the connection and resolve any temporary glitches.
4. Check for firmware updates: Microsoft periodically releases firmware updates for the Wireless Display Adapter to improve its functionality. Visit the Microsoft website or use the corresponding mobile app to check for any available updates and install them if necessary.
5. Adjust display settings: If you’re experiencing video playback issues, adjust the display settings on your computer or mobile device. Make sure the screen resolution is set to match the capabilities of your display device.
6. Ensure sufficient Wi-Fi signal strength: A weak Wi-Fi signal can cause audio or video stuttering. Move closer to the Wi-Fi router or consider using a network interface controller with a stronger signal.
7. Disable power-saving settings: Some computers or mobile devices have power-saving settings that can affect the performance of the Wireless Display Adapter. Disable these settings to ensure a stable connection.
8. Troubleshoot audio issues: If you’re experiencing audio playback problems, ensure that the volume is not muted or set too low on both your computer or mobile device and the display device. Also, check the audio output settings to ensure the correct audio device is selected.
9. Reset the Wireless Display Adapter: If all else fails, you can perform a reset on the adapter. Press and hold the button on the adapter for 10 seconds until the LED light flashes. This will reset the adapter to its default settings.
Check HDMI and USB Connections
To troubleshoot your Microsoft Wireless Display Adapter connection, it’s important to check the HDMI and USB connections.
First, ensure that the HDMI cable is securely connected to both your display device (such as a high-definition television) and the Microsoft Wireless Display Adapter. Make sure there are no loose connections or bent pins.
Next, check the USB connection. Ensure that the USB cable is properly plugged into a power source or a compatible USB port on your display device. If you’re using a dongle, ensure that it is securely connected to the USB port.
If you’re still experiencing issues, try the following steps:
1. Disconnect and reconnect the HDMI and USB connections. Sometimes, a simple reconnection can resolve the problem.
2. Restart your devices. Power off your display device, Microsoft Wireless Display Adapter, and your source device (such as a laptop or smartphone). Then, power them back on and try connecting again.
3. Update the device driver. Visit the Microsoft website or the manufacturer’s website to check if there are any updates available for your Microsoft Wireless Display Adapter. Updating the driver can often fix compatibility issues and improve performance.
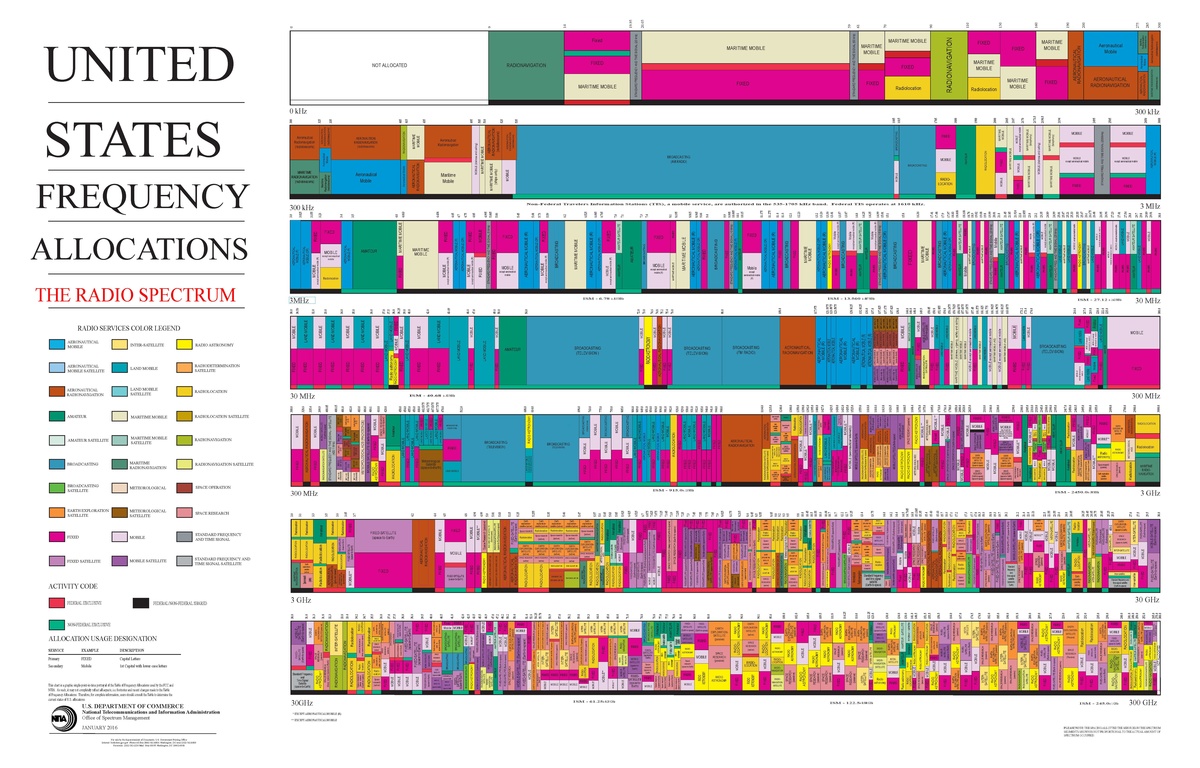
4. Check for interference. The Microsoft Wireless Display Adapter uses the ISM radio band, which can be affected by other devices operating in the same frequency range. Move away from any devices that might cause interference, such as telephone systems or network interface controllers.
5. Reset the Microsoft Wireless Display Adapter. Locate the reset button on the adapter and use a tool (such as a paperclip) to press and hold it for about 10 seconds. This will reset the adapter to its factory settings and may resolve connection issues.
If none of these steps resolve your connection problems, you may need to consider uninstalling and reinstalling the application software associated with the Microsoft Wireless Display Adapter. Check the manufacturer’s website for instructions on how to do this.
Update Device and Adapter
To update the device and adapter for troubleshooting Microsoft Wireless Display Adapter connection issues, follow these steps:
1. First, ensure that your device (computer, tablet, laptop, etc.) is compatible with Miracast technology and supports Microsoft Windows. Check the device’s specifications or manufacturer’s website for compatibility information.
2. Make sure your Microsoft Wireless Display Adapter is connected to your device and powered on. If not, connect it to an available HDMI port on your device and plug it into a power source.
3. On your device, go to the settings menu and locate the Bluetooth settings. Ensure that Bluetooth is turned on and that your Microsoft Wireless Display Adapter is paired with your device. If not, pair the adapter with your device following the manufacturer’s instructions.
4. If you’re using Windows 11, click on the Start button, then go to Settings > System > Display. Under the “Wireless Display” section, click on “Connect to a wireless display” to search for available devices. If your Microsoft Wireless Display Adapter is listed, select it to establish the connection.
5. If you’re using an older version of Windows, click on the “Action Center” icon (usually located in the lower right corner of the desktop) and select “Connect” from the menu. Your device will search for available wireless displays, and if your Microsoft Wireless Display Adapter is detected, select it to connect.
6. If the connection fails or experiences issues, try resetting the Microsoft Wireless Display Adapter. Look for a small reset button (usually located on the side or the back of the adapter) and press it using a paperclip or a similar tool. This will reset the adapter to its default settings.
7. If the problem persists, you may need to uninstall and reinstall the Microsoft Wireless Display Adapter application software on your device. Go to the settings menu, locate the “Apps” or “Programs” section, and uninstall the software associated with the adapter. Then, visit the Microsoft website or app store to download and reinstall the latest version of the software.
Configure Windows Firewall Settings
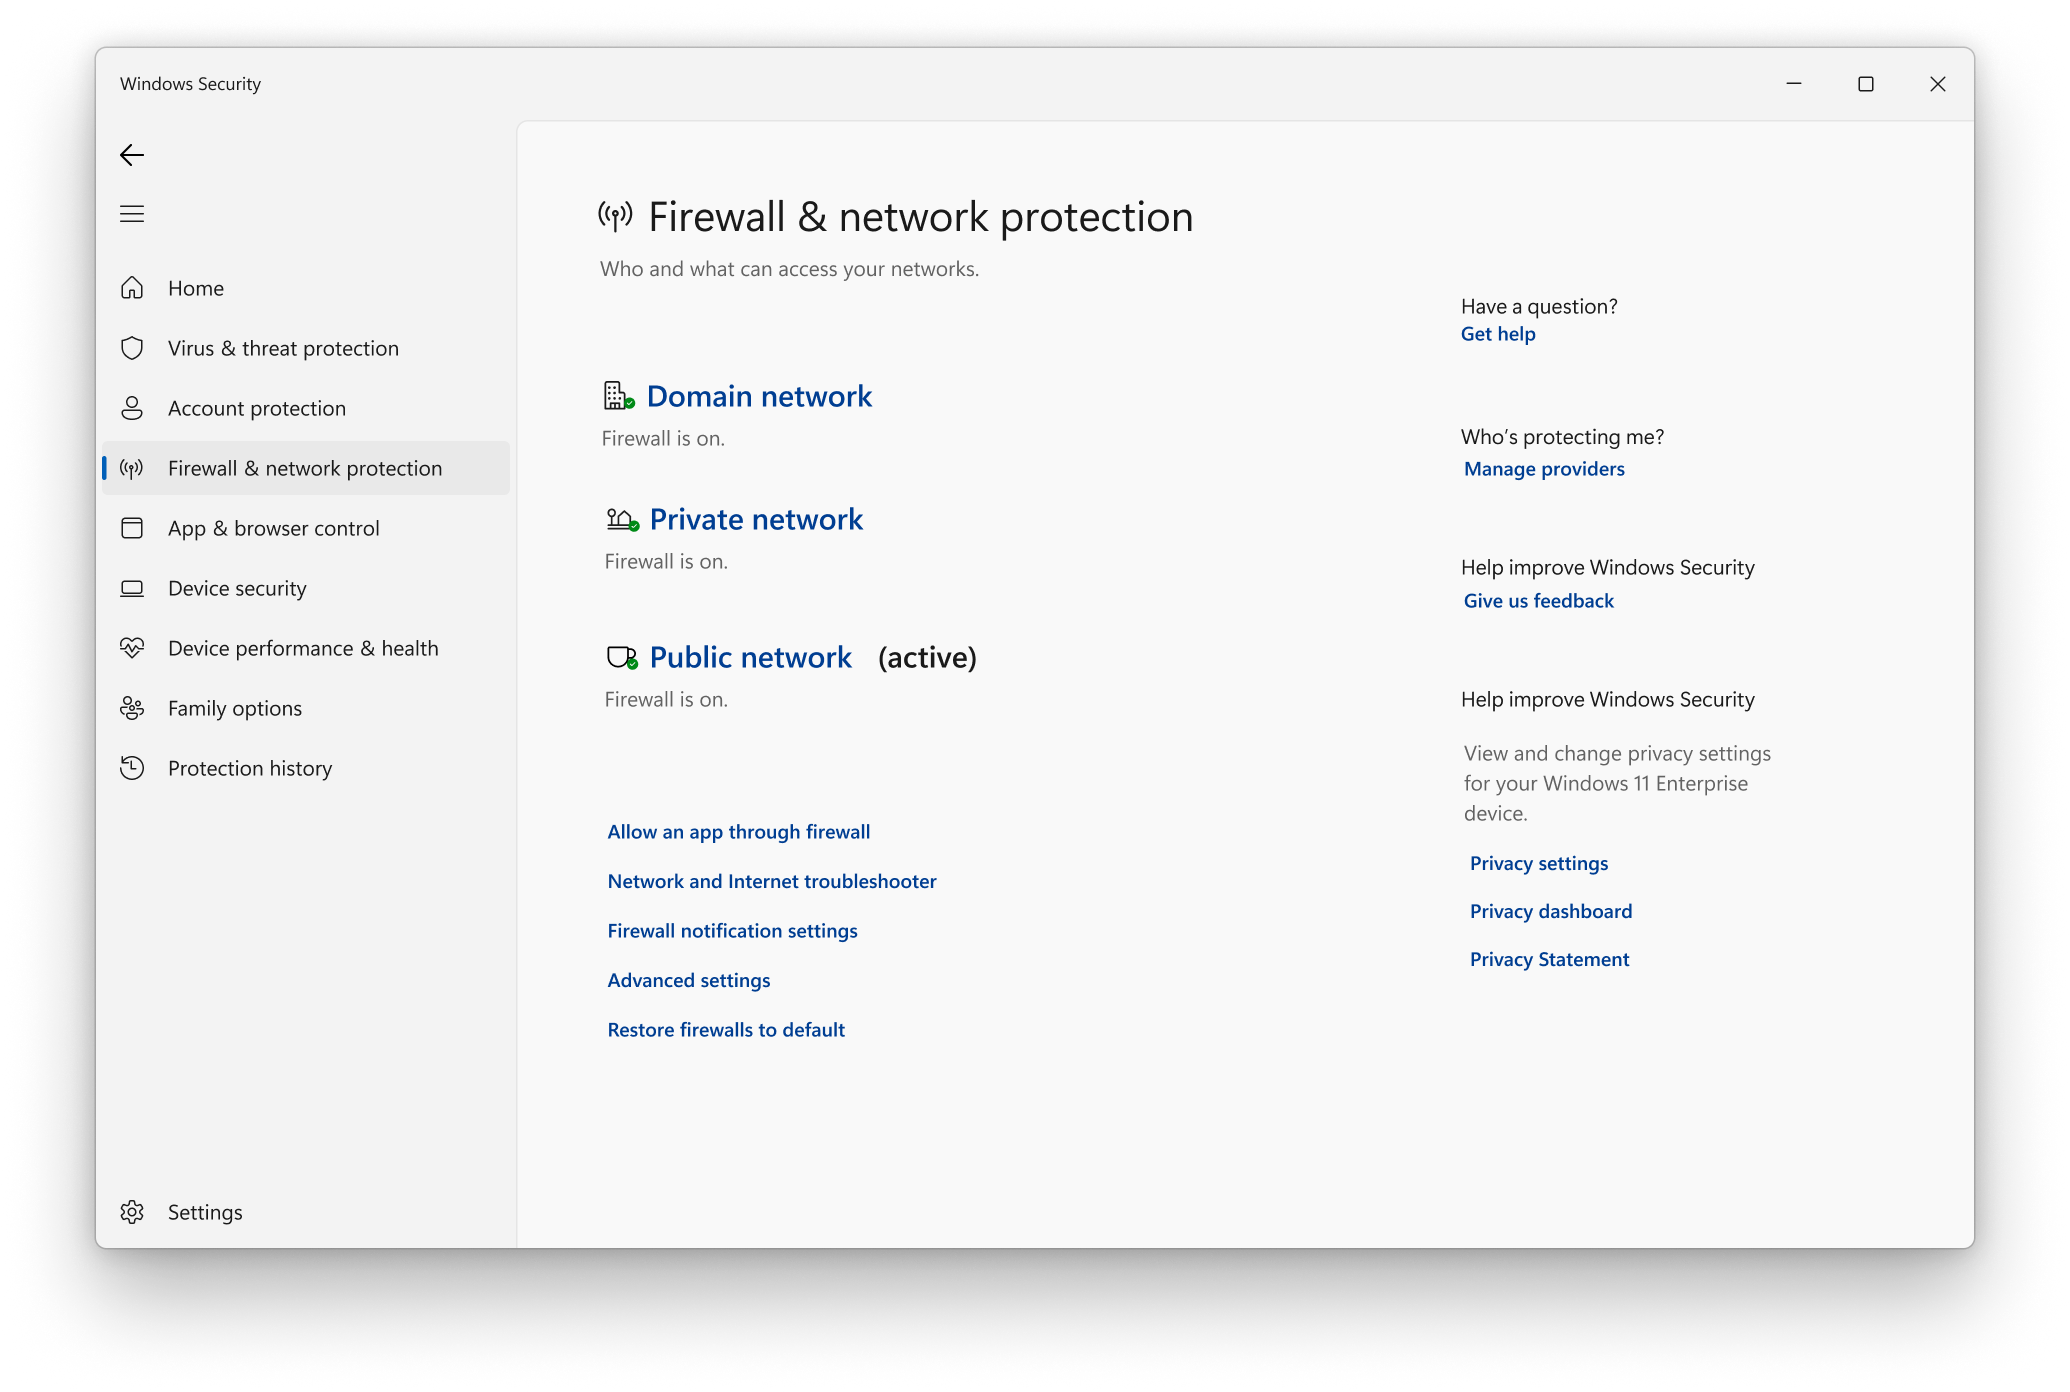
1. Press the Windows key on your computer keyboard to open the Start menu.
2. Type “Windows Firewall” and click on the Windows Firewall app from the search results.
3. In the Windows Firewall window, click on “Allow an app or feature through Windows Firewall” from the menu on the left.
4. Click on the “Change settings” button at the top right corner of the window.
5. Scroll down the list of apps and features until you find “Wireless Display Adapter” or “Microsoft Wireless Display Adapter.”
6. Make sure both the “Private” and “Public” checkboxes are selected for the Wireless Display Adapter.
7. If you don’t see the Wireless Display Adapter in the list, click on the “Allow another app…” button at the bottom of the window.
8. Click on the “Browse” button and navigate to the folder where the Wireless Display Adapter software is installed.
9. Select the executable file for the Wireless Display Adapter and click on the “Open” button.
10. Make sure both the “Private” and “Public” checkboxes are selected for the Wireless Display Adapter.
11. Click on the “Add” button to add the Wireless Display Adapter to the allowed apps and features list.
12. Click on the “OK” button to save the changes and close the Windows Firewall window.
By configuring the Windows Firewall settings, you ensure that the necessary network communication for the Microsoft Wireless Display Adapter is allowed, which can help troubleshoot any connection issues you may be experiencing.
Change Wireless Frequency Band
- Open the Settings app on your Windows device.
- Select Devices from the list of options.
- Click on Bluetooth & other devices in the left menu.
- Under the Wireless displays & docks section, locate your Microsoft Wireless Display Adapter.
- Click on the Adapter settings link next to the device.
- In the Frequency band dropdown menu, select a different frequency band (2.4 GHz or 5 GHz).
- Save the changes and exit the settings.
- Restart your Windows device and the Microsoft Wireless Display Adapter.
- Attempt to connect to the adapter and check if the connection is stable.
F.A.Q.
Why won’t my wireless display connect?
Your wireless display may not be connecting due to various reasons such as device compatibility issues, WiFi problems, wireless display device settings, driver issues, or even the Windows Firewall.
Why my wireless display is not installing?
Your wireless display may not be installing due to a poor or no internet connection. To resolve this issue, check your internet connection and try disconnecting and reconnecting it. Additionally, restarting your internet router may help resolve the problem.
How do I connect my MS display adapter to WiFi?
To connect your MS Display Adapter to WiFi, follow these steps:
1. Connect your Windows PC to the adapter.
2. Open the Microsoft Wireless Display Adapter app.
3. Select “Network” within the app.
4. Choose the desired network.
5. Select “Connect” to establish the connection.
Is Microsoft Wireless Display Adapter WiFi or Bluetooth?
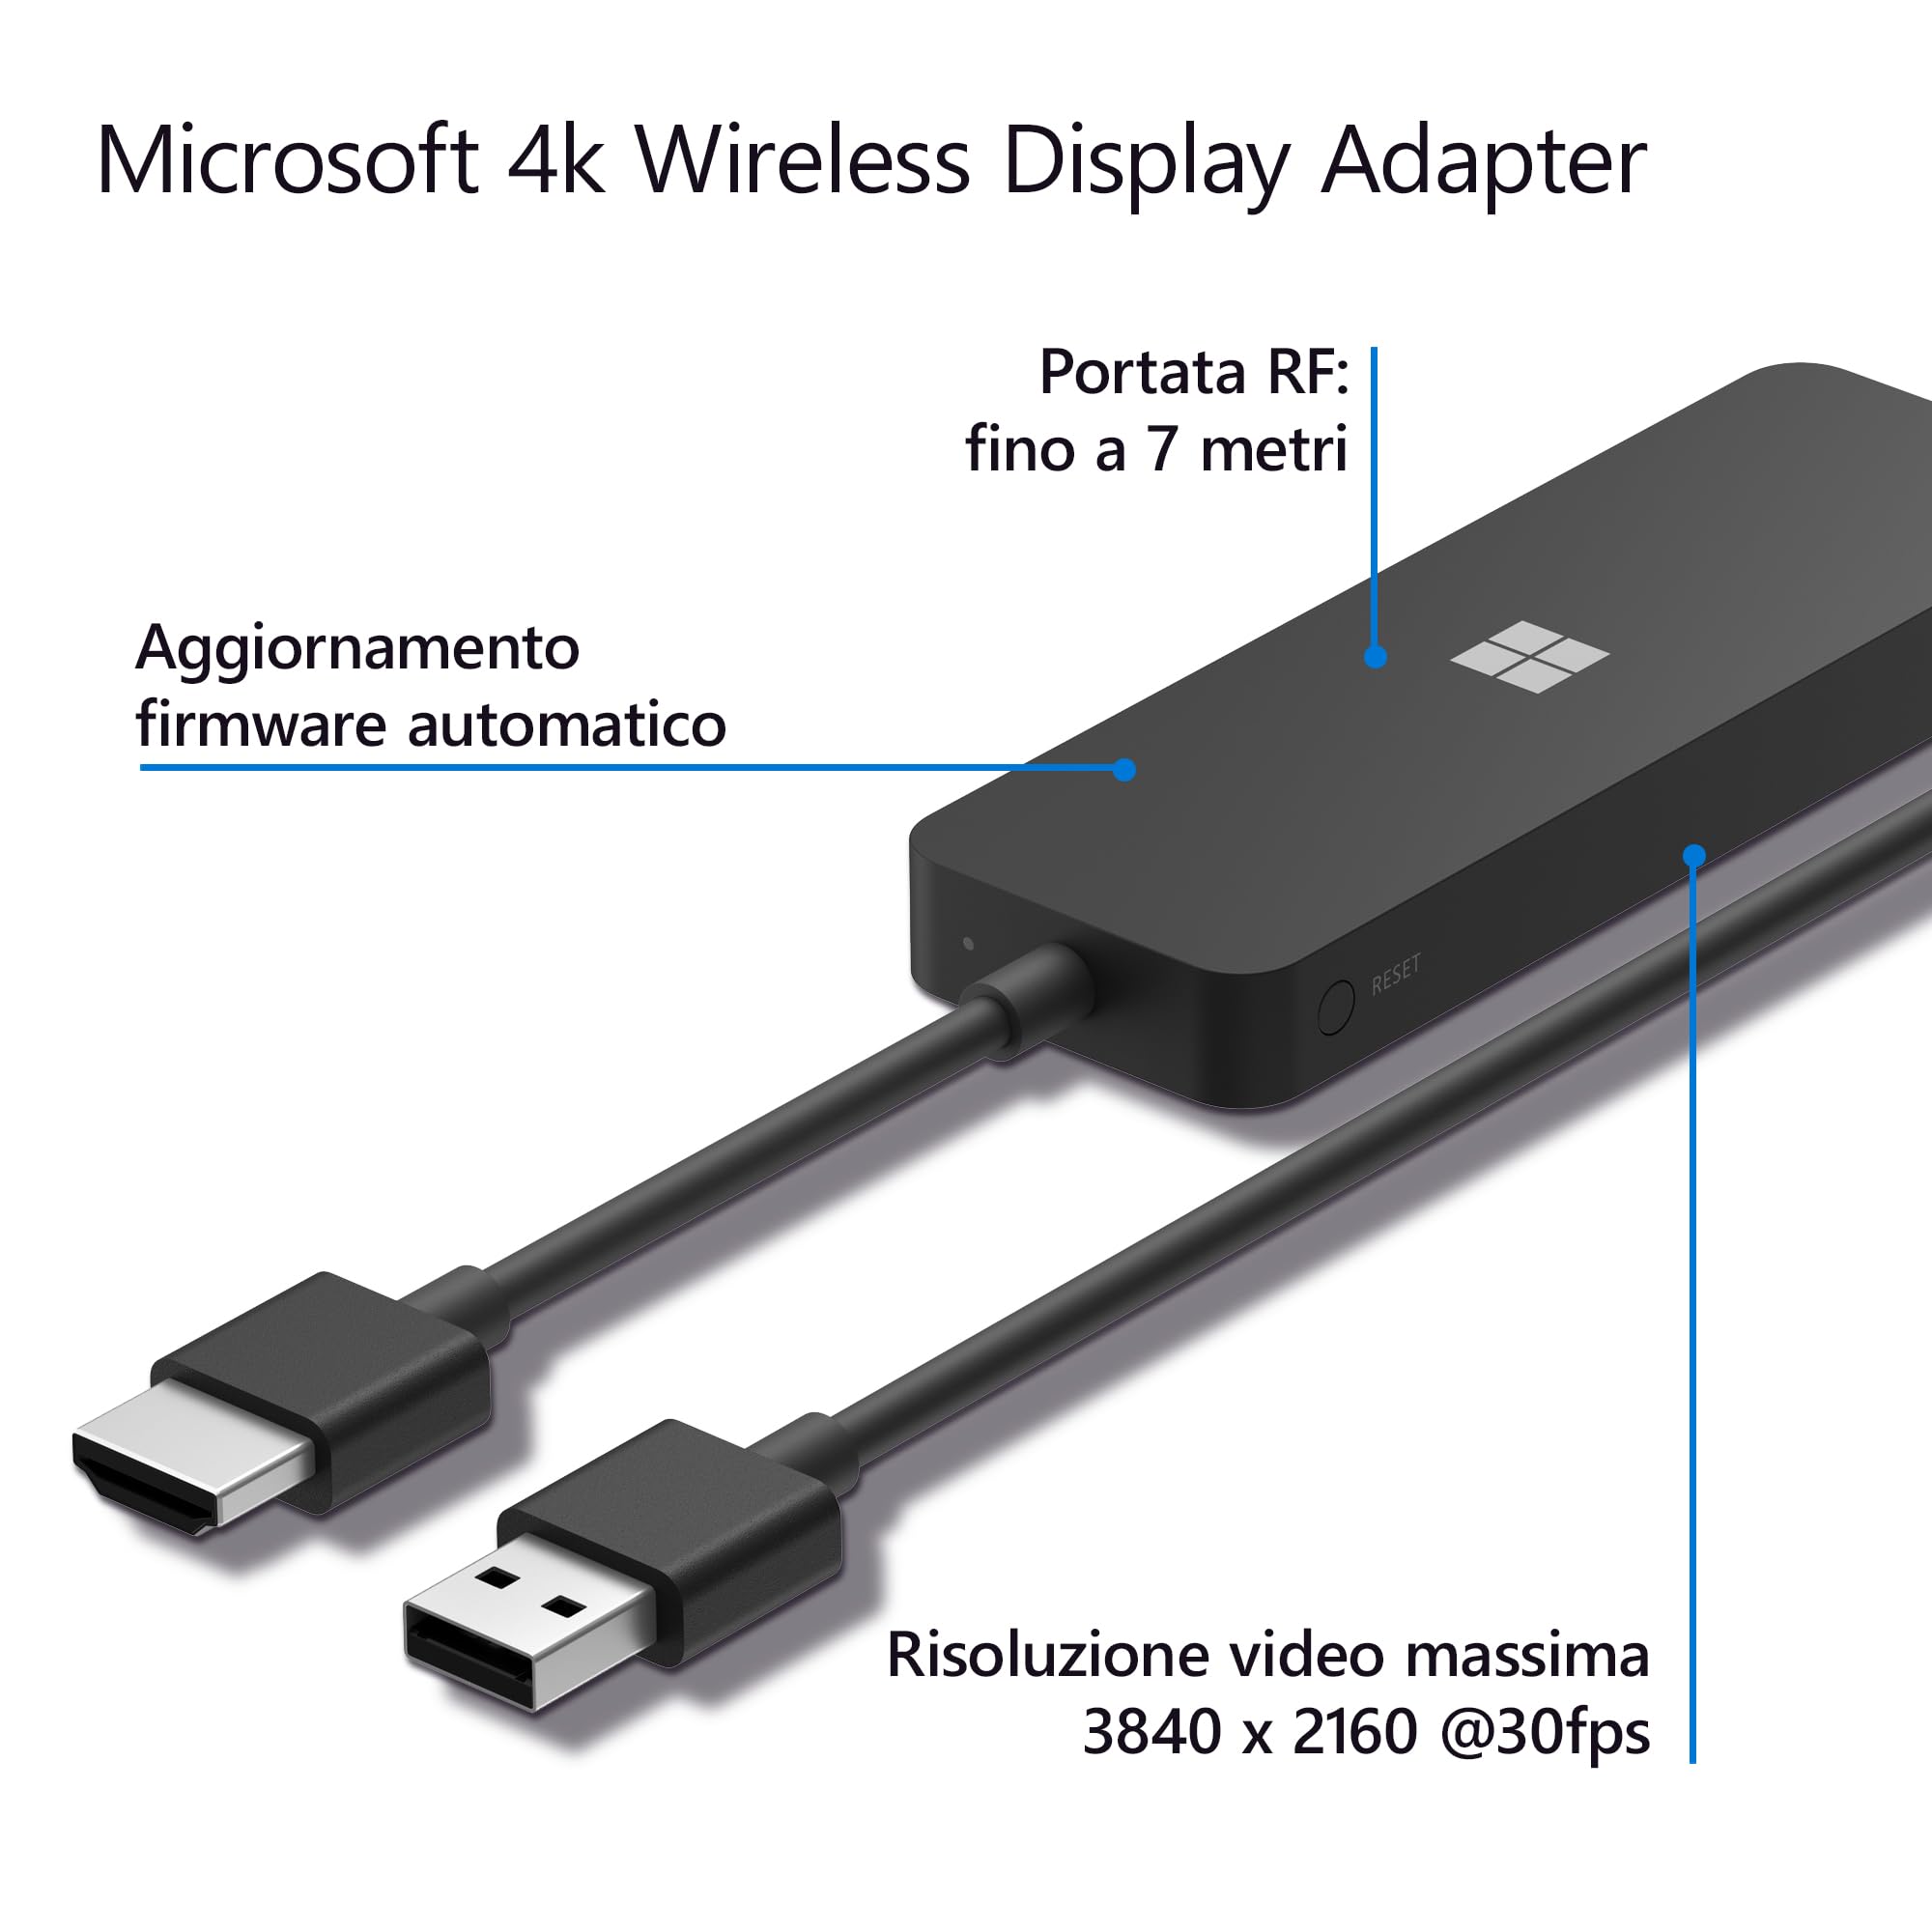
The Microsoft Wireless Display Adapter uses Wi-Fi CERTIFIED™ Miracast® technology, allowing you to display everything from your device on an HDTV or monitor.
