If your mouse is disabled on Windows 10, here’s how to fix it.
Check Your Hardware and Connections

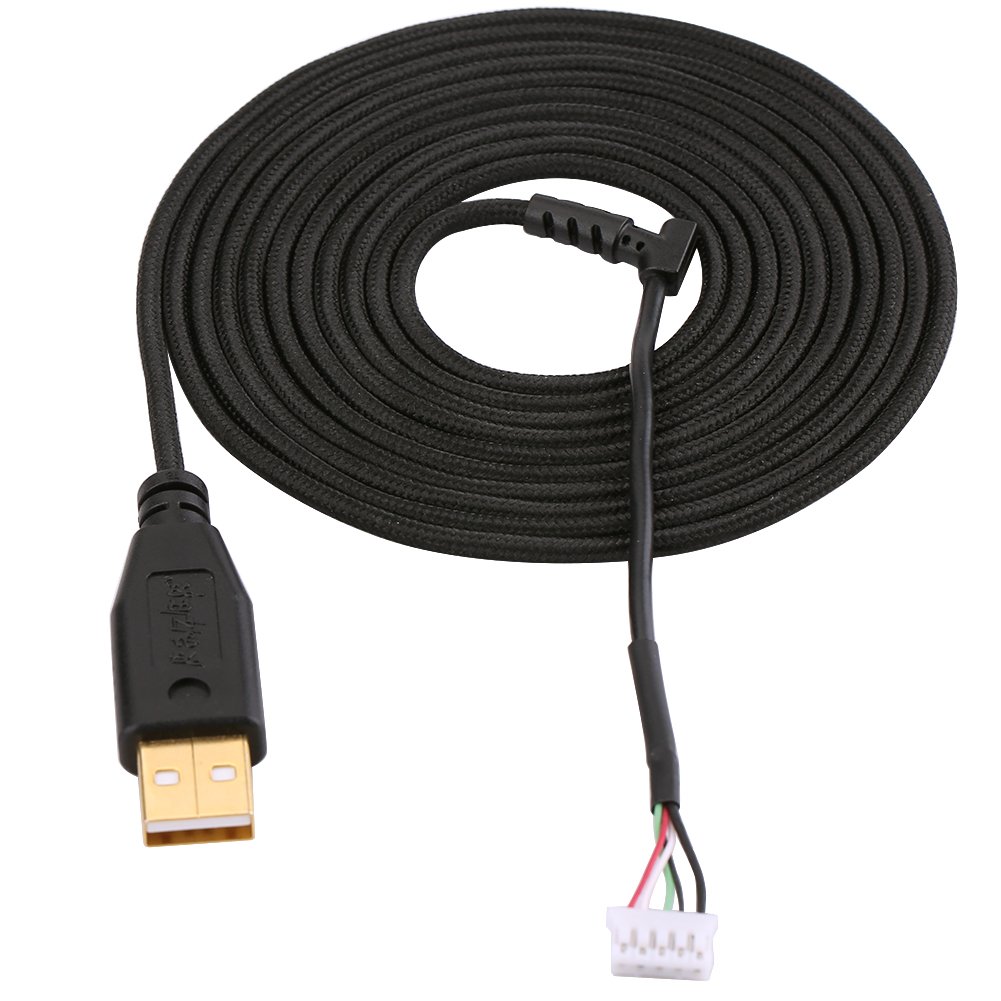
1. Start by examining your hardware and connections. Make sure that your mouse is properly connected to your computer. If you are using a wired mouse, check that the USB cable is securely plugged into the USB port. If you are using a wireless mouse, ensure that the batteries are properly inserted and that the mouse is turned on.
2. If you are using a USB mouse, try connecting it to a different USB port on your computer. Sometimes, certain USB ports may not be functioning properly, and switching to a different port can resolve the issue.
3. It’s also worth checking if your USB hardware is working correctly. You can do this by connecting a different USB device, such as a USB flash drive or a game controller, to the same USB port. If the other device works fine, then the issue is likely specific to your mouse.
4. Check if the device driver for your mouse is up to date. Open the Device Manager by right-clicking on the Start button and selecting “Device Manager” from the menu. Expand the “Mice and other pointing devices” category, right-click on your mouse, and select “Update driver” from the context menu. Follow the on-screen instructions to update the driver.
5. If none of the above steps resolve the issue, try restarting your computer. Sometimes, a simple reboot can fix temporary glitches that may be causing your mouse to be disabled.
Update or Reinstall Drivers
To fix a disabled mouse on Windows 10, you may need to update or reinstall the drivers. Here’s a step-by-step guide on how to do it:
1. Start by opening the Device Manager. You can do this by right-clicking on the Start button and selecting “Device Manager” from the menu.
2. In the Device Manager window, locate the category for “Mice and other pointing devices.” Expand this category by clicking on the arrow next to it.
3. You should see your mouse listed under this category. Right-click on the mouse and select “Update driver” from the context menu.
4. A new window will appear asking how you want to search for drivers. Choose the option that says “Search automatically for updated driver software.” Windows will then search for and install any available updates for your mouse.
5. If Windows doesn’t find any updates, or if the issue persists after updating the driver, you can try reinstalling the driver. To do this, right-click on the mouse again and select “Uninstall device” from the context menu.
6. After uninstalling the driver, restart your computer. Windows will automatically reinstall the driver when it starts up again. Check if the mouse is working properly after the restart.
7. If the issue still persists, you can try downloading the latest driver from the manufacturer’s website. Visit the manufacturer’s support page and search for the appropriate driver for your mouse model. Download the driver and follow the on-screen instructions to install it.
8. Alternatively, you can also try using a different USB port or connecting the mouse to a USB hub. Sometimes, connectivity issues can cause the mouse to become disabled.
Connect via Bluetooth or Change USB Port

If your mouse is disabled in Windows 10, there are a few steps you can take to fix the issue. First, try connecting your mouse via Bluetooth if it supports that feature. This can help troubleshoot any issues with the USB port.
To connect your mouse via Bluetooth, follow these steps:
1. Make sure your mouse is turned on and in pairing mode.
2. Go to the Start menu and click on the Settings icon.
3. In the Settings menu, click on “Devices.”
4. On the left-hand side, click on “Bluetooth & other devices.”
5. Under the “Mouse, keyboard, & pen” section, click on “Add Bluetooth or other device.”
6. Select “Bluetooth” from the options.
7. Your computer will start searching for Bluetooth devices. Once your mouse appears in the list, click on it to connect.
If connecting via Bluetooth doesn’t work, you can try changing the USB port your mouse is connected to. Sometimes, the USB port you’re using may have a hardware issue or conflict with the mouse’s device driver.
To change the USB port your mouse is connected to, follow these steps:
1. Disconnect your mouse from the current USB port.
2. Plug the mouse into a different USB port on your computer.
3. Wait for Windows to recognize the mouse and install the necessary drivers.
If neither of these solutions work, you may need to troubleshoot further or consider updating your mouse’s device driver. You can also check for any Windows updates that may resolve the issue.
Remember to always double-check your mouse’s battery and ensure it is properly powered on. Additionally, make sure your computer’s Bluetooth or wireless network settings are enabled if you’re using a wireless mouse.
Use Windows Update or Install Manually
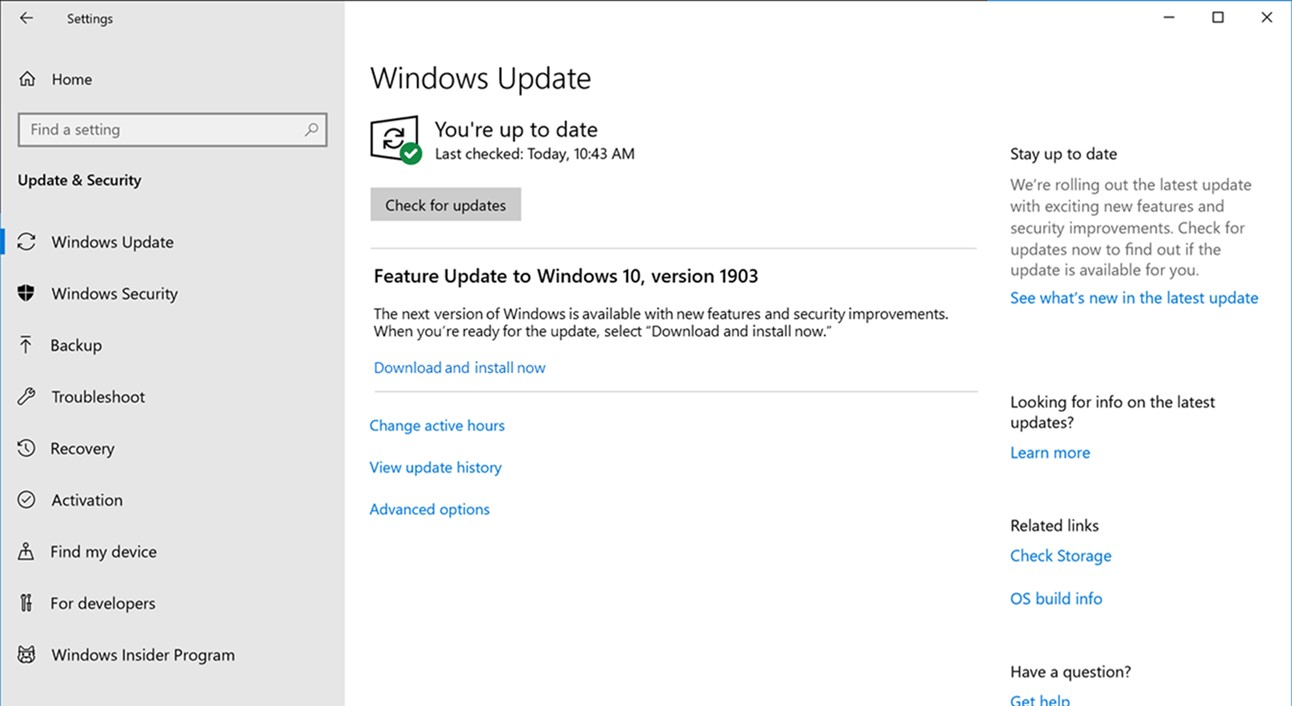
To fix a disabled mouse issue on Windows 10, you have two options: using Windows Update or installing the necessary drivers manually.
Using Windows Update is the easiest and most convenient method. Windows Update regularly checks for and installs the latest drivers for your devices, including your mouse. Here’s how to do it:
1. Open the Start menu and search for “Windows Update.”
2. Select “Windows Update Settings” from the search results.
3. In the Windows Update settings window, click on “Check for updates.”
4. Windows will now search for available updates. If there are any updates for your mouse or other devices, they will be listed.
5. Click on “Install” to start the update process. Windows will automatically download and install the necessary drivers for your mouse.
If Windows Update doesn’t find any updates for your mouse or if the issue persists after updating, you can try installing the drivers manually. Here’s how:
1. Identify the make and model of your mouse. This information is usually printed on the bottom of the mouse or can be found in the device’s documentation.
2. Visit the manufacturer’s website and navigate to the support or downloads section.
3. Look for the drivers specific to your mouse model and download them. Make sure to choose the correct version for your operating system (e.g., Windows 10).
4. Once the drivers are downloaded, locate the file and double-click on it to start the installation process.
5. Follow the on-screen instructions to complete the installation. Restart your computer if prompted.
By using either Windows Update or installing the drivers manually, you should be able to fix the disabled mouse issue on your Windows 10 computer.
Adjust Power Management and Surface Settings
Adjusting Power Management and Surface Settings can help fix mouse disabled issues in Windows 10. Here’s how to do it:
1. Open the Start menu and type “Power & Sleep settings” in the search bar. Click on the corresponding result to open the Power & Sleep settings page.
2. On the Power & Sleep settings page, click on “Additional power settings” to open the Power Options window.
3. In the Power Options window, select the power plan you are currently using. Click on “Change plan settings” next to the selected plan.
4. On the Edit Plan Settings page, click on “Change advanced power settings” to open the Advanced settings window.
5. In the Advanced settings window, locate the “USB settings” category and expand it.
6. Under the “USB settings” category, expand the “USB selective suspend setting” option.
7. Set both the “On battery” and “Plugged in” options to “Disabled”. This will prevent Windows from selectively suspending USB devices, including the mouse.
8. Click “Apply” and then “OK” to save the changes.
9. Additionally, check the Surface settings for any specific power management options. Open the Start menu and type “Surface” in the search bar. Click on the corresponding result to open the Surface app.
10. In the Surface app, navigate to the “Power” tab. Make sure the “Conservation mode” is turned off if it is enabled.
11. Restart your computer for the changes to take effect.
If adjusting the power management and Surface settings does not resolve the mouse disabled issue, consider troubleshooting other possible causes such as checking for any USB hardware or driver issues, updating the mouse driver, or trying a different USB port or USB hub.
Remember to periodically check for Windows updates and install them to ensure your computer’s overall performance and compatibility.
For further assistance, you can refer to the Microsoft Windows support website or seek help from online communities and forums dedicated to Windows troubleshooting.
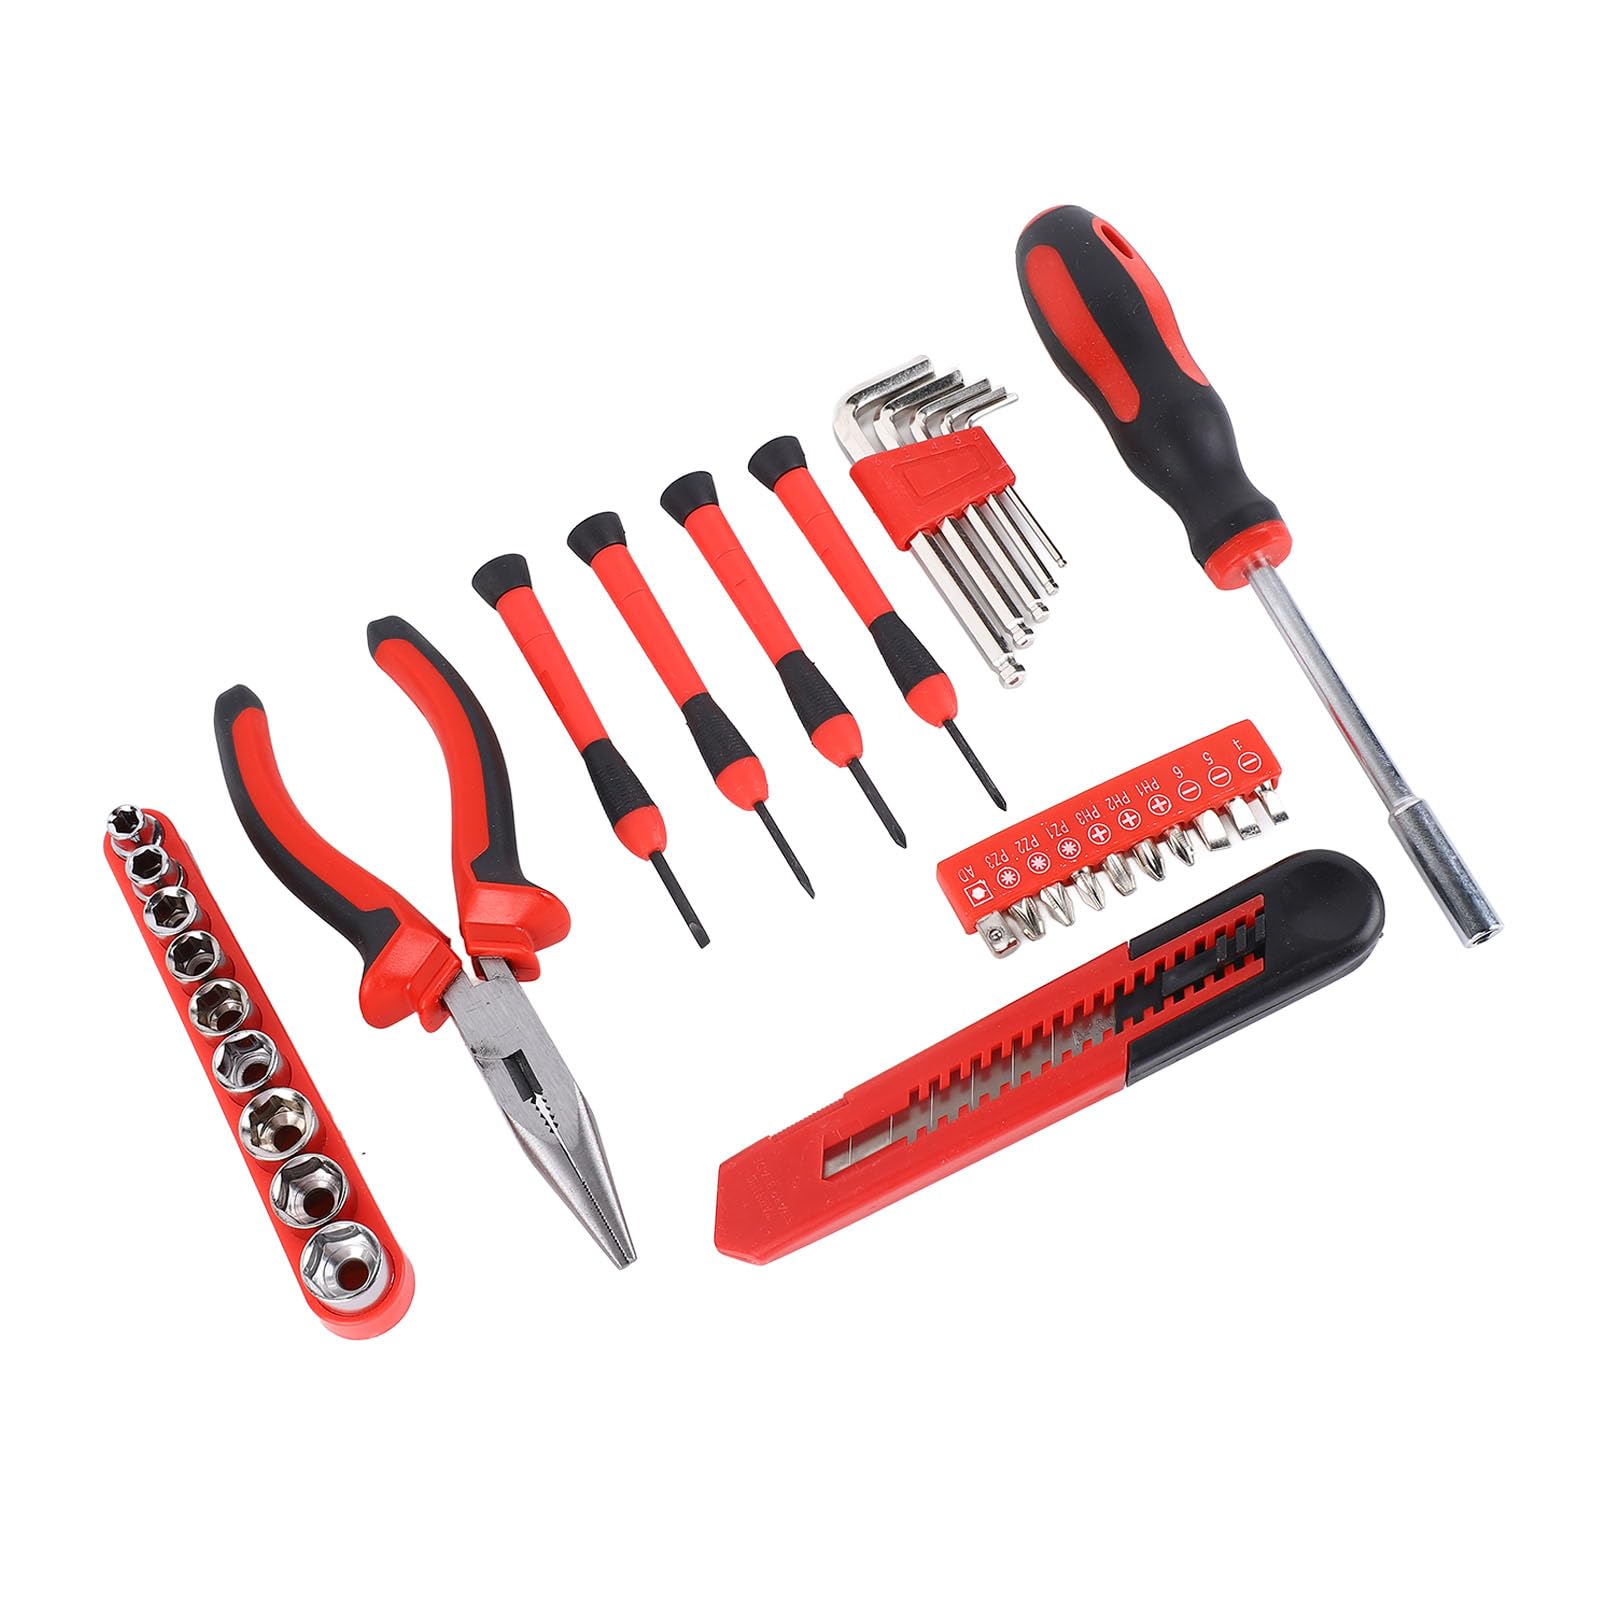
Troubleshoot Using Hardware Tools
| Hardware Tool | Description | Steps |
|---|---|---|
| USB Mouse | A USB mouse can be used to check if the issue is specific to your mouse or the computer. |
|
| Mouse Pad | A mouse pad can improve the performance and responsiveness of your mouse. |
|
| Driver Update | Updating the mouse driver can resolve compatibility issues and improve functionality. |
|
| Hardware Check | Performing a hardware check can help identify any physical issues with the mouse or its connection. |
|

FAQs
How do I get my mouse back on Windows 10?
To get your mouse back on Windows 10, you can try using combinations of Fn and F keys like Fn + F3, Fn + F5, Fn + F9, or Fn + F11. If this doesn’t work, there may be errors with your mouse driver in Windows 10.
Why is my mouse disabled?
Your mouse may be disabled due to a hardware issue. Try unplugging and reconnecting the USB cables, using a different USB port, or ensuring that any USB hub you are using has power.
How do I fix unresponsive mouse in Windows 10?
To fix an unresponsive mouse in Windows 10, here are some steps you can try:
– Ensure that your mouse is properly plugged in.
– Verify that your mouse has sufficient power.
– Connect your mouse using Bluetooth if available.
– Try changing the USB port you are using.
– Update your mouse drivers.
– Update Windows and restart your computer.
– Clean your mouse for any dust or debris.
– Ensure that you are using your mouse on a suitable surface.
How do I enable my mouse on Windows 10?
To enable your mouse on Windows 10, go to the Settings app by pressing the Windows key + I. Then, click on “Devices” and select “Touchpad” on the left side. Finally, toggle the “Touchpad” switch to the on position.
