In this article, I will discuss the process of downloading and updating oddbse32.dll, a free Windows DLL fix.
File Description and Uses
![]()
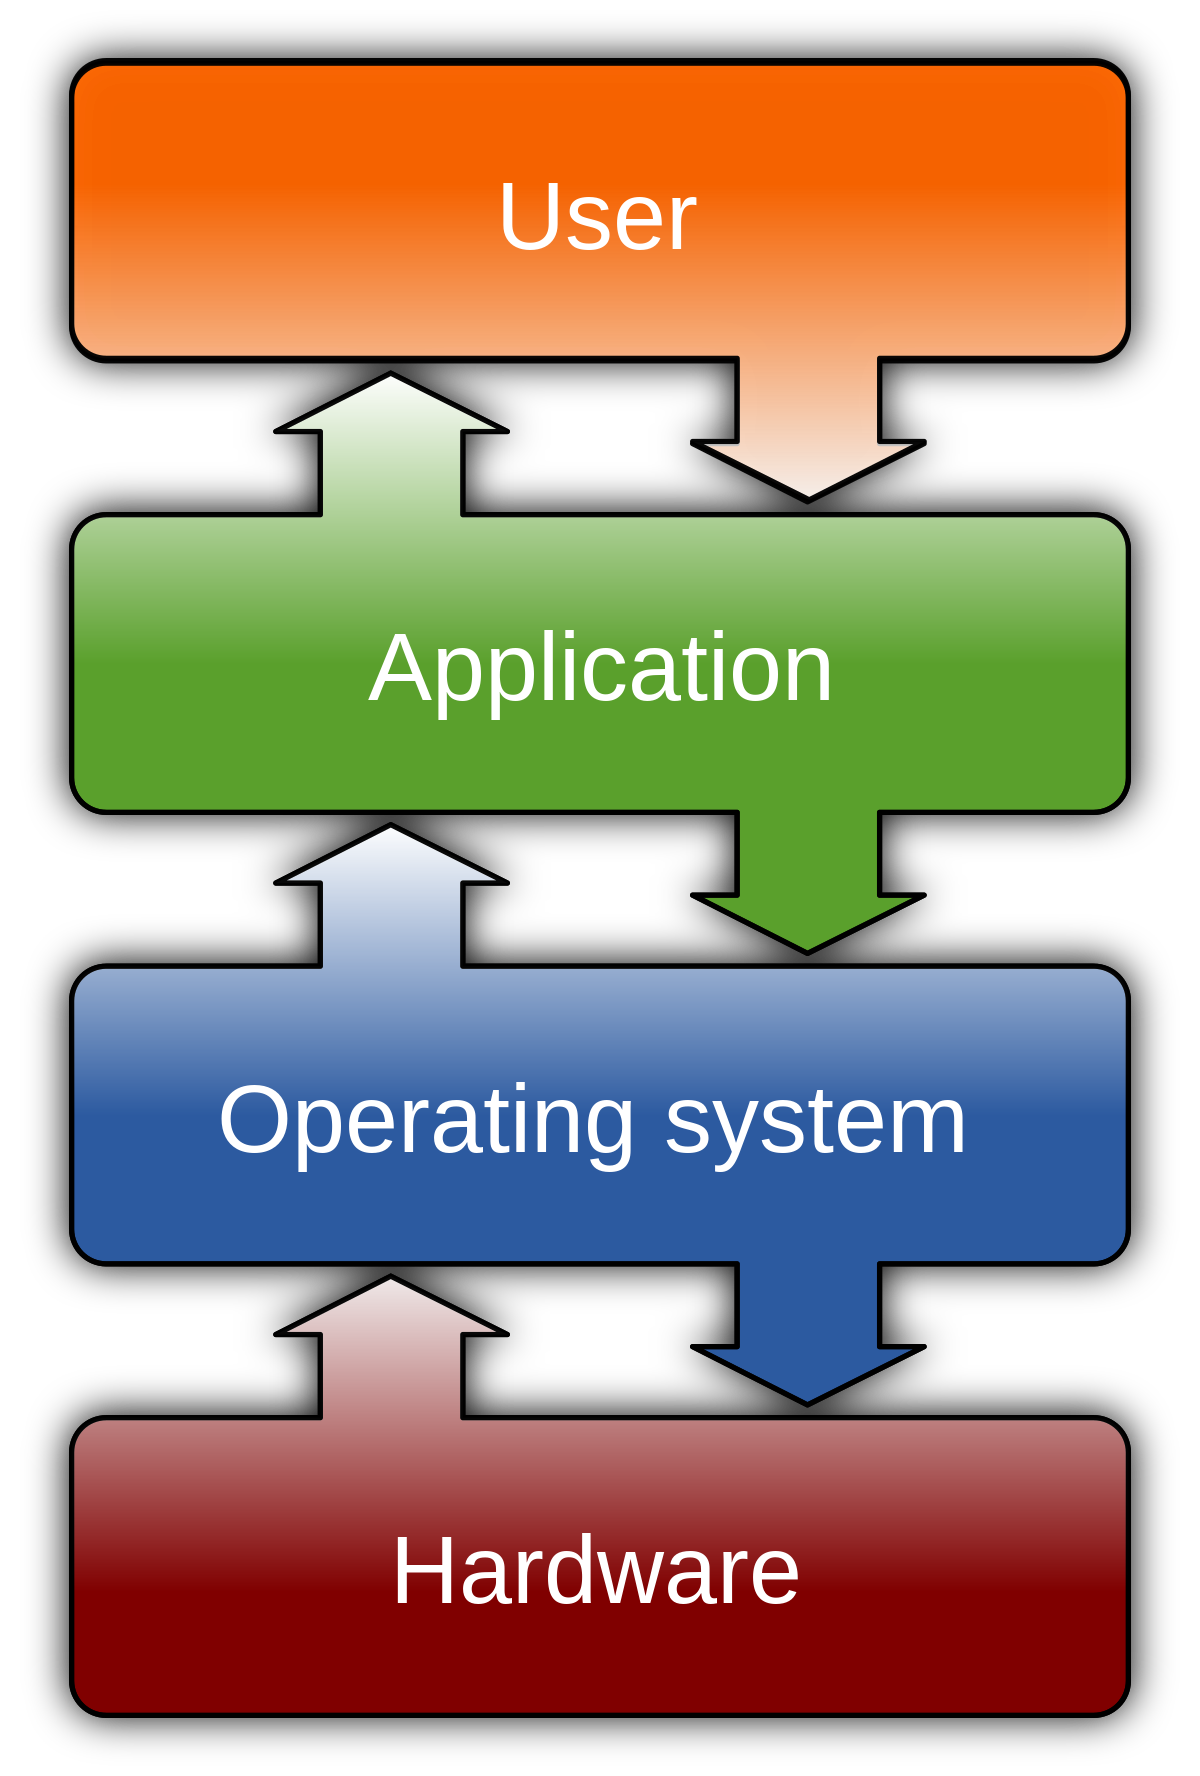
The oddbse32.dll file is a dynamic-link library (DLL) file that is used by certain applications in the Windows operating system. DLL files contain code and data that multiple programs can use simultaneously, which helps to conserve memory and improve efficiency.
The oddbse32.dll file is specifically associated with the dBase database management system and is used to provide functions and features for working with dBase databases. This file is essential for the proper functioning of applications that rely on dBase databases.
To download and update the oddbse32.dll file, follow these steps:
1. Visit a trusted website that offers DLL files for download. Ensure that the website is reputable and free from malware.
2. Search for “oddbse32.dll” on the website’s search bar.
3. Locate the correct version of the oddbse32.dll file for your operating system. It is important to choose the version that is compatible with your Windows version (e.g., Windows XP, Windows 7, Windows 10).
4. Click on the download link to start the download process. Save the file to a location on your computer where you can easily access it.
5. After the download is complete, locate the downloaded oddbse32.dll file on your computer.
6. Copy the oddbse32.dll file to the appropriate system folder on your computer. The system folder is typically located in the “C:\Windows\System32” directory.
7. If prompted, confirm that you want to replace the existing file with the new one.
8. Once the file is copied, restart your computer to ensure that the changes take effect.
By following these steps, you can download and update the oddbse32.dll file to resolve any issues or errors related to dBase database applications. It is recommended to regularly check for updates for DLL files to ensure optimal performance and security.
If you encounter any difficulties or have further questions, refer to the frequently asked questions (FAQ) section on the website where you downloaded the oddbse32.dll file. Additionally, you may seek assistance from a system administrator or consult online forums for further support.
Downloading and Choosing the Correct Version
When downloading and updating oddbse32.dll, it’s important to choose the correct version for your Windows operating system. Follow these simple steps to ensure a successful installation:
1. Determine your Windows version: Before downloading the oddbse32.dll file, make sure you know which version of Windows you are using. This can be Windows 2000, Windows NT, Windows Vista, Windows 7, Windows XP, or any other version.
2. Find a reliable source: Look for a trusted website or software repository that offers the oddbse32.dll file. It’s important to download from a reputable source to avoid malware or other potentially harmful files.
3. Download the correct version: Once you’ve found a reliable source, locate the oddbse32.dll file and download the version that matches your Windows operating system. Pay close attention to the file name and ensure it is compatible with your system.
4. Backup your files: Before proceeding with the installation, it’s always a good idea to create a backup of your important files. This will help safeguard your data in case anything goes wrong during the installation process.
5. Install the DLL file: After downloading the correct version of oddbse32.dll, locate the downloaded file on your computer. Right-click on the file and select “Copy.” Then, navigate to the directory where the oddbse32.dll file needs to be installed. Right-click in the directory and select “Paste” to copy the file into the appropriate location.
6. Register the DLL file: To ensure that the oddbse32.dll file is properly registered, open the Windows Command Prompt as an administrator. Type “regsvr32 oddbse32.dll” and press Enter. This will register the DLL file in the Windows Registry.
7. Test the installation: To verify that the oddbse32.dll file is installed correctly, restart your computer. After the restart, launch any application or software that was previously encountering issues related to oddbse32.dll. If the application runs smoothly without any error messages, then the installation was successful.
Automatic and Manual Driver Updates
Keeping your drivers up to date is essential for the smooth functioning of your computer. In this article, we will walk you through the process of downloading and updating oddbse32.dll, a Windows DLL file.
Automatic Updates:
1. Use a reliable driver update software: To ensure hassle-free driver updates, we recommend using a trusted driver update software. These programs scan your system, identify outdated drivers, and automatically install the latest versions. They also provide backup and restore options to avoid any potential issues.
2. Download and install the driver update software: Visit the official website of the driver update software of your choice. Download the setup file and run it on your computer. Follow the on-screen instructions to complete the installation process.
3. Scan your system for outdated drivers: Launch the driver update software and initiate a system scan. The software will analyze your computer and identify any outdated drivers, including oddbse32.dll.
4. Update the oddbse32.dll driver: Once the scan is complete, the software will present you with a list of outdated drivers. Locate oddbse32.dll in the list and select it for updating. Click on the “Update” or “Install” button to begin the process.
Manual Updates:
1. Identify the correct driver: Before manually updating oddbse32.dll, ensure that you have the correct driver version. Visit the official website of the driver manufacturer or search for reliable sources to download the latest version of oddbse32.dll.
2. Back up your system: Before proceeding with manual updates, it is crucial to back up your system. This will help you restore your computer to its previous state in case of any issues during the update process.
3. Replace the existing oddbse32.dll file: Locate the existing oddbse32.dll file on your computer. This file is usually found in the Windows\System32 folder. Rename the file to “oddbse32.dll.old” for backup purposes. Then, copy the downloaded oddbse32.dll file to the same directory.
4. Restart your computer: After replacing the file, restart your computer to apply the changes. The updated version of oddbse32.dll should now be in effect.
Malware Scanning Options
1. Use a reputable antivirus software: Install a reliable antivirus program on your computer and keep it updated. This software will scan files for malware and help prevent any potential threats. Ensure that your antivirus software is from a trusted provider and regularly update its virus definitions.
2. Online malware scanners: There are several online tools available that can scan files for malware. These tools often have a user-friendly interface and can quickly analyze files for potential threats. Simply upload the oddbse32.dll file to the online scanner and follow the instructions provided.
3. Windows Defender: If you are using a Windows operating system, you already have a built-in malware scanning tool called Windows Defender. This program is designed to detect and remove malware from your system. Make sure to update Windows Defender regularly to ensure it can effectively scan and protect your files.
4. Malwarebytes: Malwarebytes is a popular anti-malware software that can be used to scan and remove malware from your computer. It offers a free version that provides basic malware scanning capabilities. Download and install Malwarebytes, then use it to scan the oddbse32.dll file for any potential threats.
Remember to regularly scan your computer for malware, not just specific files. This will help ensure the overall security of your system. Additionally, keep your operating system and all other software updated to benefit from the latest security patches and enhancements.
By taking these precautions and using reliable malware scanning options, you can protect your computer from potential threats and keep it running smoothly. Stay vigilant and prioritize the security of your system to avoid any issues in the future.
System File Checker for Missing Errors
If you are experiencing missing errors with the oddbse32.dll file on your Windows computer, you can use the System File Checker tool to fix the issue. The System File Checker, also known as SFC, is a built-in Windows tool that allows you to scan and restore corrupted system files.
To use the System File Checker tool, follow these steps:
1. Press the Windows key + R to open the Run dialog box.
2. Type “cmd” and press Enter to open the Command Prompt.
3. In the Command Prompt window, type “sfc /scannow” and press Enter.
4. The System File Checker will now scan your system for any missing or corrupted files and attempt to repair them.
5. Wait for the scan to complete. This may take some time depending on the size of your system and the number of files being scanned.
6. Once the scan is complete, you will be notified if any issues were found and repaired.
7. Restart your computer to apply the changes.
By using the System File Checker tool, you can easily fix missing errors related to the oddbse32.dll file. This tool is especially useful if you suspect that the file has become corrupted or damaged.
It is important to note that the System File Checker tool requires administrative privileges to run. Therefore, make sure you are logged in as an administrator or have administrative rights before using this tool.
In addition, it is always recommended to keep your Windows operating system up to date to avoid any potential issues with missing or corrupted files. Regularly installing updates from Microsoft can help ensure the stability and security of your system.
If you encounter any other issues or have further questions, you can check the Windows FAQ or seek assistance from a system administrator or Microsoft support.
With the System File Checker tool, you can easily fix missing errors related to the oddbse32.dll file and ensure the smooth operation of your Windows computer.
Performing System Restore for Corrupted Files
Performing a system restore can help fix corrupted files on your Windows computer. Here’s how you can do it:
1. Open the Start menu and type “system restore” in the search bar. Click on “Create a restore point” from the search results.
2. In the System Properties window, click on the “System Restore” button.
3. A new window will open, showing a list of restore points. Select a restore point that was created before the oddbse32.dll file became corrupted. If you’re not sure which restore point to choose, you can also select the option to “Scan for affected programs” to see a list of programs that will be affected by each restore point.
4. Click on “Next” and then “Finish” to start the system restore process. Your computer will restart and the restore process will begin.
5. Once the system restore is complete, your computer will restart again. Check if the oddbse32.dll file has been fixed.
Note: Performing a system restore will not affect your personal files, but it may uninstall recently installed programs or drivers. Make sure to save any important work before proceeding.
If the system restore does not fix the corrupted file or if you don’t have any restore points available, you may need to consider other troubleshooting methods. You can try reinstalling the program that uses the oddbse32.dll file or manually replacing the corrupted file with a new one downloaded from a reliable source.
Remember to always be cautious when downloading files from the internet, as some websites may distribute malware or fake files. Verify the authenticity of the file by checking its MD5 or SHA-1 hash, if available.
If you’re still experiencing issues after trying these steps, it may be helpful to seek further assistance from a professional or contact the software manufacturer for support.
Registering the DLL File
To register the DLL file oddbse32.dll on your Windows computer, follow these simple steps:
1. Open the Command Prompt as an administrator:
– Press the Windows key + X and select “Command Prompt (Admin)” from the menu.
– Alternatively, you can search for “Command Prompt” in the Start menu, right-click on it, and choose “Run as administrator.”
2. Navigate to the directory where the oddbse32.dll file is located:
– Use the “cd” command followed by the path to the directory. For example: cd C:\Windows\System32
3. Register the DLL file using the regsvr32 command:
– Type regsvr32 oddbse32.dll and press Enter.
4. You should see a confirmation message stating that the registration was successful. If not, make sure you have administrative privileges and that the DLL file is valid.
5. Close the Command Prompt.
Note: If you encounter any error messages during the registration process, double-check the file path and make sure the DLL file is not corrupted. You can also try restarting your computer and repeating the steps.
Registering a DLL file is necessary when you want to use it with other applications or software on your computer. By registering the DLL, you are allowing the operating system to recognize and utilize its functions.
Remember, the steps mentioned above apply to Windows operating systems like Windows 2000, Windows NT, Windows Vista, and later versions.
If you’re experiencing any issues related to oddbse32.dll, it’s recommended to update or replace the file. You can find and download a reliable version of the DLL file from reputable websites. After downloading, follow the steps above to register the updated DLL file.
FAQs
What causes dll corruption?
DLL corruption is primarily caused by issues within the software environment, such as file deletion or virus infection. However, hardware-related problems can also be an underlying cause of DLL errors.
Why am I getting a dll error?
You may be getting a dll error due to a damaged, renamed, or removed User32.dll file. This can happen during a system or software update.
How do I fix a library dll?
To fix a library DLL, you can try the following steps:
– Restart your computer.
– Restore the deleted DLL file from the Recycle Bin.
– Recover the deleted DLL file with a free file recovery program.
– Run a virus/malware scan of your entire system.
– Use System Restore to undo recent system changes.
