Are you facing the frustrating issue of Origin not responding on your Windows 10? Find the solution you need right here.
Delete Cache Files
1. Close the Origin application if it’s open.
2. Press the Windows key + R to open the Run dialog box.
3. Type “%ProgramData%” (without quotes) and press Enter.
4. Locate and open the “Origin” folder.
5. Select all the files and folders inside the “Origin” folder.
6. Press the Delete key on your keyboard to remove them.
7. Confirm the deletion when prompted.
8. Press the Windows key + R again to open the Run dialog box.
9. Type “%AppData%” (without quotes) and press Enter.
10. Locate and open the “Origin” folder.
11. Select all the files and folders inside the “Origin” folder.
12. Press the Delete key on your keyboard to remove them.
13. Confirm the deletion when prompted.
14. Restart your computer.
15. Launch Origin again to see if the issue is resolved.
Update Graphics Driver
To update your graphics driver in Windows 10 and resolve the issue of Origin not responding, follow these steps:
1. Open the Start menu and type “Device Manager” in the search bar.
2. Click on “Device Manager” from the search results.
3. In the Device Manager window, expand the “Display adapters” category.
4. Right-click on your graphics card and select “Update driver” from the context menu.
5. Choose the option to search automatically for updated driver software.
6. Windows will search for the latest driver for your graphics card and install it.
7. Restart your computer after the driver installation is complete.
Updating your graphics driver can often fix compatibility issues and improve performance. If the issue persists, you may need to contact technical support for further assistance.
Run Program Compatibility Troubleshooter
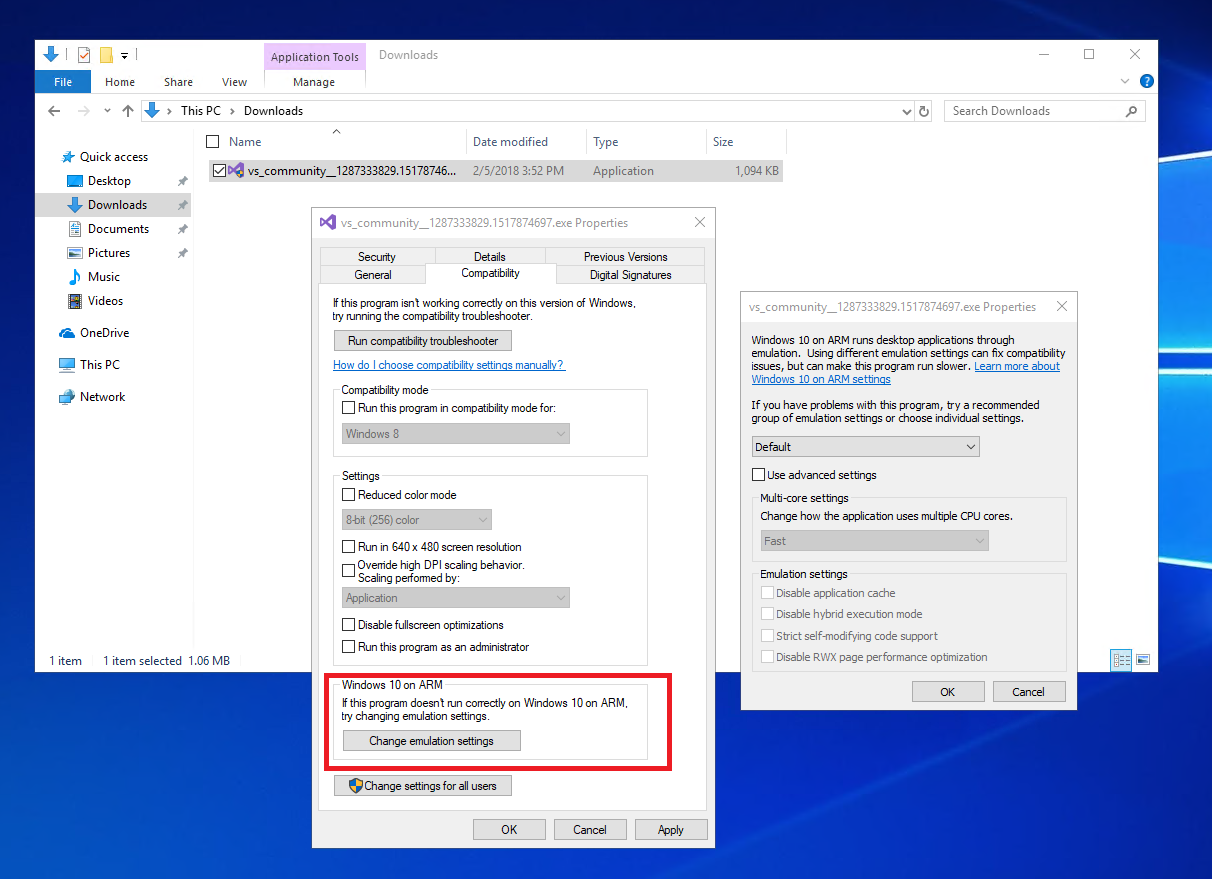
To run the Program Compatibility Troubleshooter on Windows 10, follow these steps:
1. Press the **Windows key** + **R** to open the Run dialog box.
2. Type “**control.exe /name Microsoft.Troubleshooting**” and press **Enter**.
3. In the Troubleshooting window, click on “**Programs**” under the “**Get up and running**” section.
4. Click on “**Run programs made for previous versions of Windows**”.
5. Click on “**Next**” and wait for the troubleshooter to detect any compatibility issues.
6. Select the program that is not responding from the list or click on “**Not Listed**” to browse for it manually.
7. Click on “**Next**” and choose the troubleshooting options based on the issue you are facing.
8. Follow the on-screen instructions and let the troubleshooter attempt to fix the compatibility problem.
9. Once the troubleshooter has completed its tasks, click on “**Close**”.
10. Try running the program again to see if the issue has been resolved.
If the Program Compatibility Troubleshooter does not resolve the problem, you may need to seek further technical support or explore other troubleshooting methods.
Add Origin as an Antivirus Exception
1. Open your antivirus software and locate the settings or options menu.
2. Look for an option related to “exceptions” or “exclusions” and click on it.
3. Add a new exception or exclusion and choose the “browse” or “add” option.
4. Navigate to the directory where Origin is installed. This is typically in the “Program Files” or “Program Files (x86)” folder.
5. Select the Origin executable file, usually named “Origin.exe”, and confirm the selection.
6. Save your changes and exit the antivirus settings.
7. Restart your computer for the changes to take effect.
By adding Origin as an antivirus exception, you are allowing the program to run without interference from the antivirus software, which can sometimes cause it to become unresponsive or slow down. This is especially useful if you have experienced issues with Origin not responding on Windows 10.
Remember to regularly update both your antivirus software and Origin to ensure the best protection and performance.
If you’re still experiencing issues with Origin not responding after adding it as an exception, you may want to consider other troubleshooting steps, such as running Origin in compatibility mode or checking for any available patches or updates from the Origin website or support forums.
Perform a Clean Boot
Performing a clean boot can help resolve the issue of Origin not responding on Windows 10.
To perform a clean boot, follow these steps:
1. Press the Windows key + R to open the Run dialog box.
2. Type “msconfig” and press Enter to open the System Configuration window.
3. In the General tab, select “Selective startup” and uncheck the box next to “Load startup items.”
4. Go to the Services tab and check the box next to “Hide all Microsoft services.”
5. Click “Disable all” to disable all non-Microsoft services.
6. Go to the Startup tab and click “Open Task Manager.”
7. In Task Manager, disable any startup programs by right-clicking on them and selecting “Disable.”
8. Close Task Manager and go back to the System Configuration window.
9. Click “OK” and restart your computer.
Performing a clean boot will prevent unnecessary programs and services from running, which can help identify if any of them are causing the issue with Origin. If Origin starts working properly after the clean boot, you can gradually enable the disabled services and startup programs to pinpoint the culprit.
Remember to revert the changes and go back to normal startup mode after troubleshooting.
Install Latest Windows Updates
![]()
- Open the Start menu and click on the Settings icon.
- In the Settings window, select Update & Security.
- Click on Windows Update in the left sidebar.
- Click on the Check for Updates button.
- If there are any available updates, click on the Install Now button to start the update process.
- Wait for the updates to download and install on your computer. This may take some time depending on the size of the updates and your internet connection speed.

- Restart your computer once the updates are installed to ensure they take effect.
Reinstall Origin

1. Close Origin and make sure it’s not running in the background.
2. Press the Windows key on your keyboard and type “Control Panel”. Open the Control Panel from the search results.
3. In the Control Panel, click on “Uninstall a Program” under the “Programs” category.
4. Scroll down and locate “Origin” in the list of installed programs. Right-click on it and select “Uninstall”. Follow the on-screen prompts to complete the uninstallation.
5. After Origin is successfully uninstalled, open your web browser and go to the official Origin website.
6. Download the latest version of Origin by clicking on the “Download” button.
7. Once the download is complete, locate the setup file (usually in your Downloads folder) and double-click on it to run the installation.
8. Follow the on-screen prompts to install Origin on your computer. Make sure to choose the appropriate installation options, such as the installation directory and any additional components you may want.
9. After the installation is complete, launch Origin and sign in with your account credentials.
10. Origin should now be reinstalled and ready to use on your Windows 10 computer.
F.A.Qs
Why is my Origin not responding?
Your Origin may not be responding because there could be a crash or third-party software running in the background. To resolve this issue, check for any crashes and close any third-party software running in the background.
How do I reset Origin on Windows 10?
To reset Origin on Windows 10, click the More icon and select Reset Origin. Confirm the reset by clicking Yes in the Reset Origin Confirmation dialog box.
How do I fix EA Origin?
To fix EA Origin, start by selecting “My Game Library” in the Origin launcher. Then, right-click on the game tile that you want to fix and choose “Repair Game.”
Is Origin compatible with Windows 10?
Origin is compatible with Windows 10.
