Page Fault in Nonpaged Area NDIS.SYS Fix: An effective solution to address the recurring issue of page faults caused by the NDIS.SYS file.
Identifying Causes and Solutions
If you are experiencing the “Page Fault in Nonpaged Area NDIS.SYS” error on your computer, there are several potential causes and solutions that you can try.
One possible cause of this error is a problem with your device drivers. Try updating your drivers to the latest version to see if that resolves the issue. You can do this by going to the Device Manager, locating the device in question, right-clicking on it, and selecting “Update driver.”
Another potential cause is a problem with your computer’s memory management. Run a memory diagnostic test to check for any issues with your RAM. This can be done through the Windows Memory Diagnostic tool or through third-party software.
In some cases, the error may be related to a corrupt system file. Use the System File Checker tool to scan for and repair any corrupted files. This can be done by opening a command prompt as an administrator and running the command “sfc /scannow.”
If you recently made changes to your computer’s hardware or software, these changes could be causing the error. Try uninstalling any recently installed programs or hardware drivers to see if that resolves the issue.
It’s also possible that the error is related to a problem with your hard drive. Check your hard drive for errors and perform a disk cleanup to free up space. You can do this through the built-in Windows tools or third-party software.
If none of these solutions work, you may need to perform a clean install of Windows to fix the issue. Be sure to back up your important files before doing this.
Remember, it’s always a good idea to keep your operating system and software up to date by regularly installing Windows updates. This can help prevent errors and improve the overall performance and security of your computer.
Repair System Files with SFC and DISM
To repair system files and fix the “Page Fault in Nonpaged Area NDIS.SYS” error, you can use two powerful tools: SFC (System File Checker) and DISM (Deployment Image Servicing and Management). These tools can help identify and repair any corrupted or missing system files that may be causing the error.
To use SFC:
1. Open Command Prompt as an administrator.
2. Type “sfc /scannow” and press Enter.
3. Wait for the scan to complete. It may take some time.
4. If any corrupted files are found, SFC will attempt to repair them automatically.
To use DISM:
1. Open Command Prompt as an administrator.
2. Type “dism /online /cleanup-image /restorehealth” and press Enter.
3. Wait for the scan to complete. This may take longer than the SFC scan.
4. DISM will repair any corrupted files using Windows Update or the installation media.
After running these commands, restart your computer and check if the “Page Fault in Nonpaged Area NDIS.SYS” error is resolved. If not, you may need to consider other troubleshooting steps such as updating drivers, checking hardware configurations, or performing a clean installation of Windows.
Remember to always keep your operating system and drivers up to date to avoid any potential conflicts or errors. Additionally, regularly scanning your computer for malware and optimizing your system’s performance can help prevent such issues in the future.
For more detailed instructions and troubleshooting tips, you can refer to reputable technology websites such as Tom’s Hardware or consult with a professional technician.
Update and Clean Windows Components
![]()
1. Update Windows: Press the Windows key and type “Windows Update.” Open the Windows Update settings and click on “Check for updates.” Install any available updates and restart your computer if prompted.
2. Update device drivers: Press the Windows key and type “Device Manager.” Open the Device Manager and expand the categories to find any devices with a yellow exclamation mark. Right-click on the device and select “Update driver.” Follow the on-screen instructions to update the driver.
3. Clean temporary files: Press the Windows key and type “%temp%.” Open the folder and press Ctrl + A to select all the files. Press Shift + Delete to permanently delete them. Repeat this process for the “Temp” folder in the same directory.
4. Run Disk Cleanup: Press the Windows key and type “Disk Cleanup.” Open the Disk Cleanup utility and select the drive you want to clean. Check the boxes for “Temporary files” and “Recycle Bin,” then click “OK” and “Delete Files.”
5. Repair corrupted system files: Press the Windows key and type “Command Prompt.” Right-click on “Command Prompt” and select “Run as administrator.” In the Command Prompt window, type “sfc /scannow” and press Enter. Wait for the scan to complete and restart your computer if prompted.
RAM and Hard Disk Testing
- Test RAM using Windows Memory Diagnostic tool:
- Open the Start menu and search for “Windows Memory Diagnostic.”
- Select “Windows Memory Diagnostic” from the search results.
- Click on “Restart now and check for problems (recommended).”
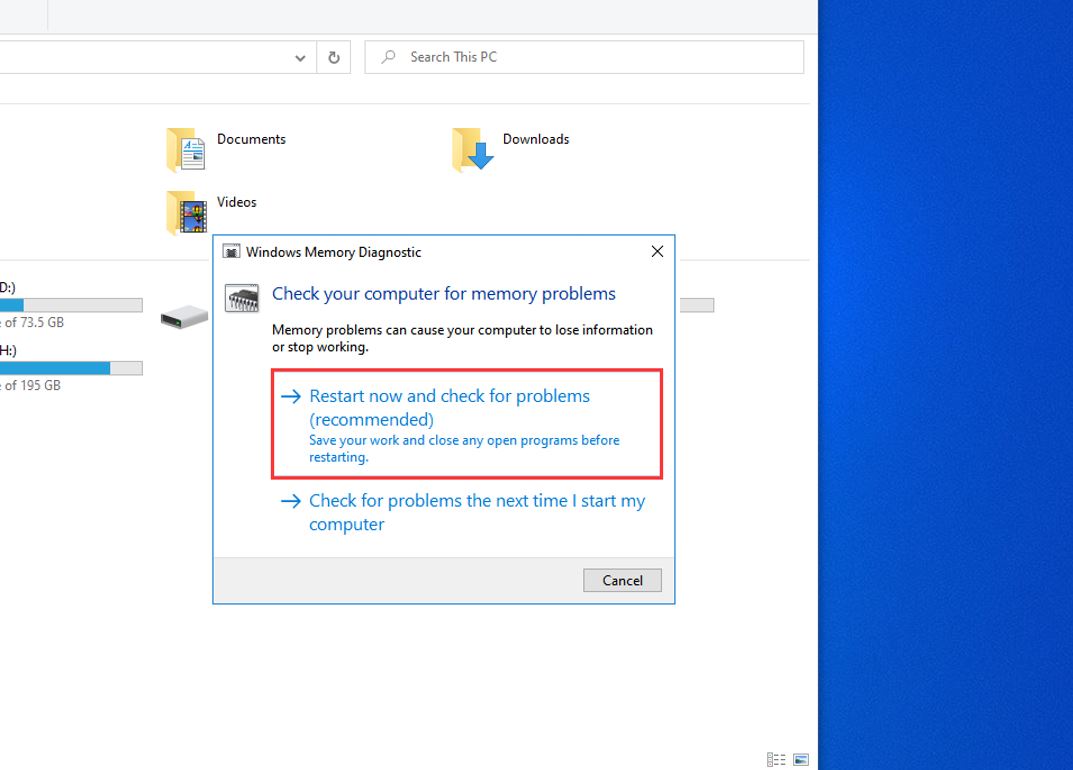
- Wait for your computer to restart and the memory test to begin.
- Check for any errors or issues found during the test.
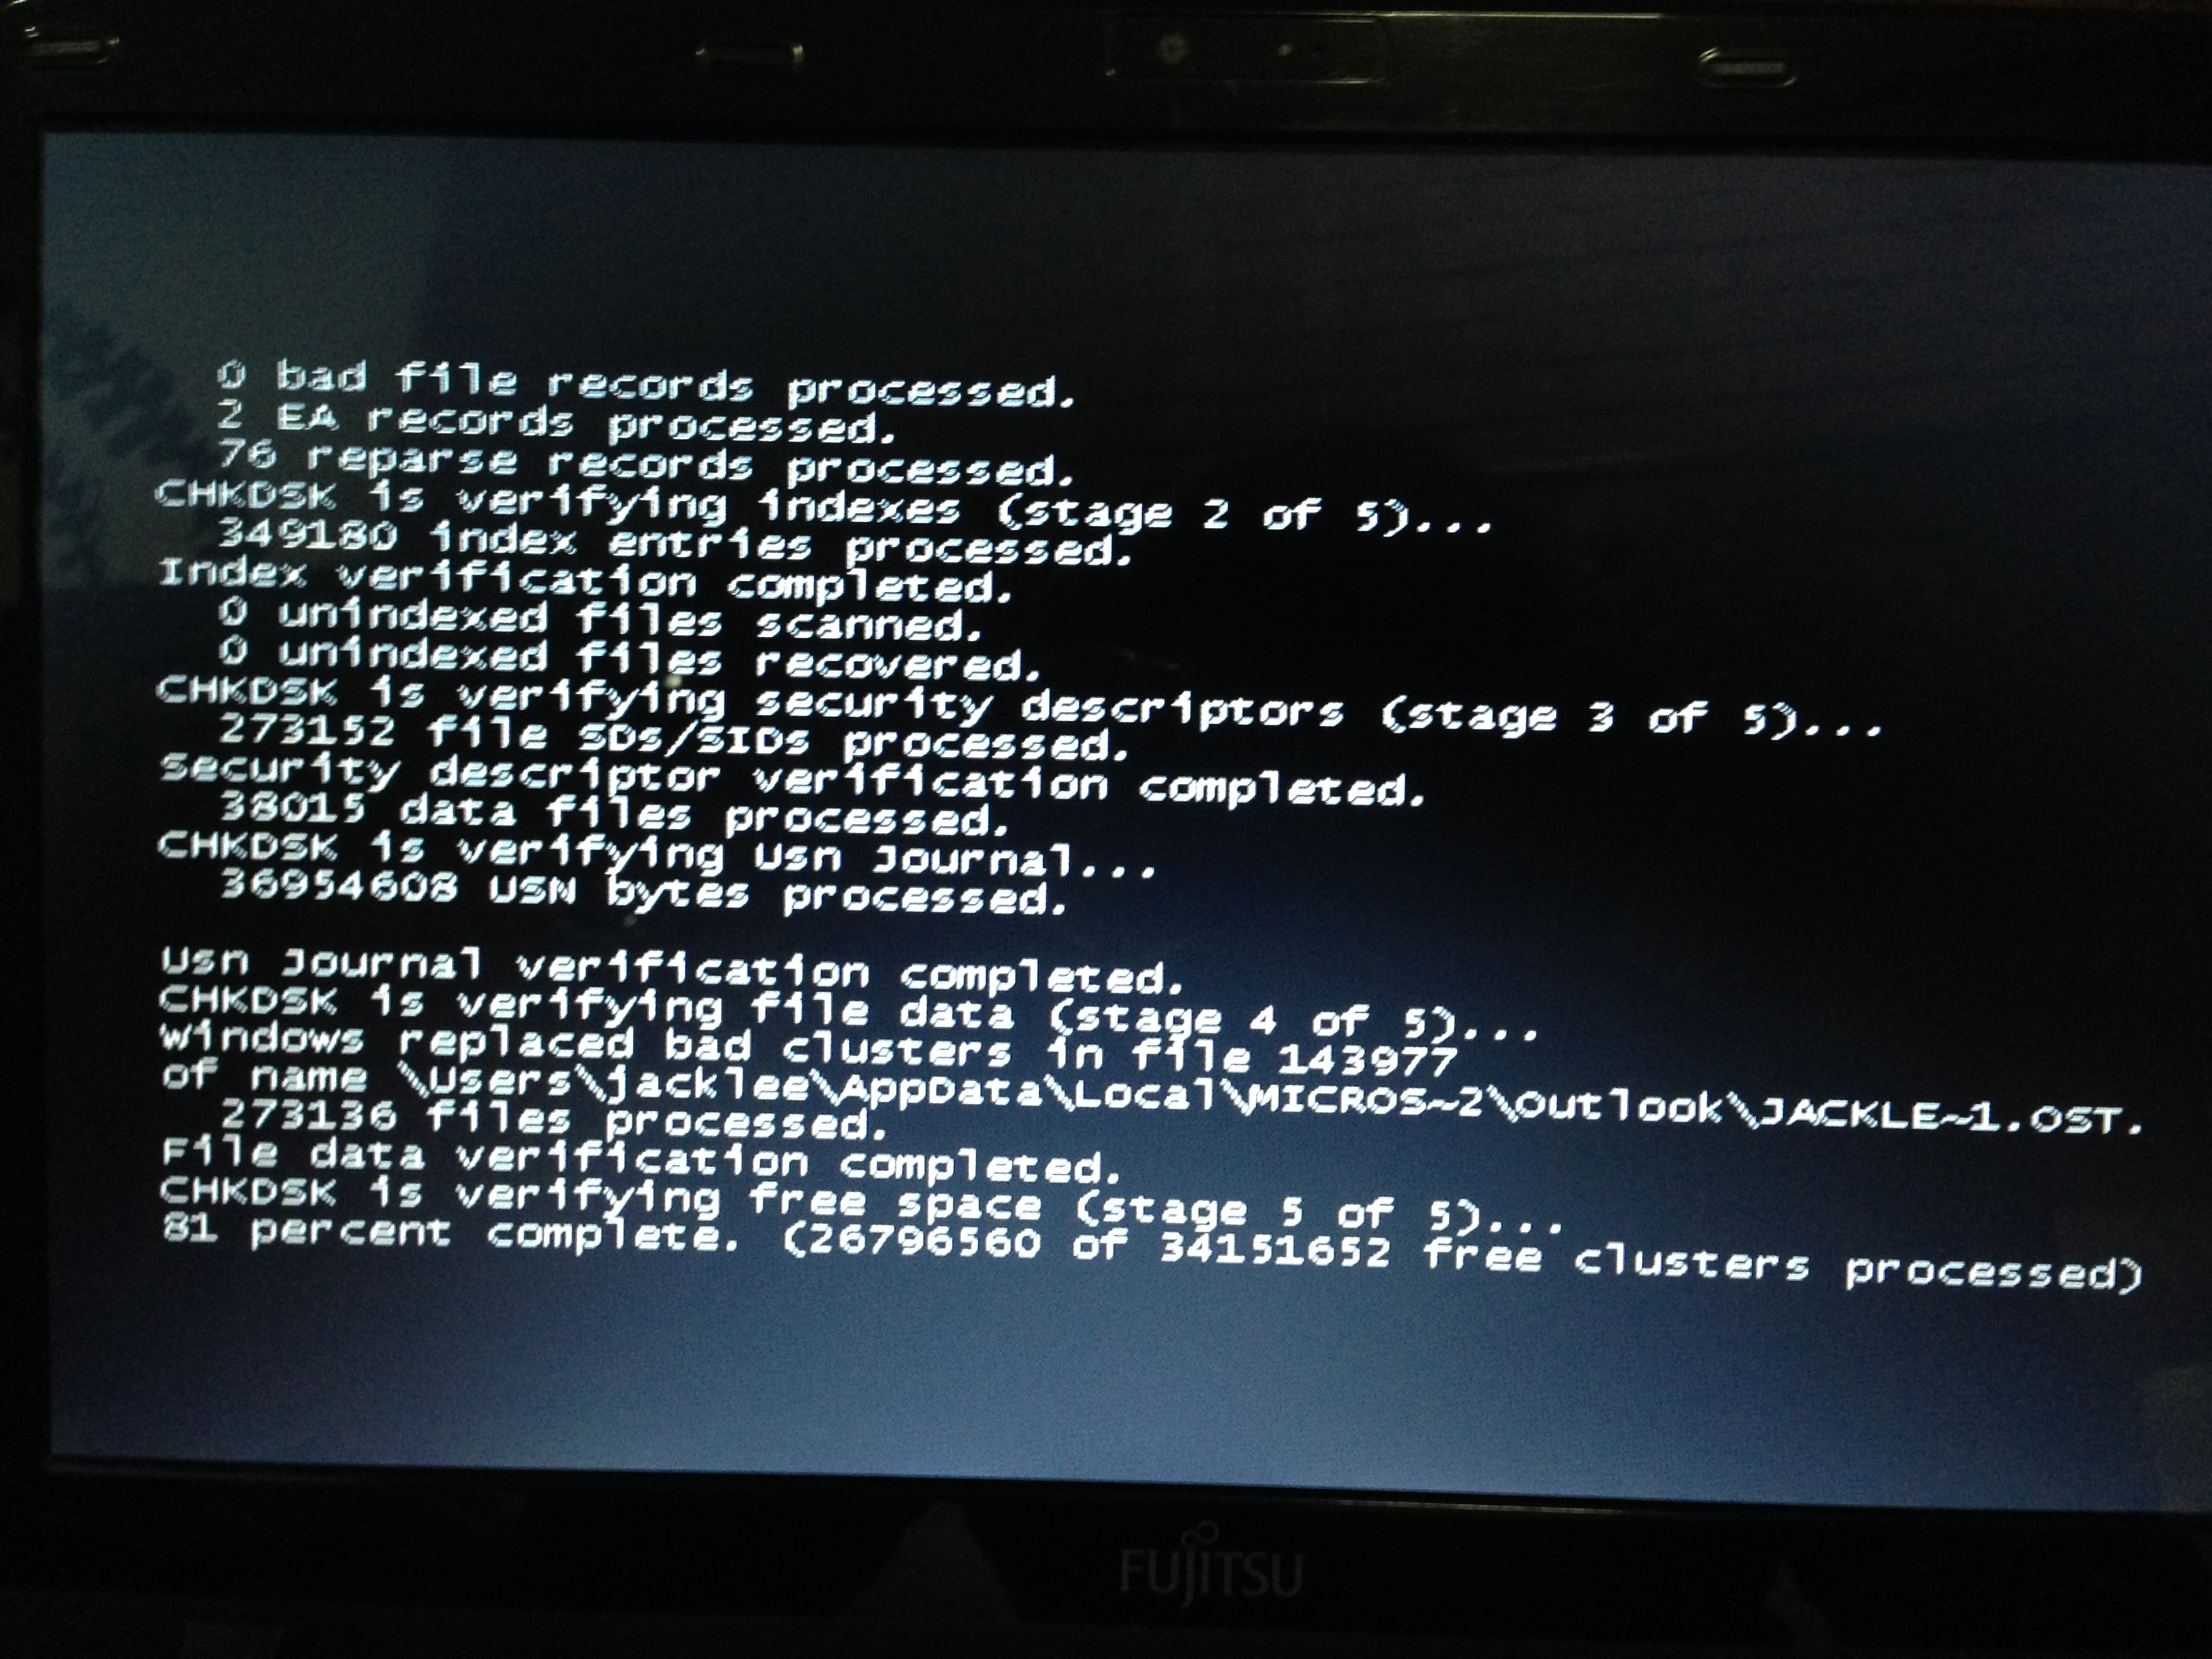
- Test Hard Disk using CHKDSK utility:
- Open the Command Prompt by pressing Win + R and typing “cmd”.
- Type “chkdsk” followed by the drive letter of the hard disk you want to test (e.g., chkdsk C:).
- Press Enter to start the disk check.
- Wait for the CHKDSK utility to scan and fix any errors on the hard disk.
- Check the summary provided at the end of the test for any issues detected and repaired.
Update Outdated Drivers
1. Identify the outdated drivers: Use the Device Manager in Windows to identify the drivers that need updating. Open the Device Manager by right-clicking on the Start button and selecting “Device Manager” from the context menu.
2. Update drivers manually: Right-click on the outdated driver in the Device Manager and select “Update driver.” Choose the option to search for updated drivers automatically. Windows will search for the latest driver software and install it if available.
3. Update drivers automatically: If you prefer a more automated approach, use a reliable driver updater tool to scan your system for outdated drivers and automatically update them. These tools can save you time and ensure that you have the latest drivers installed.
4. Verify driver updates: After updating the drivers, restart your computer and check if the “Page Fault in Nonpaged Area NDIS.SYS” error is resolved. If the error persists, go back to the Device Manager and check if all drivers are up to date.
5. Uninstall problematic drivers: If updating the drivers doesn’t fix the error, it’s possible that a specific driver is causing the issue. In the Device Manager, right-click on the problematic driver and select “Uninstall device.” Restart your computer, and Windows will automatically reinstall the driver.
Remember to always download drivers from official sources or reputable websites to ensure their authenticity and compatibility with your system. Additionally, regularly updating your drivers can help improve system stability and performance.
Note: If you’re not confident in performing these steps yourself, consider seeking assistance from a professional or someone with more technical expertise.
(Image: Shutterstock)
Use System Restore Points
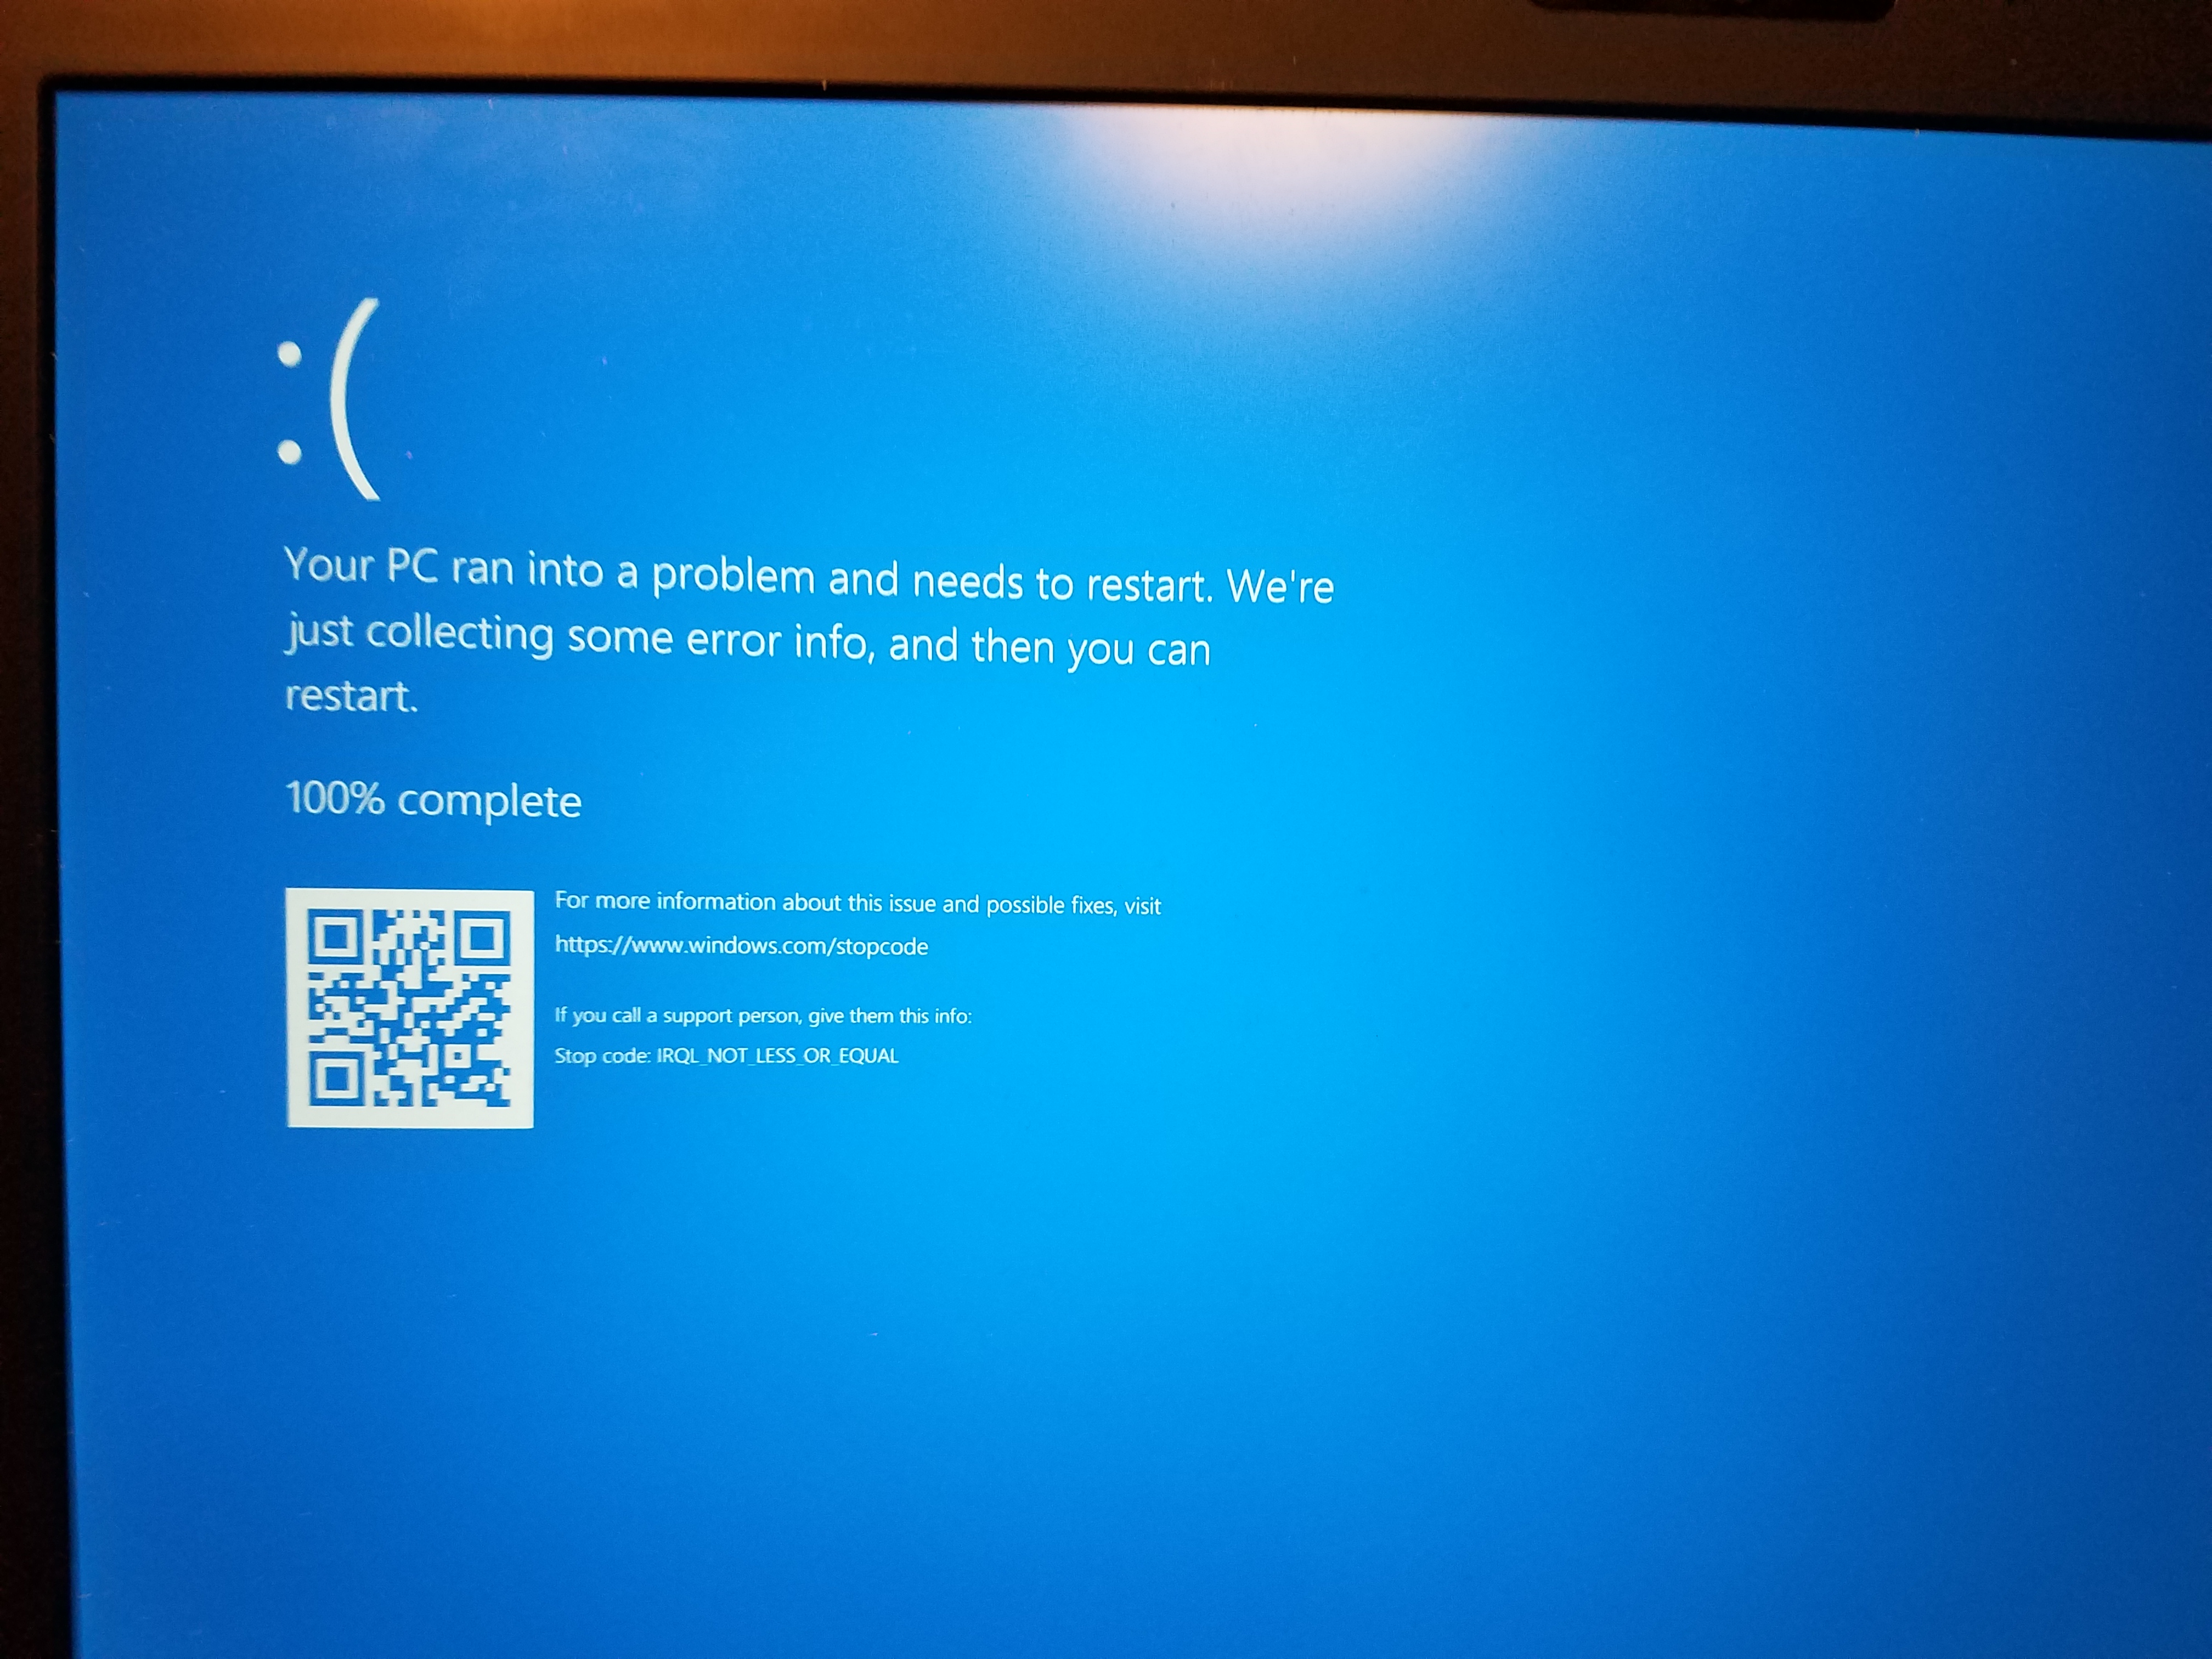
System Restore Points can be a useful tool when trying to fix the “Page Fault in Nonpaged Area NDIS.SYS” error on your computer. This error, often accompanied by a blue screen of death, is typically caused by issues with memory management or device drivers.
To use System Restore Points to fix this error, follow these steps:
1. Press the Windows key and type “System Restore” in the search bar. Open the “Create a restore point” option in the results.
2. In the System Properties window, click on the “System Protection” tab.
3. Click on the “System Restore” button to launch the System Restore wizard.
4. Select a restore point that was created before you started experiencing the “Page Fault in Nonpaged Area NDIS.SYS” error. If you don’t have any restore points available, you can try using the Windows Assessment and Deployment Kit to create a bootable Windows PE image and use that to access System Restore.
5. Click “Next” and then “Finish” to start the restoration process. Your computer will restart and the selected restore point will be applied.
6. After the restoration is complete, check if the error has been resolved. If not, you may need to consider other troubleshooting steps such as updating device drivers, running memory diagnostics, or performing a clean installation of Windows.
Remember to regularly create and update System Restore Points to have a backup of your system in case of future issues. To create a restore point manually, right-click on the “This PC” icon, select “Properties”, and then click on the “System protection” link on the left-hand side.
By using System Restore Points, you can potentially fix the “Page Fault in Nonpaged Area NDIS.SYS” error and get your computer back up and running without the need for more complex troubleshooting steps.
Check Disk for Errors
| Check Disk for Errors |
|---|
|
In order to fix the “Page Fault in Nonpaged Area NDIS.SYS” error, it is recommended to perform a disk check for any errors. Here are the steps to follow:
Note: The disk check may take some time to complete, so be patient and let it finish. |
Frequently Asked Questions
What is PAGE_FAULT_IN_NONPAGED_AREA on boot?
PAGE_FAULT_IN_NONPAGED_AREA on boot occurs when the operating system is unable to recognize required data in the RAM’s nonpaged section, typically caused by faulty memory. Other causes may include malfunctioning hardware, mismatched drivers, or damaged hard disc partitions.
Is page fault in nonpaged area serious?
Page fault in nonpaged area can be a serious issue caused by corrupt, damaged, or missing system files. To address this, Windows provides repair tools such as DISM and SFC to check and fix the problem.
How do I fix a nonpaged area page fault?
To fix a nonpaged area page fault, you can update device drivers, check for faulty RAM, disable automatic paging file management, check for disk errors and bad sectors, run an SFC scan to fix corrupted files, and keep only one anti-virus software active.
What is the cause of PAGE_FAULT_IN_NONPAGED_AREA?
The cause of PAGE_FAULT_IN_NONPAGED_AREA is typically due to referencing invalid system memory, where the memory address is incorrect or pointing at freed memory.
