Having trouble with remote assistance? Don’t worry, I’ve got you covered. Let’s explore how to fix remote assistance issues remotely.
Enabling Connections and Adjusting Settings
– To enable connections for remote assistance, follow these steps:
1. Open the “Settings” app on your Windows device.
2. Click on the “System” category.
3. Select “Remote Desktop” from the sidebar.
4. Toggle the “Enable Remote Desktop” switch to the ON position.
5. Make a note of the computer’s name under the “PC Name” section.
– Adjusting settings for remote assistance can be done using the Windows Registry:
1. Press the Windows key + R to open the Run dialog box.
2. Type “regedit” and press Enter to open the Registry Editor.
3. Navigate to the following key: HKEY_LOCAL_MACHINE\SOFTWARE\Policies\Microsoft\Windows NT\Terminal Services
4. Look for a value named “fAllowToGetHelp” and set it to 1 to enable remote assistance.
5. Close the Registry Editor.
– Quick Assist is a built-in Windows 10 app that allows for remote assistance without complex setup. It can be accessed by searching for “Quick Assist” in the Start menu and following the on-screen instructions.
– If you are experiencing remote assistance issues on Windows XP, it is recommended to upgrade to a supported operating system like Windows 10. Microsoft no longer provides support or updates for Windows XP.
– It is important to have a Microsoft account to enable remote assistance features fully. This will allow for a more streamlined experience and access to additional features.
– Ensure that firewalls, such as Windows Firewall, are configured to allow remote assistance connections. This can be done by adding exceptions or allowing specific programs, like Remote Desktop Protocol, through the firewall settings.
– If you encounter any issues during the remote assistance session, using Task Manager (Windows) can help identify and close any conflicting processes.
– Communication is key in remote assistance. Make sure both parties have a stable internet connection and use a reliable form of communication, such as email or a messaging app, to exchange information and troubleshoot.
– It is recommended to encrypt any sensitive data exchanged during a remote assistance session to ensure security and privacy.
– If the remote assistance session freezes or becomes unresponsive, pressing the Control key + Alt key + Esc key can bring up the Task Manager and allow you to close any unresponsive applications.
– Remember to always follow best practices for remote assistance, such as using strong passwords, regularly updating software, and being cautious of phishing attempts.
– If you are still experiencing issues with remote assistance, seeking further assistance from a knowledgeable IT professional or referring to Microsoft’s support resources, such as their official blog or support forums, can provide additional guidance and solutions.
Navigating Firewall and Group Policy Obstacles

1. Firewall Obstacles:
– Check if the Windows Firewall is blocking remote assistance. To disable it, go to Control Panel, click on “System and Security,” then “Windows Firewall,” and select “Turn Windows Firewall on or off.” Turn it off temporarily to see if the issue is resolved. If it is, you may need to add an exception for remote assistance in the firewall settings.
– If you’re using a third-party firewall, consult the documentation or support resources for instructions on allowing remote assistance through the firewall.
2. Group Policy Obstacles:
– Group Policy settings can also impact remote assistance. To navigate these obstacles, open the Group Policy Editor by pressing Windows key + R, typing “gpedit.msc,” and hitting Enter.
– In the editor, navigate to “Computer Configuration,” then “Administrative Templates,” and select “System.” Look for any policies related to remote assistance and ensure they are not configured or disabled.
– If you’re part of a domain network, contact your system administrator for assistance in adjusting Group Policy settings.
Exploring Quick Assist and Alternatives
-
Using Quick Assist:
- Open the Start menu by clicking on the Windows icon.
- Type “Quick Assist” in the search bar and select it from the search results.
- Click on “Get Assistance” and select “Assist Another Person.”
- Provide the person you want to assist with the 6-digit security code generated by Quick Assist.
- Wait for the person to enter the security code on their computer.
- Once the connection is established, you can remotely control their computer to fix any issues.
-
Using Remote Desktop:
- Open the Start menu by clicking on the Windows icon.
- Type “Remote Desktop Connection” in the search bar and select it from the search results.
- Enter the IP address or computer name of the remote computer you want to connect to.
- Click on “Connect” and enter the login credentials for the remote computer.
- Once connected, you can access the remote computer’s desktop and fix any issues.
-
Using TeamViewer:
- Download and install TeamViewer on both your computer and the remote computer.
- Launch TeamViewer and note down the “Your ID” and “Password” displayed on your computer.
- Provide the remote user with your TeamViewer ID and Password.
- Ask the remote user to launch TeamViewer and enter your ID in the “Partner ID” field.
- Once the remote user enters your ID and clicks on “Connect to partner,” they will be prompted to enter the Password.
- After the connection is established, you can remotely control their computer and troubleshoot the issues.
-
Using AnyDesk:
- Download and install AnyDesk on both your computer and the remote computer.
- Launch AnyDesk and note down the “AnyDesk Address” displayed on your computer.
- Provide the remote user with your AnyDesk Address.
- Ask the remote user to launch AnyDesk and enter your AnyDesk Address in the “Remote Desk” field.
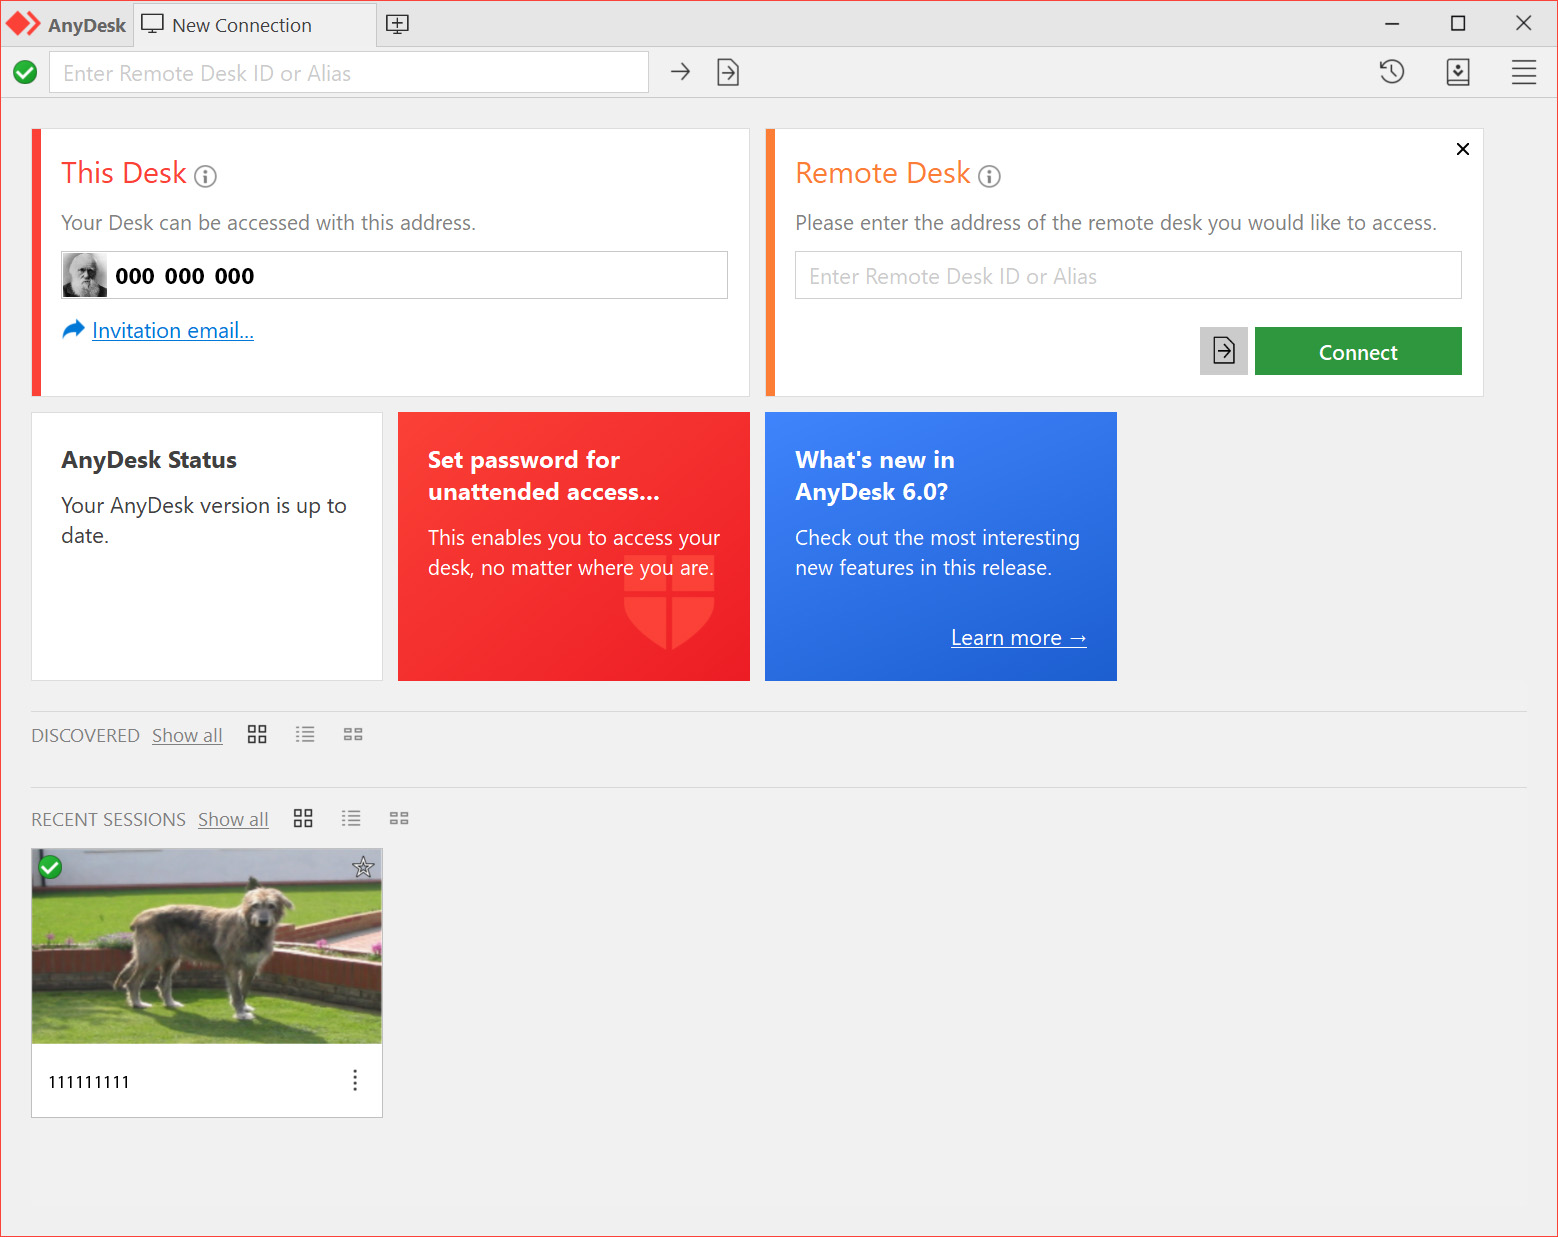
- Once the remote user enters your AnyDesk Address and clicks on “Connect,” they may be prompted to allow the connection.
- After the connection is established, you can remotely control their computer and resolve the issues.
Troubleshooting Common Problems
| Problem | Solution |
|---|---|
| Unable to establish a remote connection | 1. Check if both devices are connected to the internet. 2. Make sure the firewall is not blocking the remote connection. 3. Verify that the correct port is open for remote assistance. |
| Slow or laggy remote connection | 1. Check the internet speed on both devices. 2. Close any unnecessary programs or applications running in the background. 3. Reduce the display quality or resolution for smoother remote assistance. |
| No sound during remote assistance | 1. Ensure that the sound is not muted on either device. 2. Check the audio settings and make sure the correct output device is selected. 3. Restart the remote assistance session. |
| Screen sharing not working | 1. Confirm that screen sharing is enabled on both devices. 2. Update the remote assistance software to the latest version. 3. Restart the devices and try again. |
| Remote control feature not functioning | 1. Check if the remote control feature is enabled in the settings. 2. Ensure that the user has the necessary permissions to control the remote device. 3. Try disabling and re-enabling the remote control feature. |
FAQs
How do I fix Remote Desktop Services?
To fix Remote Desktop Services, you can try the following steps:
– Configure the other application or service to use a different port (recommended).
– Uninstall the other application or service.
– Configure RDP to use a different port and restart the Remote Desktop Services service (not recommended).
Why is remote access bad?
Remote access can be considered bad because it exposes your computer, network, and sensitive data to vulnerabilities. These risks can be heightened by weak passwords, outdated antivirus software, and the method of internet connection.
Why is remote access not working?
Remote access may not be working due to incorrect credentials being used. This is a common issue, especially when trying to connect to different devices, as the stored credentials may be referring to a different terminal.
Why is Remote Assistance not working?
Remote Assistance may not be working due to several reasons. Firstly, ensure that the remote computer has the latest Windows updates installed. Additionally, try using Remote Assistance on a different network to determine if the issue is network-specific. If the problem persists, consider utilizing an alternative remote desktop tool to troubleshoot and potentially resolve the issue.
