Having recently replaced my hard drive, I encountered a frustrating issue where Windows 10 would not boot.
Understanding Disk Boot Failure
When troubleshooting a replaced hard drive that won’t boot Windows 10, it’s important to understand the potential causes of a disk boot failure.
One common issue is a corrupted master boot record (MBR) or GUID Partition Table (GPT). To fix this, you can use the Windows 10 installation media to access the Command Prompt. Enter bootrec /fixmbr or bootrec /fixboot to repair the MBR or fix the boot sector, respectively.
Another possibility is a faulty or incompatible device driver. In this case, boot into Safe Mode by repeatedly pressing the F8 key during startup. From there, you can uninstall the problematic driver and restart your computer.
Sometimes, a bad sector on the hard drive can cause boot failure. To check for and repair bad sectors, use the CHKDSK command in Command Prompt.
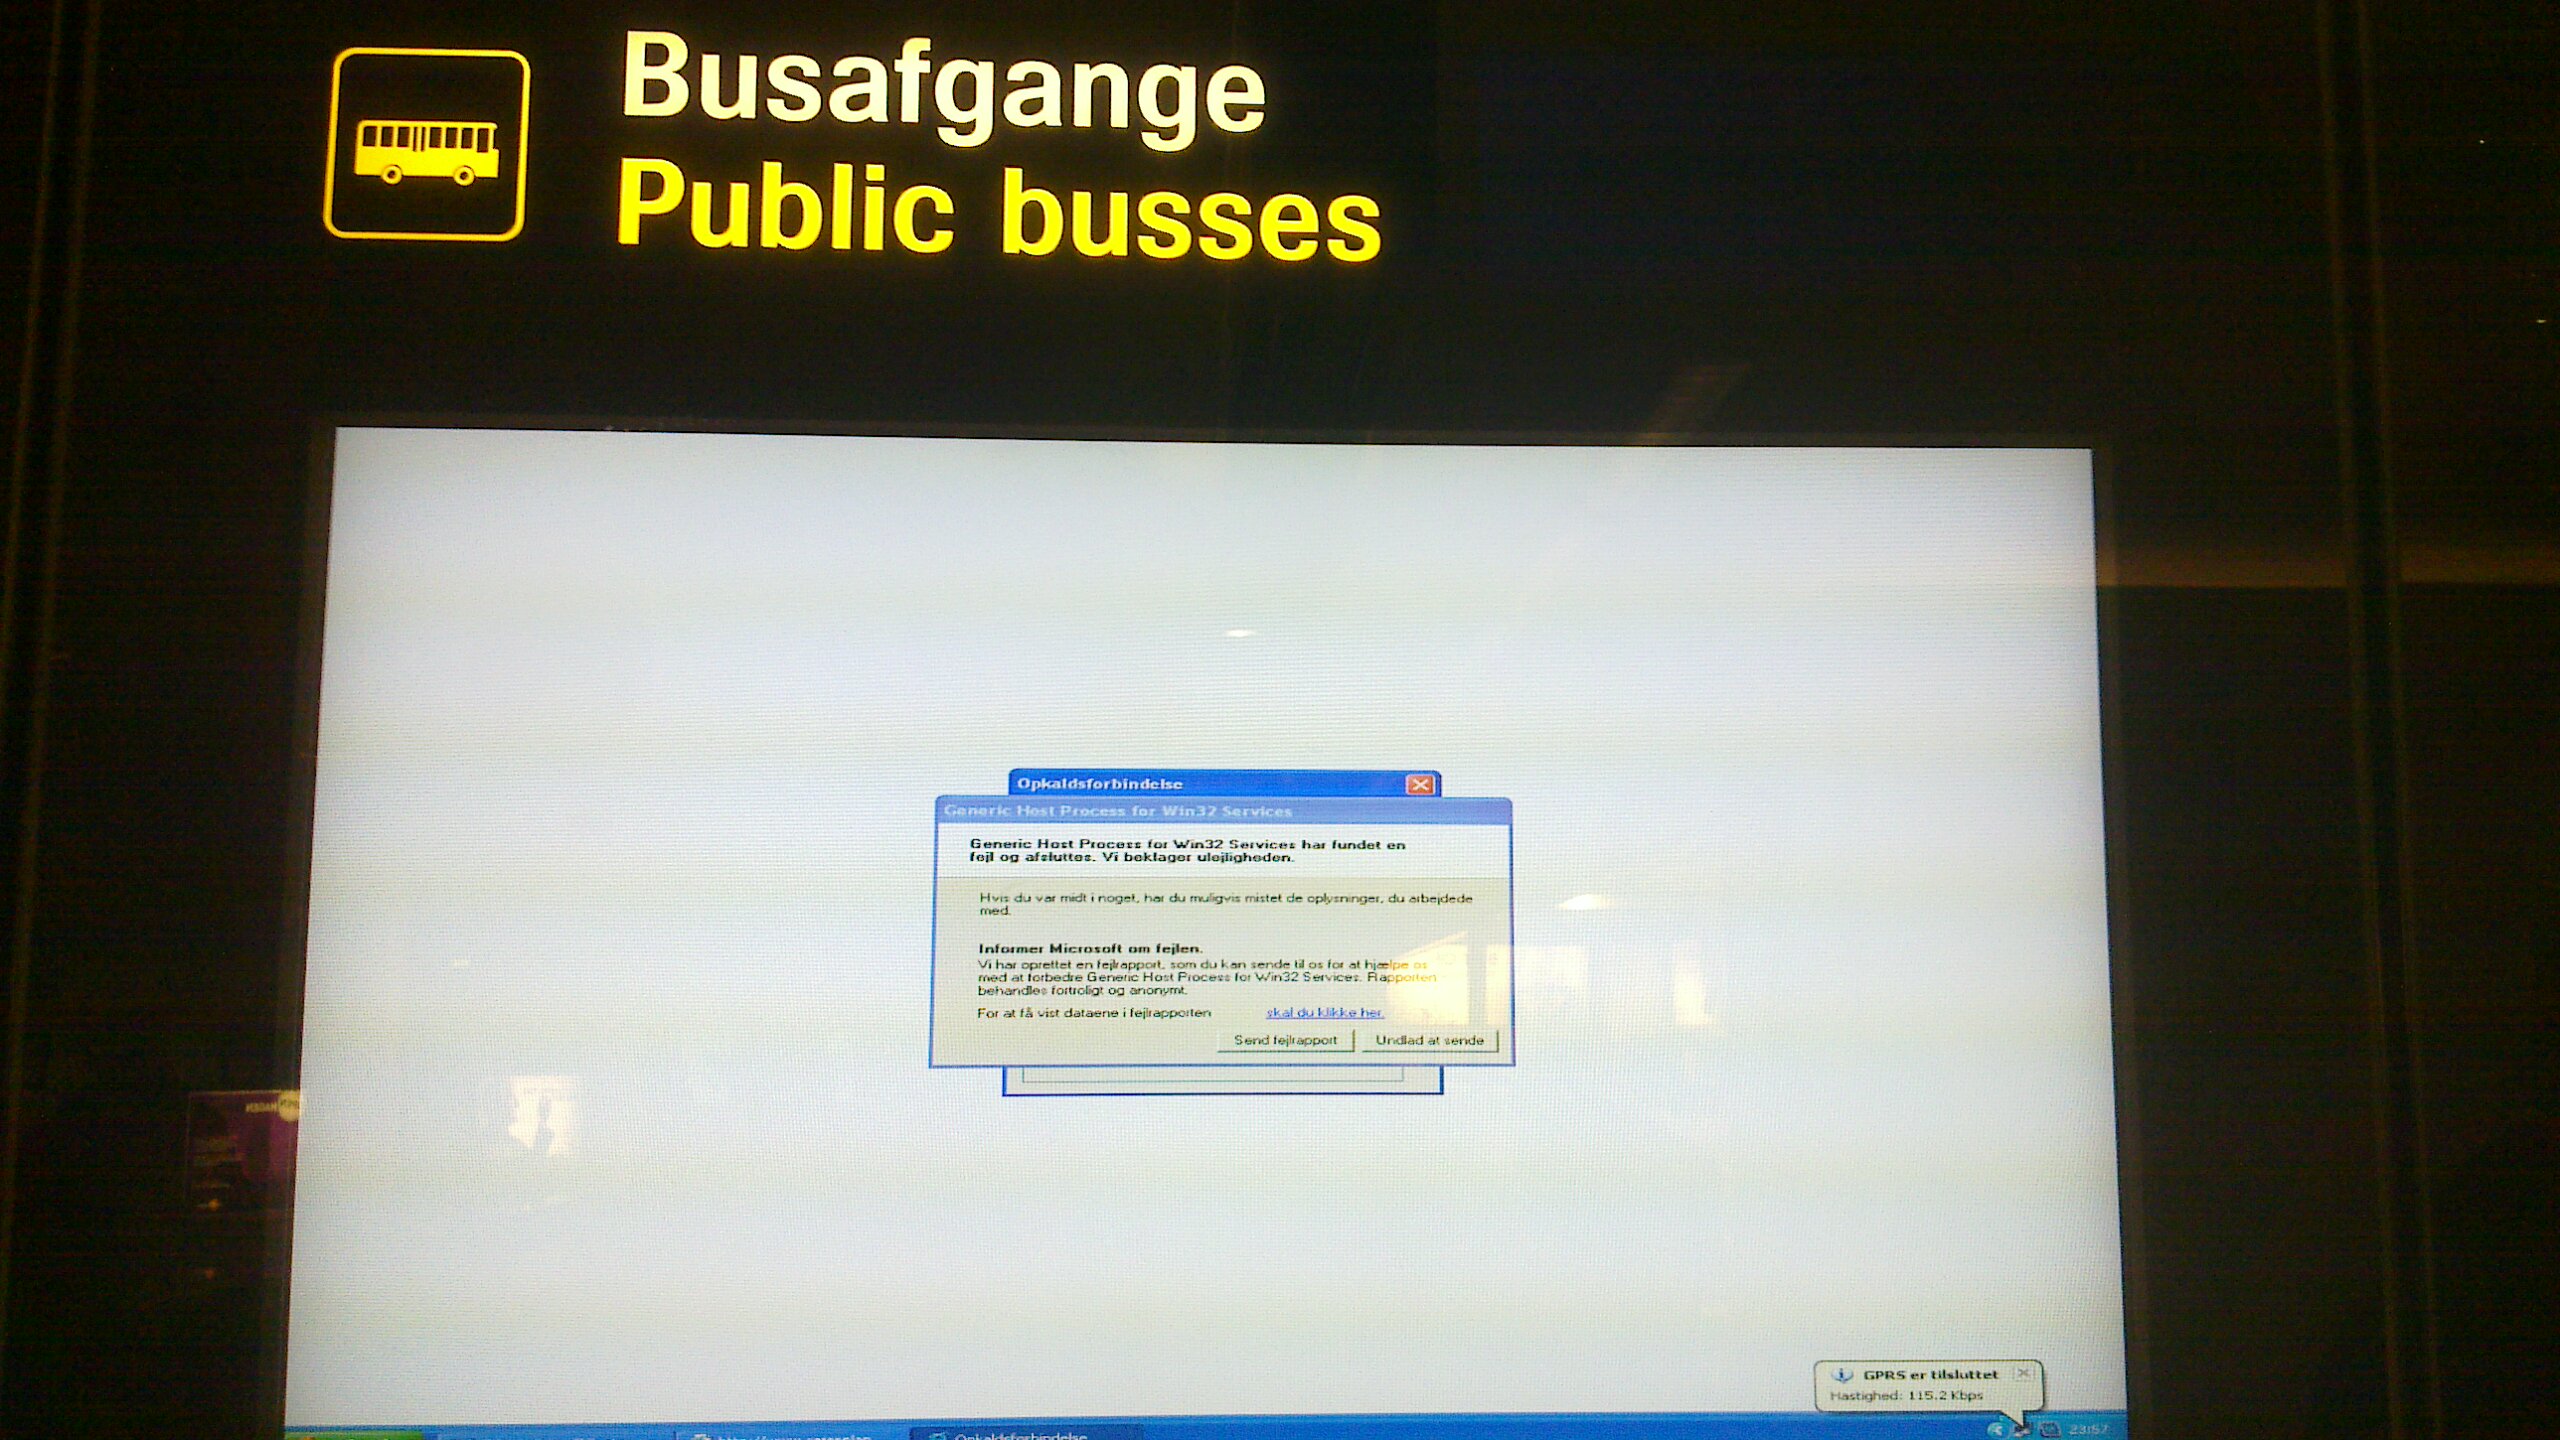
If you encounter a blue screen of death (BSOD) or an error message during boot, it could indicate a hardware issue. Try reseating the hard drive, RAM, and other components. If that doesn’t work, consider testing your hardware using diagnostic tools or seeking professional assistance.
It’s also worth checking the BIOS settings to ensure the correct boot order and settings are in place. Additionally, ensure that the hard drive is properly connected to the motherboard and power supply.
Recognizing the Symptoms of a Non-Booting Hard Drive

If you’ve replaced your hard drive and it won’t boot Windows 10, there are a few symptoms to watch out for. First, listen for any unusual noises coming from the hard drive. This could indicate a mechanical failure. Next, check for any error messages or pop-up ads that appear during the booting process.
These could point to software or driver issues. Another sign is if you see a blue screen of death (BSOD) when attempting to boot. This could indicate a problem with the operating system or hardware. Additionally, if your computer crashes frequently or you experience data loss, it could be a sign of a non-booting hard drive.
Finally, if you’re unable to access the hard drive or if it’s not recognized by the BIOS, there may be a problem with the connection or the hard drive itself.
Identifying Common HDD Failure Signs
- Unusual noises: Clicking, grinding, or whirring sounds coming from the hard drive can indicate a mechanical failure.
- BSOD (Blue Screen of Death) errors: Frequent or recurring system crashes accompanied by error messages can be a sign of a failing hard drive.
- Slow performance: If your computer takes an unusually long time to boot up or load programs, it could be due to a failing hard drive.
- Files disappearing or corrupted: If you notice files missing or becoming inaccessible, or if they are corrupted and cannot be opened properly, it may be a sign of a failing hard drive.
- Frequent system freezes or crashes: Regular system freezes or crashes, especially during disk-intensive tasks, can be indicative of a failing hard drive.
- SMART errors: SMART (Self-Monitoring, Analysis, and Reporting Technology) errors reported by the BIOS or diagnostic tools can indicate potential hard drive failure.
- File system errors: Frequent occurrences of file system errors, such as corrupted file indexes or recurring CHKDSK prompts, may suggest a failing hard drive.
- Unresponsive or slow file access: If it takes an unusually long time to access files or if they become unresponsive, it could be a sign of a failing hard drive.
- Overheating: A hard drive that becomes excessively hot to the touch may be experiencing mechanical or electrical issues.
Diagnosing the Causes of Boot Errors
Diagnosing boot errors can be frustrating, but it’s essential to troubleshoot the issue and get your Windows 10 system running again. Here are some steps to help you diagnose the causes of boot errors:
1. Check the connections: Ensure that all cables, including the SATA cable connecting the hard drive to the motherboard, are securely plugged in. Use a screwdriver if needed to tighten any loose connections.
2. Test the hard drive: Use a diagnostic tool to check for any bad sectors or errors on the hard drive. This will help determine if the issue lies with the drive itself. Refer to the manufacturer’s website for the specific diagnostic tool.
3. Verify the boot order: Access the BIOS settings by pressing the appropriate key during startup (usually F2 or Delete). Make sure that the replaced hard drive is set as the primary boot device.
4. Repair the Master Boot Record (MBR): If the MBR is corrupted, it can cause boot errors. Use the Windows 10 installation disc or a bootable USB to access the repair options. Select “Troubleshoot” > “Advanced options” > “Command Prompt.” Then, type the command “bootrec /fixmbr” and press Enter.
5. Check for hardware conflicts: Sometimes, conflicting hardware can prevent the system from booting. Disconnect any external devices and remove any recently installed hardware to see if the issue resolves.
6. Scan for viruses: A computer virus can cause boot errors. Use a reliable antivirus software to scan and remove any malware from your system.
Prioritizing Boot Drive in BIOS
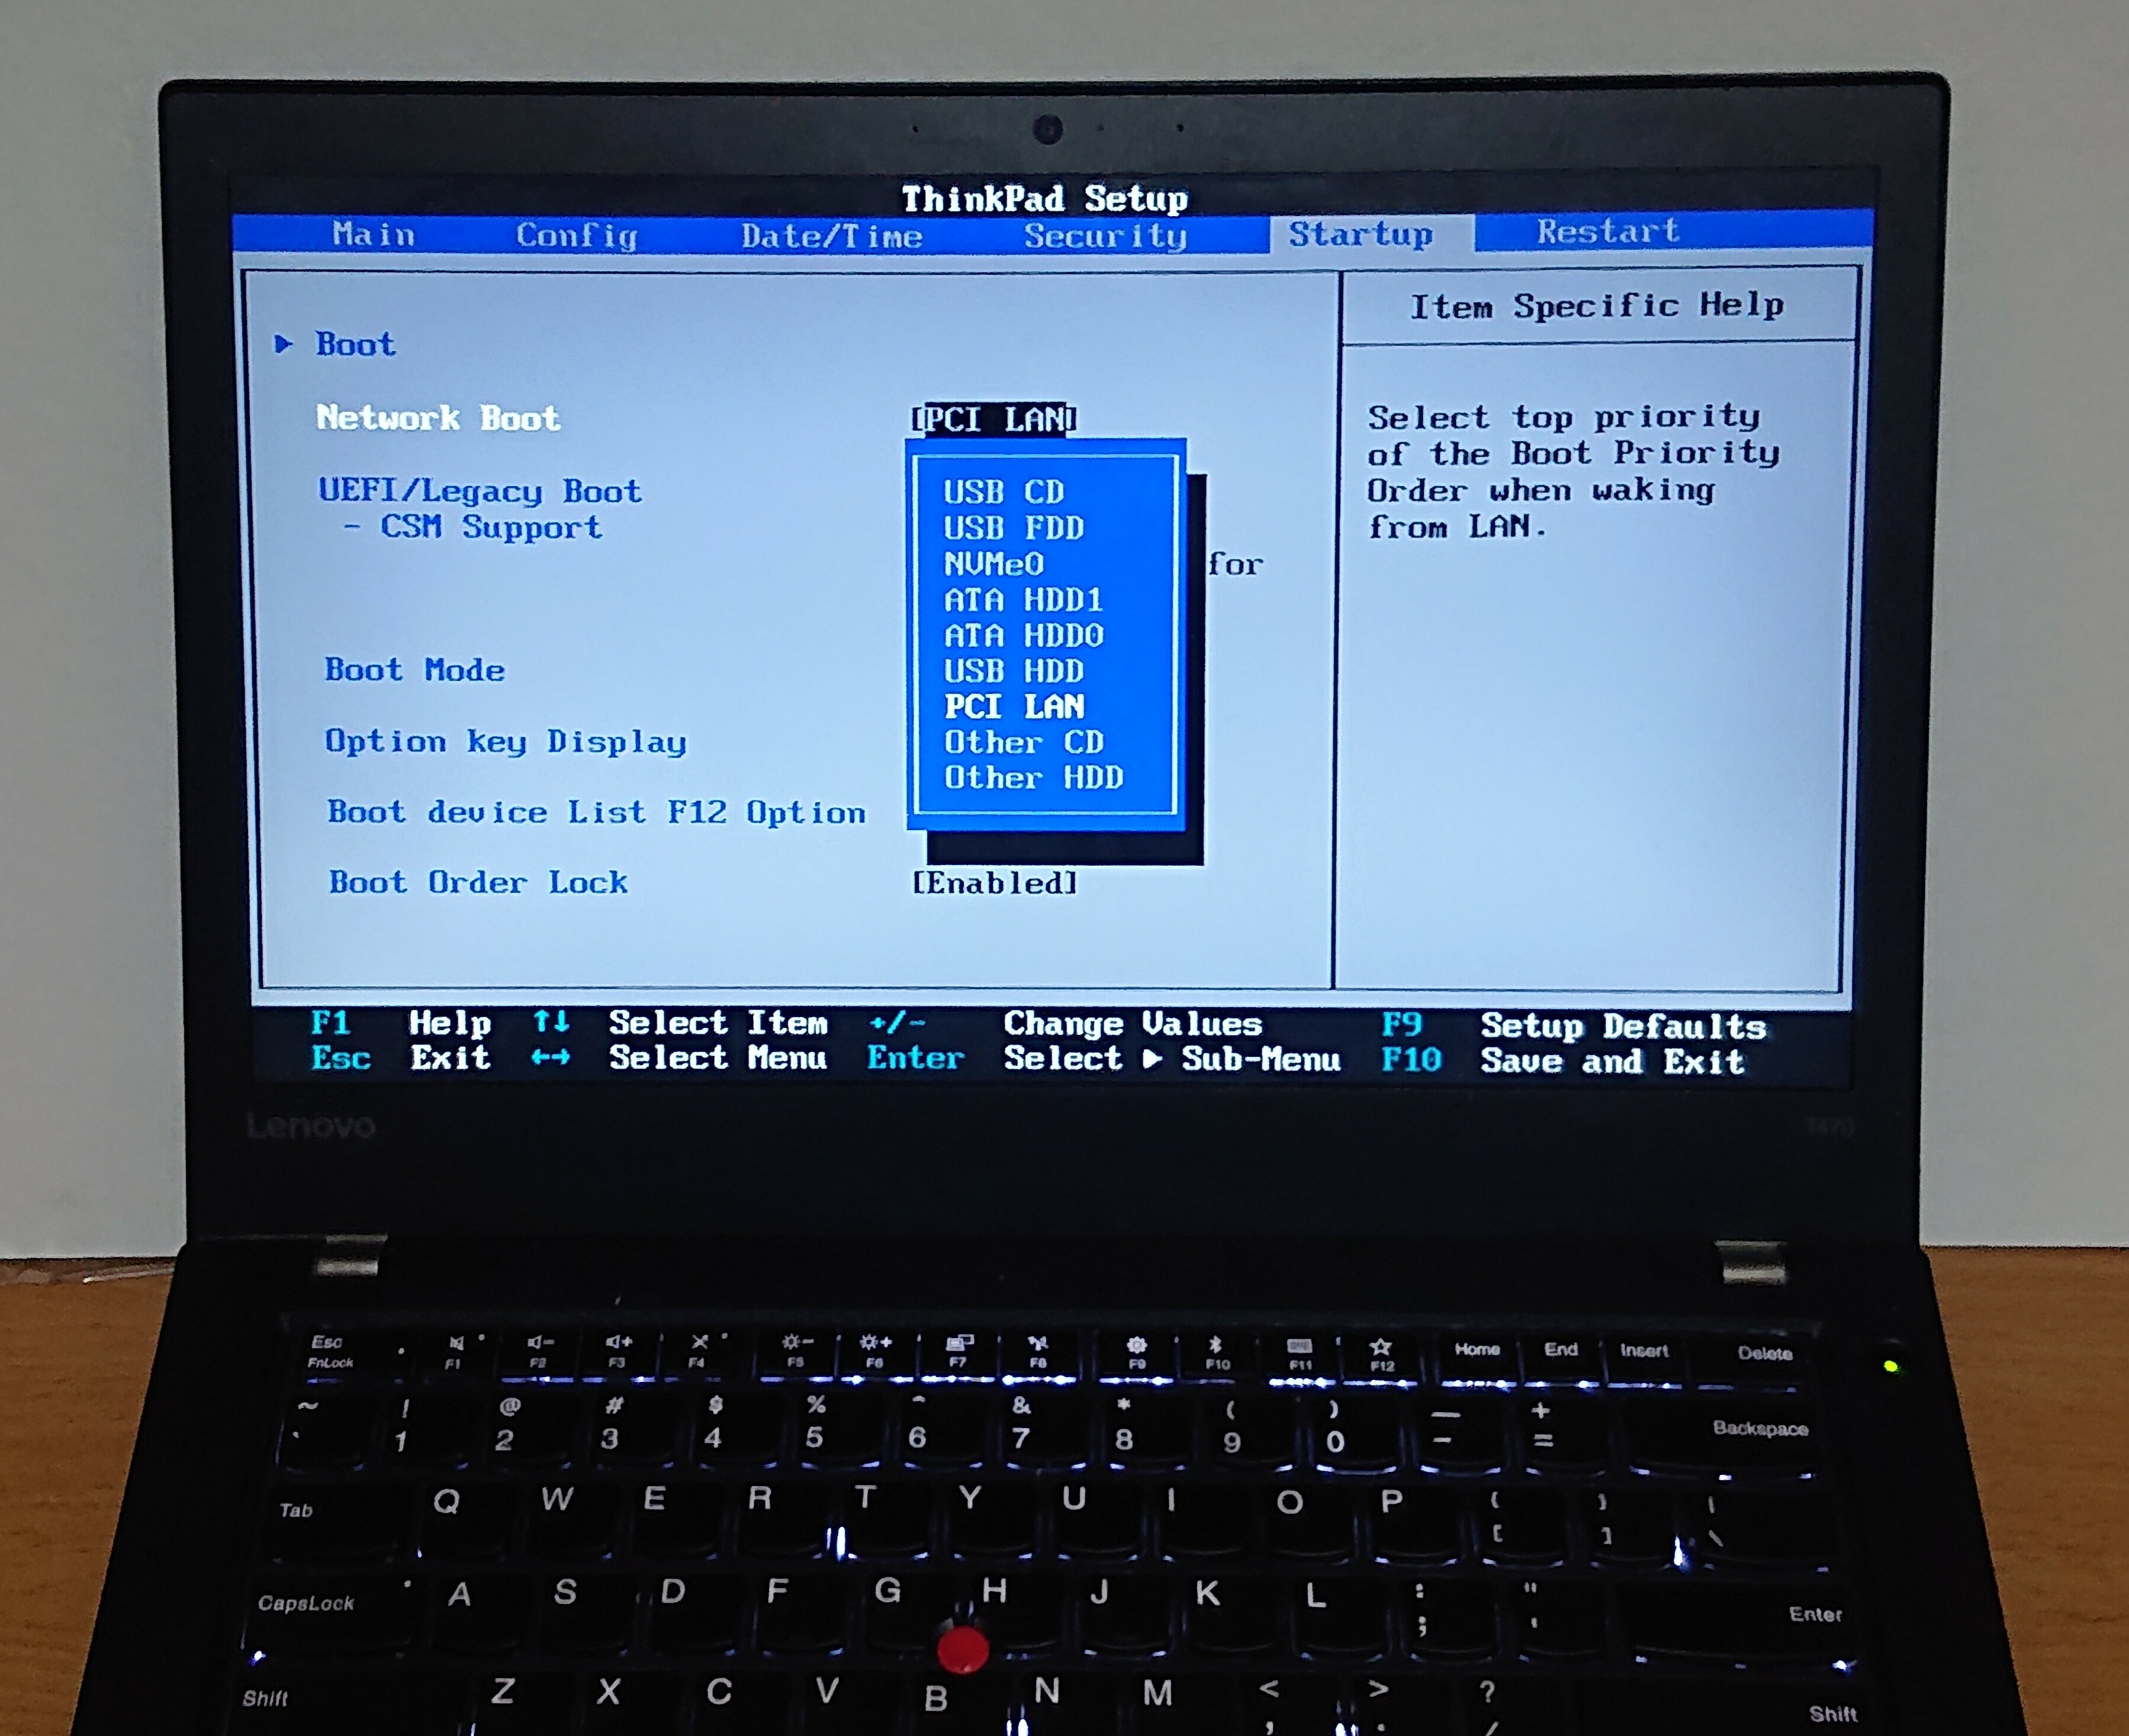
To prioritize the boot drive in BIOS, follow these steps:
1. Restart your computer and immediately press the key (such as F2, F12, or Del) to enter the BIOS setup.
2. Use the arrow keys to navigate through the BIOS menu and find the “Boot” or “Boot Priority” section.
3. In the boot priority menu, locate the hard drive that contains your Windows 10 installation.
4. Use the arrow keys to move the selected hard drive to the top of the boot priority list.
5. Save your changes and exit the BIOS setup.
6. Restart your computer and it should now boot from the prioritized hard drive.
By prioritizing the boot drive in BIOS, you ensure that the computer recognizes and boots from the correct hard drive, resolving the issue of a replaced hard drive not booting Windows 10.
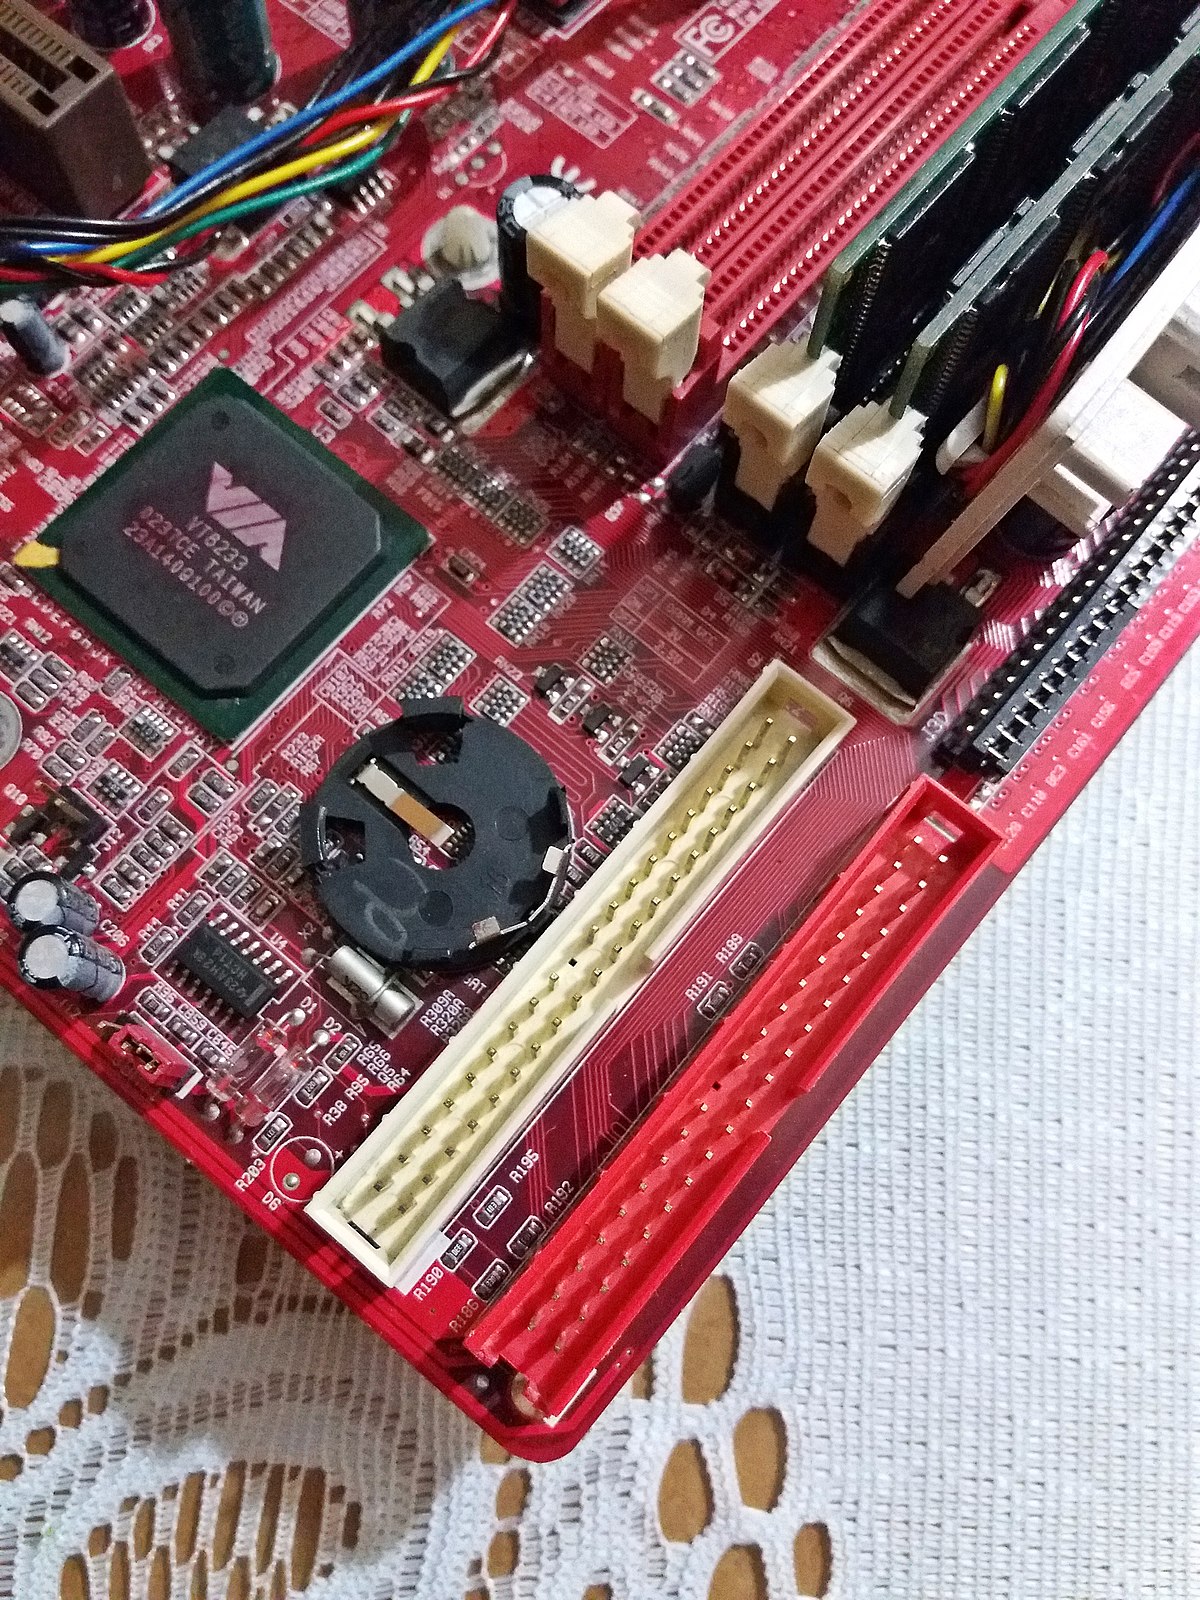
Inspecting and Securing Hard Drive Connections
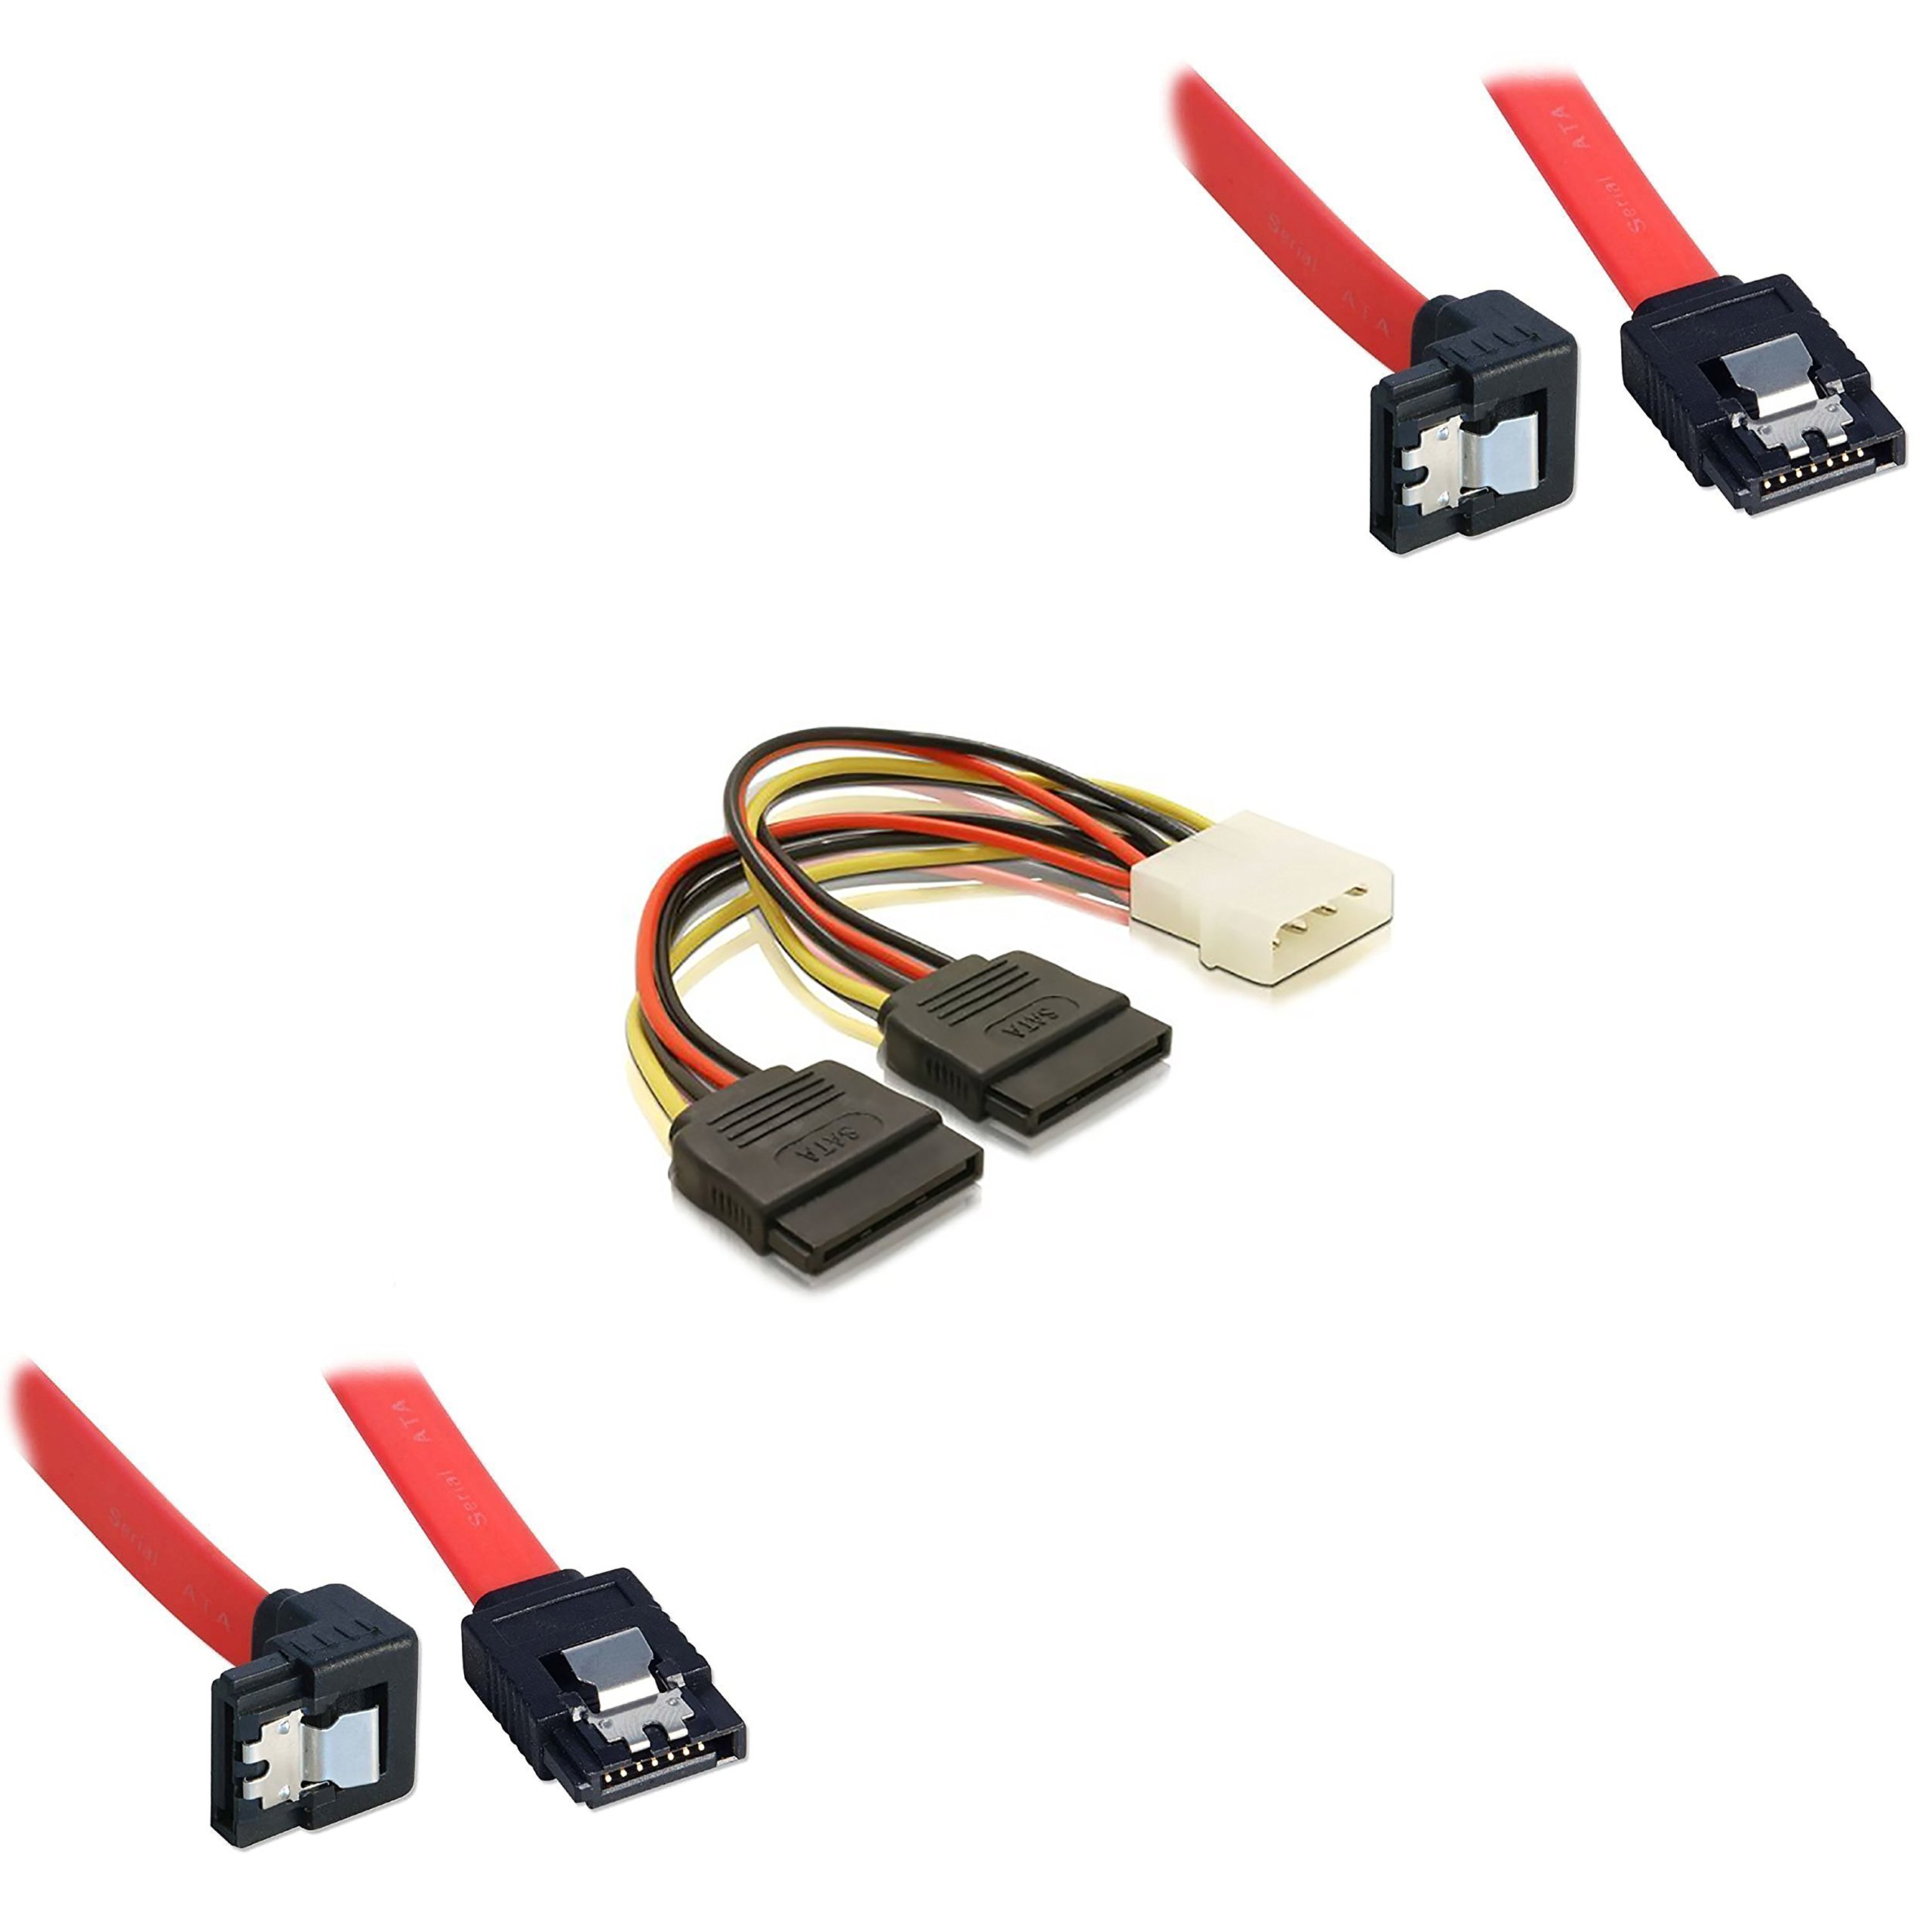
- Check physical connections:
- Power off the computer and unplug it from the power source.
- Open the computer case and locate the hard drive connections.
- Ensure that the SATA or IDE cables are securely connected to the hard drive and motherboard.
- If necessary, disconnect and reconnect the cables to ensure a proper connection.
- Check power supply:
- Inspect the power cable connected to the hard drive and ensure it is securely plugged in.
- If using a modular power supply, check the connections between the power supply and hard drive.
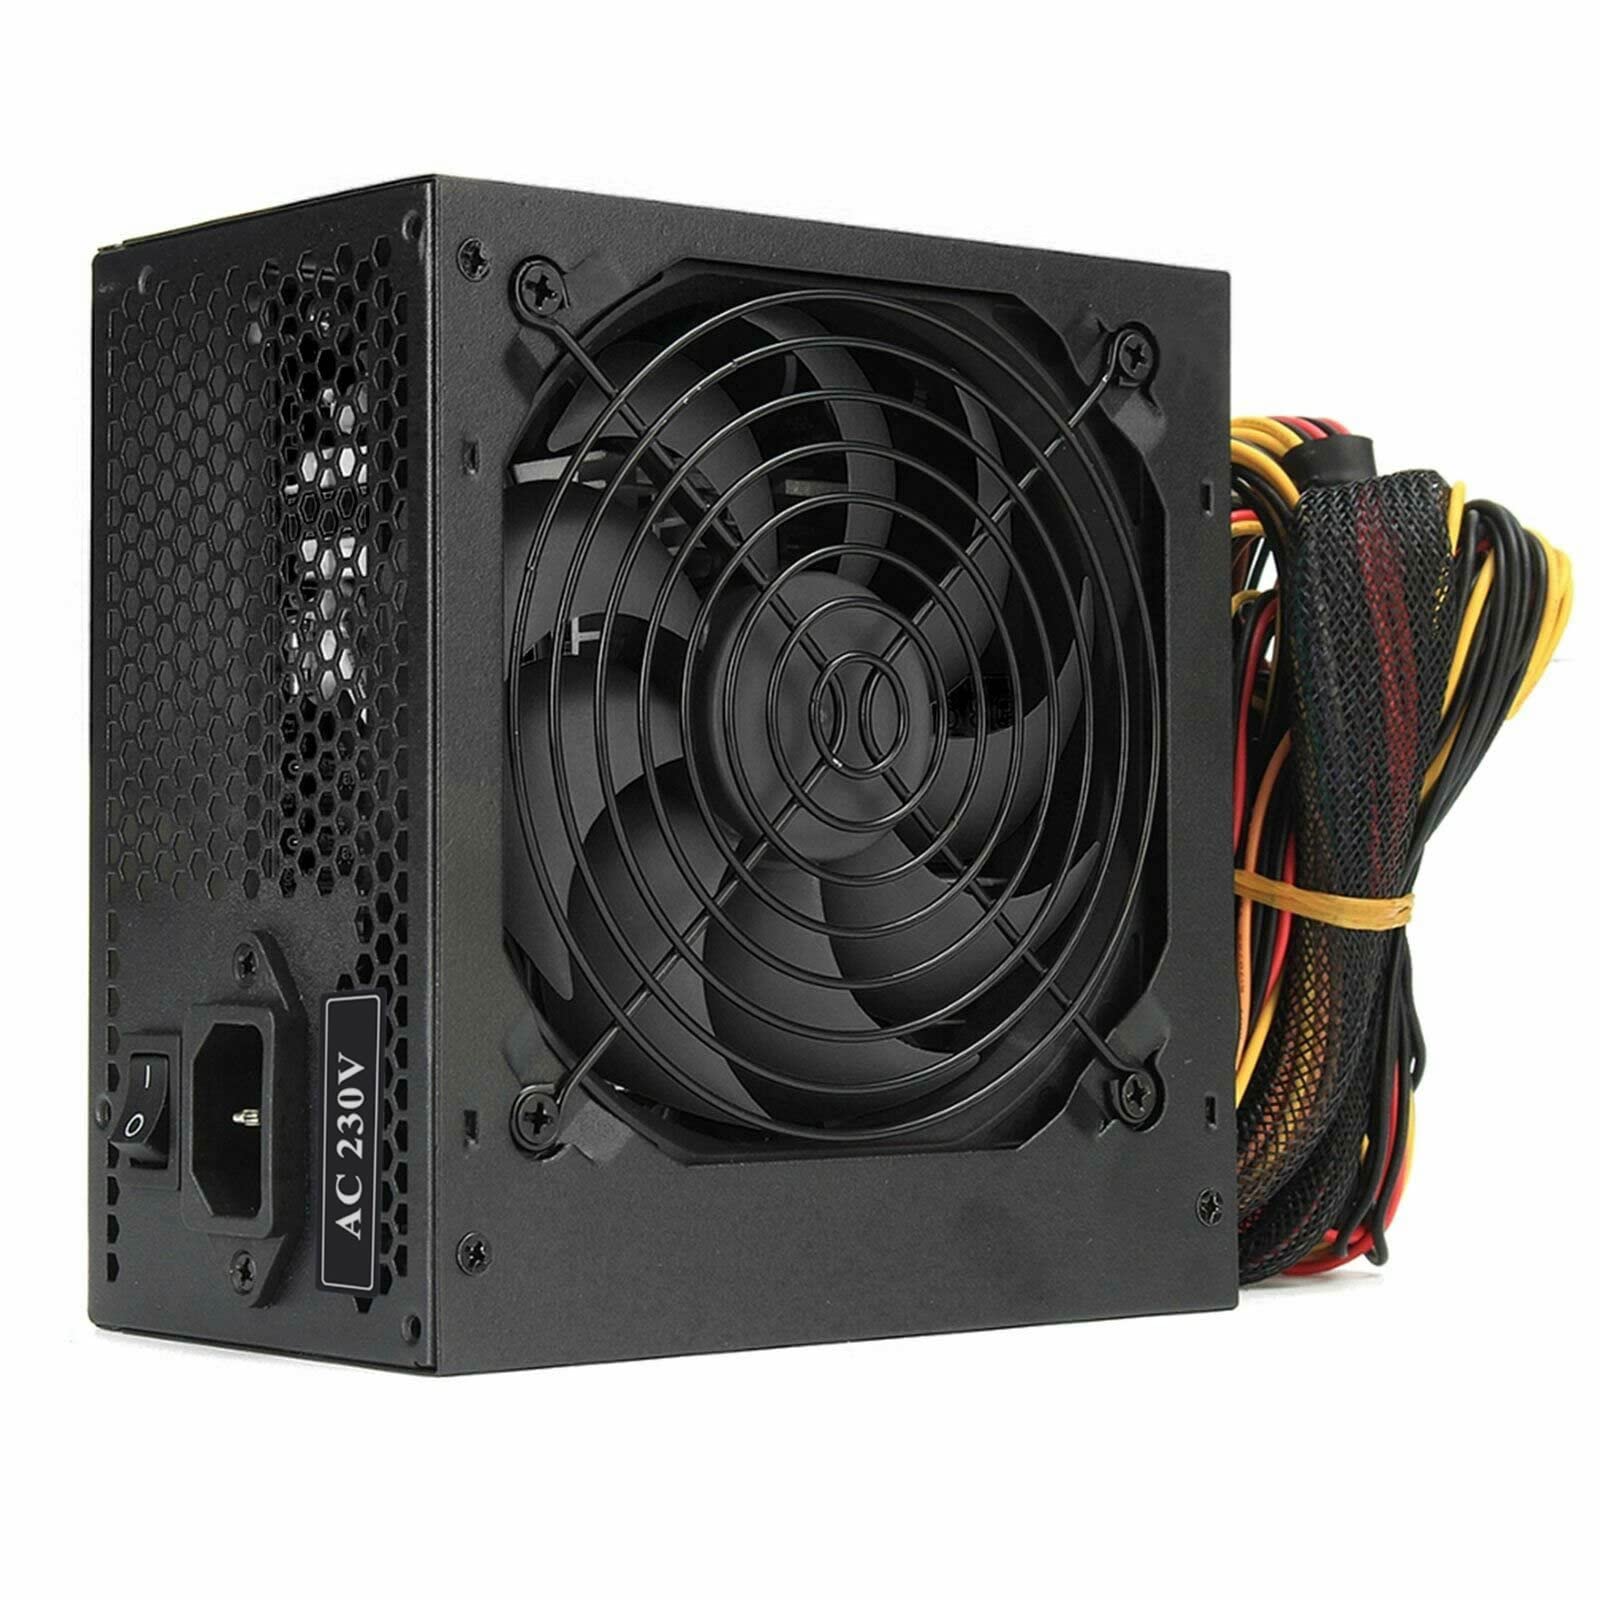
- If the power cable appears damaged or loose, replace it with a new one.
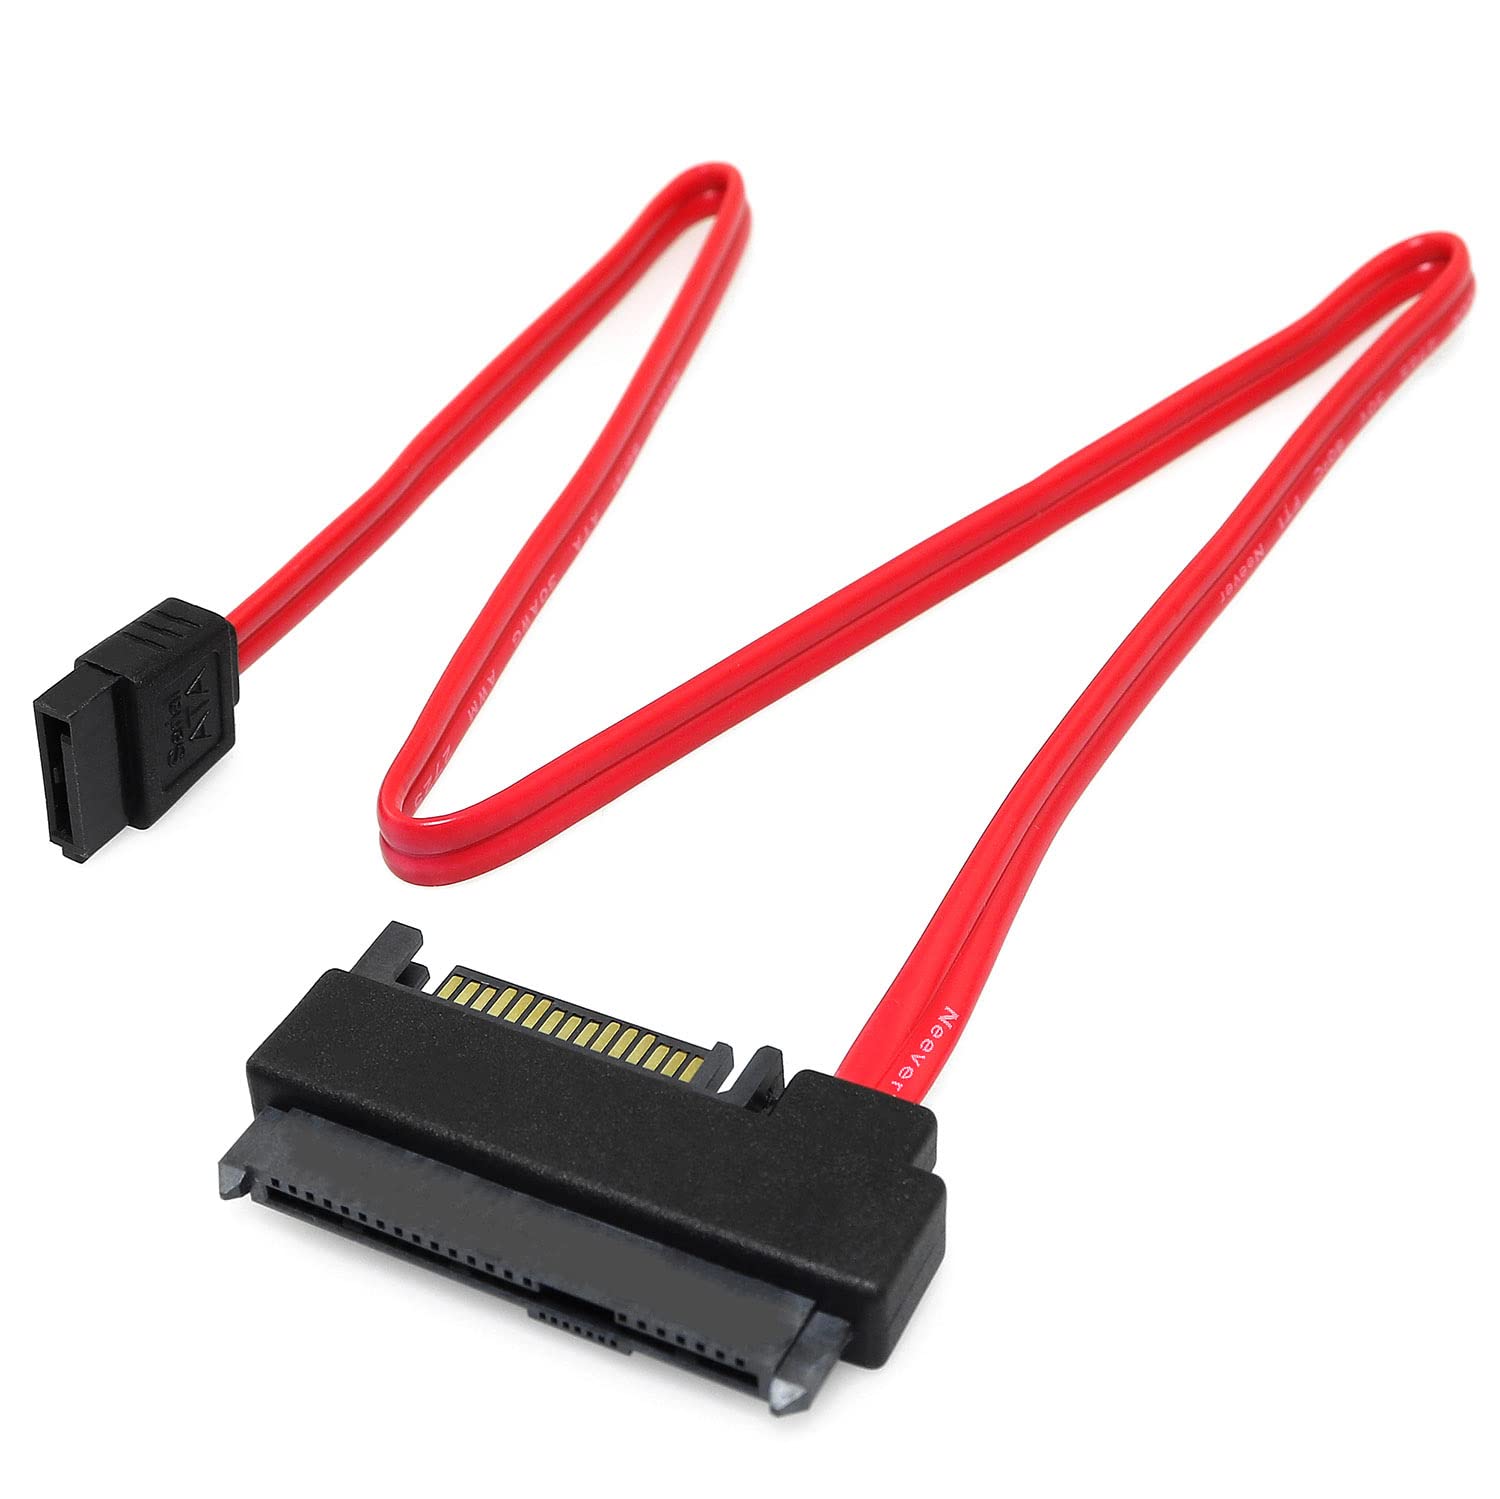
- Inspect data cable:
- Examine the data cable (SATA or IDE) for any signs of damage or loose connections.
- If the cable is damaged, replace it with a new one.
- If the connections are loose, disconnect and reconnect them firmly.
- Test with a different cable:
- If you have a spare SATA or IDE cable, replace the existing cable with the new one.
- Ensure that the new cable is securely connected to the hard drive and motherboard.
- Check for bent or damaged pins:
- Inspect the connectors on the hard drive and motherboard for any bent or damaged pins.
- If any pins are bent, carefully straighten them using a small tool.
- If any pins are damaged, professional assistance may be required to repair or replace the affected component.
- Secure the hard drive:
- Make sure that the hard drive is properly seated in its designated slot or bay.
- If necessary, remove the hard drive and reinsert it, ensuring a snug fit.
- Secure the hard drive in place using screws or any other appropriate mounting mechanism.
Updating Motherboard and Disk Drivers
To troubleshoot a replaced hard drive that won’t boot Windows 10, it may be necessary to update the motherboard and disk drivers. Start by identifying the make and model of your motherboard and download the latest drivers from the manufacturer’s website. Install the drivers by following the on-screen instructions or using a driver installation wizard.
For updating disk drivers, open the Device Manager by pressing the Windows key + X and selecting “Device Manager.” Expand the “Disk drives” category and right-click on your hard drive. Select “Update driver” and choose the option to search automatically for updated driver software.
If the automatic search doesn’t find any updates, you can manually update the driver by downloading it from the manufacturer’s website and selecting the “Browse my computer for driver software” option in the update driver window. Locate and select the downloaded driver file to install it.
After updating the motherboard and disk drivers, restart your computer and check if the issue is resolved. If not, further troubleshooting may be required.
Running Startup Repair and Chkdsk
If your replaced hard drive won’t boot Windows 10, you can try using the Startup Repair and Chkdsk tools to troubleshoot the issue.
To run Startup Repair, follow these steps:
1. Insert your Windows installation media (USB or DVD) into your computer.
2. Restart your computer and press any key to boot from the installation media.
3. Select your language preferences and click “Next.”
4. Click “Repair your computer” at the bottom-left corner of the screen.
5. Select “Troubleshoot” > “Advanced options” > “Startup Repair.”
6. Follow the on-screen instructions to complete the repair process.
To run Chkdsk, follow these steps:
1. Press the Windows key + X and select “Command Prompt (Admin).”
2. In the command prompt window, type “chkdsk C: /f /r” and press Enter.
3. If prompted, type “Y” to schedule the disk check for the next restart.
4. Restart your computer to allow Chkdsk to scan and repair any issues with the hard drive.
These tools can help identify and fix common issues that prevent Windows 10 from booting.
Exploring Reformatting and Replacement Options
If you’ve replaced your hard drive and are having trouble booting Windows 10, there are a few options you can explore to troubleshoot the issue. First, check that the hard drive is properly formatted. Use a disk management tool or the Windows Disk Management utility to ensure the drive is formatted correctly, such as using the GUID Partition Table (GPT) format.
If the drive is formatted correctly, you may need to check the boot order in your computer’s BIOS settings. Make sure the new hard drive is set as the first boot device.
If these steps don’t resolve the issue, you can try using a boot disk or USB drive with a Windows 10 installation media to repair the boot process. Follow the on-screen instructions provided by the Windows recovery wizard to repair the boot files.
If you’re still unable to boot Windows 10, it’s possible that the hard drive itself is faulty. Run a diagnostic test on the hard drive to check for any bad sectors or hardware issues.
If all else fails, consider seeking professional help or contacting the manufacturer for assistance. It’s also important to note that data loss can occur during troubleshooting, so it’s always a good idea to have a backup of your important files.
Utilizing Disk Utility Tools for Mac
To troubleshoot a replaced hard drive that won’t boot Windows 10 on your Mac, you can utilize the Disk Utility tools. First, restart your Mac and hold down the Command and R keys to enter Recovery Mode. Then, select Disk Utility from the macOS Utilities window.
In Disk Utility, select your new hard drive from the left sidebar. Click on the First Aid tab and then click on the “Run” button to scan and repair any disk errors. If this doesn’t resolve the issue, you can try erasing and reformatting the hard drive.
To do this, click on the Erase tab in Disk Utility and choose a name and format for your hard drive. Keep in mind that erasing the drive will delete all data, so make sure to have a backup beforehand.
Once the erasing process is complete, you can exit Disk Utility and try reinstalling Windows 10 on your Mac. This should help resolve the booting issue.
Recovering Lost Data from Non-Booting Drives
| Issue | Possible Causes | Solution |
|---|---|---|
| Non-booting drive after replacing hard drive |
|
|
| Data recovery from non-booting drive |
|
|
| Prevention of data loss |
|
|
Regularly Backing Up Your Data for Safety
Regularly backing up your data is crucial for the safety of your computer and its files. By creating backups, you can protect yourself from data loss in case of a hard drive failure or other issues. To ensure the safety of your data, follow these steps:
1. Choose a reliable backup method: There are several options available for backing up your data, including external hard drives, cloud storage, or network drives. Select the method that works best for you and fits your needs.
2. Set up automatic backups: It’s important to regularly back up your data, so consider setting up automatic backups. This way, you won’t have to remember to do it manually every time.
3. Select the files to back up: Determine which files and folders are important to you and should be included in your backups. This could be documents, photos, videos, or any other files that you don’t want to lose.
4. Follow a backup schedule: Create a backup schedule that suits your needs. It could be daily, weekly, or monthly backups, depending on the frequency of changes to your files.
5. Test your backups: Regularly check your backups to ensure that they are working correctly. Test restoring files from your backups to verify that your data is recoverable.
F.A.Qs
How do I fix my hard drive that won’t boot?
To fix a hard drive that won’t boot, you can try the following steps:
1. Check the boot order in the BIOS settings.
2. Remove any recently installed hardware and check data cables and jumpers.
3. Run chkdsk to scan and fix any errors on the hard drive.
4. Enable the Windows Computer Repair Option.
Can a hard drive cause a PC not to boot?
Yes, a hard drive can cause a PC not to boot if it is not installed correctly. Improper installation can result in boot errors, crashes, or complete failure to start the computer.
Why wont my computer boot after changing SSD?
Your computer may not be booting after changing the SSD because the boot order in the BIOS needs to be updated. Restart your PC and enter the BIOS by pressing F2, F12, Del, or Esc keys. Once in the BIOS, navigate to the boot options and change the order to set the operating system to boot from the new SSD. Save the changes, exit the BIOS, and restart your computer.
How do I boot my computer with a new hard drive?
To boot your computer with a new hard drive, first shut down your PC and remove the old drive. Then, restart your PC and press either F2, F10, or Del key to enter the BIOS. In the BIOS, navigate to the Boot order section and set the new disk as the boot drive. Finally, save the changes and restart your PC.
