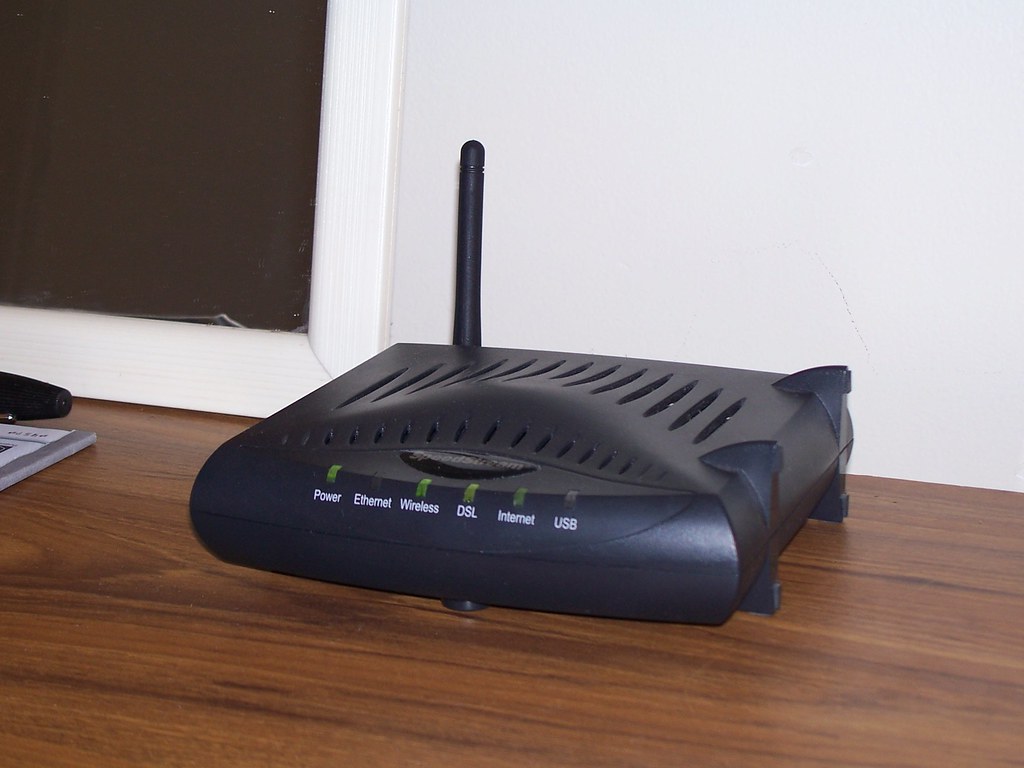
Having a router that shows lights but no internet can be frustrating. In this article, we will explore troubleshooting fixes to help you get your internet connection back up and running.
Restart Router and Devices
If you’re experiencing the issue of your router lights being on but still having no internet access, one of the first troubleshooting steps you should try is restarting both your router and devices. This simple action can often resolve connectivity issues and get you back online.
To restart your router, follow these steps:
1. Locate the power cord of your router and unplug it from the power source. This will completely shut down the router and allow it to reset.
2. Wait for about 10-15 seconds. This short break will give the router enough time to fully power down.
3. Plug the power cord back into the router and wait for it to boot up. This process may take a few minutes, so be patient.
Once the router has fully restarted, you can move on to restarting your devices:
1. Turn off all the devices connected to your network, such as laptops, smartphones, and tablets. Make sure to completely power them down and not just put them to sleep.
2. Wait for about 10-15 seconds. This brief pause allows the devices to fully disconnect from the network.
3. Turn on each device one by one. Start with the device that you use to access the internet most frequently.
After restarting your router and devices, check if you now have internet access. If not, you may need to further troubleshoot the issue or contact your internet service provider for assistance.
Check Internet Outage Status
If you’re experiencing an internet outage despite having router lights on, there are a few troubleshooting fixes you can try.
First, check if other devices are able to connect to the internet. If only one device is affected, the issue may lie with that particular device.
Next, restart your router and modem. Unplug both devices from the power source, wait for about 30 seconds, and then plug them back in. This can often resolve connectivity issues.
Check your Wi-Fi connection. Make sure your device is connected to the correct network and that the Wi-Fi is enabled. Sometimes, simply toggling the Wi-Fi off and on can help establish a connection.
If you’re using a MacOS system, you can try resetting your network settings. Go to the “Network” section in System Preferences, select your Wi-Fi connection, and click on the minus (-) button to remove it. Then, click on the plus (+) button to add it back.
If you’re using Windows 10, you can try using the built-in network troubleshooter. Right-click on the network icon in the taskbar, select “Troubleshoot problems,” and follow the prompts to fix any detected issues.
It’s also worth checking for any interference that may be affecting your signal. Keep your router away from devices that emit electromagnetic interference, such as microwaves, cordless telephones, baby monitors, and cable television boxes.
Test with an Ethernet Connection
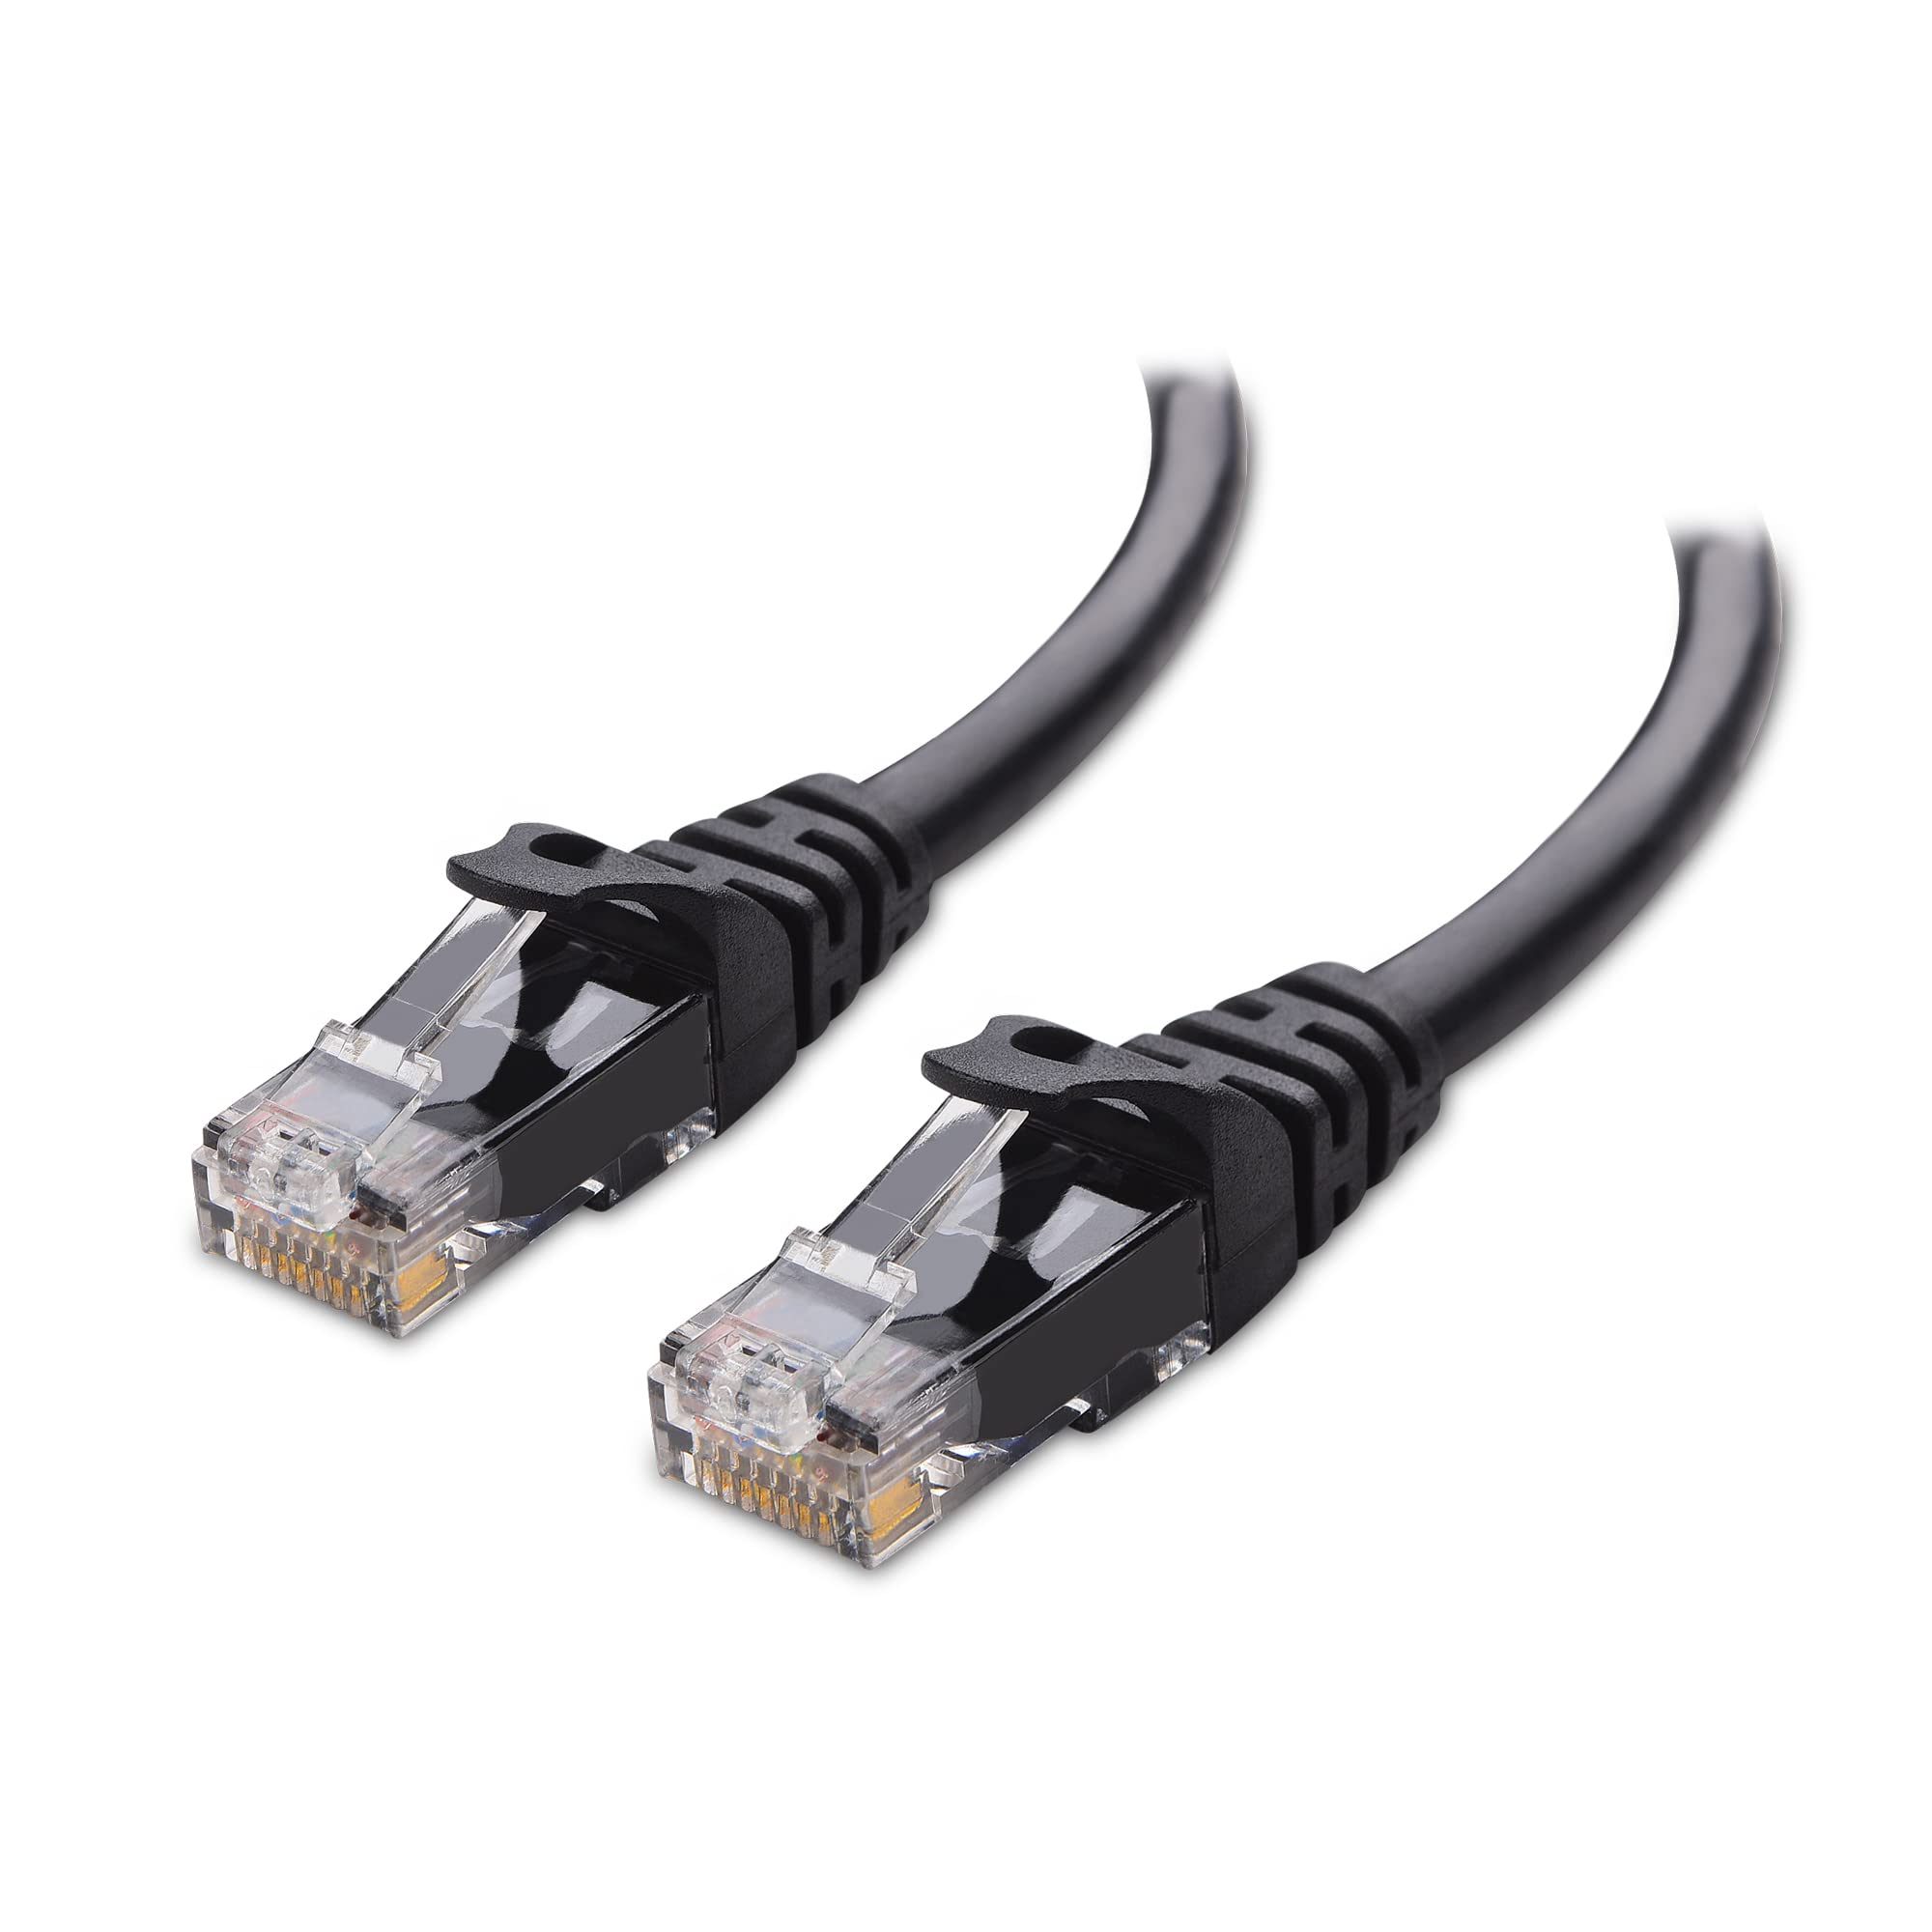
If your router lights are on but you still have no internet connection, try testing with an Ethernet connection. This will help determine if the issue lies with your Wi-Fi connection or the router itself.
To test with an Ethernet connection, follow these steps:
1. Connect one end of an Ethernet cable to your computer or laptop, and the other end to one of the LAN ports on the router.
2. Ensure that the Ethernet cable is securely plugged in on both ends.
3. Once connected, check the lights on the Ethernet port of your computer and on the router. They should indicate a successful connection.
4. Open a web browser on your computer and try accessing a website.
5. If you are able to access the internet with the Ethernet connection, it suggests that the issue may be with your Wi-Fi network. In this case, you can try troubleshooting your Wi-Fi connection separately.
6. If you still cannot access the internet even with the Ethernet connection, there may be a problem with your router or modem. You can try rebooting the router by unplugging it from the power source, waiting for a few seconds, and then plugging it back in.
Verify Wires and Cables Condition
To verify the condition of wires and cables, follow these steps:
1. Check the physical connection between the router and the modem. Ensure that the Ethernet cable is securely plugged into both devices.
2. Inspect the cable for any visible damage or fraying. If you notice any issues, replace the cable with a new one.
3. If your router has detachable antennas, make sure they are securely screwed on.
4. If you are using a wired connection, ensure that the Ethernet cable is connected to the correct port on your device.
5. If you are using a wireless connection, check if the Wi-Fi toggle switch is turned on.
6. Restart your router and modem by unplugging them from the power source, waiting for 30 seconds, and then plugging them back in.
7. If you have multiple devices connected to the router, verify if the issue is specific to one device or affects all devices.
8. Test the internet connection on different devices to determine if the problem is isolated to a single device.
Reposition Router for Optimal Performance
Reposition your router for optimal performance by following these steps:
1. Find a central location: Place your router in a central area of your home or office to ensure the best coverage throughout the space.
2. Avoid obstacles: Keep the router away from large objects, such as concrete walls, metal surfaces, or appliances like microwaves and cordless telephones. These can interfere with the signal.
3. Adjust the antenna: If your router has adjustable antennas, try positioning them vertically and at a 45-degree angle for better coverage.
4. Switch frequency bands: If your router supports both 2.4 GHz and 5 GHz, try switching to the less crowded 5 GHz band for faster speeds and less interference.
5. Check for firmware updates: Make sure your router’s firmware is up to date. Manufacturers often release updates to improve performance and fix bugs.
6. Reboot your router: Sometimes a simple reboot can resolve connectivity issues. Unplug the power cord, wait for a few seconds, then plug it back in.
Use Troubleshooter Tools on Your Computer
If your router lights are on but you’re still not able to access the internet, troubleshooting tools on your computer can help identify and fix the issue.
First, restart your computer and router. Sometimes a simple reboot can resolve connectivity problems.
Next, check your network settings. On Windows 10, go to the “Network & Internet” settings and select “Troubleshoot”. Follow the prompts to diagnose and fix any network issues.
For MacOS users, click on the Apple menu and select “System Preferences”. Go to “Network” and click on the “Assist me” button. Choose “Diagnostics” and follow the instructions to troubleshoot your network connection.
If the problem persists, try resetting your router. Look for a small reset button on the device and press it for about 10 seconds. This will restore the router to its default settings and can often resolve connectivity issues.
Check for any electromagnetic interference that may be affecting your Wi-Fi signal. Keep your router away from devices like cordless phones, microwaves, and baby monitors, as they can interfere with the signal. Additionally, make sure your router is placed in a central location in your home for better coverage.
If none of these steps work, you may need to contact your internet service provider for further assistance. They can help troubleshoot any issues with your internet connection.
Switch Wi-Fi Bands Between 2.4 GHz and 5 GHz
To do this, follow these steps:
1. Open your web browser and type 192.168.1.1 into the address bar. This is the default IP address for most routers, but it may vary depending on your router brand. If you’re unsure, you can usually find the IP address in the router’s manual or on the manufacturer’s website.
2. Enter your router’s username and password when prompted. This information is typically printed on the router itself or in the manual. If you’ve changed the login credentials before and can’t remember them, you may need to reset your router to its default settings.
3. Once you’re logged in, look for the Wi-Fi settings or Wireless settings tab. This may vary depending on your router’s interface.
4. Locate the option to switch between 2.4 GHz and 5 GHz bands. This is usually labeled as “Wireless Mode” or something similar.
5. Select the desired band that you want to switch to. Keep in mind that the 2.4 GHz band has better range but slower speeds, while the 5 GHz band provides faster speeds but has a shorter range.
6. Save your settings and wait for the router to reboot. This may take a few minutes.
7. Once the router has rebooted, check if you now have an internet connection.
By switching between the 2.4 GHz and 5 GHz bands, you may be able to resolve connectivity issues and regain internet access.
Scan for Viruses and Malware
1. Open your antivirus software and perform a full system scan. Make sure your antivirus software is up to date.
2. Use a reputable malware scanner to scan your computer. Download and run a trusted malware scanner to identify and remove any malicious software.
3. Reset your router to factory settings. Locate the reset button on your router and hold it down for about 10 seconds until the lights on the router start flashing. This will reset the router’s settings and remove any potential malware.
4. Update your router’s firmware. Visit the manufacturer’s website and look for the latest firmware update for your router model. Follow the instructions provided to update the firmware and ensure your router is protected against known vulnerabilities.
5. Check for any suspicious devices connected to your network. Access your router’s settings by typing its IP address into a web browser. Look for a section that displays connected devices and remove any unfamiliar or suspicious devices that may be causing network issues.
Temporarily Disable Antivirus Software
1. Locate the antivirus software icon in your computer’s system tray or taskbar.
2. Right-click on the icon and select “Disable” or “Pause Protection.” If you can’t find these options, open the antivirus software and look for a “Settings” or “Preferences” menu.
3. Within the settings menu, find the option to disable real-time protection or temporarily turn off the antivirus software.
4. Click on this option and confirm your choice if prompted.
5. Once disabled, try reconnecting to the internet and see if the issue persists.
Remember to re-enable your antivirus software once you have finished troubleshooting to ensure your computer remains protected.
If disabling the antivirus software does not resolve the “Router Lights On But No Internet” issue, you may need to explore other troubleshooting fixes.
Check for Obsolete Equipment
- Inspect all cables and connections for any physical damage or loose connections.
- Ensure your modem is connected and functioning properly.
- Check if your router is receiving power and the lights on it are lit.
- Restart your router and modem.
- Verify if your ISP is experiencing any service outages.
- Update the firmware of your router if available.
- Reset your router to its factory settings as a last resort.
- Consider replacing any obsolete equipment that may be causing the issue.
Reset Network to Factory Settings
To reset your network to factory settings, follow these steps:
1. Locate the reset button on your router. It is usually a small hole labeled “Reset” or “Factory Reset.”
2. Using a paperclip or a similar tool, press and hold the reset button for about 10-15 seconds.
3. Release the reset button and wait for the router to reboot. This may take a few minutes.
4. Once the router has finished rebooting, it will be restored to its factory default settings. You will need to set it up again, including entering your Wi-Fi network name and password.
5. If you have any custom settings or configurations on your router, note that they will be lost during the reset process. Make sure to back up any important data or settings beforehand.
Frequently Asked Questions
How can I fix a router that gives signal but not internet?
To fix a router that gives signal but not internet, you can try the following steps:
– Restart your router.
– Switch Wi-Fi bands (2.4 GHz and 5 GHz).
– Test your Wi-Fi on different devices.
– Try a different Ethernet cable.
– Improve the position of your device and/or router.
Why is my internet light on but no internet?
The internet light is on but there is no internet connection, which could indicate an outage with your internet provider. It is recommended to verify if there is an outage before troubleshooting other possible causes.
Why is my router connected but no internet?
Your router may be connected but not providing internet access. One possible solution is to reboot your router. This can refresh the cache and resolve network and software issues. Additionally, rebooting allows your WiFi to obtain a new IP address if it’s set up to do so automatically.
Why does my router have power but no internet?
Your router may have power but no internet connection due to a common issue with the Wifi router. To resolve this, you can try rebooting the router by unplugging the power cable from the wall for 30 seconds and then plugging it back in.
