Having missing or run DLL file errors on your Windows 10 or 11 system can be frustrating. In this article, I will share 13 effective ways to fix these errors and get your system running smoothly again.
Reboot Your Computer
If you’re experiencing missing or run DLL file errors on Windows 10 or 11, try these steps to fix the issue:
1. Restart your computer. Sometimes a simple reboot can resolve the problem.
2. Use the System File Checker (SFC) tool to scan and repair any corrupted system files. Open the Command Prompt as an administrator and type “sfc /scannow” to start the scan.
3. Check for Windows updates. Go to Settings > Windows Update and click on “Check for updates.” Install any available updates to ensure your system is up to date.
4. Run a malware scan with your antivirus software. Malware can cause DLL errors, so make sure your system is clean.
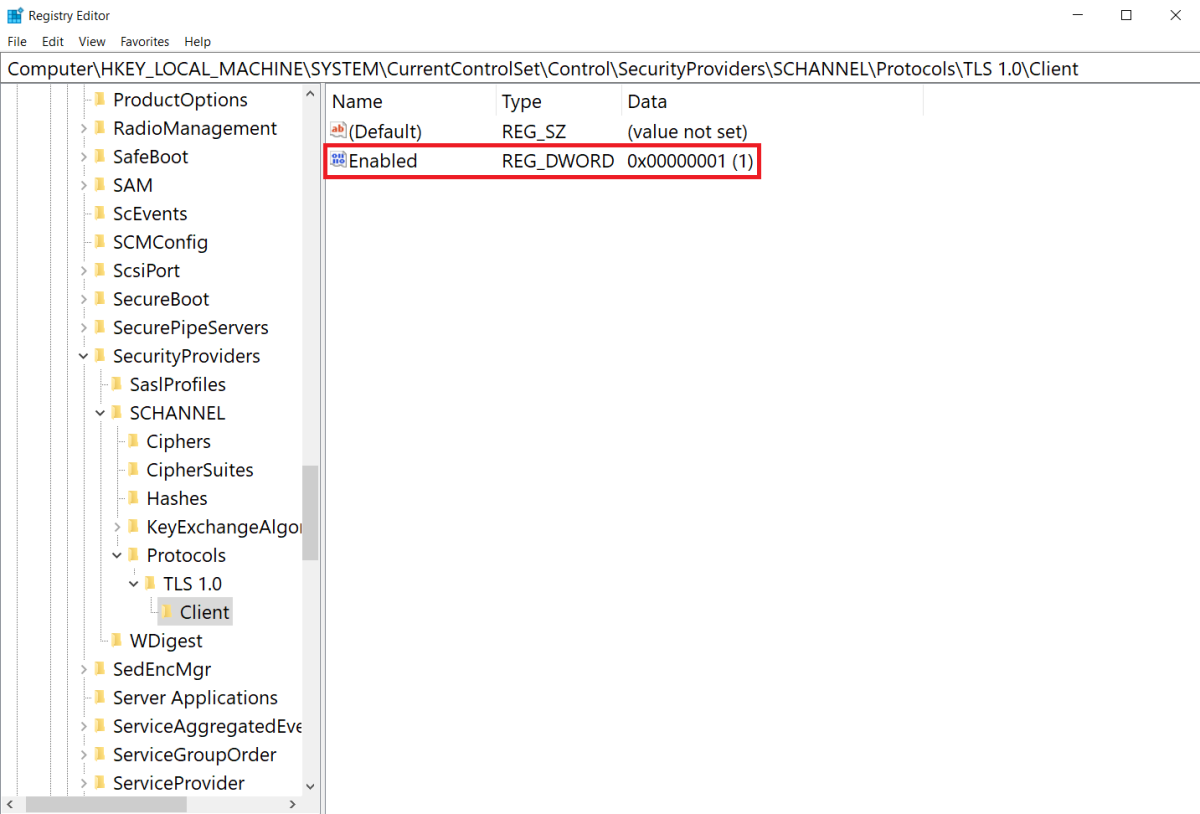
5. Use the Windows Registry Editor with caution. Incorrect changes to the registry can cause more problems. If you’re comfortable with it, try using the registry editor to fix DLL errors.
6. Try booting your computer in Safe Mode. This will start your computer with minimal drivers and services, which can help identify and fix DLL errors.
7. Use the System Restore feature to undo recent changes. Go to Control Panel > System and Security > System > System Protection, and click on “System Restore.” Select a restore point before the DLL errors occurred.
8. If you recently installed new software or drivers, uninstall them to see if it resolves the issue.
9. Check for any recent hardware changes. If you added or removed any hardware, make sure it’s properly installed or disconnected.
10. Use the Command Prompt to register the DLL files manually. Open the Command Prompt as an administrator and type “regsvr32 [filename.dll]” to register the DLL file.
11. Use a file recovery tool to restore any missing or corrupted DLL files. Be cautious when using these tools and make sure to download them from reputable sources.
Remember to always back up your important data before making any changes to your system.
Use System Restore
1. Press the Windows key and type “System Restore” in the search bar.
2. Select “Create a restore point” from the search results.
3. In the System Properties window, click on the “System Restore” button.
4. Click “Next” and choose a restore point from the list. Make sure it’s a point before you started experiencing the DLL file errors.
5. Click “Next” again and then “Finish” to start the restoration process.
6. Your computer will restart and begin the System Restore process. It may take some time, so be patient.
7. Once the process is complete, your computer will restart again, and hopefully, the DLL file errors will be resolved.
Remember to back up your important files before using System Restore, as it may remove any recent changes or installations. Additionally, System Restore is not always effective in fixing DLL file errors, especially if the issue is caused by malware or a corrupt system file. In such cases, you may need to consider other troubleshooting methods or seek professional help.
By using System Restore, you can potentially fix missing or run DLL file errors on your Windows 10 or 11 computer and get it back to its normal functioning.
Run File Recovery Applications
To fix missing or run DLL file errors on Windows 10 or 11, you can try using file recovery applications. These applications are designed to help you recover and restore missing or corrupted DLL files on your computer.
Here are some steps you can follow to run file recovery applications:
1. Start by downloading a reliable file recovery application from a trusted source.
2. Install the application on your computer and launch it.
3. Use the application’s scanning feature to scan your computer for missing or corrupted DLL files. This process may take some time depending on the size of your system.
4. Once the scan is complete, the application will display a list of the DLL files that need to be recovered or restored.
5. Select the DLL files you want to recover and click on the “Recover” or “Restore” button.
6. Follow the on-screen instructions to complete the recovery process.
7. After the recovery process is complete, restart your computer to apply the changes.
Re-install Affected Software
1. Uninstall the software: Go to the Control Panel and select “Uninstall a program” or “Programs and Features.” Find the affected software in the list and select “Uninstall.” Follow any prompts to complete the uninstallation.
2. Download the latest version: Visit the official website of the software and look for the download page. Download the latest version of the software compatible with your Windows version.
3. Install the software: Locate the downloaded file and double-click on it to start the installation. Follow the on-screen instructions to install the software. If prompted, choose the desired installation options.
4. Update the software: Once the installation is complete, open the software and check for any available updates. Many software applications have an “Update” or “Check for updates” option in the menu or settings.
5. Run the software: Launch the software and check if the missing or run DLL file errors have been resolved. If not, proceed to the next step.
6. Run a system file check: Open the Command Prompt as an administrator by pressing the Windows key + X and selecting “Command Prompt (Admin)” or “Windows PowerShell (Admin).” Type “sfc /scannow” and press Enter. This will scan and repair any corrupted system files that may be causing the DLL errors.
7. Restart your computer: After the system file check is complete, restart your computer to apply any changes.
8. Use a DLL repair tool: If the DLL errors persist, you can try using a DLL repair tool to automatically fix any issues with the DLL files. There are several reliable tools available online that can help with this.
Copy DLL From a Healthy System or Download Manually
To fix missing or run DLL file errors on Windows 10 or 11, you have two options: copying the DLL file from a healthy system or downloading it manually. Here’s how to do each method:
1. Copy DLL from a Healthy System:
– Find a computer with the same operating system (Windows 10 or 11) and architecture (32-bit or 64-bit) as yours.
– Locate the DLL file you need on the healthy system. Typically, DLL files are stored in the C:\Windows\System32 folder.
– Copy the DLL file to a USB drive or any other portable storage device.
– Insert the storage device into your computer.
– Open File Explorer and navigate to the directory where the missing DLL should be located.
– Paste the copied DLL file into this directory.
– Restart your computer to see if the DLL file error is resolved.
2. Download the DLL File Manually:
– Go to a reputable DLL file download website, such as DLL-files.com.
– Search for the specific DLL file that is missing or causing the error.
– Make sure to download the version that matches your operating system and architecture.
– Once downloaded, extract the DLL file from the ZIP or RAR archive (if applicable).
– Copy the DLL file to the directory where the missing DLL should be located. (Refer to the previous method for locating the directory.)
– Restart your computer and check if the DLL file error is resolved.
Remember to exercise caution when downloading DLL files from the internet. Ensure that you download from trusted sources to avoid malware or other security risks.
If neither of these methods resolves the DLL file error, you may need to consider other troubleshooting steps or seek professional help.
Maintaining Registry Key Hygiene

- Open Registry Editor:
- Press Windows Key + R to open the Run dialog box.
- Type regedit and press Enter.
- Backup Registry:
- Click on File in the Registry Editor.
- Select Export to create a backup of the registry.
- Choose a location to save the backup file.
- Enter a name for the backup file and click Save.
- Locate the Problematic Registry Key:
- Use the navigation pane on the left to browse through the registry.
- Identify the specific registry key associated with the missing or run DLL file error.

- Delete the Registry Key:
- Right-click on the problematic registry key.
- Select Delete from the context menu.
- Confirm the deletion if prompted by clicking Yes.
- Confirm Deletion:
- Double-check that the correct registry key is selected for deletion.
- Ensure that you have a backup of the registry before proceeding.
- Click Yes to confirm the deletion.
- Restart your Computer:
- After deleting the registry key, close the Registry Editor.
- Restart your computer to allow the changes to take effect.

F.A.Q.
How do I fix a missing DLL file?
To fix a missing DLL file, you can try the following solutions:
– Re-install the software.
– Run malware scanning.
– Use system file checker.
– Check for Windows Update.
– Consider using System Restore.
How do I manually run a DLL file?
To manually run a DLL file, you can open the Command Prompt as an administrator and use the REGSVR32 command followed by the path to the DLL file.
How do I get DLL files to work?
To get DLL files to work, you can open the command prompt directly in the folder where the DLL file is located by holding the Shift key and right-clicking the folder. Then, type “regsvr32 [DLL name].dll” and press Enter. This will add the DLL file to your Windows Registry and allow you to access it.
How to install DLL files?
To install DLL files, you can follow these steps:
1. Echoing back the question: To install DLL files, here’s what you can do.
2. Find the missing .dll file you need from a reliable source or DLL Dump site.
3. Download the file and save it to your computer.
4. Copy the downloaded .dll file to the “C:\Windows\System32” folder.
5. Open the Start menu, click on Run, and type in “regsvr32 name_of_dll” (replace “name_of_dll” with the actual name of the .dll file you downloaded).
6. Press Enter to register the DLL file.
Note: Make sure you have administrative privileges to perform these actions.

