Are you facing issues with your Samsung SCX-4521F scanner? Here’s a troubleshooting guide to help you resolve them effectively.
Checking Device Connection and Compatibility
To check the device connection and compatibility of your Samsung SCX-4521F scanner, follow these steps:
1. Ensure that the scanner is properly connected to your computer via a USB cable. Make sure the cable is securely plugged into both the scanner and the computer.
2. Check if the device driver for the scanner is installed on your computer. You can do this by going to the Device Manager in Windows or using the appropriate command in Linux. If the driver is not installed, you may need to download and install it from the Samsung website.
3. Verify that your operating system is compatible with the scanner. Samsung SCX-4521F is compatible with Windows, Mac, and Linux operating systems. Check the system requirements for your specific operating system version.
4. If you are using Linux, ensure that the necessary kernel modules for the scanner are loaded. You can use the “lsmod” command to check if the required modules are loaded. If not, you may need to load them manually.
5. Check if the scanner is recognized by your computer. In Windows, go to the Control Panel and open the “Devices and Printers” section. If the scanner is listed, it means it is recognized. In Linux, you can use the “lsusb” command to check if the scanner is detected.
If you encounter any error messages or issues during the device connection and compatibility check, try the following troubleshooting steps:
– Restart your computer and the scanner.
– Make sure the scanner is powered on and in a ready state.
– Check for any software updates for your operating system and scanner drivers.
– Try using a different USB port or cable.
– Disable any security software or firewalls that may be blocking the scanner.
Updating and Uninstalling Drivers
To update or uninstall drivers for your Samsung SCX-4521F scanner, follow these steps:
1. Identify the driver: Determine the specific driver that needs to be updated or uninstalled. This can usually be found in the “Device Manager” on your operating system.
2. Download the latest driver: Visit the Samsung website or the manufacturer’s support page to download the latest driver for your scanner model. Make sure to select the correct driver for your operating system.
3. Update the driver: To update the driver, right-click on the scanner in the “Device Manager” and select “Update driver.” Choose the option to browse your computer for the driver software and locate the downloaded driver file. Follow the on-screen instructions to complete the installation.
4. Uninstall the driver: If you need to uninstall the driver, right-click on the scanner in the “Device Manager” and select “Uninstall device.” Confirm the action when prompted. Restart your computer to complete the uninstallation process.
5. Reinstall the driver (optional): If you have uninstalled the driver and want to reinstall it, connect your scanner to the computer and let the operating system automatically detect it. If prompted, choose to install the driver software automatically.
It is important to keep your scanner drivers up to date to ensure optimal performance and compatibility. If you encounter any issues during the update or uninstallation process, refer to the manufacturer’s support documentation or contact their customer support for further assistance.
Troubleshooting Hardware Issues
-
Check power and connections:
- Ensure that the scanner is properly plugged into a power source.
- Verify that all cables and connections are secure and not loose.

- If using a USB connection, try connecting to a different USB port on your computer.
-
Update drivers:
- Visit the official Samsung website and download the latest drivers for the SCX-4521F scanner.
- Install the drivers on your computer and restart the system.
-
Check scanning software:
- Ensure that the scanning software is properly installed on your computer.
- If the software is already installed, try reinstalling or updating it to the latest version.
- Restart the computer after reinstalling or updating the scanning software.
-
Inspect scanner glass and document feeder:
- Check the scanner glass for any dirt, smudges, or scratches.
- Clean the scanner glass using a soft, lint-free cloth and a mild glass cleaner if necessary.
- Inspect the document feeder for any obstructions or damage.
- Remove any foreign objects or debris from the document feeder.
-
Restart scanner and computer:
- Turn off the scanner and unplug it from the power source.
- Wait for a few minutes, then plug the scanner back in and turn it on.

- Restart your computer and try scanning again.
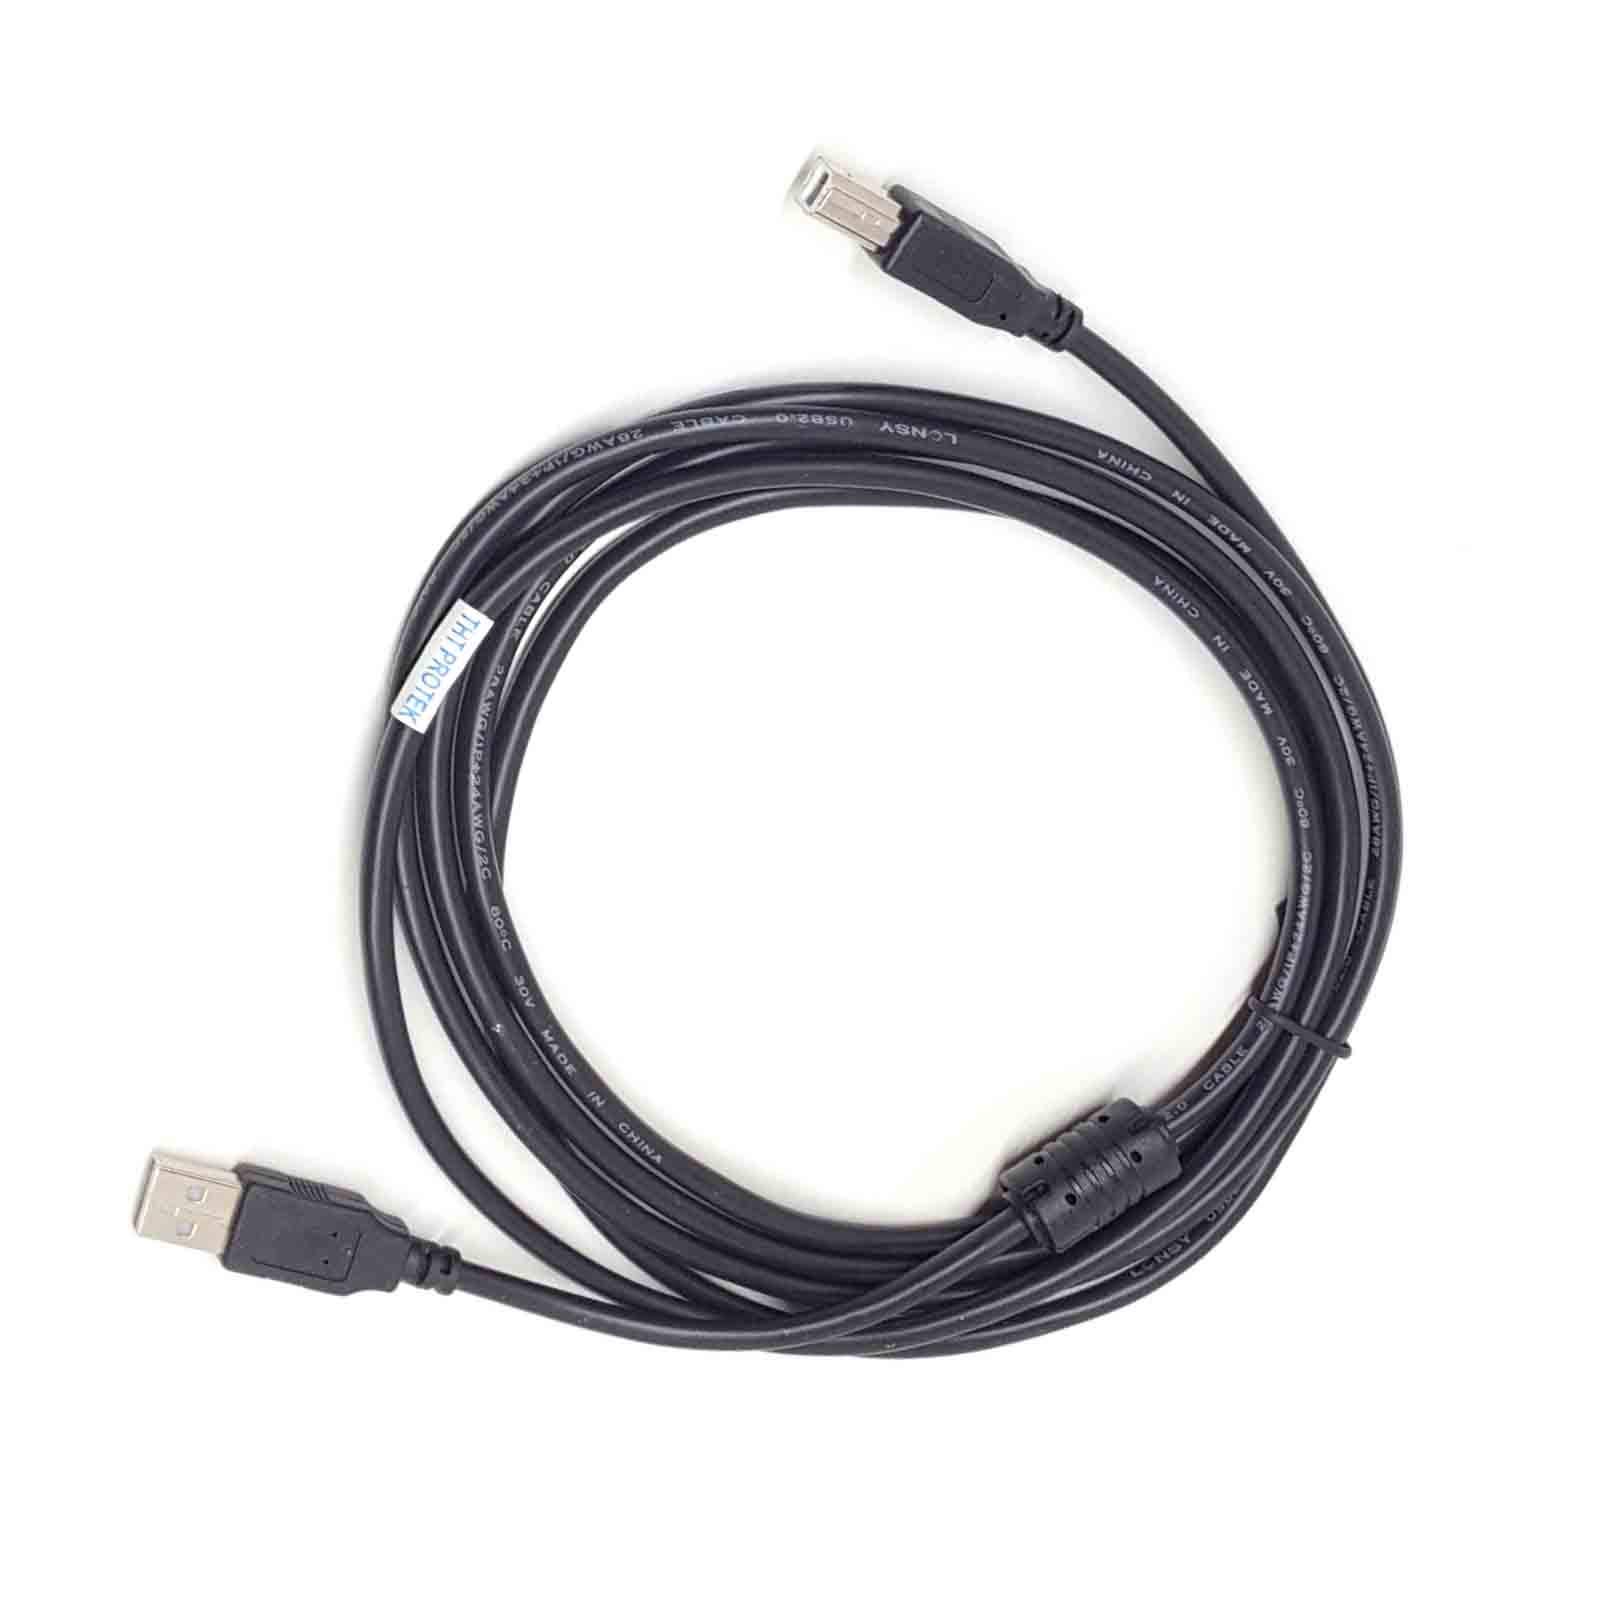
Changing Connection Cables

When troubleshooting the scanner on your Samsung SCX-4521F, one potential issue to consider is a faulty connection cable. If you’re experiencing problems with your scanner, it’s worth checking the cables to ensure they are properly connected.
To change the connection cables, follow these steps:
1. Turn off your scanner and unplug it from the power source.
2. Locate the USB cable that connects your scanner to the computer.
3. Carefully disconnect the USB cable from both the scanner and the computer.
4. Inspect the USB cable for any visible damage or frayed wires. If you notice any issues, it’s best to replace the cable with a new one.
5. Connect the new USB cable to both the scanner and the computer. Ensure that it is securely plugged in on both ends.
6. Plug your scanner back into the power source and turn it on.
7. Test the scanner by scanning a document or image to see if the issue has been resolved.
By changing the connection cables, you can eliminate any potential issues related to faulty or damaged cables. If the problem persists, you may need to explore other troubleshooting steps or seek further assistance.
