In this article, I will discuss six effective methods to resolve the issue of a stuck scanning and repairing drive.
Check the Disk Connection
1. Start by opening the Start menu and searching for “File Explorer”. Click on it to open the application.
2. In File Explorer, navigate to “This PC” or “My Computer” to view a list of all connected drives.
3. Look for the drive that is stuck or showing scanning or repairing errors. Right-click on it to access the context menu.
4. From the context menu, select “Properties” to open the drive’s properties dialog box.
5. In the properties dialog box, go to the “Tools” tab. Under the “Error Checking” section, click on the “Check” button.
6. Windows will start scanning the drive for errors and fix them if possible. This process may take some time, so be patient.
Use Third-Party Boot Repair Software
1. Download and install a reliable boot repair software like EaseUS Partition Master or any other trusted tool.
2. Launch the software and select the option to repair boot issues. This will initiate the scanning and repairing process.
3. Follow the on-screen instructions provided by the software. These instructions may vary depending on the tool you are using, but they will generally guide you through the repair process.
4. Allow the software to scan and repair any detected issues. It may take some time for the software to analyze your system and fix any problems it finds.
5. Restart your computer after the repair process is complete. This will ensure that any changes made by the software take effect.
6. Check if the scanning and repairing drive stuck issue is resolved. If the problem persists, you may need to try a different boot repair software or consider seeking professional help.
Remember to backup your important files before attempting any repairs, as there is always a risk of data loss during the process.
Using third-party boot repair software can be a helpful solution when dealing with scanning and repairing drive stuck issues. These tools are designed to simplify the troubleshooting process and provide effective solutions to boot-related problems.
Wait for the Process to Finish
If the scanning or repairing drive process is stuck, try the following steps:
1. Reboot your computer: Sometimes, a simple restart can resolve the issue. Use the Start menu or press the power button to restart your computer.
2. Boot into Safe Mode: If the issue persists, try booting your computer into Safe Mode. This will load a basic version of Windows without any unnecessary programs or drivers. To enter Safe Mode, restart your computer and repeatedly press the F8 key until the Advanced Boot Options menu appears. Use the arrow keys to select Safe Mode and press Enter.
3. Run CHKDSK: CHKDSK is a Windows utility that can scan and repair issues with the hard disk drive. Open a Command Prompt window by pressing the Windows key + R, then type “cmd” and press Enter. In the Command Prompt, type “chkdsk /f” and press Enter to start the scan. Follow any on-screen instructions.
4. Use System Restore: If the issue started after installing new software or making changes to your system, you can try using System Restore to revert your computer to a previous state. Open the Control Panel and search for “System Restore.” Follow the on-screen instructions to restore your computer.
5. Check for hardware issues: If none of the above steps work, there may be a hardware problem with your computer or hard disk drive. Check for any loose connections or faulty hardware. If necessary, consult a professional or contact the manufacturer for further assistance.
6. Use third-party software: If all else fails, you can try using third-party software such as EaseUS Partition Master to fix the scanning or repairing drive issue. These tools provide advanced features and can help resolve complex disk-related problems.
Enter Safe Mode and Run CHKDSK
To fix a scanning repairing drive that is stuck, you can try entering Safe Mode and running CHKDSK. Here are the steps to follow:
1. Start by rebooting your computer and repeatedly pressing the F8 key before the Windows logo appears. This will bring up the Advanced Boot Options menu.
2. Use the arrow keys to navigate to “Safe Mode” and press Enter. This will boot your computer into Safe Mode, which loads only the essential drivers and services.
3. Once in Safe Mode, press the Windows key + R to open the Run dialog box.
4. Type “cmd” and press Enter to open the Command Prompt.
5. In the Command Prompt, type “chkdsk /f” followed by the drive letter of the scanning repairing drive (e.g., C:, D:, etc.). Press Enter to start the CHKDSK scan.
6. CHKDSK will now scan and repair any errors it finds on the drive. This process may take some time, so be patient and let it complete.
7. Once the scan is finished, reboot your computer normally and check if the scanning repairing drive issue is resolved.
By entering Safe Mode and running CHKDSK, you can effectively troubleshoot and fix a scanning repairing drive that is stuck.
Utilize Windows PowerShell for Fixes
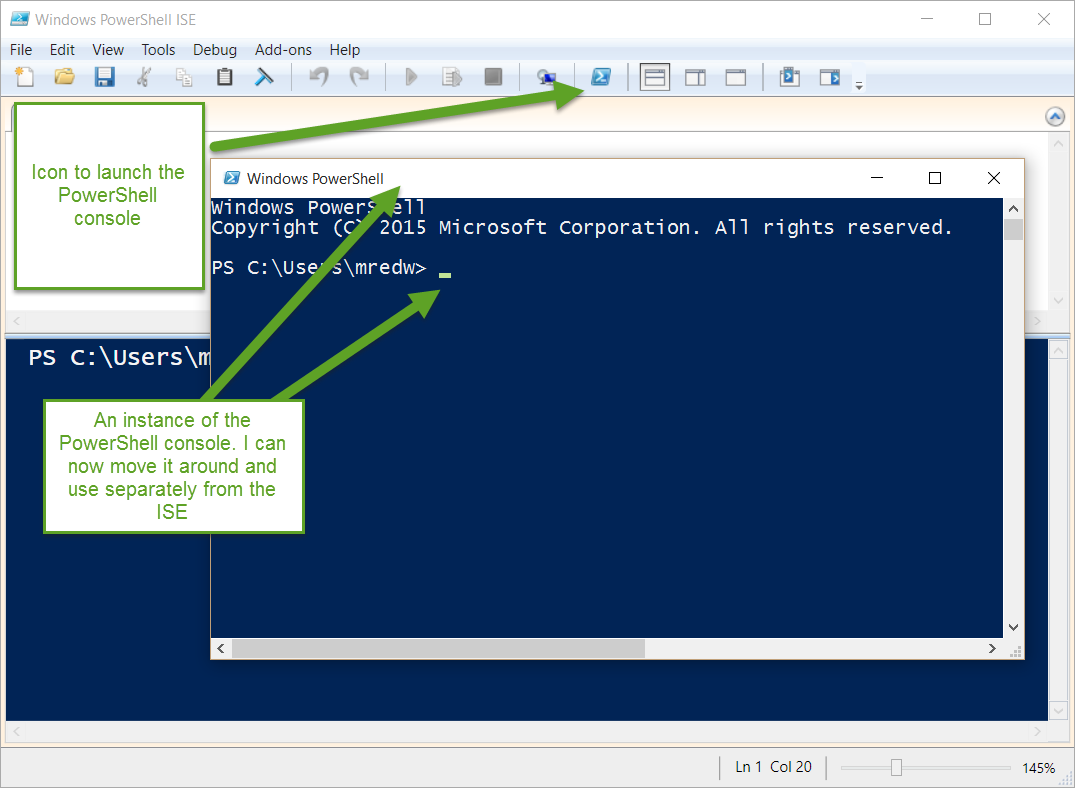
Windows PowerShell can be a powerful tool for fixing issues related to scanning and repairing drives. Here are six ways you can use Windows PowerShell to complete the task:
1. Check disk for errors: Open Windows PowerShell as an administrator and run the command “chkdsk C:“. Replace “C:” with the drive letter you want to scan. This will check the disk for any errors and fix them if necessary.
2. Repair file system: If the scanning process detects any issues with the file system, you can repair it using the command “sfc /scannow“. This will scan all protected system files and replace any corrupted versions with a cached copy.
3. Rebuild system image: In some cases, a corrupted system image can cause scanning and repairing drive to get stuck. To fix this, open Windows PowerShell as an administrator and run the command “DISM /Online /Cleanup-Image /RestoreHealth“. This will repair the system image and allow the scanning process to complete.
4. Reset Windows Update components: If the scanning and repairing drive issue is caused by a problem with Windows Update, you can reset the Windows Update components using the command “net stop wuauserv” followed by “net stop cryptSvc“. Then, run the commands “net stop bits” and “net stop msiserver“. Finally, run the command “ren C:\Windows\SoftwareDistribution SoftwareDistribution.old“. This will reset the Windows Update components and allow the scanning process to continue.
5. Run system file checker: Another way to fix scanning and repairing drive issues is to run the system file checker using the command “sfc /scannow“. This will scan all system files and replace any corrupted versions with a cached copy.
6. Update device drivers: Outdated or incompatible device drivers can cause issues with scanning and repairing drives. To update your device drivers, open Windows PowerShell as an administrator and run the command “Update-DeviceDriver -AllDrivers“. This will update all device drivers on your computer.
By utilizing these methods in Windows PowerShell, you can effectively complete the scanning and repairing drive process and resolve any issues that may be causing it to get stuck.
Apply Command Prompt Solutions
Here are 6 ways to fix scanning and repairing drive stuck issue using Command Prompt:
1. Run CHKDSK command: Open Command Prompt as an administrator and type “chkdsk /f /r” followed by the drive letter of the stuck drive. This command will fix any logical errors and bad sectors on the drive.
2. Use SFC command: In Command Prompt, enter “sfc /scannow” and press Enter. This command will scan for and repair any corrupted system files that may be causing the issue.
3. Perform a DISM scan: Run Command Prompt as an administrator and type “DISM /Online /Cleanup-Image /RestoreHealth”. This command will repair any issues with the Windows image files, which might be causing the problem.
4. Use Bootrec command: If the issue is related to the boot process, open Command Prompt and type “bootrec /fixmbr”, “bootrec /fixboot”, and “bootrec /rebuildbcd” one by one. These commands will fix any bootloader issues.
5. Reset the PC: If none of the above solutions work, you can try resetting your PC. Open Command Prompt and type “systemreset” to initiate the reset process. Make sure to back up your important files before resetting.
6. Reinstall Windows: As a last resort, you can reinstall Windows to resolve the scanning and repairing drive stuck issue. Use a Windows installation media or a bootable USB drive to reinstall the operating system.
FAQs
Why does my PC always say Scanning and repairing drive C?
Your PC always says “Scanning and repairing drive C” because it may not have been properly shut down, such as due to a forced shutdown or power failure.
How do I bypass Scanning and repairing drive C?
To bypass the scanning and repairing drive C process, you can try the following steps:
1. Restart your computer and enter the BIOS settings by pressing the designated key during startup (usually F2, F10, or Del).
2. In the BIOS settings, navigate to the boot options and disable any options related to automatic scanning and repairing of drives.
3. Save the changes and exit the BIOS settings.
4. If the issue persists, you can try booting into safe mode to bypass the scanning and repairing process. To do this, restart your computer and repeatedly press the F8 key until the Advanced Boot Options menu appears. From there, select “Safe Mode” and press Enter.
5. Once in safe mode, you can access your C drive without the scanning and repairing process interrupting. However, keep in mind that this is only a temporary solution and it is recommended to address any underlying issues with your C drive.
Remember, this solution is for informational purposes only, and it is always advisable to consult a professional or seek further assistance if you are unsure about making changes to your computer’s settings.
Why does my hard drive keep Scanning and repairing?
Your hard drive keeps scanning and repairing due to various reasons such as faulty graphic card drives, improper system shutdown, or a corrupted hard drive. To fix this issue, you can try rolling back the drivers, running startup repair, using the CHKDSK command, or exploring other solutions provided in this blog.
What to do when Scanning and repairing drive is stuck?
To resolve the issue of a stuck “Scanning and repairing drive,” you can enter Safe Mode and run CHKDSK to fix any disk errors such as bad sectors and file system errors.
