Understanding Why System Restore Gets Stuck
System Restore getting stuck on Windows 10 can be frustrating, but there are a few reasons why this may occur. One common cause is a corrupt or missing system file. To check for this issue, you can use the System File Checker tool.
Another reason for a stuck System Restore is a conflicting installation or a problem with the Windows Registry. To resolve this, you can try running the System Restore in Safe Mode, which can help bypass any potential conflicts.
Sometimes, a stuck System Restore can be due to issues with the booting process. In this case, you can try booting into Safe Mode through the Windows 10 Start menu or using the command-line interface.
It’s also worth noting that a computer virus or malware can interfere with the System Restore process. Running a thorough virus scan using a reliable antivirus software can help resolve this issue.
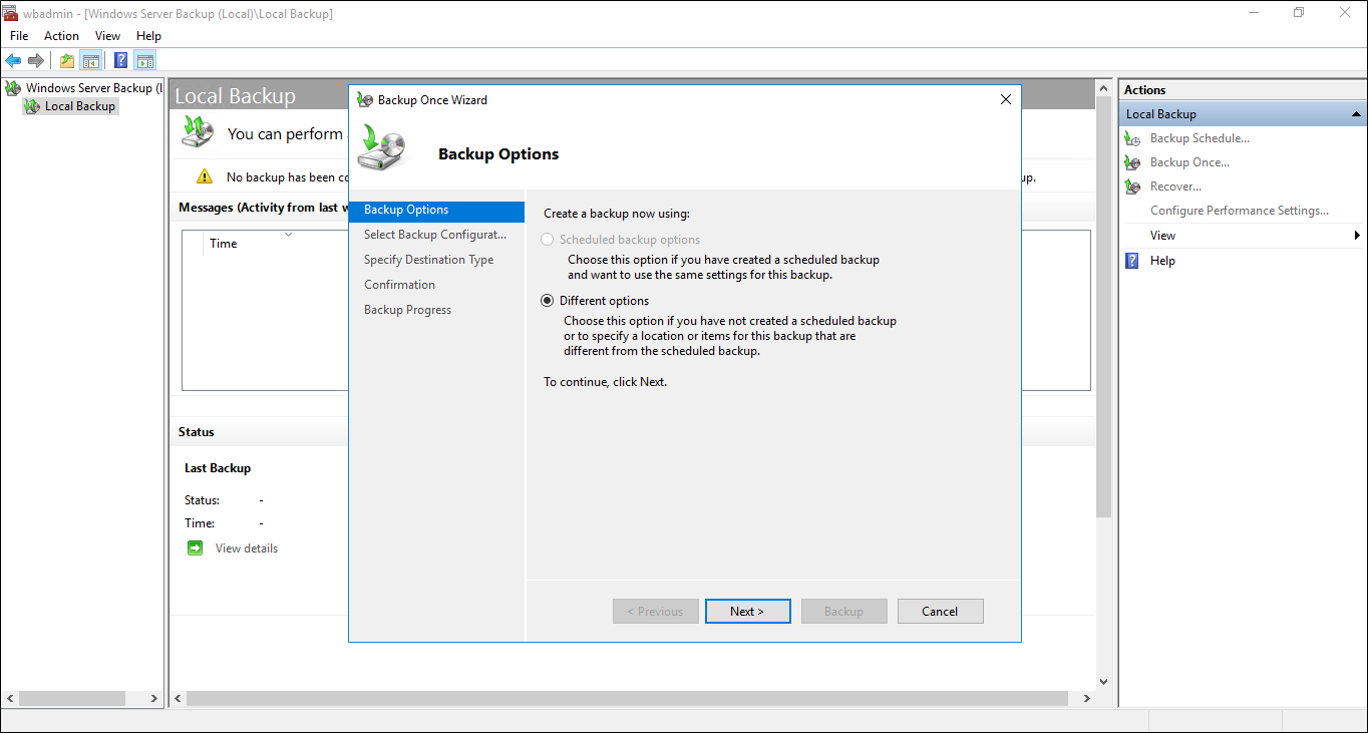
If none of these troubleshooting steps work, you can try creating a system image or backup of your important data and perform a clean installation of Windows 10. This will ensure a fresh start and may resolve any underlying issues causing the System Restore to get stuck. Remember to back up your files before proceeding with a clean installation.
Booting from Safe Mode with Networking
To do this, follow these steps:
1. Press the Windows key on your keyboard and type “msconfig” into the search bar. Press Enter to open the System Configuration window.
2. In the System Configuration window, go to the Boot tab.
3. Under the Boot options section, check the box next to “Safe boot” and select “Network”.
4. Click Apply and then OK to save the changes.
5. Restart your computer.
After your computer restarts, it will boot into Safe Mode with Networking enabled. This mode loads only essential drivers and services, which can help troubleshoot issues with System Restore.
Once in Safe Mode with Networking, you can try running the System Restore again. Remember to select a restore point that was created before the issue started.
If the issue persists, you may need to use additional troubleshooting methods such as running the System File Checker or checking the Windows Registry.
To exit Safe Mode and return to normal mode, follow the same steps above but uncheck the “Safe boot” option.
Running System Restore from Safe Mode with Command Prompt
To begin, start your computer and press the power button to turn it on. As soon as you see the manufacturer’s logo, press the power button again to force a shutdown. Repeat this process two more times until you see the “Preparing Automatic Repair” screen. From there, you can access the Advanced Startup Options.
In the Advanced Startup Options, select “Troubleshoot” and then “Advanced options.” Next, choose “Command Prompt” to open the Command-line interface.
Once the Command Prompt window opens, you can begin the System Restore process. Type “rstrui.exe” and press Enter to launch the System Restore wizard.
Follow the on-screen instructions to select a restore point and initiate the restoration process. It’s important to note that System Restore will not affect your personal files, but any programs or updates installed after the selected restore point will be removed.
After the restoration process is complete, your computer will restart and should be back to a previous working state. If you’re still experiencing issues, you may want to try a different restore point or consider other troubleshooting methods.
Remember, System Restore is a powerful tool, but it’s not a substitute for regular backups. It’s always a good idea to regularly back up your important files and create system images to protect against unexpected issues.
Executing the SFC Command Line
To fix a stuck system restore on Windows 10, you can try using the SFC command line tool.
Here’s how to execute the SFC command line:
1. Open the Start menu and type “Command Prompt” in the search bar.
2. Right-click on “Command Prompt” and select “Run as administrator” from the context menu.
3. In the Command Prompt window, type “sfc /scannow” and press Enter.
4. The SFC command will now scan your system for any corrupted or missing system files.
5. Wait for the scan to complete. This may take some time, so be patient.
6. If the SFC command finds any issues, it will attempt to repair them automatically.
7. Once the scan and repair process is finished, restart your computer.
Executing the SFC command line can help resolve issues with system restore that may be caused by corrupted or missing system files. It is a useful tool to have in your troubleshooting arsenal when dealing with Windows 10 issues.
Comparing System Restore and System Image Backup
| Feature | System Restore | System Image Backup |
|---|---|---|
| Definition | A Windows feature that allows you to revert your system files, programs, and settings to a previous point in time. | A Windows backup utility that creates a copy of the entire system, including the operating system, installed programs, settings, and files. |
| Scope | Restores only system files, programs, and settings. | Creates a complete backup of the entire system. |
| Storage Requirement | Relatively low as it only stores changes made to the system. | Requires more storage space as it creates an image of the entire system. |
| Backup Frequency | System Restore points are created automatically before significant system changes or manually by the user. | Can be scheduled to create periodic backups or performed manually by the user. |
| Restoration Process | Quick and easy to restore the system to a previous point. | Requires a system recovery using the created image, which can take longer depending on the size of the image. |
| File Recovery | Does not recover individual files, only system settings and configurations. | Allows recovery of individual files from the backup image. |
Exploring Your Ultimate Windows Boot Up Solution Tool
If you’re experiencing issues with your system restore on Windows 10, there is an ultimate boot up solution tool that can help you out. This tool is designed to fix any stuck system restore problems and get your computer back up and running smoothly.
To use this tool, follow these steps:
1. Start by restarting your computer. Make sure to save any important work before proceeding.
2. As the computer starts up, press the F8 key repeatedly until you see the Advanced Boot Options menu. This menu allows you to access various troubleshooting options for your Windows operating system.
3. From the Advanced Boot Options menu, select “Repair Your Computer” and press Enter. This will launch the Windows Recovery Environment.
4. In the Windows Recovery Environment, select “Troubleshoot” and then “Advanced options”.
5. From the Advanced options menu, select “System Restore” and follow the on-screen instructions to restore your computer to a previous point in time.
6. If the system restore process gets stuck or encounters an error, you can use the ultimate boot up solution tool to fix the issue. Download the tool from a trusted source and save it to a USB drive or DVD.
7. Insert the USB drive or DVD into your computer and restart it. Press the F12 key (or the key specified by your computer’s manufacturer) to access the boot menu.
8. From the boot menu, select the USB drive or DVD that contains the ultimate boot up solution tool and press Enter.
9. The tool will launch and guide you through the process of fixing any stuck system restore problems. Follow the on-screen instructions carefully.
10. Once the tool has completed its process, restart your computer and check if the system restore issue has been resolved.
Remember to always backup your important files before attempting any major changes to your computer’s system. This will help prevent any data loss in case something goes wrong during the troubleshooting process.
FAQs
What to do if System Restore is stuck on restoring files?
If System Restore is stuck on restoring files, you can try running repairs through Startup Repair. Restart your computer and when it starts up, go to Troubleshoot > Advanced options > Startup Repair to run automatic startup repair.
How long does it take for System Restore to restoring files?
The restoration process of System Restore usually takes around 30 to 45 minutes to complete. If it takes longer than this, there are solutions available to expedite the process.
Is it safe to interrupt a System Restore?
Interrupting a System Restore can compromise system stability, potentially causing corrupt or missing system files, leading to errors, crashes, and other issues when using the computer.
Why is my System Restore taking so long?
Your System Restore may be taking a long time due to corrupted files. One solution is to use the SFC command in the Command Prompt to fix these corrupt files and speed up the process.
