Are you having trouble connecting to a wireless display in Windows 10? Don’t worry, I’ve got the fix and troubleshooting tips you need. Let’s dive in.
Check Device Compatibility with Miracast
To check the compatibility of your device with Miracast in Windows 10, follow these steps:
1. Open the Start menu and search for “DirectX Diagnostic Tool” in the search bar.
2. Click on the “DirectX Diagnostic Tool” icon to open it.
3. In the DirectX Diagnostic Tool window, navigate to the “Display” tab.
4. Look for the “Miracast: Available, with HDCP” section. If it says “Available” and “HDCP” is supported, your device is compatible with Miracast.
5. If Miracast is not available or HDCP is not supported, check if your device has Wi-Fi and Bluetooth capabilities.
6. Make sure Wi-Fi Direct is enabled on your device. You can usually find this option in the settings menu or the taskbar.
7. If your device is a laptop, ensure that the Wi-Fi and Bluetooth switches are turned on using the dedicated keys on your computer keyboard.
8. Check if your device has the latest firmware and drivers installed. You can do this by opening the Device Manager and updating any outdated drivers or firmware.
9. If your device meets all the requirements and is still unable to connect to a wireless display, try using a different adapter or dongle.
10. Additionally, ensure that the wireless display or TV you are trying to connect to is turned on and within range.
11. Restart your computer and the wireless display to refresh the connection.
12. If you are using a mobile app to connect to a wireless display, make sure the app is up to date and compatible with your device’s operating system.
13. Lastly, check if your device is connected to the correct Wi-Fi network and that the network has a stable internet connection.
Ensure Wi-Fi and Wireless Display Are Enabled

To fix and troubleshoot the issue of being unable to connect to a wireless display in Windows 10, it is important to ensure that Wi-Fi and Wireless Display are enabled. Follow these steps to enable them:
1. Open the Start menu and go to Settings.
2. Click on Network & Internet.
3. On the left side, select Wi-Fi.
4. Make sure the Wi-Fi toggle switch is turned on. If it’s already on, try turning it off and then back on.
5. Next, select Wi-Fi Direct from the list on the left.
6. Toggle the Wi-Fi Direct switch to the on position.
Once Wi-Fi and Wi-Fi Direct are enabled, you should be able to connect to a wireless display. If the issue persists, you can try the following additional troubleshooting steps:
1. Check the taskbar for the Wi-Fi icon. If it’s not visible, try pressing the Windows key + W on your computer keyboard, and then type “Wi-Fi” in the search box. Click on the Wi-Fi settings option that appears.
2. In the Wi-Fi settings, make sure the “Connect automatically” option is enabled.
3. Make sure your wireless display is turned on and in range.
4. Restart your computer and try connecting again.
5. Update your display driver. Open the Device Manager, expand the Display adapters category, right-click on your display adapter, and select “Update driver.” Follow the on-screen instructions to complete the update.
6. Check for any available updates for your operating system. Go to the Microsoft Store and click on the three-dot menu in the top-right corner. Select “Downloads and updates” and then click on “Check for updates.”
7. If you’re using Windows 11, make sure your display supports the necessary technologies, such as HDMI or Wi-Fi Direct.
8. If you’re still unable to connect, try using a different wireless display or connecting your device to a television or projector using a cable.
By ensuring that Wi-Fi and Wireless Display are enabled, and following these troubleshooting steps, you should be able to resolve the issue of being unable to connect to a wireless display in Windows 10.
Connect Devices to the Same Network
1. Open the Settings app by pressing the Windows key + I.
2. Click on “Network & Internet”.
3. Select “Wi-Fi” from the left sidebar.
4. Make sure Wi-Fi is turned on and your desired network is listed. If not, click on “Manage known networks” and add your network.
5. Click on your network name and select “Connect”.
6. Enter the network password if prompted and click “Next”.
7. Wait for your device to connect to the network.
8. Once connected, try connecting to the wireless display again.
9. Press the Windows key + P to open the Project menu.
10. Select “Connect to a wireless display”.
11. Your computer will search for available displays. Select the desired display from the list.
12. If prompted, enter the PIN or passcode displayed on the wireless display.
13. Wait for the connection to be established.
14. Once connected, you should be able to see your computer’s screen on the wireless display.
If you’re still unable to connect to the wireless display, try the following troubleshooting steps:
1. Make sure both your computer and the wireless display are connected to the same network.
2. Check if there are any physical obstructions or interference that may be affecting the wireless signal.
3. Restart your computer and the wireless display.
4. Update your graphics drivers. Visit the manufacturer’s website or use the Microsoft Store to download the latest drivers.
5. Check for Windows updates. Open the Settings app, go to “Update & Security”, and click on “Check for updates”.
6. Disconnect any other devices connected to the wireless display, as they may be causing interference.
7. If you’re using a third-party application for wireless display, make sure it’s up to date.
Following these steps should help you connect your devices to the same network and fix any issues you may be experiencing with connecting to a wireless display in Windows 10.
Restart Devices and Reset Wireless Adapter
If you’re unable to connect to a wireless display in Windows 10, restarting your devices and resetting the wireless adapter can often resolve the issue.
To restart your devices, follow these steps:
1. Close any open applications or files on your computer.
2. Click on the Start button in the bottom left corner of your screen.
3. Select the Power option.
4. Choose Restart from the drop-down menu.
Once your computer has restarted, you can proceed with resetting the wireless adapter. Here’s how:
1. Press the Windows key + X on your keyboard to open the Power User Menu.
2. Select Device Manager from the list.
3. In the Device Manager window, expand the Network adapters category.
4. Right-click on your wireless adapter and select Disable.
5. Wait for a few seconds, then right-click on the wireless adapter again and select Enable.
By restarting your devices and resetting the wireless adapter, you’re giving them a fresh start and allowing them to establish a new connection to the wireless display. This can help resolve any temporary glitches or conflicts that may be preventing the connection.
If you’re still experiencing issues after following these steps, it may be worth checking if there are any updates available for your wireless adapter’s driver. You can do this by right-clicking on the wireless adapter in Device Manager and selecting Update driver.
Remember to also ensure that your wireless adapter is properly connected to your computer and that you’re within range of the wireless display. Additionally, check if the wireless display is powered on and in pairing mode.
Following these troubleshooting steps should help you fix the “Unable to Connect to Wireless Display” issue in Windows 10.
Update and Install Latest Drivers
To update and install the latest drivers for your wireless display in Windows 10, follow these steps:
1. Open the Device Manager by pressing the Windows key + X and selecting “Device Manager” from the menu.
2. In the Device Manager, locate the “Network adapters” category and expand it.
3. Look for your wireless display adapter or network interface controller in the list. It may be listed as a separate device or under the “Display adapters” category.
4. Right-click on the wireless display adapter and select “Update driver” from the context menu.
5. Choose the option to automatically search for updated driver software. Windows will then search for the latest driver and install it if one is available.
6. If Windows is unable to find an updated driver, you can also try visiting the manufacturer’s website and downloading the driver manually. Make sure to download the appropriate driver for your specific wireless display adapter model and Windows version.
7. Once the driver installation is complete, restart your computer to apply the changes.
By updating and installing the latest drivers for your wireless display adapter, you can resolve connectivity issues and ensure optimal performance.
Configure Firewall to Allow Wireless Display
![]()
To configure the firewall and allow wireless display in Windows 10, follow these steps:
1. Click on the Start menu and type “Windows Security” in the search bar. Open the Windows Security app.
2. In the Windows Security app, click on “Firewall & network protection” in the left-hand menu.
3. Under the “Network profile” section, click on the network profile you are currently connected to (e.g., Public network, Private network).
4. Scroll down and click on “Allow an app through firewall.”
5. Click on the “Change settings” button. You may need to provide administrator permission.
6. Scroll down the list of apps and locate the app or program you are using for wireless display (e.g., Microsoft Wireless Display Adapter, Miracast).
7. Check the boxes next to both “Private” and “Public” to allow the app through the firewall for both network profiles.
8. Click the “OK” button to save the changes.
9. Close the Windows Security app and try connecting to the wireless display again.
By configuring the firewall to allow the necessary app through, you should now be able to connect to the wireless display without any issues. If you continue to experience problems, you may need to check for any device driver updates or consult the manufacturer’s support documentation.
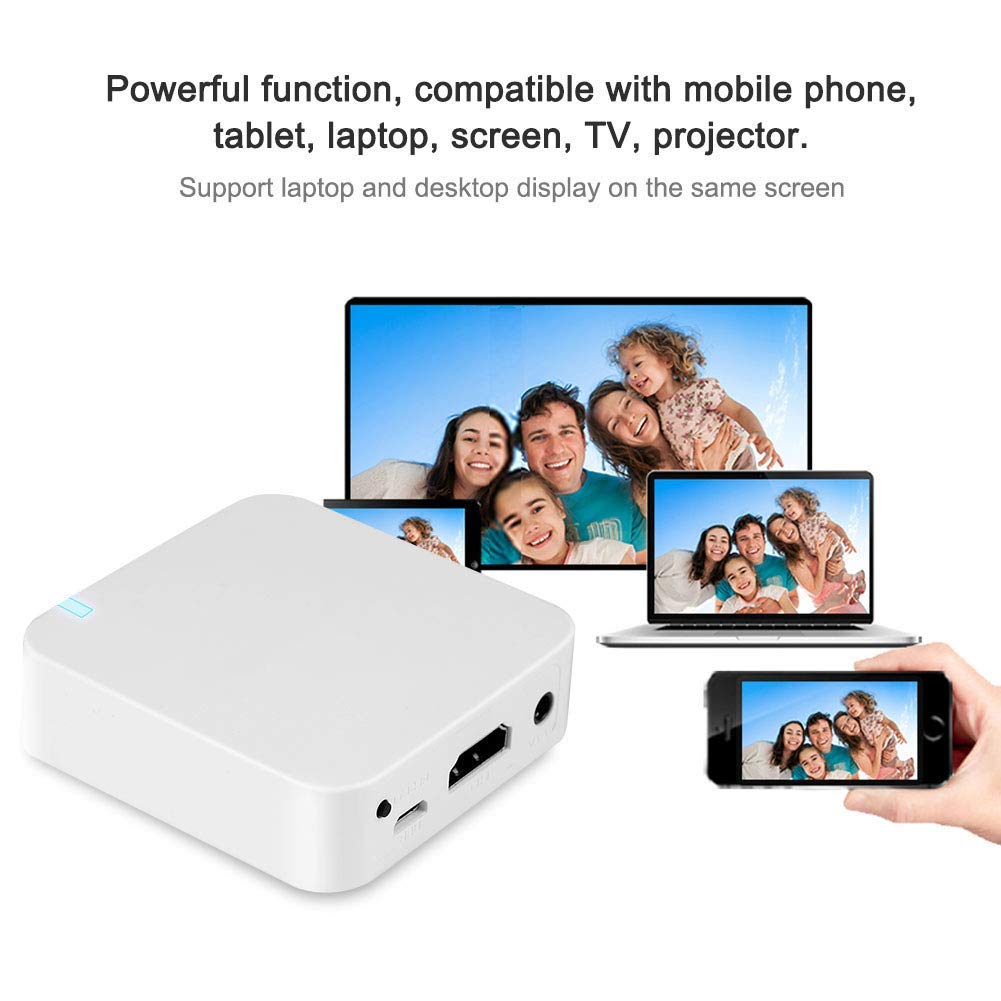
Explore AirDroid Cast as an Alternative Solution
If you’re experiencing difficulties connecting to a wireless display in Windows 10, AirDroid Cast can be a helpful alternative solution. This mobile app allows you to wirelessly mirror your personal computer or laptop screen onto a television or other display device.
To get started, follow these steps:
1. Download and install the AirDroid Cast app on your device.
2. Launch the app and ensure that both your computer and the display device are connected to the same network.
3. Open AirDroid Cast on your computer and click on the “Start Now” button.
4. On your display device, select the appropriate input source to connect to the computer.
5. In the AirDroid Cast app, click on the “Scan to Connect” button and scan the QR code displayed on your computer screen.
6. Once the QR code is scanned successfully, your computer screen will be mirrored onto the display device.
AirDroid Cast offers a user-friendly interface and supports various features like scrolling, double-clicking, and typing. It also allows you to share text files, images, and videos seamlessly between your computer and the display device.
With its cross-platform compatibility, AirDroid Cast works well with both Windows 10 and Windows 11. It eliminates the need for cables and dongles, making it a convenient solution for wireless display connectivity.
Whether you’re giving a presentation or enjoying multimedia content, AirDroid Cast provides a reliable and efficient way to connect your computer to a display device wirelessly. Try it out and experience hassle-free wireless screen mirroring.
FAQs
Why can’t I install wireless display Windows 10?
You may not be able to install wireless display on Windows 10 due to an unstable internet connection. Restarting your router could potentially resolve the issue.
Why can’t i enable wireless display?
You may not be able to enable wireless display if your device drivers are not up to date and if you do not have the latest firmware installed for your wireless display, adapter, or dock. To resolve this, check the manufacturer’s website for support information or search for your manufacturer’s app on Microsoft Store for assistance. Additionally, try restarting your PC and the wireless display or dock.
Why won’t my PC connect to a wireless display?
Your PC may not be connecting to a wireless display due to various reasons such as device compatibility issues, WiFi problems, Wireless Display device settings, driver issues, or even the Windows Firewall.
