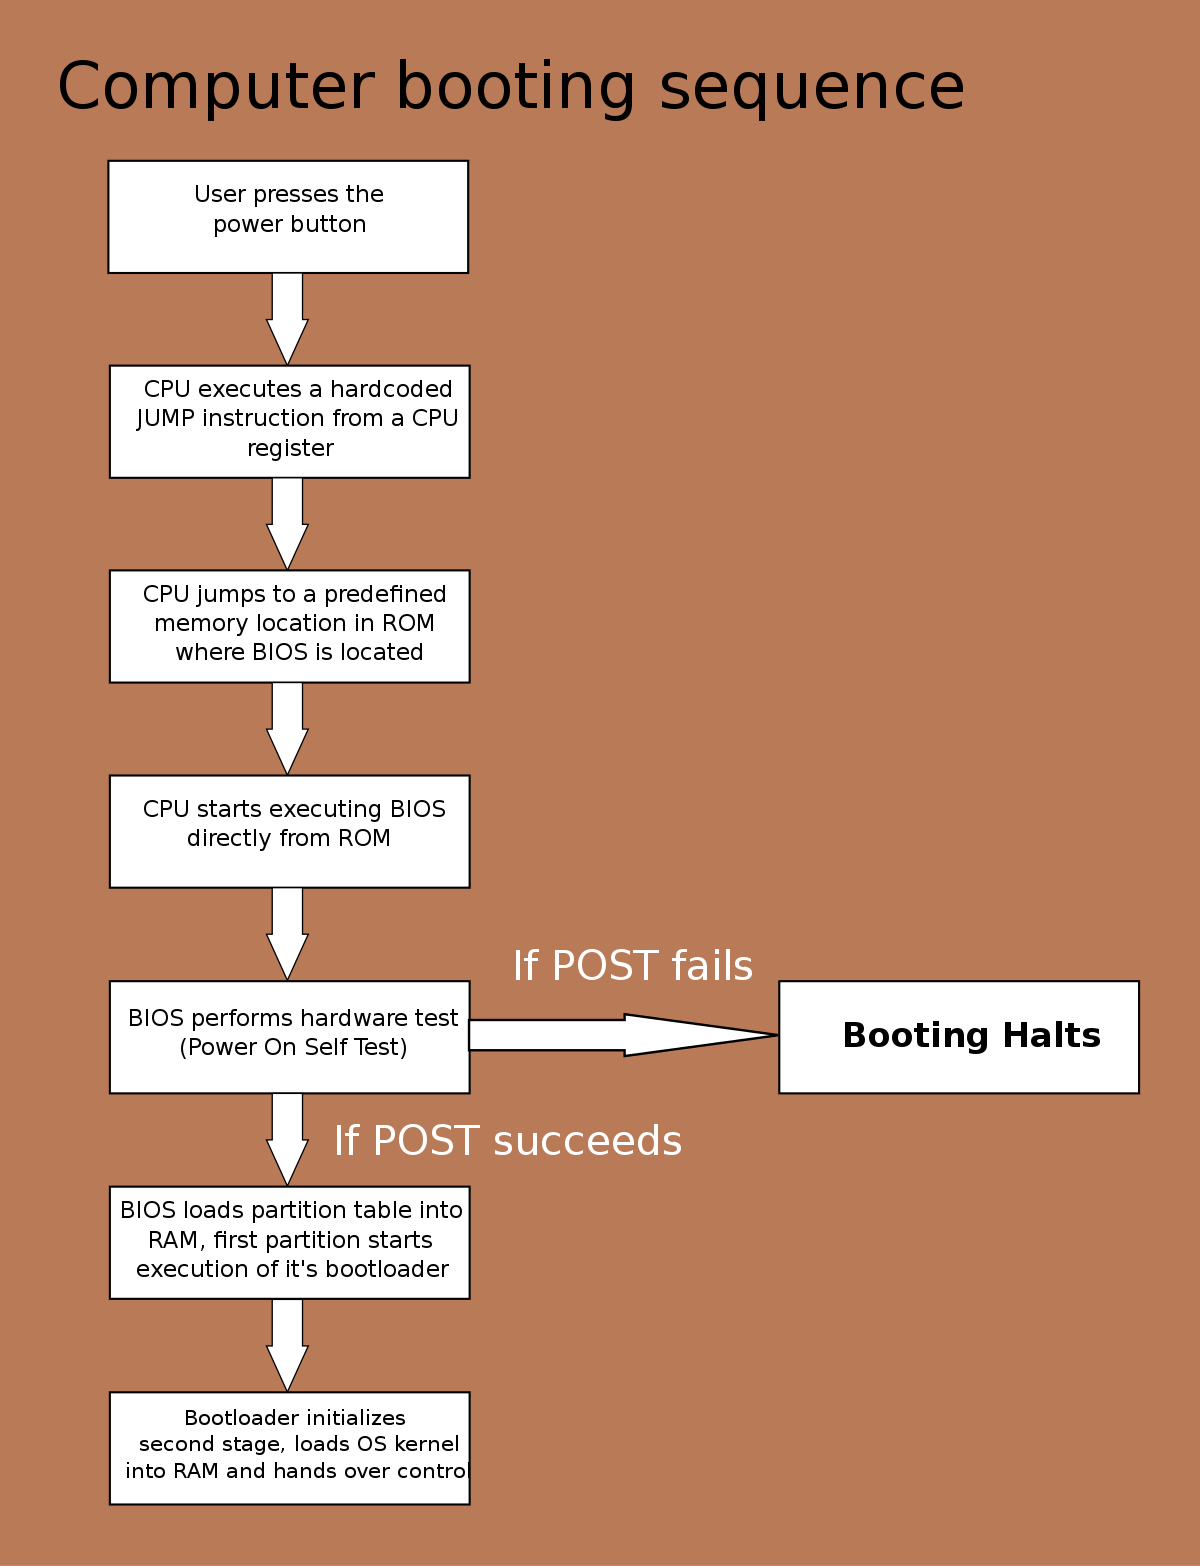
In this article, I will guide you on how to access the BIOS and Boot Menu on your Sony Vaio laptop.
Introduction to Sony VAIO and Boot Menu Basics
The Sony VAIO BIOS and Boot Menu are essential features for accessing and customizing your computer’s settings. To enter the BIOS, start by turning on your Sony VAIO laptop. As soon as the VAIO logo appears, press the F2 key repeatedly until the BIOS menu appears on the screen.
In the BIOS menu, you can configure various settings related to hardware, security, and power management. Use the arrow keys to navigate through the options and make changes. Remember to save any modifications before exiting the BIOS.
On the other hand, the Boot Menu allows you to choose the device or operating system from which your computer will boot. To access the Boot Menu, press the F11 key repeatedly immediately after turning on your laptop. This will bring up a list of available boot options.
If you have set a BIOS or Boot Menu password, you will need to enter it before proceeding. If you encounter any issues or need further assistance, reach out to Sony’s technical support for guidance.
It’s important to note that the default boot option is usually the computer’s hard drive, where the operating system is installed. However, you can change this to boot from a USB drive, CD/DVD, or other external devices.
Creating and Booting from a USB Drive
To create and boot from a USB drive on a Sony Vaio computer, follow these steps:
1. Insert the USB drive into a USB port on your Sony Vaio.
2. Restart your computer and immediately press the “F2” key to access the BIOS settings.
3. Use the arrow keys to navigate to the “Boot” menu in the BIOS.
4. Find the option for “Boot Priority” or “Boot Order” and make sure the USB drive is set as the first boot device.
5. Save the changes and exit the BIOS settings.
6. Restart your computer again.
7. As your computer starts up, press the “F11” key (or another key depending on your Vaio model) to access the boot menu.
8. Use the arrow keys to select the USB drive as the boot device.
9. Press the “Enter” key to confirm and start booting from the USB drive.
10. Follow the on-screen instructions to complete the installation or troubleshooting process.
If you encounter any issues or need further assistance, contact Sony Vaio technical support for help.
Troubleshooting Boot Menu and BIOS Issues
If you are experiencing issues with accessing the boot menu or BIOS on your Sony Vaio, there are a few troubleshooting steps you can try.
First, make sure that you are pressing the correct key to access the boot menu or BIOS. This key can vary depending on the model of your Vaio, but common keys include F2, F8, and F12. Refer to your Vaio’s user manual or the Sony support website for the specific key for your model.
If pressing the correct key does not bring up the boot menu or BIOS, try restarting your computer and repeatedly pressing the key during the startup process. Sometimes, the key needs to be pressed multiple times for it to register.
If you have set a BIOS password and cannot access the BIOS, you will need to enter the correct password. If you have forgotten the password, you may need to contact Sony support for assistance.
If you are still unable to access the boot menu or BIOS, you can try resetting the BIOS to its default settings. To do this, restart your computer and look for an option to “Reset to Default” or “Load Default Settings” in the BIOS menu. Use the arrow keys to navigate to the option and press Enter to select it.
Key Takeaways and Additional Tips
- Accessing Sony Vaio BIOS: Press the F2 key repeatedly during startup to access the BIOS settings.
- Accessing Sony Vaio Boot Menu: Press the F11 key repeatedly during startup to access the boot menu.
- BIOS Setup Utility: Use the BIOS setup utility to configure hardware settings and perform system diagnostics.
- Boot Menu: The boot menu allows you to choose the device from which to boot the computer.

- System Configuration: Be cautious while making changes in the BIOS or boot menu as it can affect the system’s stability.
- Default Settings: If you’re unsure, it’s recommended to load the default settings in BIOS or boot menu.
- Function Keys: Pay attention to the function keys displayed on the screen during startup for quick access.
- Advanced Options: Explore advanced options in the BIOS settings for additional customization.
- Documentation: Refer to the Sony Vaio user manual or support website for specific instructions and troubleshooting.
- Expert Assistance: Seek professional help if you encounter difficulties or are unsure about modifying BIOS settings.
F.A.Q.
How do I get into the BIOS on a SONY VAIO laptop?
To get into the BIOS on a SONY VAIO laptop, turn off the computer and press and hold the Assist button until the black VAIO screen appears. Then, use the Arrow keys to highlight the Start BIOS setup [F2] option and press Enter.
What is the boot menu key for SONY VAIO?
The boot menu key for SONY VAIO is the F8 button.
How do I boot from USB on SONY VAIO?
To boot from USB on a SONY VAIO, you can press the ASSIST button while the computer is off. This will bring up the VAIO Care (Rescue Mode) screen. From there, select “Start from media” and choose the USB device or optical disc. This will initiate the booting process from the external device.

