Understanding the meaning of no IP address and how to fix it can be crucial for troubleshooting network connectivity issues.
Understanding “Failed to Obtain IP Address” Errors
“Failed to Obtain IP Address” errors occur when a device is unable to connect to the internet due to a problem with obtaining an IP address. This issue can occur on various devices such as laptops, iPads, and IP cameras.
To fix this problem, try the following steps:
1. Restart your device and router. Sometimes, a simple restart can resolve the issue.
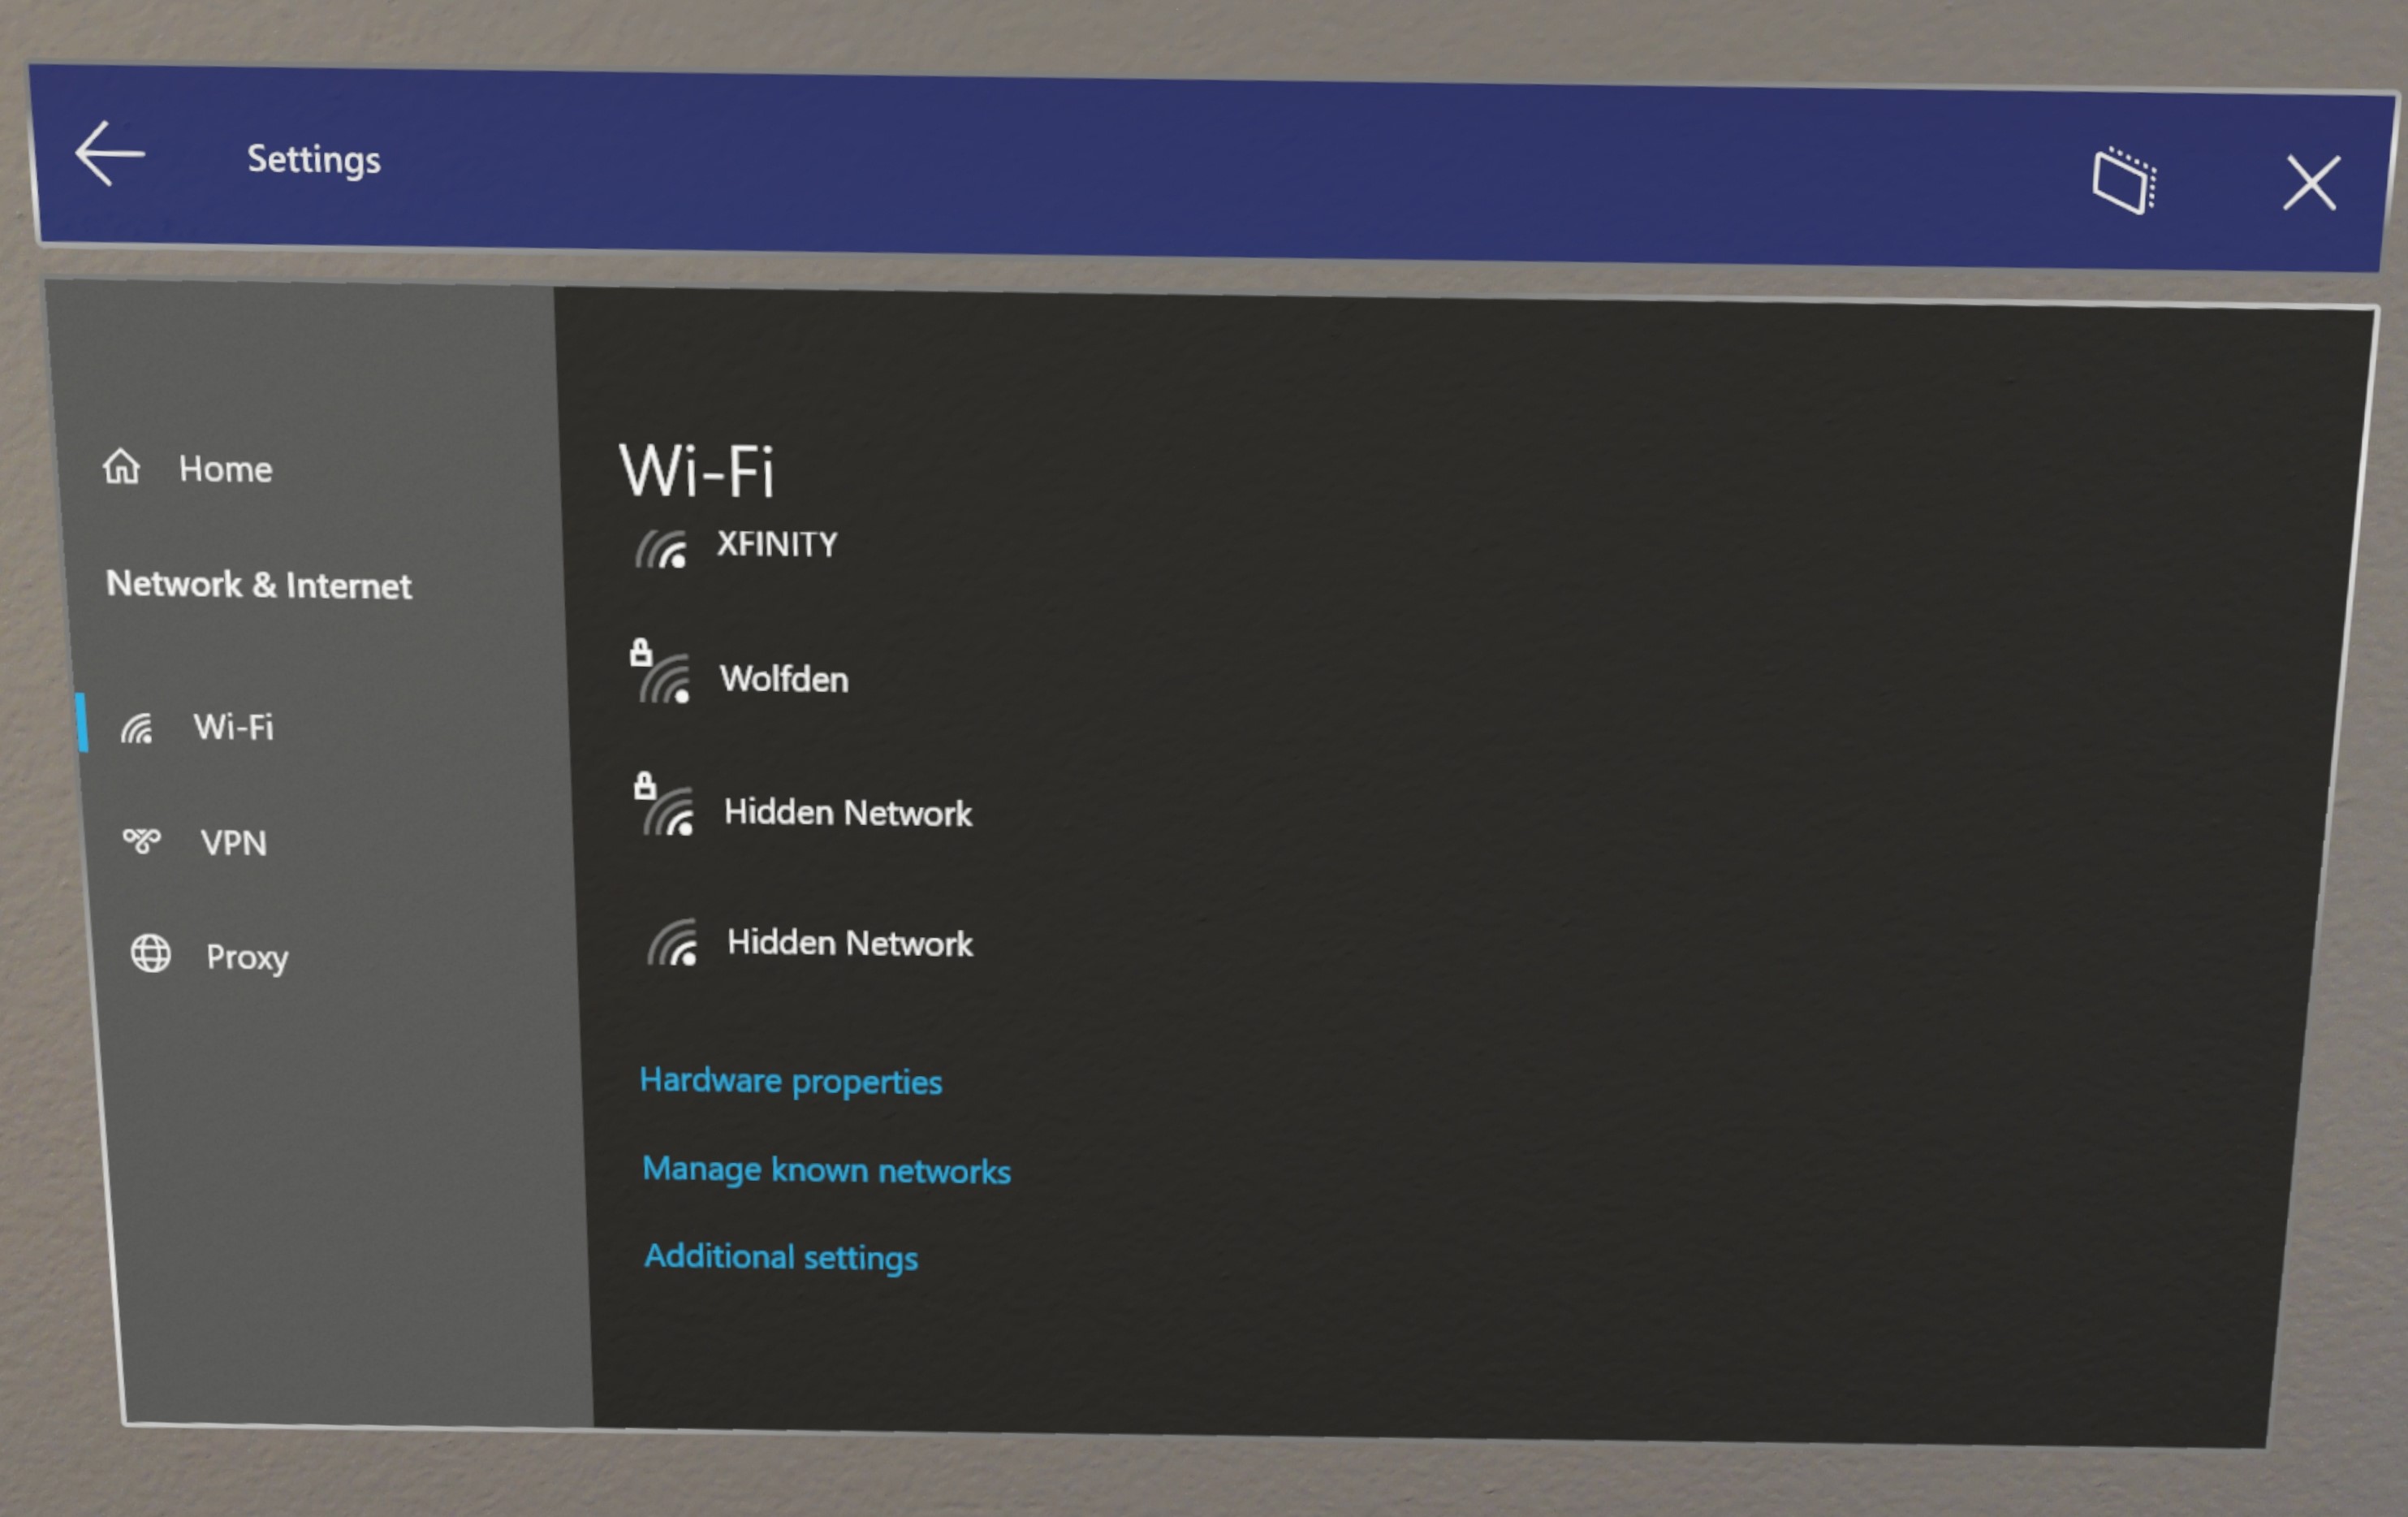
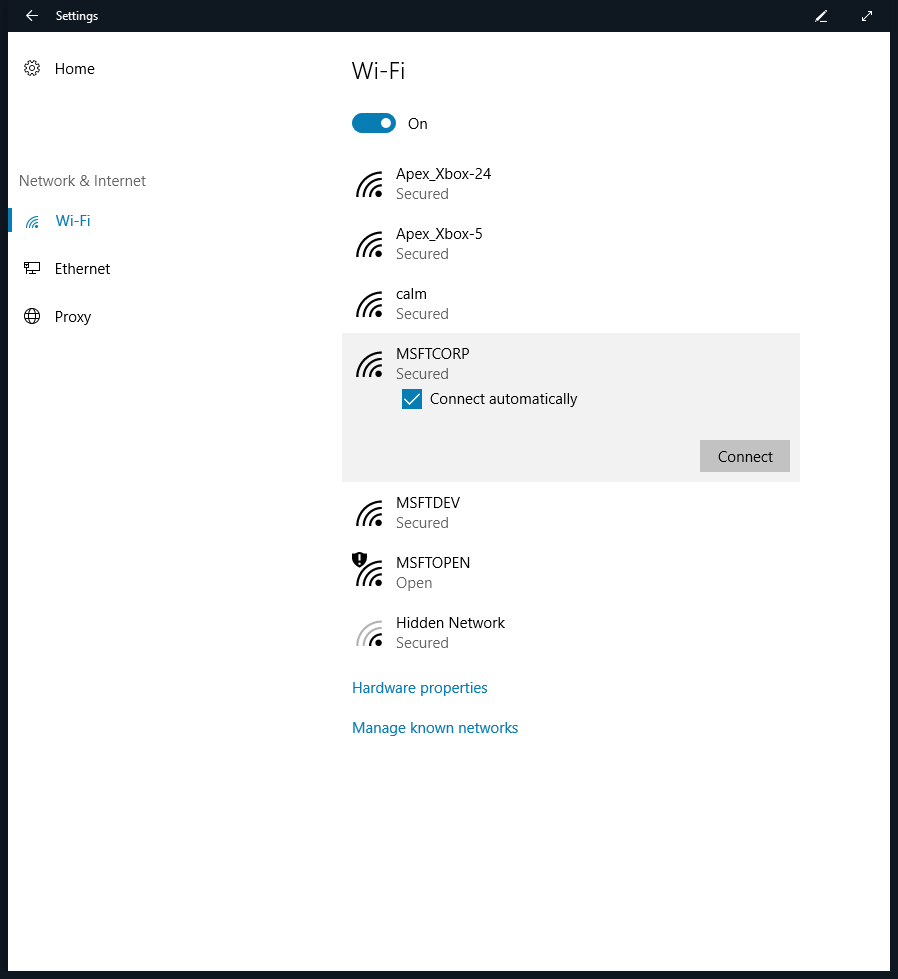
2. Check your Wi-Fi settings and make sure you are connected to the correct network.
3. Reset your network settings. On macOS High Sierra, go to System Preferences > Network > Wi-Fi > Advanced > TCP/IP > “Renew DHCP Lease”.
4. Ensure your password is correct. Double-check the password you entered for the Wi-Fi network.
5. Update your device’s software. Outdated software can sometimes cause connectivity issues.
Troubleshooting Tips for Network Connection Issues
- Check physical connections
- Ensure all cables are securely plugged in
- Inspect cables for any damage or loose connections
- Try using a different Ethernet cable
- Restart the modem and router
- Power off the modem and router by unplugging them
- Wait for at least 30 seconds
- Plug in the modem first, wait for all lights to stabilize
- Plug in the router, allowing it to fully boot up
- Release and renew IP address
- Open the command prompt by pressing Windows key + R, then type cmd and press Enter
- Type ipconfig /release and press Enter
- Wait for the command to complete, then type ipconfig /renew and press Enter
- Check if the IP address is now assigned
- Disable and re-enable network adapter
- Right-click on the network icon in the system tray
- Select Open Network and Internet settings
- Click on Change adapter options
- Right-click on the network adapter in use and select Disable
- Wait for a few seconds, then right-click on the adapter again and select Enable
- Check if the IP address is now assigned
- Reset TCP/IP stack
- Open the command prompt as an administrator
- Type netsh int ip reset and press Enter
- Wait for the command to complete, then restart the computer
Steps to Reconnect and Assign Static IP
To reconnect and assign a static IP address, follow these steps:
1. Open the network settings on your device. This can usually be found in the system preferences or control panel.
2. Look for the option to set up a static IP address. It may be labeled as “Manual” or “Static.”
3. Enter the desired IP address, subnet mask, router/gateway address, and DNS server addresses. These values can typically be obtained from your network administrator or Internet service provider.
4. Save the settings and exit the network settings menu.
5. Restart your device to apply the changes.
Note: It’s important to ensure that the static IP address you choose is not already assigned to another device on the network. Additionally, keep in mind that using a static IP address may require additional configuration if you switch networks or connect to a different Wi-Fi network.
If you encounter any issues or have further questions, don’t hesitate to reach out for assistance.
Resolving IP Configuration Failures Across Devices
| Device | Error Message | Possible Cause | Solution |
|---|---|---|---|
| Windows PC | No IP address assigned | Incorrect network adapter settings | Check adapter settings and configure DHCP or assign static IP |
| Mac | Self-assigned IP address | Network conflicts or DHCP issues | Renew DHCP lease or assign static IP |
| Linux | No IP configuration | Missing network driver or misconfigured network settings | Install required drivers or configure network settings properly |
| Router | No IP address for connected devices | DHCP server malfunction or incorrect settings | Restart router, update firmware, or reconfigure DHCP settings |
| Mobile Devices | Failed to obtain IP | Weak Wi-Fi signal or DHCP server issues | Move closer to the router or restart Wi-Fi, reset network settings |
FAQ
Why would an IP address not be available?
An IP address may not be available due to several reasons. These include: the website being down, the DNS server storing outdated IP addresses and needing its cache cleared, or the DNS server itself being down or malfunctioning.
How to fix IP address?
To fix an IP address, you can follow these steps:
– Go to settings.
– Select connections.
– Choose Wi-Fi.
– Find your current network and select the settings icon.
– Go to IP settings and choose Static.
– Enter the desired new IP address.
What is a No-IP address?
A No-IP address is a service that takes your dynamic IP address and links it to a stable hostname or subdomain. By regularly checking for IP address changes, the service updates your hostname with the correct IP address, ensuring uninterrupted connectivity without any downtime.
What happens if there is No-IP address?
If there is no IP address, it means that the router cannot assign an IP address to your device. As a result, you will be unable to connect to the internet or access other network resources such as printers, wireless displays, or streaming devices.
