Is your computer constantly refreshing and interrupting your work? Discover the reasons behind this frustrating issue and learn how to fix it swiftly.
Update or Rollback Display Drivers
If your computer keeps refreshing, it may be due to outdated or faulty display drivers. Updating or rolling back these drivers can often fix the issue.
To update your display drivers, follow these steps:
1. Open the Device Manager by pressing the Windows key + X and selecting “Device Manager” from the menu.
2. In the Device Manager window, expand the “Display adapters” category.
3. Right-click on your graphics card and select “Update driver.”
4. Choose the option to search automatically for updated driver software.
5. Windows will search for the latest driver and install it if available. Follow any on-screen prompts to complete the installation.
If updating the driver doesn’t resolve the issue, you can try rolling back the driver to a previous version:
1. Open the Device Manager and expand the “Display adapters” category.
2. Right-click on your graphics card and select “Properties.”
3. Go to the “Driver” tab and click on “Roll Back Driver.”
4. Follow the on-screen instructions to complete the rollback process.
If rolling back the driver doesn’t work either, you can try uninstalling the current driver and then reinstalling it:
1. Open the Device Manager and expand the “Display adapters” category.
2. Right-click on your graphics card and select “Uninstall device.”
3. Check the box that says “Delete the driver software for this device” and click “Uninstall.”
4. Restart your computer.
5. After restarting, Windows will automatically reinstall the default driver. If necessary, you can update the driver again using the steps mentioned earlier.
Updating or rolling back display drivers can often resolve issues with computer refreshing. Make sure to restart your computer after any driver changes to ensure they take effect.
Run SFC and DISM Scans
To fix the issue of your computer constantly refreshing, you can try running SFC and DISM scans. These scans can help identify and repair any corrupted system files that may be causing the problem.
Step 1: Press the Windows key + R on your keyboard to open the Run dialog box.
Step 2: Type “cmd” and press Enter to open the Command Prompt.
Step 3: In the Command Prompt, type “sfc /scannow” and press Enter. This will initiate the System File Checker (SFC) scan, which will scan and repair any corrupted system files.
Step 4: Wait for the scan to complete. This may take some time depending on the size and condition of your system files.
Step 5: Once the SFC scan is finished, type “dism /online /cleanup-image /restorehealth” in the Command Prompt and press Enter. This will initiate the Deployment Image Servicing and Management (DISM) scan, which will repair any issues with the Windows operating system.
Step 6: Wait for the DISM scan to complete. This may also take some time.
Step 7: After the DISM scan is finished, restart your computer and check if the issue of constant refreshing has been resolved.
These scans can help fix various issues related to system files and the operating system itself. If the problem persists, it may be worth considering other troubleshooting methods or seeking further assistance from a professional.
Perform a Clean Boot
![]()
Performing a clean boot can help resolve the issue of your computer constantly refreshing. Here’s how you can do it:
1. Press the Windows key + R to open the Run dialog box.
2. Type “msconfig” (without quotes) and press Enter.
3. In the System Configuration window, go to the Services tab.
4. Check the box next to “Hide all Microsoft services” to prevent disabling essential system processes.
5. Click on the “Disable all” button to disable all non-Microsoft services.
6. Go to the Startup tab and click on “Open Task Manager.”
7. In the Task Manager window, disable all startup items by right-clicking on each one and selecting “Disable.”
8. Close the Task Manager and go back to the System Configuration window.
9. Click on the “Apply” button and then “OK” to save the changes.
10. Restart your computer for the clean boot to take effect.
Performing a clean boot will help identify if any third-party software or services are causing the constant refreshing. If the issue is resolved after the clean boot, you can selectively enable the services and startup items to identify the culprit.
Remember to re-enable any essential services or startup items that you disabled during the clean boot process.
If the problem persists even after performing a clean boot, it may be helpful to seek further assistance from a professional or consult relevant online forums like Reddit for additional troubleshooting steps specific to your situation.
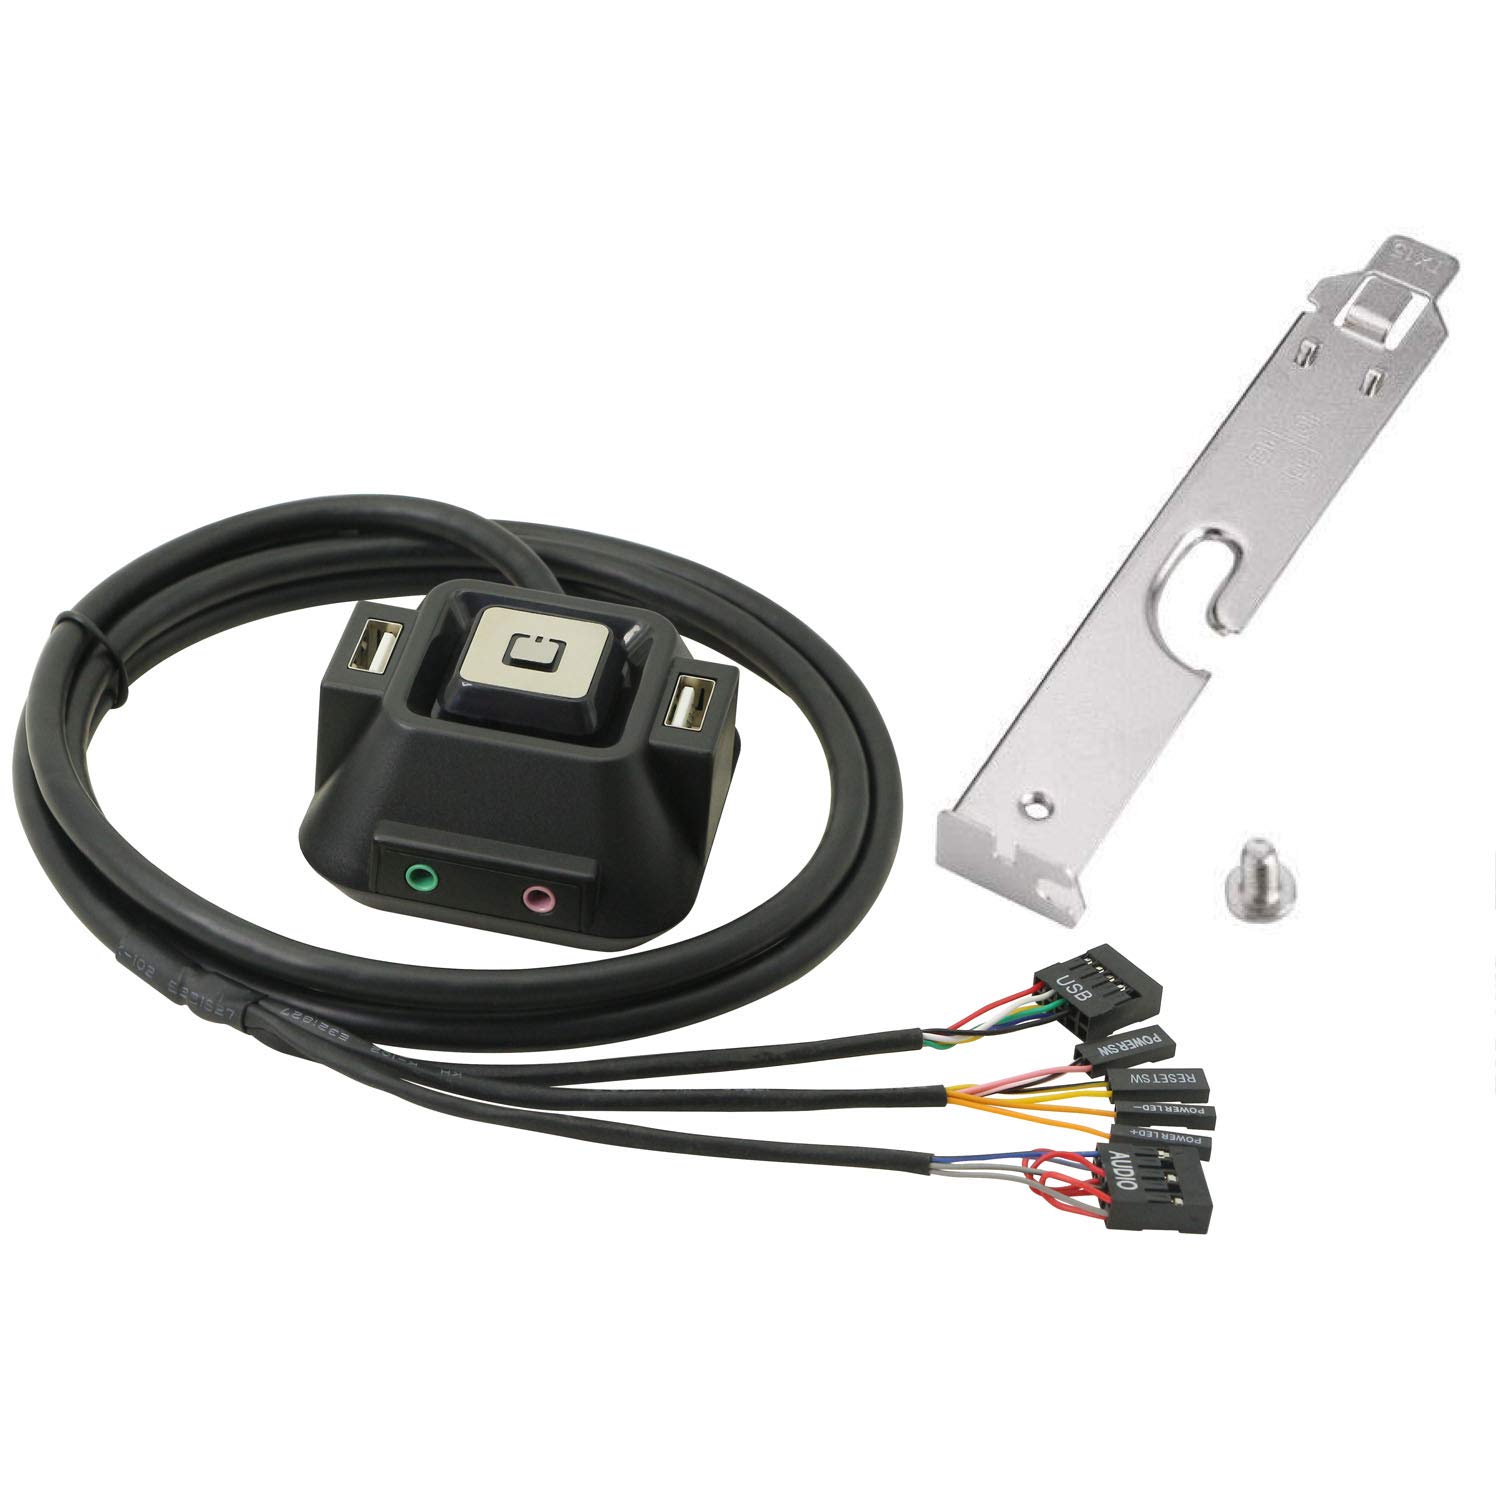
Disable Unwanted Startup Apps
- Identify the unwanted startup apps that are causing your computer to keep refreshing.
- Access the Task Manager by pressing Ctrl + Shift + Esc simultaneously.
- Select the “Startup” tab in the Task Manager window.
- Review the list of startup apps and identify the ones you want to disable.
- Right-click on the unwanted startup app and choose “Disable” from the context menu.
- Repeat this process for all the unwanted startup apps that you want to disable.
- Restart your computer to apply the changes and see if the issue is resolved.
Uninstall Recent Software or Drivers
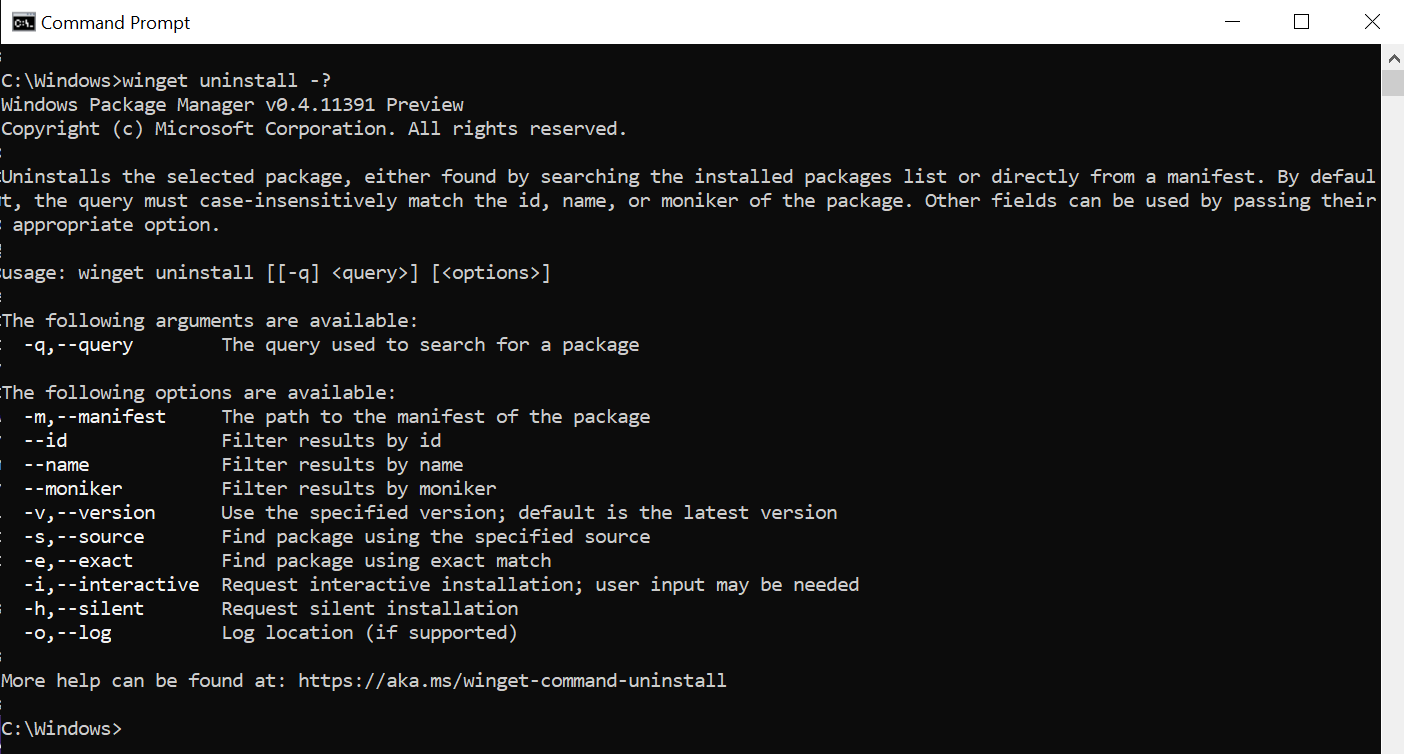
1. Open the Control Panel on your Windows 10 computer. You can do this by clicking the Start button and typing “Control Panel” in the search bar. Then, select the Control Panel app from the results.
2. In the Control Panel, click on “Uninstall a program” or “Programs and Features,” depending on how your Control Panel is organized.
3. Look for the software or driver that you recently installed and suspect may be causing the issue. It may be helpful to sort the list by “Installed On” to find the most recent installations.
4. Once you’ve identified the software or driver, select it and click on the “Uninstall” button at the top of the list.
5. Follow the on-screen instructions to complete the uninstallation process. Make sure to carefully read any prompts that may appear during the process.
6. After the uninstallation is complete, restart your computer to ensure that all changes take effect.
If the issue persists after uninstalling the recent software or driver, it may be necessary to investigate other potential causes. Consider checking for any updates or patches for your operating system, running a thorough antivirus scan, or resetting your computer’s settings to default.
Disable Windows Error Reporting Feature
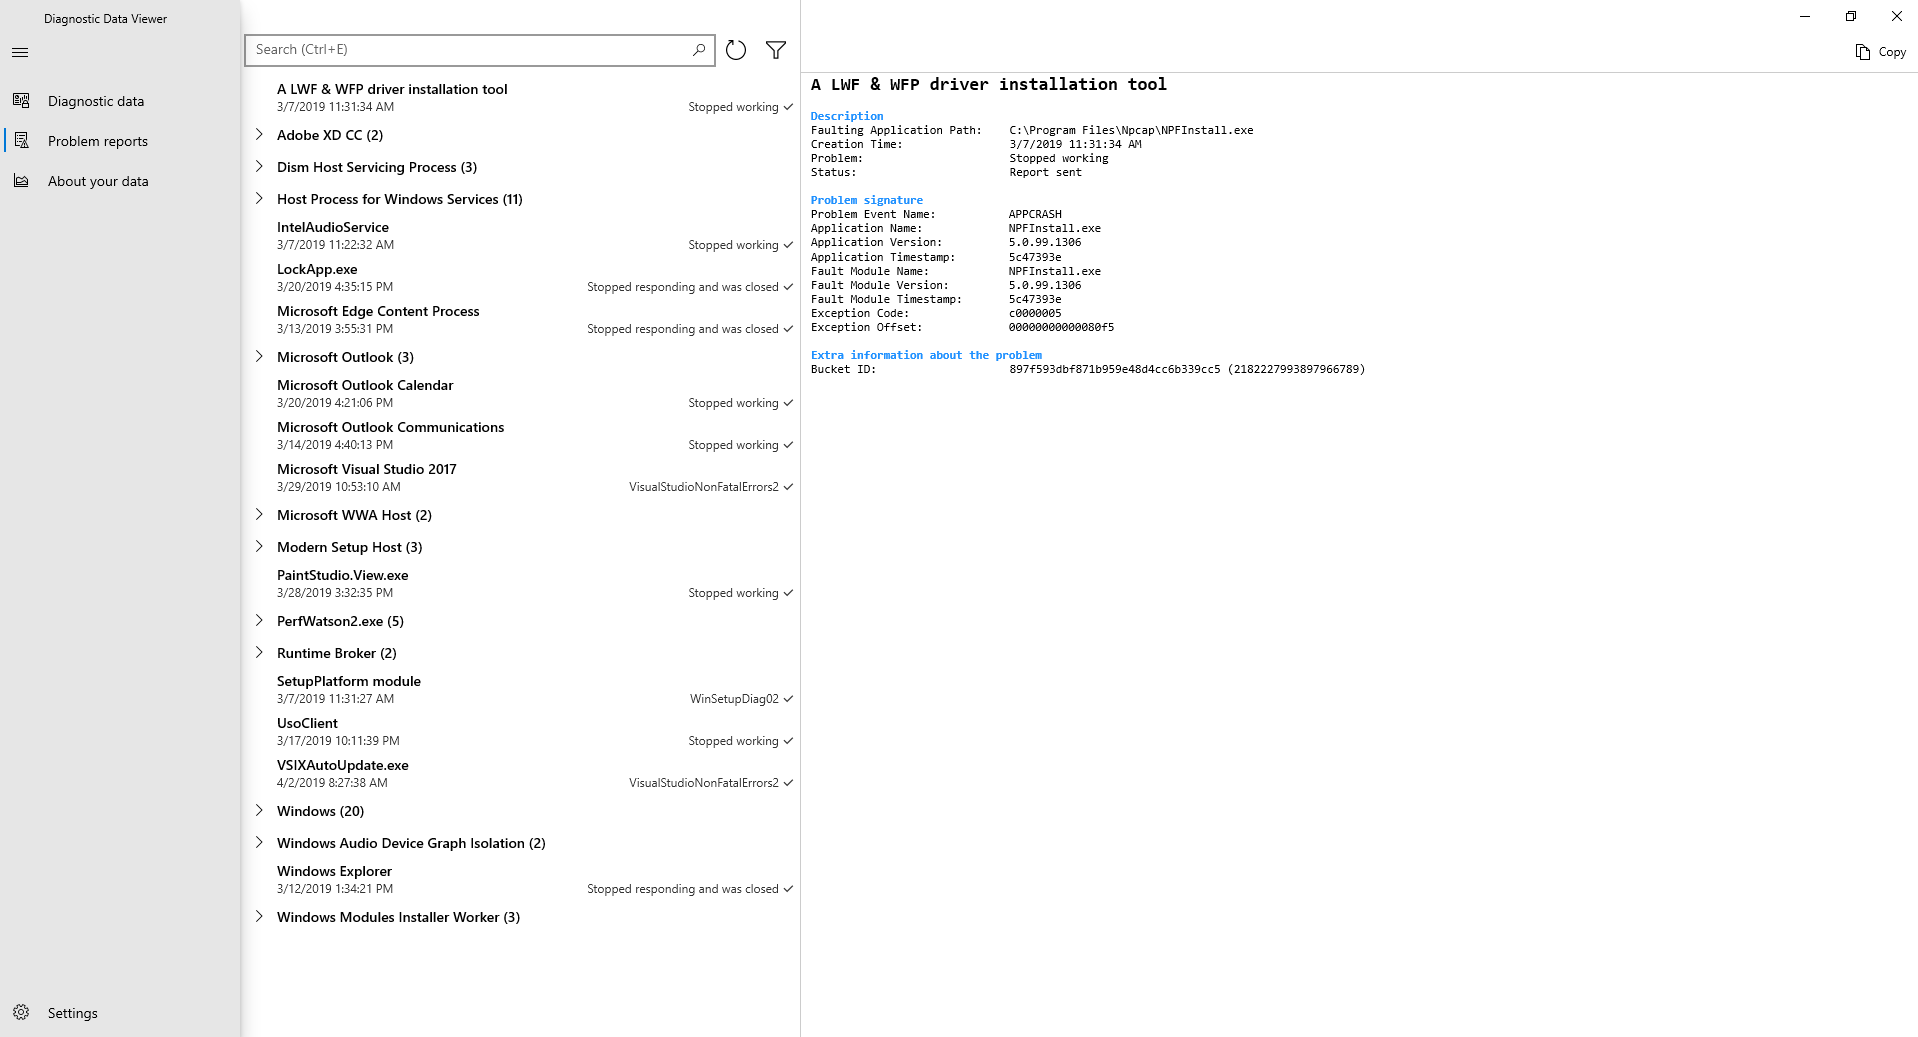
To disable the Windows Error Reporting feature on your computer, follow these steps:
1. Open the Control Panel by pressing the Windows key + X and selecting “Control Panel” from the menu.
2. In the Control Panel, search for “Action Center” and click on it.
3. In the left-hand menu, click on “Change Action Center settings.”
4. In the new window that opens, uncheck the box next to “Windows Error Reporting” and click “OK” to save the changes.
5. Restart your computer for the changes to take effect.
By disabling the Windows Error Reporting feature, you can prevent your computer from automatically sending error reports to Microsoft. This can help reduce the amount of system resources used and potentially improve the performance of your computer.
Please note that disabling this feature means you won’t receive notifications or prompts to send error reports to Microsoft. However, it won’t affect the functionality of your computer or other applications.
If you’re experiencing issues with your computer constantly refreshing, it’s worth trying to disable the Windows Error Reporting feature as a troubleshooting step. If the issue persists, you may want to consider seeking further assistance or exploring other potential causes for the problem.
Check and Manage Task Scheduler
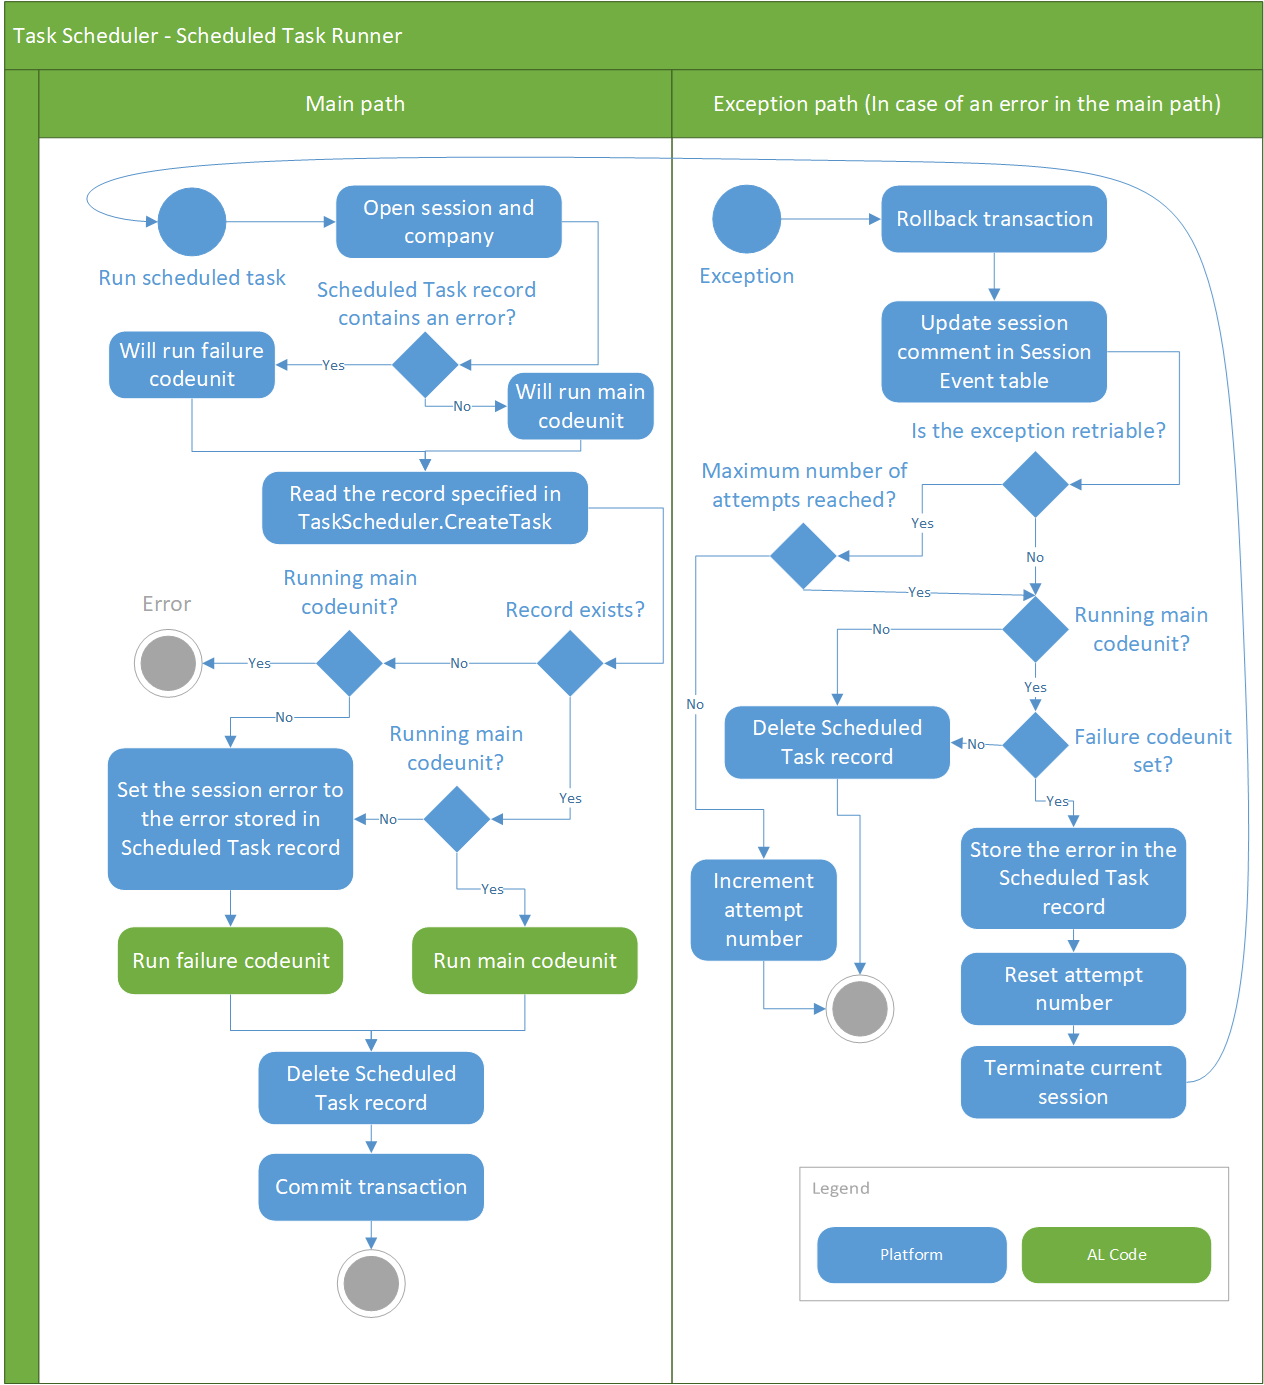
| Task Name | Description | Status |
|---|---|---|
| Task 1 | Perform system maintenance | Enabled |
| Task 2 | Check for Windows updates | Disabled |
| Task 3 | Scan for malware | Enabled |
| Task 4 | Backup user data | Enabled |
Reset or Restart Your PC
To reset your PC, follow these steps:
1. Press the Windows key on your computer keyboard to open the Start menu.
2. Click on the Power icon, then select “Restart” or “Shut down” from the options that appear.
3. If you choose to restart, your PC will automatically shut down and boot back up again. If you choose to shut down, you will need to manually turn your computer back on.
Alternatively, you can also reset your PC through the Settings app. Here’s how:
1. Press the Windows key + I on your keyboard to open the Settings app.
2. Click on “Update & Security.”
3. Select the “Recovery” tab from the left-hand menu.
4. Under the “Reset this PC” section, click on the “Get started” button.
5. Choose whether you want to keep or remove your personal files, then follow the on-screen instructions to reset your PC.
Remember to save any important files or documents before resetting your PC, as the process will remove all installed applications and settings.
By resetting or restarting your PC, you can often fix issues like constant refreshing. If the problem persists after resetting, you may need to further investigate and troubleshoot other potential causes such as software conflicts, malware, or hardware issues.
FAQ
How do I stop my desktop from refreshing?
To stop your desktop from refreshing, you can try the following steps:
– Check your Task Manager.
– Uninstall IDT Audio Driver.
– Roll back graphics driver.
– Disable or delete GeForce Experience.
– Reinstall your antivirus software.
– Disable Windows Error Reporting Service.
– Remove or disable Aero Glass.
– Run an SFC/DISM scan.
Why do computers refresh?
Computers refresh to restore their original performance and stability by re-installing the operating system, updating applications, drivers, and settings, often to speed it up or fix errors.
Why do my desktop icons keep refreshing Windows 11?
Your desktop icons in Windows 11 may keep refreshing due to an issue with the display driver. Updating the display drivers on your PC can help resolve this problem.
