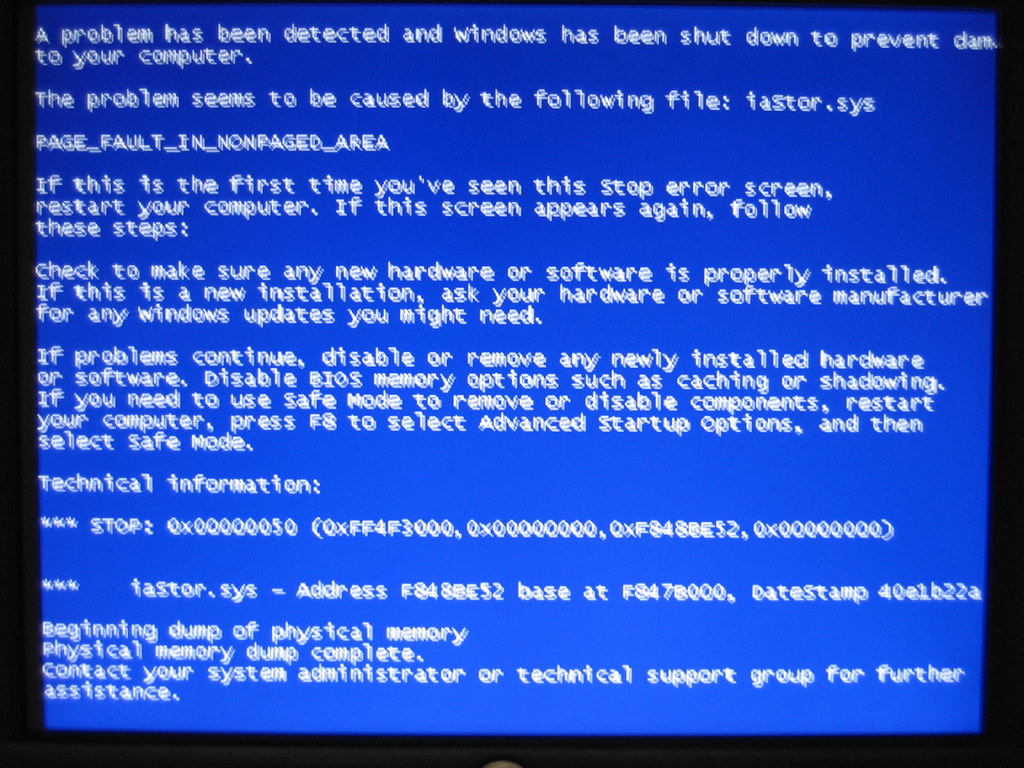
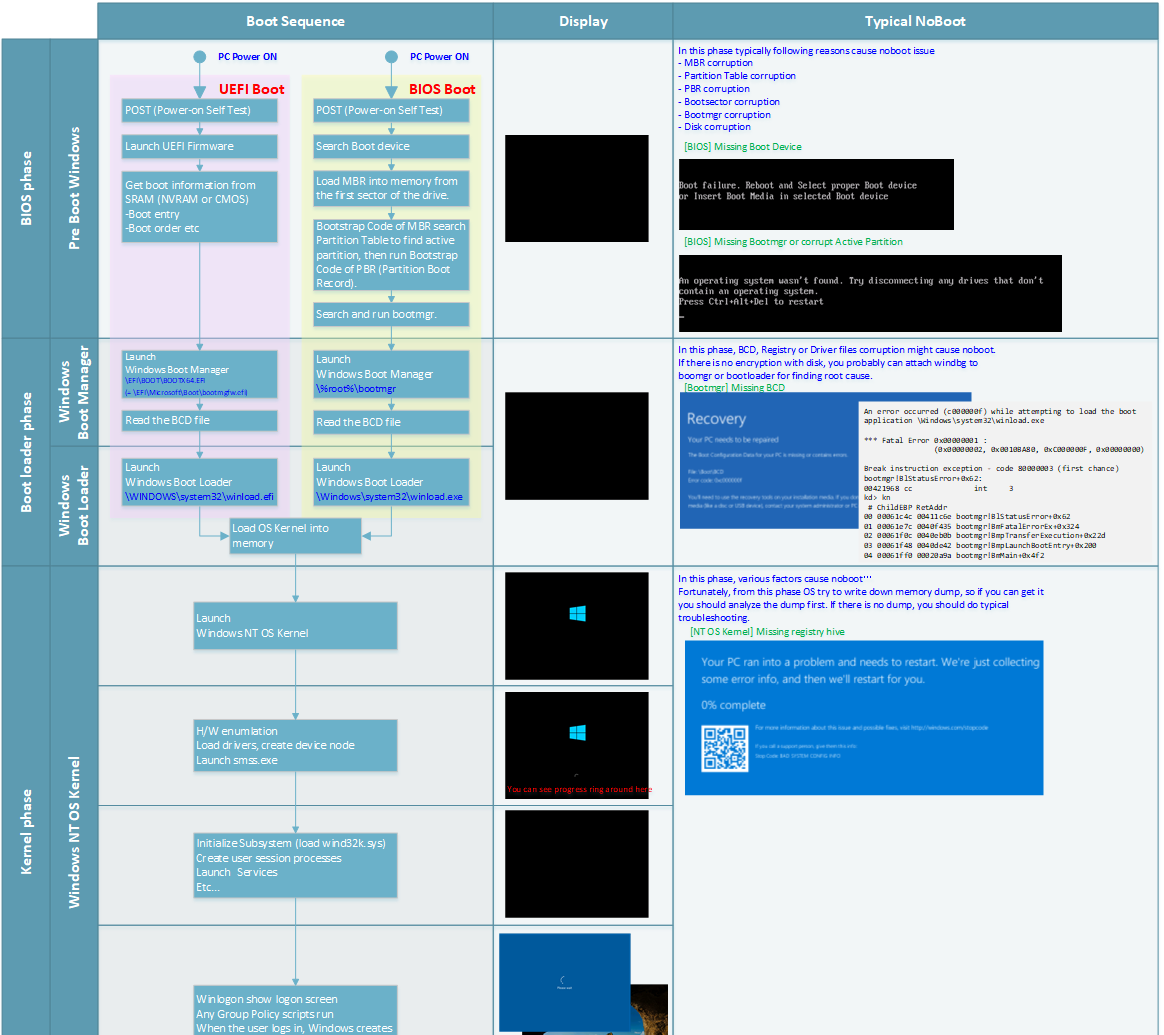
If your Windows 10 PC keeps restarting unexpectedly, it can be frustrating and disruptive. Understanding the possible reasons behind this issue is crucial in finding a solution.
Entering Safe Mode to Troubleshoot
Entering Safe Mode is a useful troubleshooting method when your Windows 10 PC keeps restarting. Safe Mode allows you to start your computer with a minimal set of drivers and services, making it easier to identify and resolve the issue causing the constant restarts. Here’s how you can enter Safe Mode:
1. Press the Windows key + R to open the Run dialog box.
2. Type “msconfig” and press Enter to open the System Configuration window.
3. In the System Configuration window, go to the “Boot” tab.
4. Under the “Boot options” section, check the “Safe boot” box.
5. Select the type of Safe Mode you want to enter: “Minimal” typically works for most troubleshooting scenarios.
6. Click “OK” and then “Apply” to save the changes.
7. When prompted to restart your computer, click “Restart”.
Once your computer restarts, it will enter Safe Mode. In Safe Mode, you can perform various troubleshooting steps to identify and resolve the cause of the restart issue. Some common troubleshooting methods include:
– Updating drivers: Use Device Manager to check for any outdated or incompatible drivers and update them accordingly.
– Running antivirus scans: Use a reliable antivirus program to scan your computer for any malware or viruses that may be causing the restarts.
– Checking for software conflicts: Uninstall any recently installed programs or updates that may be conflicting with your system.
– Checking hardware: Ensure that all hardware components, such as RAM and hard drives, are properly connected and functioning correctly.
Disabling Automatic Restart Feature

If your Windows 10 PC keeps restarting, it can be frustrating and disruptive to your workflow. One of the possible causes for this issue is the automatic restart feature. This feature is designed to automatically restart your computer after installing updates or encountering system errors. However, it can sometimes become a nuisance if it keeps happening repeatedly.
To disable the automatic restart feature in Windows 10, follow these steps:
1. Press the “Windows key + R” to open the Run dialog box.
2. Type “regedit” and press Enter to open the Windows Registry Editor.
3. In the left pane of the Registry Editor, navigate to the following path: “HKEY_LOCAL_MACHINE\SOFTWARE\Policies\Microsoft\Windows\WindowsUpdate\AU”
4. If the “AU” key does not exist, right-click on the “WindowsUpdate” key, hover over “New,” and select “Key.” Name the new key “AU.”
5. Right-click in the right pane of the Registry Editor and select “New” > “DWORD (32-bit) Value.”
6. Name the new value “NoAutoRebootWithLoggedOnUsers.”
7. Double-click on the newly created value and set its data to “1.”
8. Click “OK” to save the changes and close the Registry Editor.
Updating Device Drivers
Step 1: Press the Windows key + X and select Device Manager from the menu that appears.
Step 2: In the Device Manager window, expand the categories and locate the devices with a yellow exclamation mark or a red “X” symbol. These indicate problematic drivers.
Step 3: Right-click on the device with the problematic driver and select Update driver.
Step 4: Choose the option to search automatically for updated driver software. Windows will then search online for the latest driver updates and install them.
Step 5: Repeat steps 3 and 4 for all devices with problematic drivers.
If Windows cannot find the updated drivers automatically, you can visit the manufacturer’s website to manually download and install the latest drivers for your specific device model.
It is also recommended to use a reliable driver update tool, such as EaseUS Partition Master, to scan your system and automatically update all outdated drivers.
Updating device drivers can help resolve system instability issues and prevent frequent restarts. By keeping your drivers up to date, you ensure that your hardware and software work together smoothly, reducing the chances of encountering problems.
Remember to always back up your important files and create a system restore point before updating drivers to avoid any potential data loss or system damage.
Checking and Resolving Hardware Conflicts

- Check device manager: Open the device manager and look for any yellow exclamation marks or red crosses indicating hardware conflicts.
- Update drivers: Outdated or incompatible drivers can cause conflicts, so make sure all your drivers are up to date.
- Disable conflicting devices: If you identify any conflicting devices in the device manager, disable them to see if it resolves the issue.
- Disconnect external devices: Disconnect any recently added external devices and check if the problem persists.
- Run hardware troubleshooter: Use the built-in hardware troubleshooter to identify and resolve any hardware conflicts automatically.
- Check for BIOS updates: Visit your computer manufacturer’s website and check for any available BIOS updates that might address hardware conflicts.
- Perform a clean boot: A clean boot can help identify if any third-party software is causing hardware conflicts.
- Reset BIOS settings: Resetting the BIOS settings to default can sometimes resolve hardware conflicts.

- Remove and reseat hardware: If you recently installed new hardware, try removing and reseating it to ensure a proper connection.
- Seek professional help: If all else fails, consider seeking assistance from a professional technician who can diagnose and resolve the hardware conflicts.

Removing Bad Registry Entries
| Registry Key | Description | Steps to Remove |
|---|---|---|
HKEY_LOCAL_MACHINE\SOFTWARE\Microsoft\Windows NT\CurrentVersion\Winlogon |
Specifies programs that are automatically executed when a user logs on to Windows |
|
HKEY_CURRENT_USER\Software\Microsoft\Windows\CurrentVersion\Run |
Lists programs that are automatically executed when the current user logs on to Windows |
|
HKEY_LOCAL_MACHINE\SOFTWARE\Microsoft\Windows\CurrentVersion\Run |
Lists programs that are automatically executed when any user logs on to Windows |
|
HKEY_LOCAL_MACHINE\SOFTWARE\Microsoft\Windows\CurrentVersion\RunOnce |
Lists programs that are automatically executed once when any user logs on to Windows |
|
F.A.Qs
How do I fix Windows 10 stuck on restarting?
To fix Windows 10 stuck on restarting, you can try the following methods:
1. Perform Windows Startup Repair.
2. Boot in Safe Mode.
3. Check the File System.
4. Run SFC and Check Disk Utility.
5. Run System Restore.
6. Run Windows Troubleshooting.
7. Disable Fast Startup.
How do I fix my computer from randomly restarting?
To fix a computer that randomly restarts, you can try adjusting the power settings by going to Control Panel > Power Options > Choose what the power buttons do > Change settings that are currently unavailable and unchecking the box next to Turn on fast startup. If that doesn’t work, you should also check for driver updates.
How do I fix Windows 10 from always restarting?
To fix Windows 10 from constantly restarting, you can disable the automatic restart option, check for hardware issues, uninstall recent apps, address malware infections, and disable automatic driver updates.
Why PC is restarting again and again?
The PC may be restarting again and again due to a faulty power supply unit (PSU) or insecure power connections to the motherboard, CPU, and GPU. Using a surge protector or uninterruptible power supply can help protect the computer from power fluctuations.


