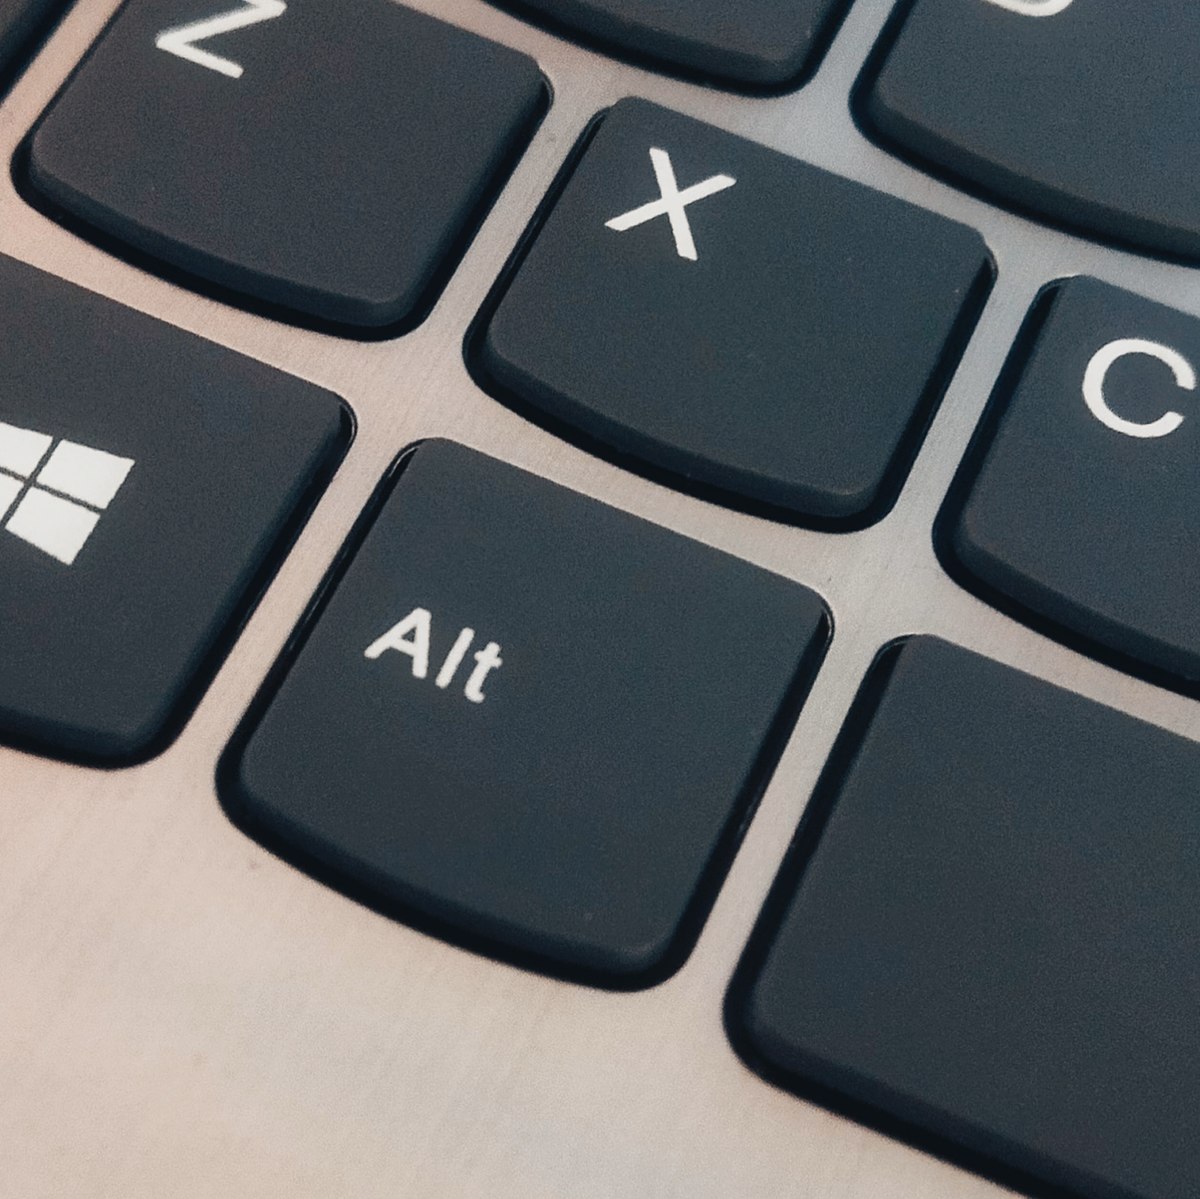
Having trouble with your Windows key not working on Windows 10/11? Let’s dive into troubleshooting and fixing the issue.
Determine If It’s a Hardware Issue

To determine if the Windows key not working on Windows 10/11 is a hardware issue, follow these steps:
1. Test another keyboard: Connect a different keyboard to your computer and see if the Windows key works. If it does, the issue is likely with your original keyboard.
2. Check for physical damage: Inspect your keyboard for any physical damage, such as stuck keys or debris. Clean the keyboard and ensure all keys are functioning properly.
3. Update device drivers: Press Windows key + X and select “Device Manager.” Expand the “Keyboards” section, right-click on your keyboard, and choose “Update driver.” Follow the prompts to install the latest driver.
4. Restart your computer: A simple reboot can often resolve minor issues. Press Ctrl + Alt + Delete, select “Task Manager,” go to the “File” menu, and choose “Run new task.” Type shutdown /r /t 0 in the command-line interface and press Enter.
5. Run System File Checker: Press Windows key + X and select “Windows PowerShell (Admin)” or “Command Prompt (Admin).” Type sfc /scannow and press Enter. This will scan for and repair any corrupted system files.
Turn Off Filter Keys
1. Open the Control Panel by searching for it in the Start menu or using the keyboard shortcut Windows key + X and selecting Control Panel.
2. In the Control Panel, click on “Ease of Access” and then “Ease of Access Center.”
3. Under the “Explore all settings” section, click on “Make the keyboard easier to use.”
4. Scroll down and uncheck the box next to “Turn on Filter Keys.”
5. Click on “Apply” and then “OK” to save the changes.
6. Restart your computer to apply the changes.
By turning off Filter Keys, you should now be able to use the Windows key without any issues. If the problem persists, you may need to further troubleshoot or seek professional assistance.
Disable Gaming Mode
1. Press the Windows key + I to open the Settings menu.
2. Click on Gaming.
3. In the left sidebar, select Gaming mode.
4. Toggle the switch to Off to disable Gaming Mode.
If the Windows key still isn’t working after disabling Gaming Mode, try the following troubleshooting steps:
1. Press Ctrl + Shift + Esc to open Task Manager.
2. In the Task Manager, click on File in the top left corner.
3. Select Run new task.
4. Type explorer.exe and click OK.
5. This will restart the Windows Explorer process and might resolve the issue.
If the issue persists, you can try using the On-Screen Keyboard as a temporary solution:
1. Press the Windows key + R to open the Run dialog box.
2. Type osk and press Enter.
3. The On-Screen Keyboard will appear on your screen.
4. Use your mouse or touchpad to click on the Windows key.
If the Windows key works using the On-Screen Keyboard, it’s possible that your keyboard’s drivers need to be updated. You can try updating the drivers manually or using a driver update tool.
If none of these solutions work, it’s recommended to run a system file check using the System File Checker utility:
1. Press the Windows key and type Command Prompt.
2. Right-click on Command Prompt and select Run as administrator.
3. In the Command Prompt window, type sfc /scannow and press Enter.
4. Wait for the scan to complete and follow any instructions if errors are found.
If the issue still persists, you may need to seek further assistance from Microsoft support or a professional technician.
Adjust Settings Via Registry Editor
1. Press the Windows key + R to open the Run dialog box.
2. Type “regedit” and press Enter to open Registry Editor.
3. In Registry Editor, navigate to the following key: HKEY_CURRENT_USER\Software\Microsoft\Windows\CurrentVersion\Policies\Explorer.
4. Look for a value named “NoWinKeys“. If it exists, double-click on it to modify its value. If it doesn’t exist, right-click on the right pane, select “New”, and then “DWORD (32-bit) Value”. Name it “NoWinKeys“.
5. Set the value data for “NoWinKeys” to “0” to enable the Windows key.
6. Close Registry Editor and restart your computer for the changes to take effect.
If the issue persists, you may also try the following additional troubleshooting steps:
1. Update your keyboard driver: Go to the manufacturer’s website and download the latest driver for your keyboard model. Install the driver and restart your computer.
2. Run a malware scan: Use a reliable antivirus software to scan your computer for any malware or viruses that may be interfering with the Windows key functionality.
3. Check for software conflicts: Disable any third-party software or utilities that may be conflicting with the Windows key. This includes keyboard-related software or registry cleaners.
4. Check for hardware issues: Try using a different keyboard or connect your current keyboard to another computer to see if the issue persists. If the issue is specific to your keyboard, consider replacing it.
Utilize PowerShell to Restore Functionality

1. Open PowerShell: Press Win + X on your keyboard and select “Windows PowerShell (Admin)” from the menu that appears.
2. Restart Windows Explorer: In the PowerShell window, type the following command and press Enter: Get-Process Explorer | Restart-Process. This will restart the Windows Explorer process, which can sometimes resolve issues with the Windows key.
3. Check for software conflicts: Type Get-AppxPackage Microsoft.Windows.Cortana | Remove-AppxPackage in the PowerShell window and press Enter. This command will remove the Cortana app package, which can sometimes interfere with the Windows key functionality.
4. Restart your computer: After completing the above steps, restart your computer to apply the changes.
5. Test the Windows key: Once your computer has restarted, test the Windows key to see if it is functioning properly. Press the Windows key on your keyboard and observe if the Start menu opens.
If the Windows key still doesn’t work, you may need to further troubleshoot the issue or seek additional assistance.
Run System File Checker (SFC) Scan
If your Windows key is not working on Windows 10/11, you can try running a System File Checker (SFC) scan to troubleshoot and fix any corrupted system files. Here’s how to do it:
1. Press Win + X and select Command Prompt (Admin) or Powershell (Admin) from the menu.
2. In the command prompt window, type sfc /scannow and press Enter.
3. The system will start scanning for corrupted files and attempt to repair them automatically.
4. Wait for the scan to complete. It may take some time depending on your system’s performance.
5. Once the scan is finished, check if the Windows key is working again.
If the SFC scan doesn’t resolve the issue, you can try other troubleshooting methods or seek further assistance.
Execute the DISM Command
To troubleshoot and fix the Windows key not working on Windows 10/11, you can try executing the DISM command. Here’s how:
1. Press Win + X on your keyboard to open the Power User Menu.
2. Select Command Prompt (Admin) or Windows PowerShell (Admin) from the list.
3. In the command prompt window, type the following command and press Enter: dism /online /cleanup-image /restorehealth.
4. Wait for the command to complete. This process may take some time.
5. Once the command finishes, restart your computer to apply the changes.
Executing the DISM command can help fix issues with the system image and potentially resolve problems with the Windows key not working. It is a command-line tool provided by Microsoft Windows to repair system files and components.
If the issue persists after running the DISM command, you may need to consider other troubleshooting steps or seek further assistance. Remember to always keep your operating system and drivers up to date to prevent any software bugs or conflicts that could cause issues with the Windows key.
Keep in mind that this solution specifically addresses the Windows key not working and may not resolve other keyboard-related issues. If you encounter any other problems with your keyboard or computer, it’s recommended to seek additional troubleshooting steps or consult a professional.
Update Keyboard Drivers
1. Press the Windows key + X on your keyboard to open the Power User Menu.
2. Click on Device Manager from the menu.
3. In the Device Manager window, expand the Keyboards category.
4. Right-click on your keyboard driver and select Update driver.
5. Choose the option to Search automatically for updated driver software.
6. Windows will search for the latest driver online and install it automatically.
7. Restart your computer to apply the changes.
If the issue persists, you can also try the following steps:
1. Open the Device Manager again.
2. Right-click on your keyboard driver and select Uninstall device.
3. Restart your computer. Windows will automatically reinstall the keyboard driver.
If none of the above solutions work, you may need to visit the manufacturer’s website and download the latest driver for your keyboard model.
Check for a Windows Lock Key

To check if the Windows Lock key is enabled, look for an indicator light on your keyboard or try pressing the key itself. If the Windows Lock key is activated, the Windows key will not work. To disable Windows Lock, simply press the Windows Lock key again.
If you don’t have a Windows Lock key on your keyboard, or if disabling it doesn’t solve the issue, there may be other factors causing the problem. Some common troubleshooting steps include checking for software conflicts, updating keyboard drivers, and scanning for malware.
If these steps don’t resolve the issue, you can also try using an on-screen keyboard as a temporary workaround. On Windows 10/11, you can access the on-screen keyboard by clicking on the Start button, selecting “Windows Ease of Access,” and then choosing “On-Screen Keyboard.”
Create a New User Account
1. Press the Windows key + I to open the Settings app.
2. Click on Accounts.
3. In the left sidebar, select Family & other users.
4. Under the “Other users” section, click on Add account.
5. Choose the option I don’t have this person’s sign-in information.
6. Click on Add a user without a Microsoft account.
7. Enter the desired username and password for the new account.
8. You can also set up password recovery options if needed.
9. Click on Next and then Finish.
10. The new user account is now created and can be accessed from the login screen.
Remember to provide the necessary permissions and restrictions for the new user account based on your preferences.
If you encounter any issues while creating the account, make sure to check for software bugs, update device drivers, and run a registry cleaner to fix any potential problems.
Conduct a Full System Malware Scan
1. Open the Task Manager by pressing Ctrl + Shift + Esc on your keyboard.
2. In the Task Manager, click on the “File” menu and select “Run new task.”
3. Type “cmd.exe” into the text box and check the box that says “Create this task with administrative privileges.”
4. Click “OK” to open the Command Prompt with admin rights.
5. In the Command Prompt, type “netstat -ano” and press Enter to view active network connections.
6. Look for any suspicious or unknown processes with high PID (Process ID) numbers.
7. Note down the PID numbers of these processes.
8. Next, type “tasklist /fi “PID eq [PID number]”” into the Command Prompt, replacing [PID number] with the suspicious PID number you noted earlier.
9. Press Enter to see the name and location of the process associated with that PID.
10. If you suspect the process to be malware, you can use an antivirus software to scan and remove it.
11. Download and install a reputable antivirus program if you don’t already have one.
12. Open the antivirus software and run a full system scan to detect and eliminate any malware present.
13. Follow the recommended actions provided by the antivirus software to remove any threats found.
14. After the scan and removal process is complete, restart your computer to ensure all changes take effect.
15. Test if the Windows key is now working properly.
FAQ
How do I get my Windows button to work?
To get your Windows button to work, you can try the following steps:
– Restart your computer.
– Update Windows to the latest version.
– Sign out of your user account and sign back in.
– Restart Windows Explorer.
– Perform a system file checker scan.
– Re-register the built-in Windows apps using PowerShell.
– Disable temporary Cortana files with the command prompt.
– If none of the above works, try booting into safe mode.
How do I fix my Windows key not working?
To fix a Windows key that is not working, you can try several troubleshooting steps. These include checking your Start Menu, disabling Game Mode, using the Win Lock key, disabling Filter Keys, enabling the Windows logo key via the Windows Registry, restarting Windows/File Explorer, updating your drivers, and running System File Checker.

