Are you frustrated with encountering the BUGCODE_USB_DRIVER blue screen error on your Windows 10 computer? Let’s dive into effective solutions to fix this issue.
Update Device Drivers
1. Press the Windows key + X and select Device Manager from the menu.
2. In Device Manager, expand the category that contains the device you want to update.
3. Right-click on the device and select Update driver.
4. Choose “Search automatically for updated driver software” and let Windows search for the latest driver online.
5. If Windows doesn’t find a new driver, you can visit the manufacturer’s website and download the latest driver manually.
6. Once downloaded, double-click the driver file and follow the on-screen instructions to install it.
7. After installing the new driver, restart your computer to apply the changes.
Updating device drivers can often resolve compatibility issues and fix blue screen errors like BUGCODE_USB_DRIVER. It’s important to keep your drivers up to date to ensure optimal performance and stability.
Remember to always download drivers from trusted sources to avoid malware or other security risks. If you encounter any issues during the driver update process, you can use the Windows Device Manager to roll back to the previous driver version.
Adjust Power Settings
1. Press the Windows key + X and select “Power Options” from the menu.
2. In the Power Options window, click on “Change plan settings” next to your selected power plan.
3. On the next screen, click on “Change advanced power settings”.
4. In the Advanced settings tab, scroll down and expand the “USB settings” category.
5. Expand the “USB selective suspend setting” and set it to “Disabled”.
6. Expand the “USB selective suspend setting” under “On battery” and set it to “Disabled” as well.
7. Click “Apply” and then “OK” to save the changes.
8. Restart your computer and check if the BUGCODE_USB_DRIVER blue screen error persists.
Note: Adjusting power settings may affect the overall power consumption of your computer. If you experience any issues or decreased battery life, you can revert the changes by following the same steps and setting the USB selective suspend setting back to “Enabled”.
If the error still occurs after adjusting the power settings, it may be necessary to update your USB drivers. To do this, follow these steps:
1. Press the Windows key + X and select “Device Manager” from the menu.
2. Expand the “Universal Serial Bus controllers” category.
3. Right-click on each USB device and select “Update driver”.
4. Choose the option to search automatically for updated driver software.
5. If any updates are found, follow the on-screen instructions to install them.
6. Repeat this process for all USB devices listed under “Universal Serial Bus controllers”.
7. Restart your computer and check if the error persists.
Install Latest Windows Update
To fix the BUGCODE_USB_DRIVER blue screen error on Windows 10, one of the first steps you should take is to install the latest Windows Update. Updates often include bug fixes and security patches that can address the issue you’re experiencing.
To install the latest Windows Update, follow these steps:
1. Open the Start menu and type “Windows Update” in the search bar.
2. Click on “Windows Update Settings” from the search results.
3. In the Windows Update settings window, click on “Check for updates.”
4. Windows will now check for any available updates. If there are updates available, click on “Download and install” to start the installation process.
5. Follow the on-screen instructions to complete the installation.
It’s important to note that installing Windows updates can take some time, so be patient during the process. Once the updates are installed, restart your computer to apply the changes.
By keeping your Windows operating system up to date, you can ensure that you have the latest bug fixes and security patches, which can help prevent and resolve various issues, including the BUGCODE_USB_DRIVER blue screen error.
Disable Overclocking
To disable overclocking, follow these steps:
1. Restart your computer and access the BIOS menu. This can usually be done by pressing a specific key (like F2 or Del) during the boot process. Refer to your computer’s manual or look for on-screen prompts for the correct key.
2. Once in the BIOS menu, navigate to the “Performance” or “Advanced” section. The exact location may vary depending on your computer’s manufacturer and BIOS version.
3. Look for settings related to overclocking, such as “CPU Clock Ratio” or “CPU Frequency”. Change these settings to their default values or disable any options related to overclocking.
4. Save the changes and exit the BIOS menu. This will restart your computer with the overclocking disabled.
Disabling overclocking can help resolve the BUGCODE_USB_DRIVER error by ensuring that your hardware is running at its default clock rate. This can help prevent instability and compatibility issues that may trigger the error.
If disabling overclocking doesn’t fix the issue, you may need to try other troubleshooting steps such as running a system file checker scan, checking for malware or viruses, or updating device drivers.
Repair Corrupt System Files
![]()
1. Press the Windows key + X and select “Command Prompt (Admin)” from the menu.
2. In the command prompt window, type “sfc /scannow” and press Enter. This will run the System File Checker utility, which will scan for and repair any corrupted system files.
3. Wait for the scan to complete. If any corrupt files are found, the utility will automatically replace them with a cached copy from your operating system.
4. Once the scan is finished, restart your computer and check if the blue screen error persists.
If the issue still persists, you can also try running the CHKDSK utility to check for any errors on your hard drive. Here’s how:
1. Open the command prompt window as an administrator, just like before.
2. Type “chkdsk /f” and press Enter. This will schedule a scan and automatically fix any errors it finds on your hard drive.
3. Restart your computer and let CHKDSK perform the scan during the boot process.
If neither of these methods resolves the blue screen error, you may need to consider other troubleshooting options or consult a professional technician for further assistance.
Check and Repair Disk Errors
| Check and Repair Disk Errors | |
|---|---|
| Article Title: | Fixing BUGCODE_USB_DRIVER Blue Screen Error on Windows 10 |
| Description: | This section provides steps to check and repair disk errors on Windows 10 as a potential solution to fix the BUGCODE_USB_DRIVER blue screen error. |
| Steps to Check and Repair Disk Errors: | |
| Step 1: | Open File Explorer and navigate to “This PC”. |
| Step 2: | Right-click on the drive you want to check for errors and select “Properties”. |
| Step 3: | In the Properties window, go to the “Tools” tab. |
| Step 4: | Under the “Error checking” section, click on “Check”. |
| Step 5: | If prompted, select “Scan drive” to let Windows automatically fix file system errors and scan for bad sectors. |
| Step 6: | Wait for the scan to complete. This process may take some time depending on the size of the drive and the number of errors found. |
| Step 7: | Once the scan is finished, Windows will display the results. If any errors are found, follow the on-screen instructions to repair them. |
| Step 8: | After the repairs are done, restart your computer. |
| Step 9: | Check if the BUGCODE_USB_DRIVER blue screen error is resolved. |
Manage Connected USB Devices
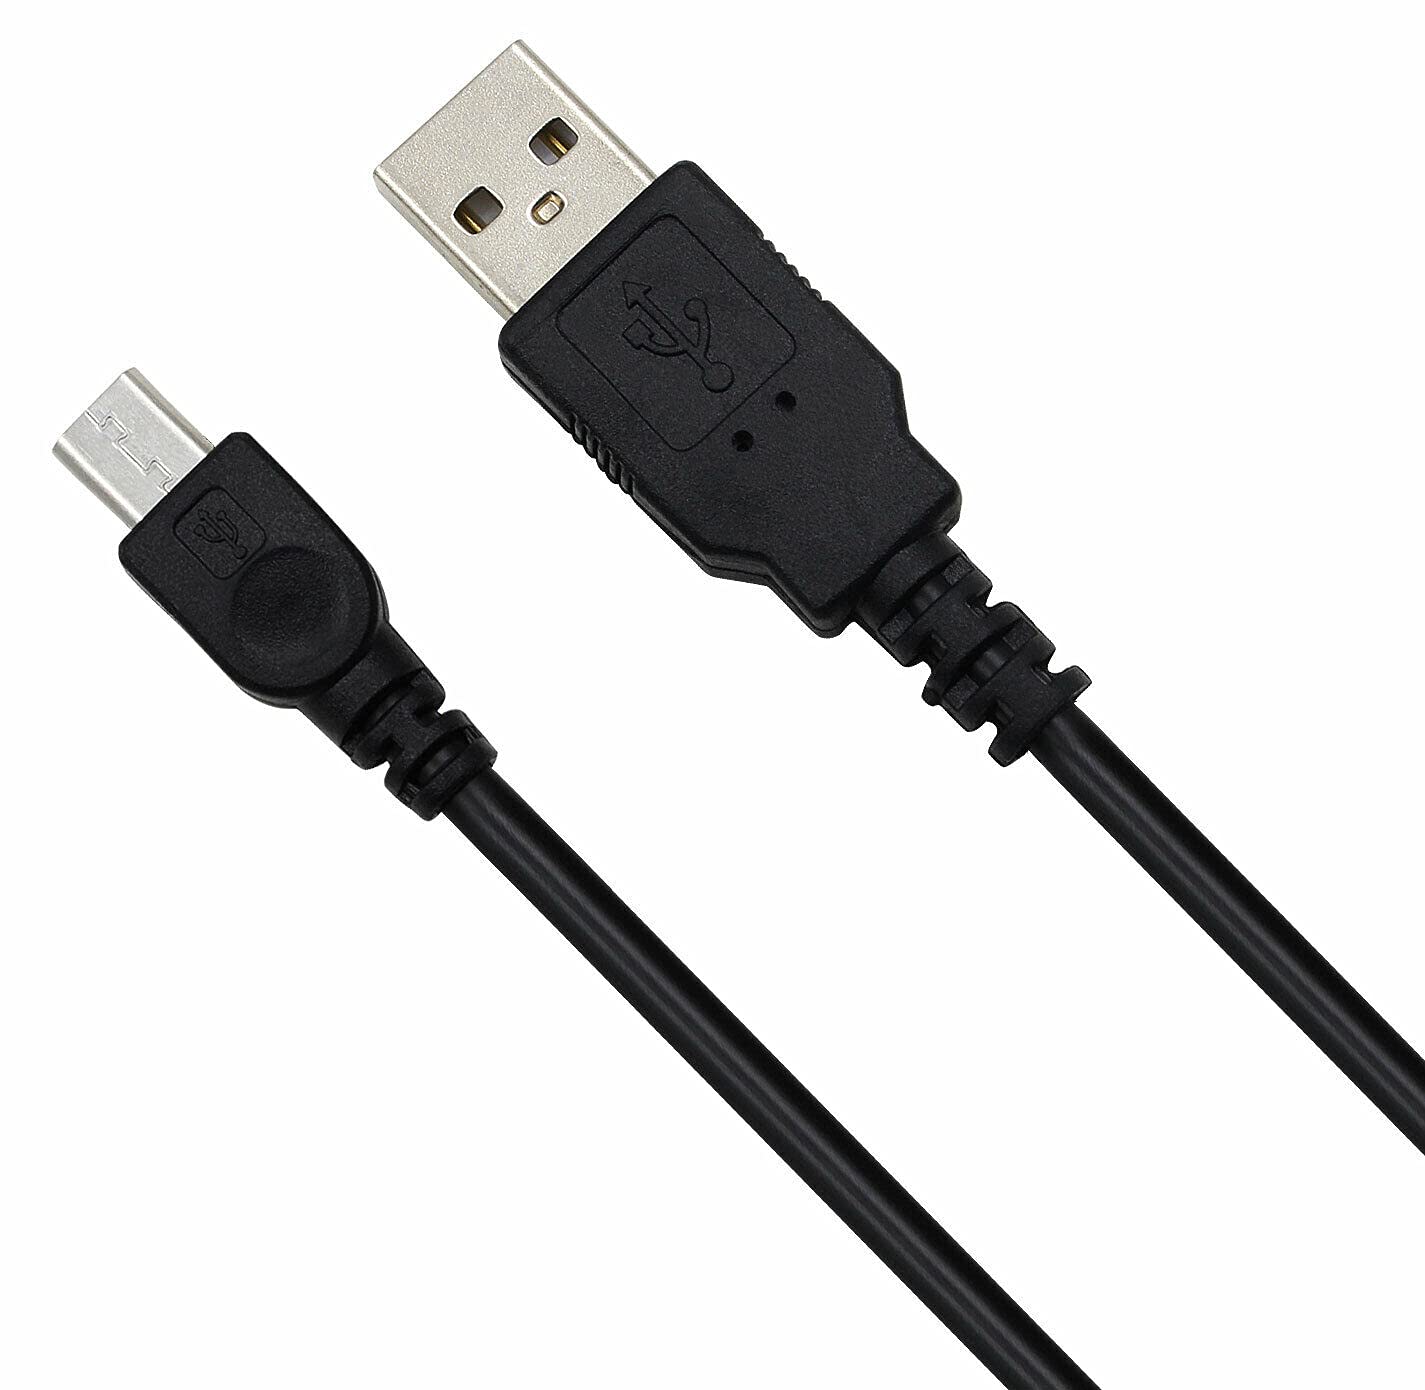
- Check USB connections: Ensure all USB cables are securely plugged in and there are no loose connections.
- Restart your computer: A simple restart can often resolve temporary software or driver issues.
- Update USB drivers: Visit the manufacturer’s website and download the latest USB drivers for your device.
- Scan for malware: Run a thorough scan using reliable antivirus software to check for any malware or viruses affecting your USB devices.
- Disconnect unnecessary USB devices: Unplug any USB devices that are not currently in use to reduce the load on your system.
- Run Windows Update: Check for any available updates for your operating system, as these may include important bug fixes or driver updates.
- Reset USB ports: Unplug all USB devices and restart your computer. Once it’s back on, plug in the devices one by one to see if any of them were causing the error.
- Check power settings: Adjust power settings to prevent USB devices from entering sleep mode or being turned off to conserve power.
- Disable USB selective suspend: Prevent Windows from selectively suspending USB devices to save power by changing the power options in the Control Panel.
- Perform a system restore: If the error started occurring after recent changes or installations, restoring your system to a previous working state may help.

Frequently Asked Questions
What is the bug USB blue screen?
The bug USB blue screen, also known as the BUGCODE_USB_DRIVER, is a BSoD error that occurs due to corrupted drivers or faulty BIOS setup. However, there are simple solutions available to fix this issue without needing technical assistance.
How do I fix a blue screen on Windows 10 with USB?
To fix a blue screen on Windows 10 with USB, you can follow these steps:
– Shut down the PC displaying the BSOD.
– Remove all USB devices, except for the mouse and keyboard.
– Restart the system in Safe Mode with Networking.
– Uninstall any recently installed software.
– Roll back or disable drivers.
– Perform a malware scan.
– Run an SFC Scan.
– Scan your hard drive.
