Is your Windows 10 WiFi adapter missing? Fix it now.
Show Hidden Devices in Device Manager
If your Windows 10 WiFi adapter is missing, you can try showing hidden devices in Device Manager to fix the issue. Here’s how you can do it:
1. Press the Windows key + X on your keyboard to open the Power User menu.
2. From the menu, select Device Manager. This will open the Device Manager window.
3. In the Device Manager window, click on the View tab at the top.
4. From the drop-down menu, select Show hidden devices. This will display all the hidden devices in the Device Manager.
5. Look for the Network adapters section and expand it by clicking on the arrow next to it.
6. Now, check if your WiFi adapter is listed under the Network adapters section. If it’s listed but grayed out, right-click on it and select Enable. This will enable the WiFi adapter.
7. If your WiFi adapter is not listed at all, right-click on any device listed in the Device Manager window and select Scan for hardware changes. This will prompt Windows to scan for any new devices, including your WiFi adapter.
8. Once the scan is complete, check if your WiFi adapter is now listed under the Network adapters section. If it is, right-click on it and select Enable.
9. If your WiFi adapter is still missing or not working properly, you may need to update its driver. Right-click on the WiFi adapter and select Update driver. Follow the on-screen instructions to download and install the latest driver for your WiFi adapter.
10. After updating the driver, restart your computer and check if your WiFi adapter is now working properly.
Run the Network Troubleshooter
To run the Network Troubleshooter in Windows 10, follow these steps:
1. Open the Start menu by clicking the Windows icon on your computer keyboard or by pressing the Windows key.
2. Type “troubleshoot” in the search bar and select “Troubleshoot settings” from the search results. This will open the Troubleshoot settings page in the Settings app.
3. Scroll down and click on “Network Adapter” under the “Find and fix other problems” section.
4. Click on the “Run the troubleshooter” button to start the Network Troubleshooter.
The Network Troubleshooter will now scan your system for any network adapter-related issues and attempt to fix them. This may include resetting the network adapter, reinstalling the driver, or resolving any conflicts.
Once the troubleshooter has completed its scan, it will provide you with a summary of the issues found and the actions taken to resolve them. Follow any additional instructions provided to complete the troubleshooting process.
If the Network Troubleshooter is unable to fix the issue, there may be a more complex problem with your WiFi adapter. In such cases, you may need to manually update the device driver or seek further technical support.
Remember, running the Network Troubleshooter is just one step in troubleshooting WiFi adapter issues. If the problem persists, you may need to explore other solutions such as checking hardware connections, resetting your router, or performing a system restore.
By utilizing the Network Troubleshooter, you can quickly diagnose and resolve common WiFi adapter issues in Windows 10.
Update Wireless Adapter Driver
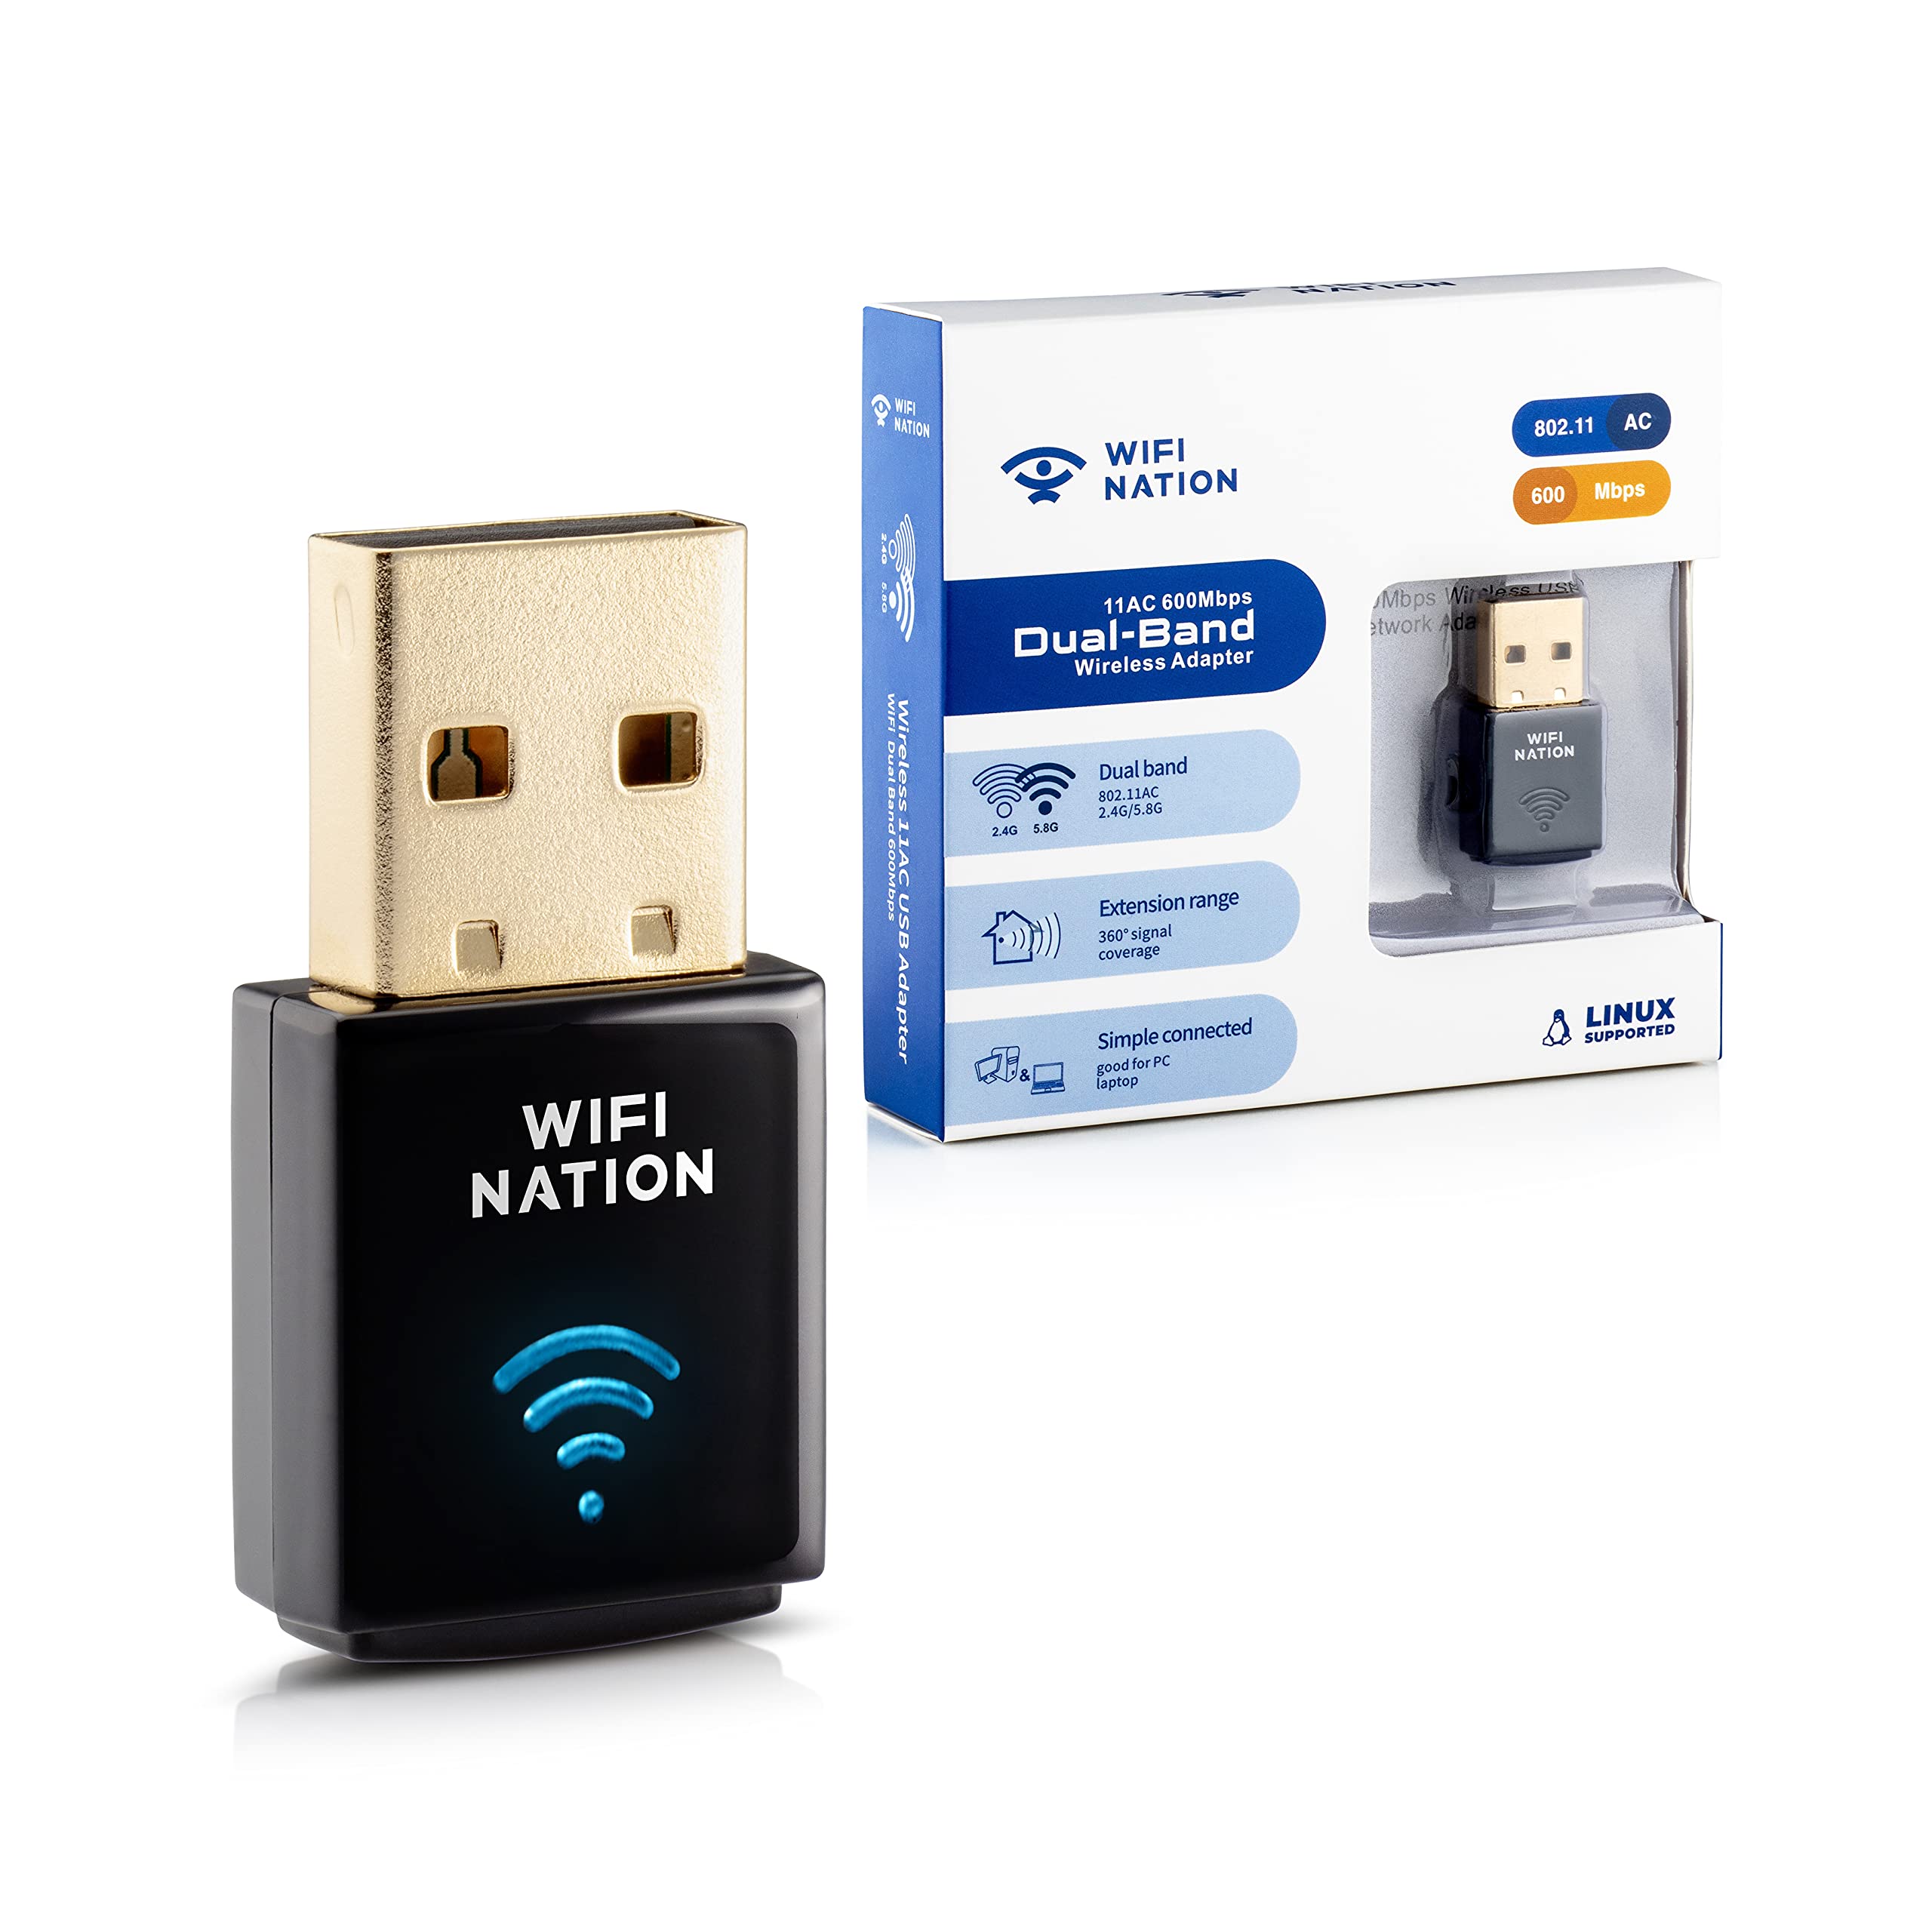
To update the wireless adapter driver on Windows 10, follow these simple steps:
1. First, open the Device Manager by pressing the Windows key and typing “Device Manager” in the search bar. Double-click on the Device Manager app to open it.
2. In the Device Manager window, locate the “Network adapters” category and expand it by clicking on the arrow next to it.
3. Look for your wireless adapter in the list of network adapters. It may be named differently depending on the manufacturer, but it will usually have “Wireless” or “Wi-Fi” in its name.
4. Right-click on the wireless adapter and select “Update driver” from the context menu.
5. In the next window, choose the option to “Search automatically for updated driver software.” Windows will then search for the latest driver for your wireless adapter and install it if found.
6. If Windows fails to find an updated driver, you can manually download it from the manufacturer’s website. To do this, go to the manufacturer’s website using your web browser and navigate to the support or drivers section. Search for your specific wireless adapter model and download the latest driver available. Make sure to download the driver compatible with Windows 10.
7. Once the driver is downloaded, double-click on the downloaded file to run the installation. Follow the on-screen instructions to complete the installation process.
8. After the installation is complete, restart your computer to apply the changes.
By updating the wireless adapter driver, you can resolve issues related to missing or outdated drivers, improving the stability and performance of your wireless network connection. It’s recommended to regularly check for driver updates to ensure optimal functionality.
If you are still experiencing Wi-Fi adapter issues after updating the driver, it may be worth considering other troubleshooting steps such as checking your network settings, resetting your router, or contacting technical support for further assistance.
Reset Winsock Settings
1. Press the Windows key + X on your computer keyboard to open the Power User menu.
2. Select “Command Prompt (Admin)” from the list. This will open the Command Prompt with administrative privileges.
3. In the Command Prompt window, type the following command and press Enter: netsh winsock reset
4. Wait for the process to complete. You may see some text scrolling in the Command Prompt window.
5. Once the process is finished, restart your computer for the changes to take effect.
6. After the computer restarts, check if the WiFi adapter is now visible and working properly.
By resetting the Winsock settings, you are essentially resetting the networking stack on your Windows 10 operating system. This can resolve issues related to network connectivity, including a missing WiFi adapter.
If you are still experiencing problems with your WiFi adapter after resetting Winsock, you may need to update the device driver or check for any hardware issues. It is also recommended to ensure that your operating system is up to date with the latest patches and updates from Microsoft.
If you need further assistance, you can seek help from online communities such as Reddit or consult the official Microsoft support website. Remember to provide specific details about your issue, such as your operating system version, the make and model of your WiFi adapter, and any error messages you may be receiving.
Resetting Winsock settings is a simple yet effective troubleshooting tool that can help resolve WiFi adapter issues on your Windows 10 computer. Give it a try and see if it solves your problem.
Replace Network Interface Controller Card
If you’re experiencing the issue of a missing WiFi adapter on your Windows 10 computer, it could be due to a faulty Network Interface Controller (NIC) card. Don’t worry, there’s a simple fix for this problem.
Firstly, you’ll need to replace the NIC card with a new one. Here’s how you can do it yourself:
1. Shut down your computer and unplug it from the power source to ensure safety.
2. Open up your computer case to access the hardware components.
3. Locate the current NIC card, which is usually inserted into a PCI or PCIe slot on the motherboard.
4. Carefully remove the screws or clips holding the NIC card in place and gently pull it out of the slot.
5. Take your new NIC card and align it with the slot on the motherboard. Make sure it is inserted correctly and securely.
6. Use the screws or clips to fasten the new NIC card in place.
7. Close the computer case and plug it back into the power source.
Once you have replaced the NIC card, you may need to install the appropriate drivers for it to function properly. Here’s how:
1. Turn on your computer and log in to Windows 10.
2. Open a web browser and visit the manufacturer’s website for your new NIC card.
3. Look for the support or downloads section on the website and search for the drivers specific to your NIC card model.
4. Download the latest drivers for your NIC card and save them to a location on your computer.
5. Once the drivers are downloaded, locate the file and double-click on it to start the installation process.
6. Follow the on-screen instructions to install the drivers. You may be prompted to restart your computer after the installation is complete.
After the drivers are installed, your new NIC card should be recognized by Windows 10, and the WiFi adapter issue should be resolved. You can now connect to wireless networks and enjoy uninterrupted internet access.
Remember to ensure that your computer is compatible with the new NIC card before making a purchase. Additionally, it’s always a good idea to refer to the manufacturer’s instructions or seek professional help if you’re unsure about replacing hardware components yourself.
Troubleshooting Network Problems
- Restart your computer and router
- Check if the wifi adapter is enabled
- Update the wifi adapter driver
- Run the Network Adapter troubleshooter
- Reset the TCP/IP stack
- Disable power saving mode for the wifi adapter
- Check for Windows updates
- Reset the wifi network settings
- Perform a system restore
Steps Taken for Wi-Fi Detection
| Step | Description |
|---|---|
| Step 1 | Restart your computer. |
| Step 2 | Check if the Wi-Fi adapter is physically connected to your computer. |
| Step 3 | Open Device Manager by right-clicking on the Start button and selecting Device Manager. |
| Step 4 | Expand the Network Adapters section and look for any entry related to Wi-Fi. |
| Step 5 | If you find any Wi-Fi related entry, right-click on it and select Enable. |
| Step 6 | If there are no Wi-Fi related entries or enabling them doesn’t work, try updating the Wi-Fi driver. |
| Step 7 | Download the latest Wi-Fi driver from the manufacturer’s website and install it. |
| Step 8 | Restart your computer and check if the Wi-Fi adapter is now detected. |
Frequently Asked Questions
Why is my PC not detecting my Wi-Fi adapter?
Your PC may not be detecting your Wi-Fi adapter due to outdated BIOS and chipset drivers. Updating these drivers from your system manufacturer’s website could resolve the issue. Additionally, make sure to update the firmware on your wireless access point’s Wi-Fi modem, router, or extender, as old firmware can cause the adapter to disable itself if it receives a large number of bad frames from the access point.
Why is my WiFi network not showing up on my Windows 10?
Your WiFi network may not be showing up on your Windows 10 because the Wireless Mode setting on your network adapter may not be compatible with the network you’re trying to connect to. Make sure the settings match to establish a connection and see the network in the available networks list.
How do I find my Wi-Fi adapter on Windows 10?
To find your Wi-Fi adapter on Windows 10, right-click the Windows Start button and select Device Manager. Then, click on Network Adapters and expand the list to view all network adapter devices in the system.
How do I reinstall my wireless adapter Windows 10?
To reinstall your wireless adapter on Windows 10, first, right click the Windows logo in the lower left corner of your screen. Then, select Device Manager. Next, double click on Network Adapters and locate your wireless adapter. Right click on it and choose the option to reinstall.
