I encountered a frustrating issue while attempting to apply a security fix on Windows 10.
Create or Modify User Accounts
1. Open the Start Menu and click on the “Settings” icon.
2. In the Settings window, click on the “Accounts” option.
3. Under the “Your info” section, click on the “Manage my Microsoft account” link if you want to modify your Microsoft account, or click on the “Family & other users” option to manage other user accounts on your computer.
4. To create a new user account, click on the “Add someone else to this PC” button under the “Other users” section. Follow the on-screen instructions to create a new account.
5. To modify an existing user account, click on the account name under the “Other users” section. From here, you can change the account type, password, and other account settings.
Note: To perform these actions, you may need to have administrative privileges or be logged in as an administrator.
Remember to always keep your user accounts secure by using strong passwords and regularly updating them. Additionally, it’s a good practice to regularly backup your important data to prevent any loss in case of an error or system failure.
If you encounter any error message or have trouble applying security fixes, you can refer to the Windows 10 documentation or seek assistance from Microsoft support.
Adjust Security and Permission Settings
| Step | Description |
|---|---|
| 1 | Open the “Settings” app from the Start menu. |
| 2 | Click on the “Update & Security” option. |
| 3 | Select the “Windows Security” tab from the left sidebar. |
| 4 | Click on the “Open Windows Security” button. |
| 5 | Choose “Virus & threat protection” from the list of options. |
| 6 | Click on the “Manage settings” link under the “Virus & threat protection settings” section. |
| 7 | Toggle the switch to turn off “Real-time protection”. |
| 8 | Open the file or application you were having trouble with and apply the security fix. |
| 9 | Once the fix is applied, return to the Windows Security settings and toggle the switch to turn on “Real-time protection” again. |
| 10 | Verify that the security fix is now successfully applied without any errors. |
Disable Read-Only Attribute
To disable the read-only attribute in Windows 10 when applying a security fix, follow these steps:
1. Right-click on the file or folder that you want to modify.
2. Select “Properties” from the context menu.
3. In the Properties window, go to the “General” tab.
4. At the bottom of the tab, you will see the “Attributes” section.
5. Uncheck the box next to “Read-only” to remove the read-only attribute.
6. Click on “Apply” and then “OK” to save the changes.
Take or Change Ownership
| Error Code | Error Description | Possible Solutions |
|---|---|---|
| 0x80070005 | Access Denied Error |
|
| 0x80004005 | Unspecified Error |
|
| 0x80070522 | A Required Privilege is Not Held by the Client |
|
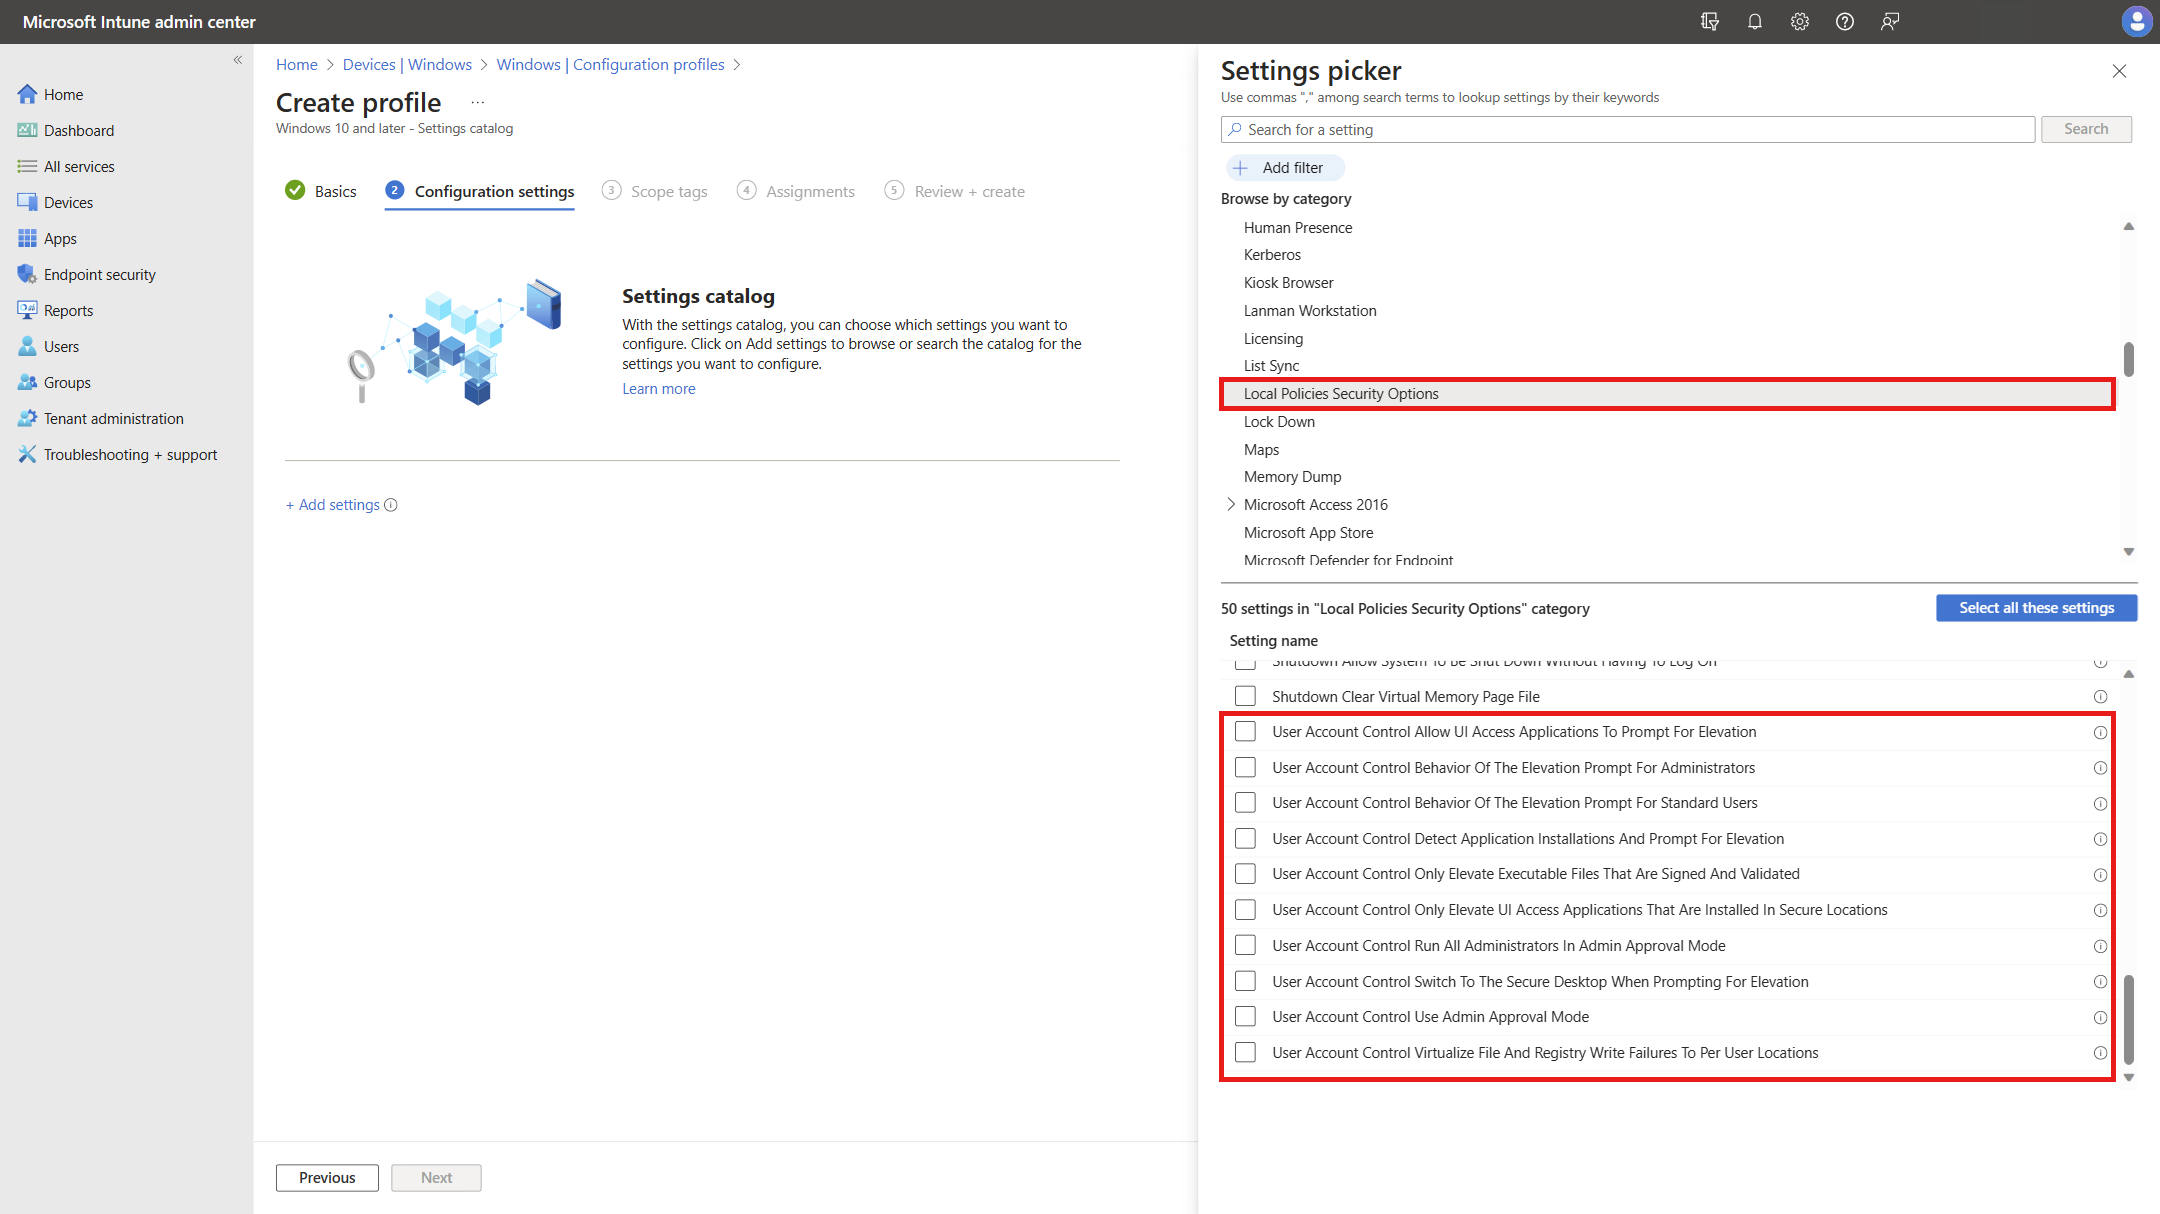
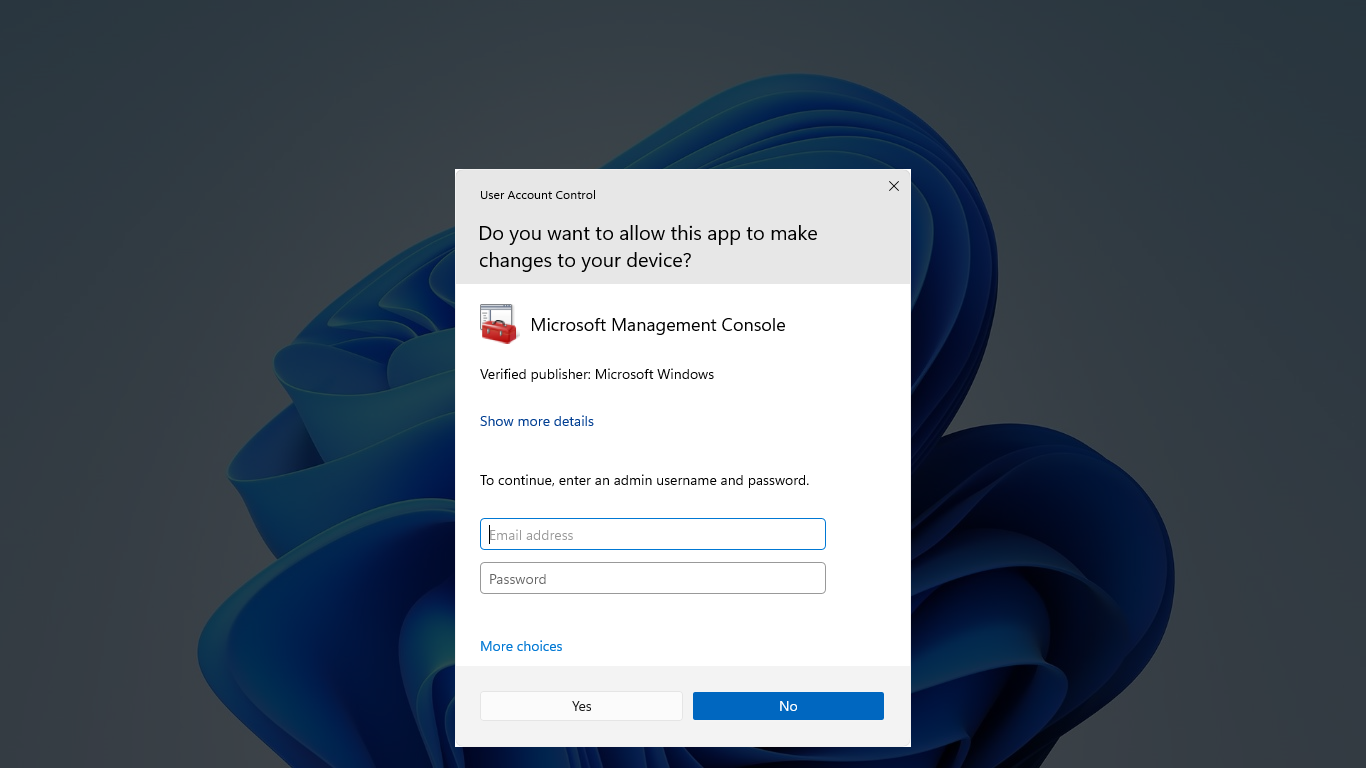
Modify UAC Settings
To modify UAC (User Account Control) settings in Windows 10, follow these steps:
1. Press the Windows key + R to open the Run dialog box.
2. Type “msconfig” and press Enter to open the System Configuration window.
3. In the System Configuration window, go to the “Tools” tab.
4. Scroll down and find “Change UAC Settings” and click on it.
5. The User Account Control Settings window will open.
6. Move the slider to adjust the UAC level according to your preference.
7. Click on “OK” to save the changes.
8. You will be prompted to restart your computer for the changes to take effect.
By modifying the UAC settings, you can control the level of security prompts and notifications you receive when installing software or making changes to your computer. Adjusting the UAC level can help prevent unauthorized changes and protect your system from potential threats.
Disable Antivirus Temporarily
To temporarily disable your antivirus software in Windows 10, follow these steps:
1. Locate the antivirus software icon in the system tray or taskbar. It is usually represented by a small icon resembling a shield or a computer screen.
2. Right-click on the antivirus icon to open a context menu.
3. From the context menu, look for an option that says “Disable” or “Turn off.” Click on this option to temporarily disable the antivirus software.
4. A confirmation prompt may appear asking if you are sure you want to disable the antivirus. Click “Yes” or “OK” to proceed.
5. Once the antivirus software is disabled, make sure to proceed with caution as your computer will be more vulnerable to malware and other security threats.
6. After you have completed the task that required the antivirus to be disabled, it is important to re-enable it to ensure your computer’s protection.
Note: Disabling your antivirus software temporarily should only be done when necessary and for a specific purpose. Leaving your computer without antivirus protection for an extended period of time can put your data and privacy at risk.
Use Command Prompt for Advanced Solutions
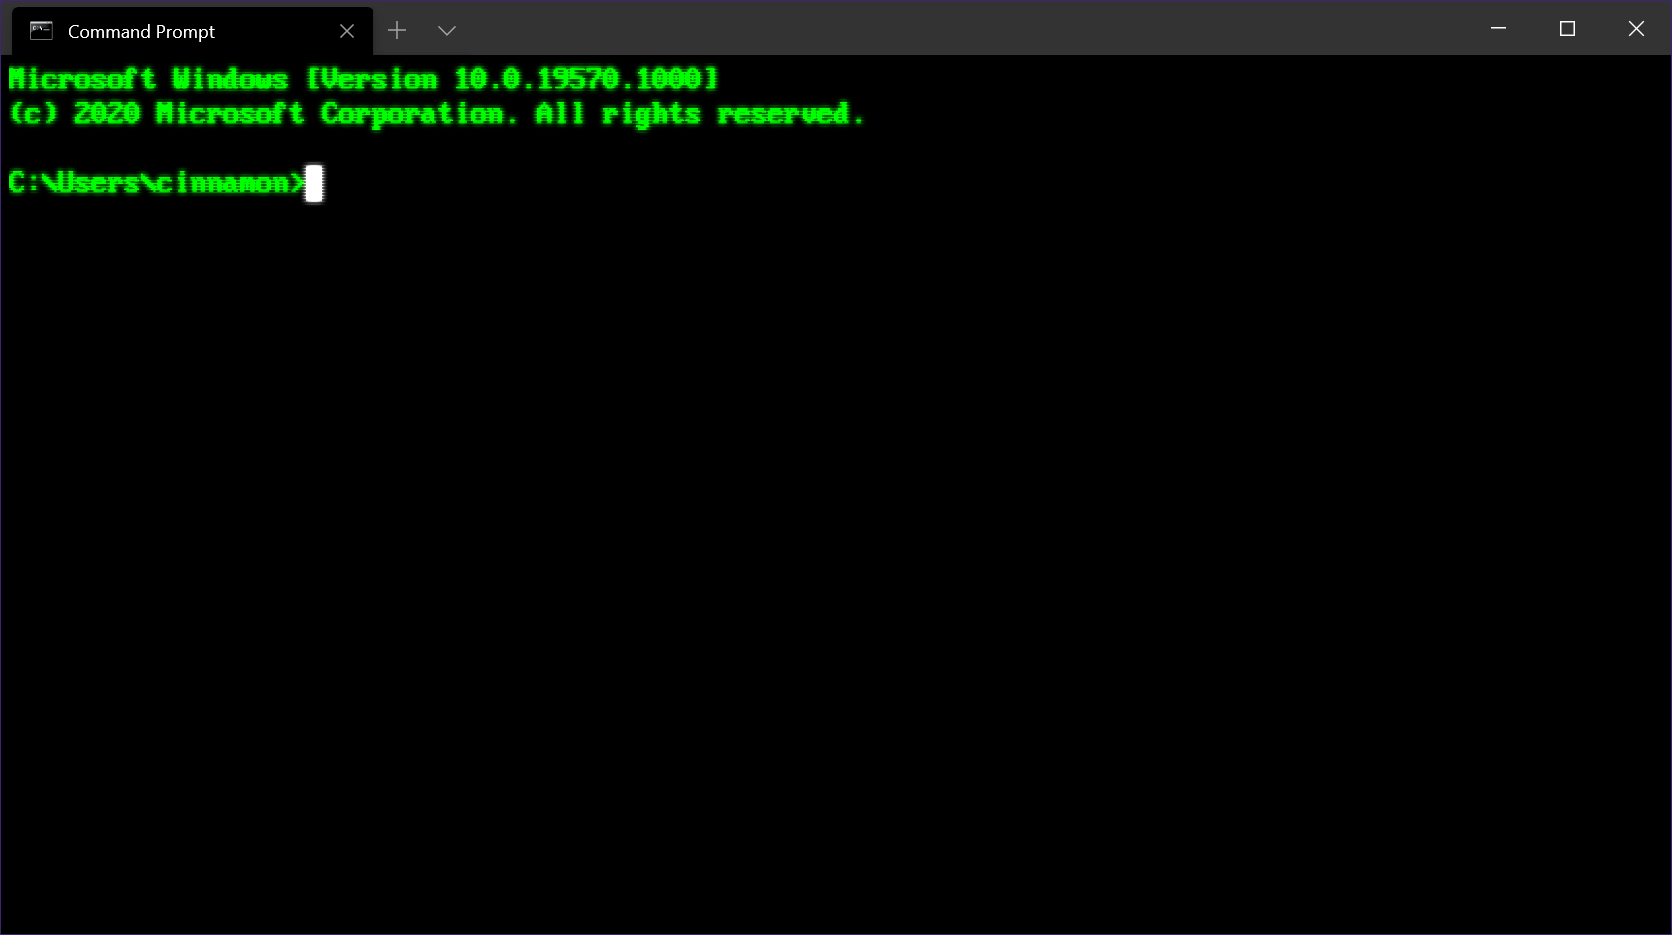
When encountering an error while applying a security fix in Windows 10, using Command Prompt can provide advanced solutions. To start, open Command Prompt by pressing the Windows key + R and typing “cmd” in the Run dialog box.
One useful command is sfc /scannow, which scans and repairs system files. If the error persists, try running dism /online /cleanup-image /restorehealth, which repairs the system image.
If these commands do not resolve the issue, you can try resetting Windows Update components. Open Command Prompt as an administrator and run the following commands in order:
1. net stop wuauserv
2. net stop cryptSvc
3. net stop bits
4. net stop msiserver
5. ren C:\Windows\SoftwareDistribution SoftwareDistribution.old
6. ren C:\Windows\System32\catroot2 catroot2.old
7. net start wuauserv
8. net start cryptSvc
9. net start bits
10. net start msiserver
If the error still persists, you may need to perform a system restore or reinstall Windows 10. Remember to backup your important files before proceeding with these steps.
FAQ
What is error 1609 applying security settings?
Error 1609 occurs when there is an issue applying security settings during installation. It indicates that the specified USERNAME/GROUPNAME is not recognized as a valid user or group. This error could be caused by problems with the package itself or difficulties connecting to a domain controller on the network. To resolve the issue, check your network connection, click Retry, or choose to cancel the installation.
How do I fix error applying attributes?
To fix the error applying attributes, you can try the following solutions:
1. Modify the file’s permissions and take full control.
2. Take ownership of the file.
3. Check if the file was encrypted by another user.
4. Copy the file from the old location.
5. Create a new user account.
How do you fix an error occurred when applying security information?
To fix an error that occurs when applying security information, you can try the following solutions:
1. Turn off the Read-only Mode.
2. Take ownership of the file.
3. Change drive ownership.
4. Change the UAC setting.
