Having trouble with your Windows 10 Mobile Hotspot Wi-Fi? Here’s how to fix it.
Update Wireless Driver
To update the wireless driver on your Windows 10 Mobile Hotspot, follow these steps:
1. Open the Device Manager by pressing the Windows key + X and selecting Device Manager from the menu.
2. In the Device Manager window, expand the Network adapters category.
3. Locate your wireless adapter from the list, it may be listed as Wi-Fi or something similar.
4. Right-click on the wireless adapter and select Update driver.
5. Choose the option to Search automatically for updated driver software.
6. Windows will now search for the latest driver for your wireless adapter and install it if available.
7. If Windows couldn’t find a new driver, you can try visiting the manufacturer’s website to manually download and install the latest driver.
8. Once the driver update is complete, restart your computer to apply the changes.
Updating the wireless driver can help resolve Wi-Fi problems on your Windows 10 Mobile Hotspot, such as slow or intermittent internet connection. By ensuring that you have the latest driver installed, you can improve the performance and stability of your wireless network.
Reset Wireless Adapters
1. Open the Start menu and type “Device Manager” to launch it.
2. In Device Manager, expand the “Network Adapters” section.
3. Right-click on the wireless adapter you want to reset and select “Disable” from the context menu.
Disable the wireless adapter.
4. Right-click on the same adapter again and this time select “Enable” from the context menu.
Enable the wireless adapter.
5. Restart your computer to apply the changes.
By resetting the wireless adapter, you are essentially restarting it and giving it a fresh start. This can help resolve any connectivity issues you may be experiencing with your Windows 10 Mobile Hotspot.
If you have multiple wireless adapters listed in the Device Manager, you may need to repeat the above steps for each one to ensure they are all reset.
Remember to restart your computer after resetting the wireless adapters to ensure the changes take effect.
This troubleshooting step can be particularly helpful if you are experiencing slow or unstable Wi-Fi hotspot connections. It can also help if you are unable to connect to the internet through your Windows 10 Mobile Hotspot.
In addition to resetting the wireless adapters, you may also want to consider updating the drivers for your wireless network adapters. Outdated or incompatible drivers can sometimes cause connectivity issues. To update the drivers, you can visit the manufacturer’s website or use a driver update utility.
Keep in mind that resetting the wireless adapters will disconnect any devices currently connected to your Wi-Fi hotspot. You will need to reconnect them once the reset is complete.
If resetting the wireless adapters does not resolve your Wi-Fi hotspot problems, you may need to further troubleshoot your network settings or seek additional assistance from technical support forums like Reddit or the Windows community.
Troubleshoot Network Problems
- Check Wi-Fi Connection
- Make sure Wi-Fi is turned on
- Check if you are connected to the correct Wi-Fi network
- Restart your device
- Reset Network Settings
- Open Settings
- Select Network & Internet
- Go to Wi-Fi
- Tap on Manage known networks
- Select the network causing issues
- Click Forget to remove the network from the list
- Reconnect to the network
- Update Network Adapter Drivers
- Press Windows Key + X and select Device Manager
- Expand Network adapters
- Right-click on your network adapter
- Select Update driver
- Choose Search automatically for updated driver software
- Wait for the update to complete
- Restart your device
- Run Network Troubleshooter
- Open Settings
- Select Network & Internet
- Go to Status
- Scroll down and click on Network troubleshooter
- Wait for the troubleshooter to scan and fix any issues
- Restart your device
- Disable VPN or Proxy
- Open Settings
- Select Network & Internet
- Go to VPN or Proxy (depending on your configuration)
- Turn off any active VPN or Proxy connections
- Restart your device
- Reset Network Stack
- Open Command Prompt as administrator
- Type the following commands, pressing Enter after each one:
ipconfig /release
ipconfig /renew
netsh int ip reset
netsh winsock reset
ipconfig /flushdns - Restart your device
Reset Windows Firewall Settings
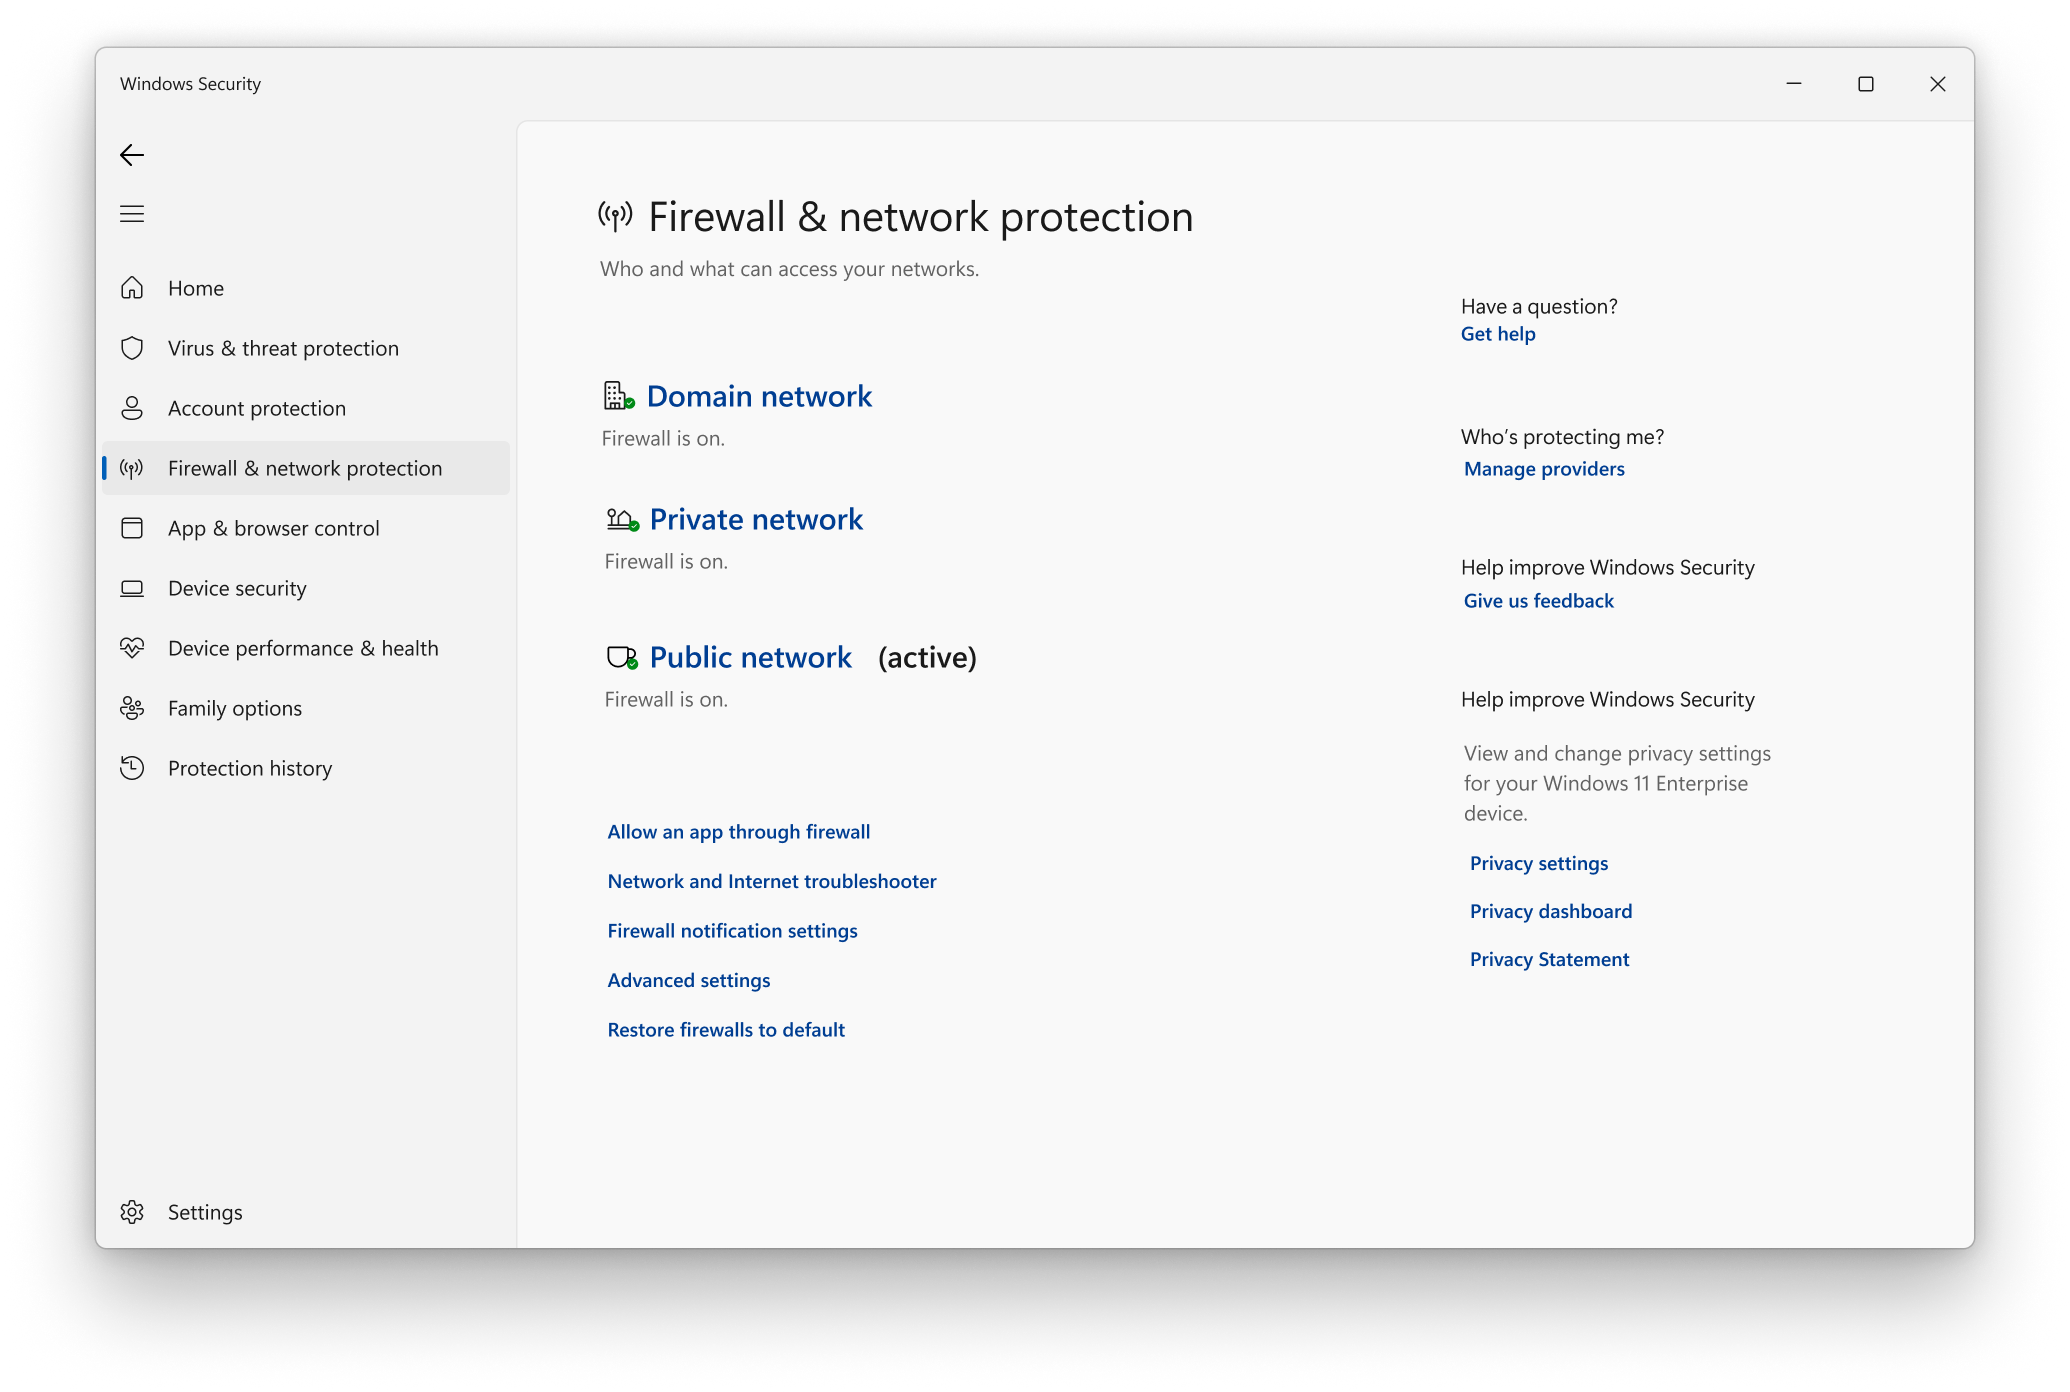
To reset the Windows Firewall settings on your Windows 10 Mobile Hotspot, follow these simple steps:
1. Open the Start menu and search for “Windows Defender Firewall.” Click on the corresponding result to open the Windows Defender Firewall settings.
2. In the left-hand menu, click on “Restore defaults.”
3. A warning message will appear, informing you that restoring the default settings will remove all customization you have made. Click on “Restore defaults” to proceed.
4. Once the process is complete, the Windows Firewall settings will be reset to their default configuration.
5. Restart your computer to ensure the changes take effect.
This process should resolve any issues related to the Windows Firewall settings on your Windows 10 Mobile Hotspot. If you continue to experience problems with your Wi-Fi connection, further troubleshooting may be required.
Create a New Internet Connection
1. Open the Settings app on your device. You can do this by clicking on the Start button and selecting the gear icon.
2. In the Settings menu, click on the “Network & Internet” option.
3. On the left-hand side of the Network & Internet menu, click on the “Mobile hotspot” tab.
4. Under the Mobile hotspot settings, you will find an option called “Share my Internet connection from.” Click on the drop-down menu and select the network connection you want to share. This can be your Ethernet connection or a Wi-Fi connection from another network.
5. Once you have selected the network connection, you can customize your hotspot settings. You can change the Network name and Password to something more memorable or leave it as the default settings.
6. After customizing the settings, toggle the “Share my Internet connection with other devices” switch to the “On” position. This will activate your hotspot and allow other devices to connect to it.
7. Now, you can connect your other devices to the newly created hotspot. On the device you want to connect, go to the Wi-Fi settings and look for the network name you set for your hotspot. Click on it and enter the password if prompted.
8. Once connected, the device should now have internet access through your Windows 10 Mobile Hotspot.
Remember, when using your Mobile Hotspot, it’s essential to keep an eye on your data usage. Consider setting a data limit or monitoring your usage regularly to avoid exceeding your data plan.
If you encounter any issues while setting up or using your Mobile Hotspot, you can seek further assistance from online forums like Reddit or consult the official Windows 10 support resources.
Turn Off Bluetooth
![]()
To turn off Bluetooth on your Windows 10 device, follow these steps:
1. Open the Settings app by pressing the Windows key + I on your keyboard or selecting the Start menu and clicking on the gear icon.
2. In the Settings app, click on “Devices.”
3. On the left-hand side of the Devices settings, click on “Bluetooth & other devices.”
4. In the Bluetooth & other devices settings, you will see a toggle switch under the Bluetooth section. Toggle off the switch to turn off Bluetooth.
5. Once Bluetooth is turned off, check if the Wi-Fi problems with your Mobile Hotspot have been resolved. If not, you can move on to other troubleshooting steps.
Remember, turning off Bluetooth will disable any connected Bluetooth devices, so make sure you don’t have any essential Bluetooth peripherals or accessories that rely on the connection.
In addition to turning off Bluetooth, there are other steps you can take to fix Wi-Fi problems with your Windows 10 Mobile Hotspot. Some of these steps include:
– Restart your computer and the device you’re trying to connect to the Mobile Hotspot.
– Update your network drivers by going to the manufacturer’s website and downloading the latest drivers for your network adapter.
– Disable and re-enable your Mobile Hotspot to refresh its settings.
– Reset your network settings by typing “network reset” in the Windows search bar and following the on-screen instructions.
– Check if your device’s Wi-Fi adapter is functioning properly by going to Device Manager, expanding the Network adapters category, and checking for any yellow exclamation marks or error messages.
– Make sure your device is within range of the Mobile Hotspot and that there are no physical obstructions that may interfere with the signal.
– If you’re using a third-party antivirus or firewall software, temporarily disable it to see if it’s causing any conflicts with the Mobile Hotspot.
By following these troubleshooting steps, you should be able to fix Wi-Fi problems with your Windows 10 Mobile Hotspot. If the issues persist, you may need to seek further assistance from technical support or consider contacting your internet service provider.
FAQ
Why my laptop is not connecting to mobile Wi-Fi Windows 10?
Your laptop may not be connecting to mobile Wi-Fi on Windows 10 due to outdated network adapter drivers. To resolve this issue, go to Device Manager, find your network adapter, and update its driver. After updating, restart both your laptop and mobile device. Additionally, check if your mobile hotspot is working by connecting another device to it. For more solutions, you can refer to the link below:
[Link to troubleshooting solutions]
Why is my PC mobile hotspot not working?
Your PC mobile hotspot may not be working due to a few potential issues. To troubleshoot this problem, try the following steps:
– Restart your mobile hotspot device.
– Restart your PC.
– Turn off Bluetooth® on your PC.
– Turn your PC’s Wi-Fi off and on.
How do I reset my mobile hotspot on Windows 10?
To reset your mobile hotspot on Windows 10, go to the Settings app and navigate to Network & Internet > Status > Network reset. Click on the Reset button and then confirm by clicking Yes.
Why my mobile Wi-Fi is not connecting to my laptop?
Your mobile Wi-Fi may not be connecting to your laptop because your mobile device may not be broadcasting the Wi-Fi network name (SSID). You can check and turn on the broadcast SSID option in your mobile device’s settings. Additionally, ensure that your laptop’s Wi-Fi adapter driver is up to date as outdated drivers can cause connectivity issues.
