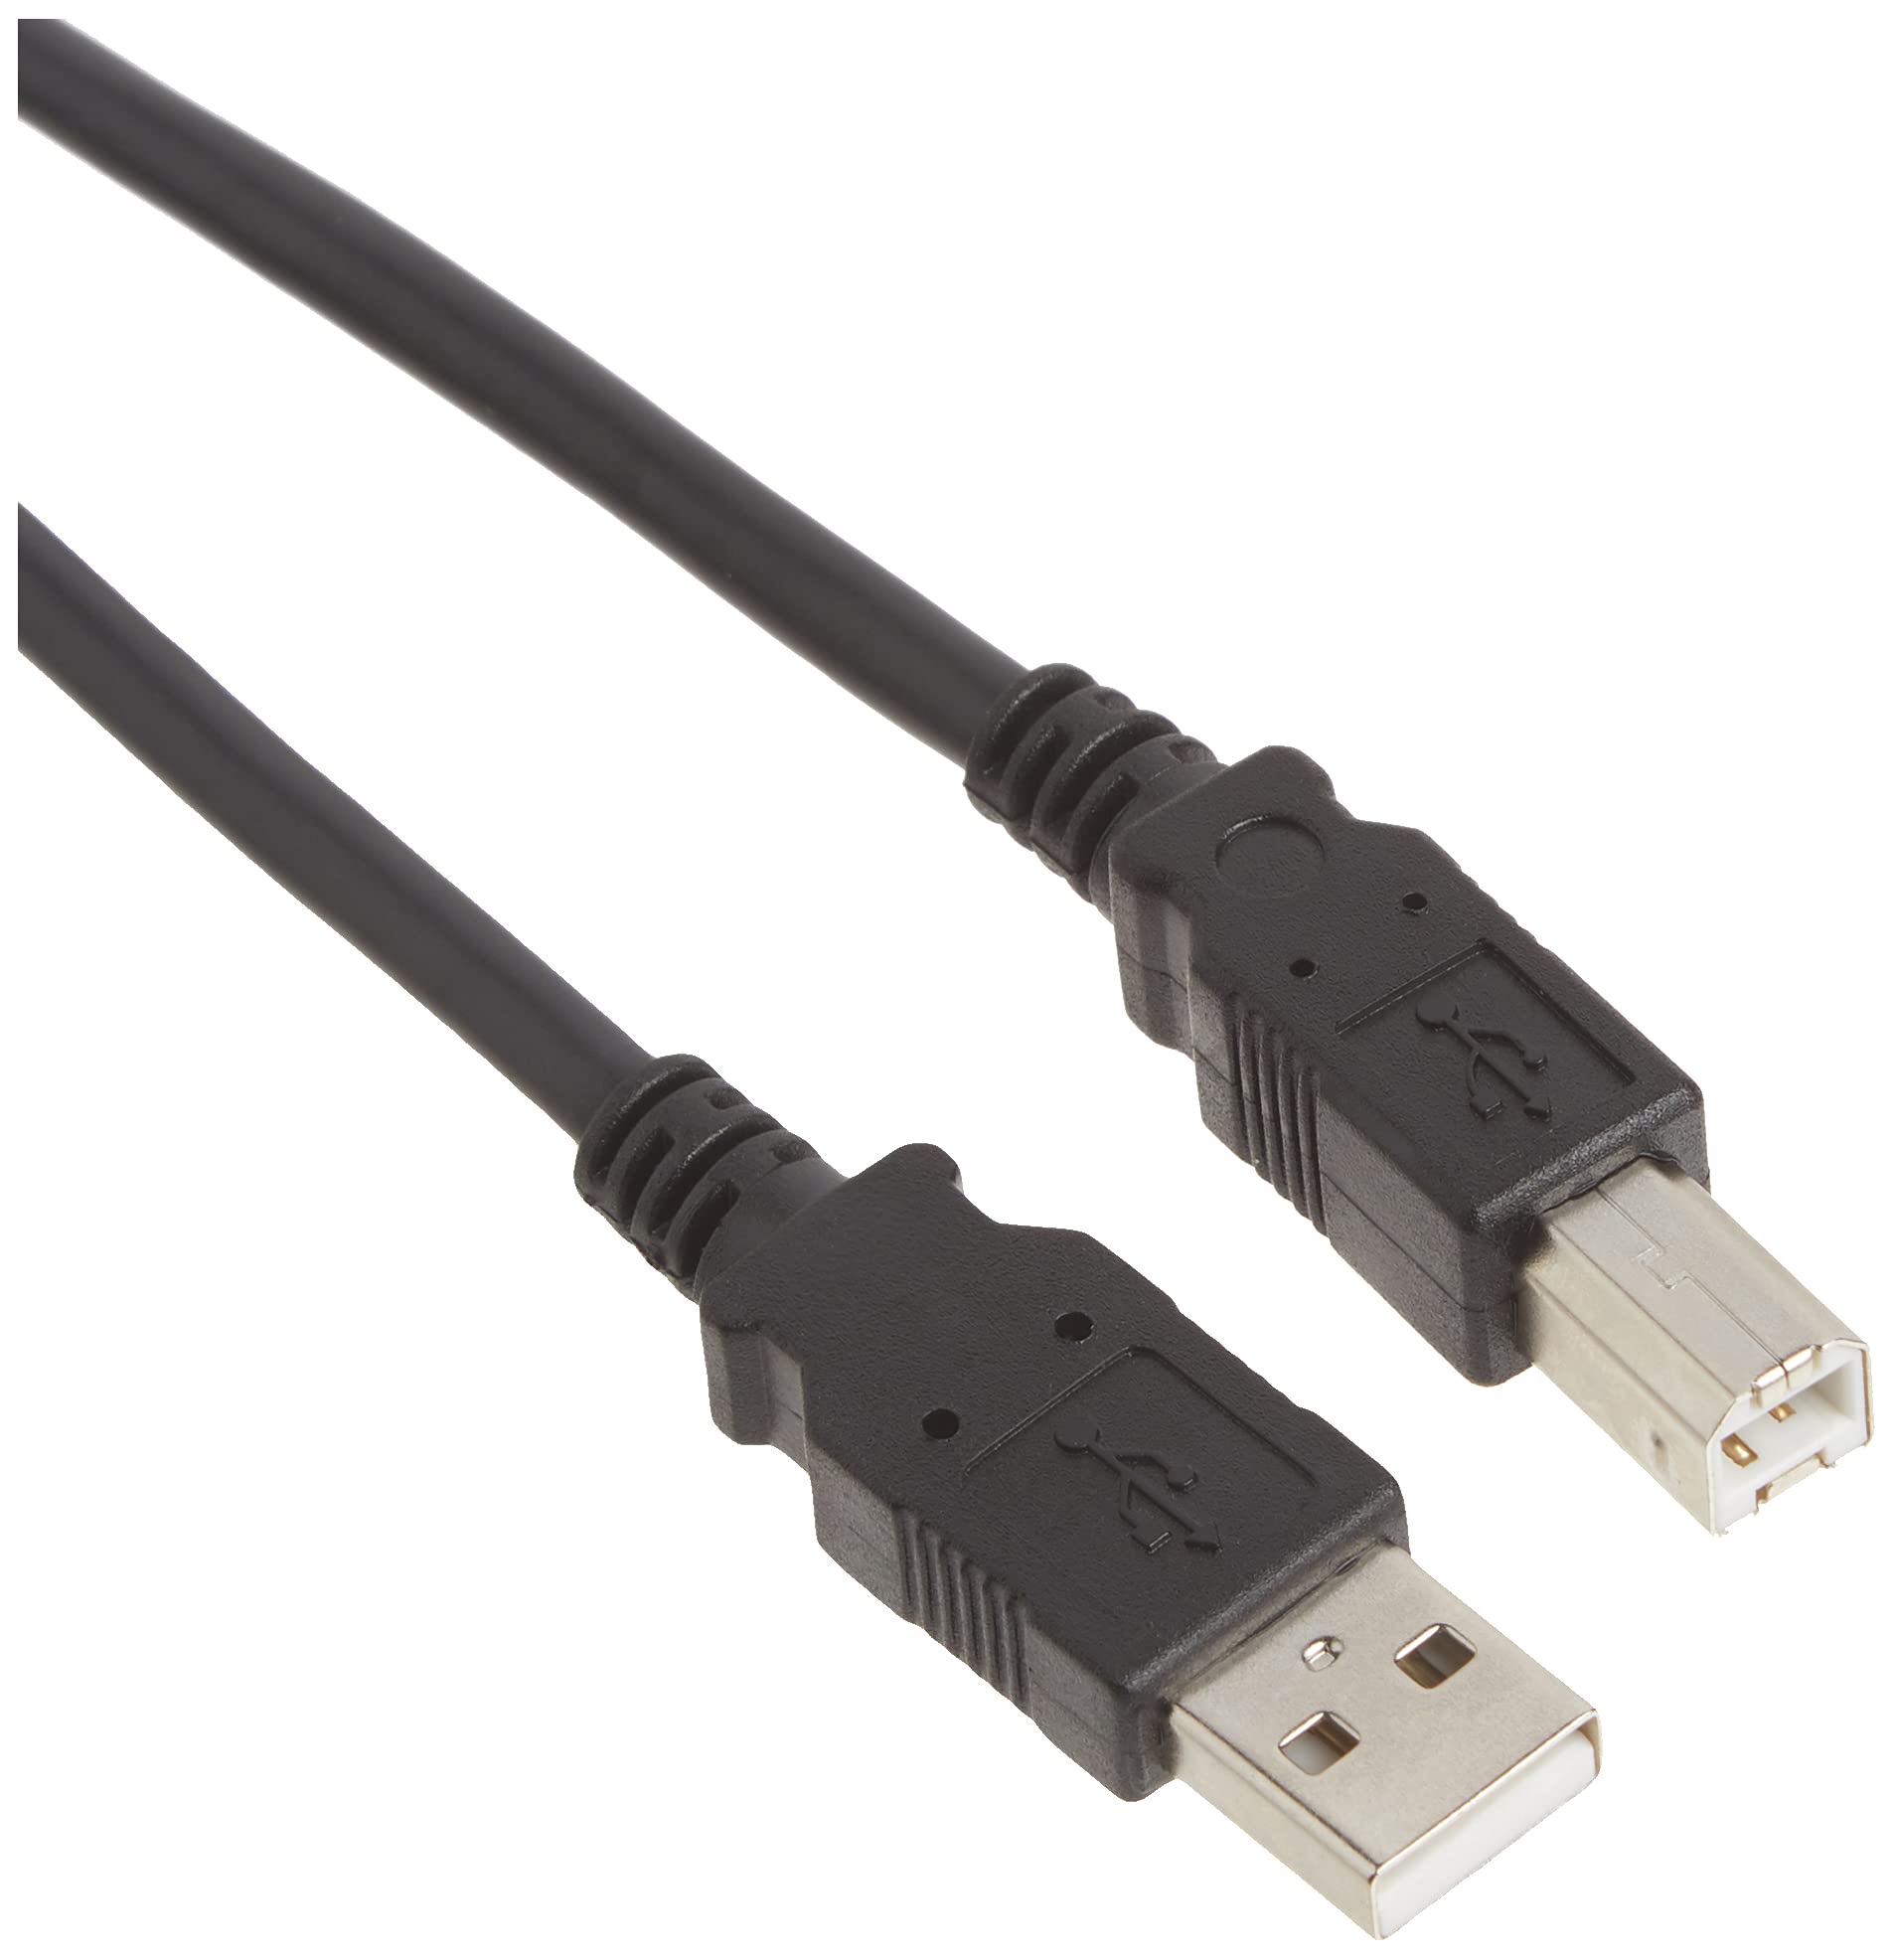
Having trouble with your Windows 10 printer not being detected? Let’s dive into some troubleshooting tips.
First Steps for Unrecognized Printers
1. Check the connection: Make sure the printer is properly connected to your computer via USB or network. Ensure that the USB cable is securely plugged in on both ends.
2. Restart the printer: Turn off the printer, unplug it from the power source, wait for a few seconds, then plug it back in and turn it on again.
3. Restart your computer: Sometimes a simple restart can resolve issues with unrecognized printers.
4. Update Windows: Make sure you have the latest Windows updates installed. Go to the Start menu, click on “Settings,” then select “Update & Security.” Click on “Windows Update” and then “Check for updates.” Install any available updates.
5. Check device drivers: Open Device Manager by right-clicking on the Start menu and selecting “Device Manager.” Look for any devices with a yellow exclamation mark or question mark. Right-click on the printer, select “Update driver,” and choose the option to automatically search for updated drivers.
6. Install printer driver: If the printer still isn’t recognized, you may need to manually install the printer driver. Visit the manufacturer’s website and search for the latest driver for your printer model. Download and install the driver following the manufacturer’s instructions.
7. Remove and re-add the printer: In some cases, removing and re-adding the printer can help resolve recognition issues. Go to the Start menu, click on “Settings,” then select “Devices.” Click on “Printers & scanners” and select your printer. Click on “Remove device” and confirm the action. Then click on “Add a printer or scanner” and follow the prompts to re-add the printer.
Troubleshooting USB Connectivity Issues
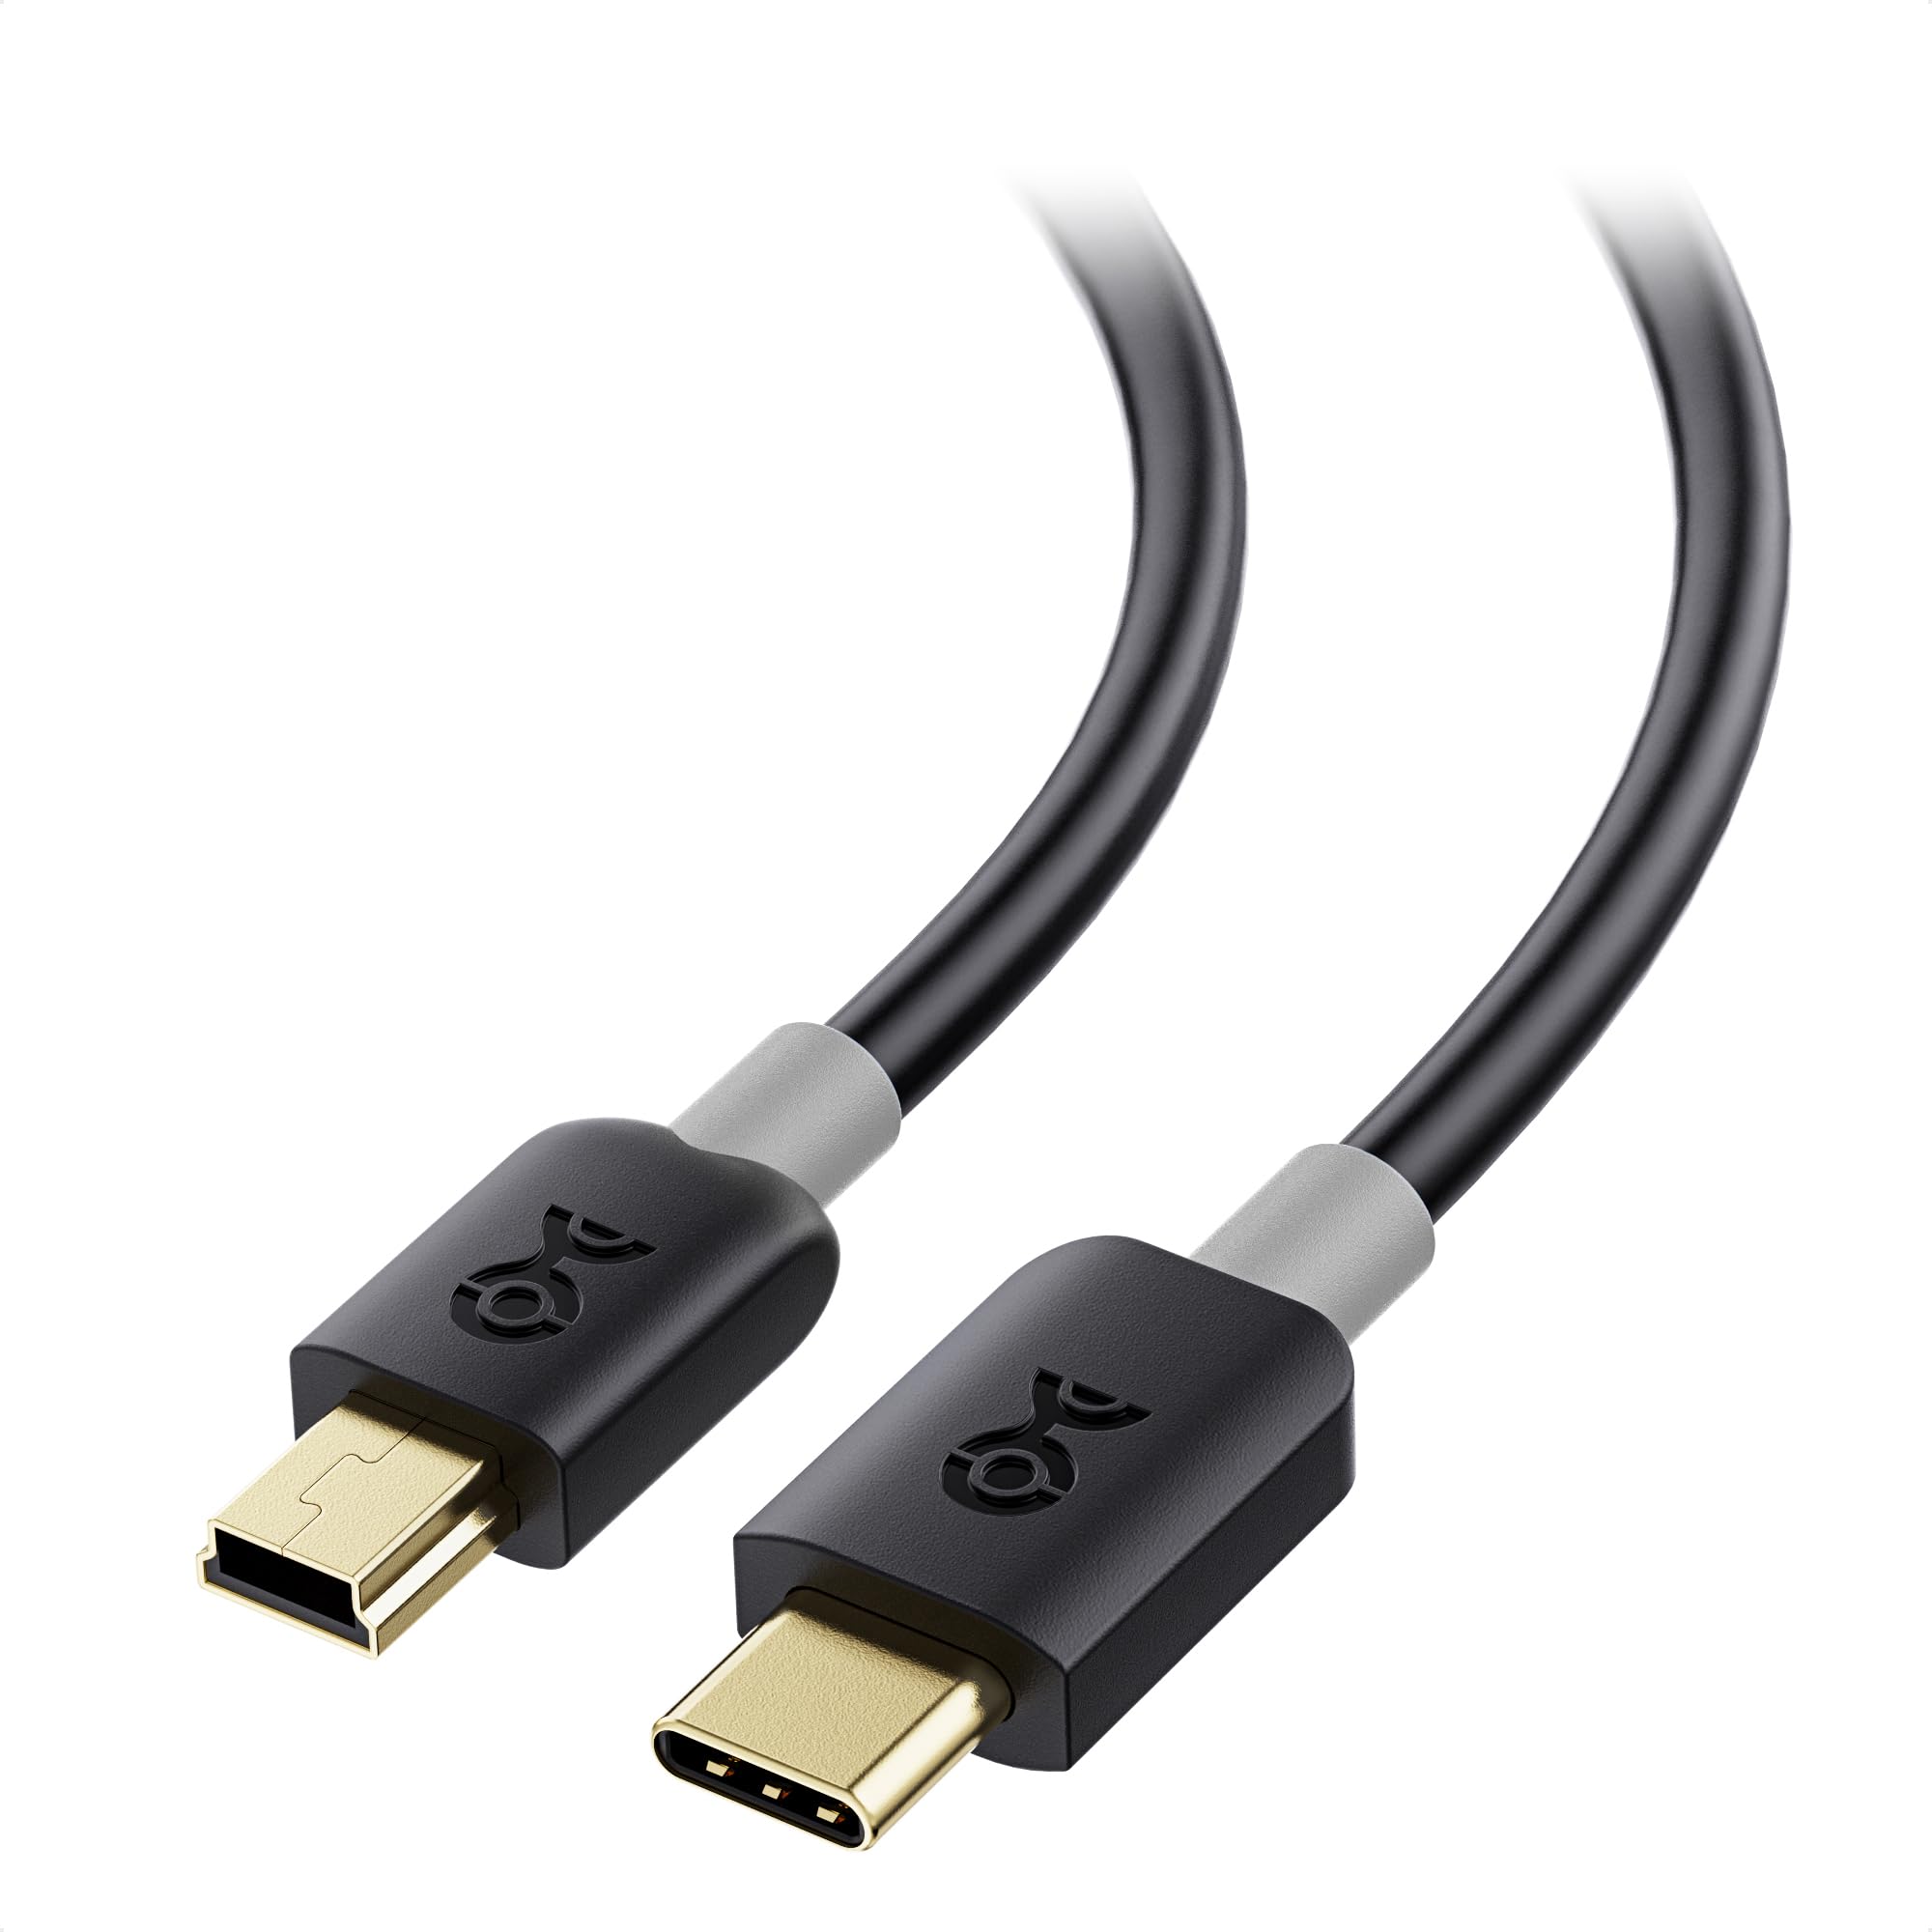
If you are experiencing USB connectivity issues with your printer on Windows 10, there are a few troubleshooting steps you can take to resolve the problem.
First, make sure that your printer is properly connected to your computer via the USB cable. Check that the cable is securely plugged into both the printer and the USB port on your computer.
Next, check if the printer is being detected by your computer. To do this, go to the “Devices and Printers” section in the Control Panel. If your printer is not listed, try unplugging the USB cable and plugging it back in. If it still doesn’t appear, try using a different USB cable or USB port on your computer.
If your printer is still not being detected, it’s possible that there may be an issue with the device driver. To troubleshoot this, you can try updating the driver. Right-click on the printer in the “Devices and Printers” section and select “Properties.” Go to the “Hardware” tab and click on “Properties” again. From there, click on “Driver” and select “Update Driver.”
If updating the driver doesn’t resolve the issue, you can also try reinstalling the printer. To do this, go to the “Devices and Printers” section, right-click on the printer, and select “Remove Device.” Then, disconnect the USB cable and restart your computer. After your computer has restarted, reconnect the USB cable and follow the on-screen prompts to reinstall the printer.
If none of these troubleshooting steps work, you can also try running the Windows Update tool to ensure that your computer has the latest updates installed. To do this, go to the Settings app, click on “Update & Security,” and then click on “Windows Update.” Click on “Check for updates” and install any available updates.
Comprehensive Guide to Updating Printer Drivers
Updating printer drivers is essential for ensuring optimal performance and compatibility with your Windows 10 operating system. If your printer is not being detected by your computer, it may be due to outdated or corrupted drivers. This comprehensive guide will walk you through the process of updating your printer drivers, step by step.
1. Begin by identifying the make and model of your printer. This information is typically located on the front or top of the printer.
2. Once you have identified your printer, visit the manufacturer’s website. Most printer manufacturers provide driver downloads on their support or downloads page. Locate the driver download section for your specific printer model.
3. Download the latest driver for your printer model. Make sure to choose the driver that is compatible with your version of Windows 10.
4. After the driver has finished downloading, locate the file on your computer and double-click to run the installation. Follow the on-screen prompts to complete the installation process.
5. Once the installation is complete, restart your computer to ensure that the new driver is properly recognized by your operating system.
6. After your computer has restarted, connect your printer to your computer using a USB cable.
7. Windows 10 should automatically detect your printer and install the necessary drivers. However, if your printer is still not detected, you may need to manually add the printer.
8. To manually add the printer, open the Control Panel and navigate to “Devices and Printers.”
9. Click on “Add a printer” and choose the option to add a local printer.
10. Select your printer from the list of available printers or choose the option to browse for your printer using the manufacturer’s driver installation software.
11. Follow the on-screen prompts to complete the printer installation process.
12. Once the installation is complete, test your printer by printing a test page.
Ensuring Proper Cable and USB Port Functionality
To ensure proper cable and USB port functionality when troubleshooting a Windows 10 printer not being detected, follow these steps:
1. Check the cable:
– Ensure that the cable connecting your printer to the computer is securely plugged in on both ends.
– If possible, try using a different cable to rule out any potential issues with the current one.
– Make sure the cable is not damaged or frayed, as this can cause connection problems.
2. Test the USB port:
– Try plugging the printer into a different USB port on your computer.
– If there are multiple USB ports available, test each one to determine if the issue is specific to a certain port.
3. Update device drivers:
– Press the Windows key + X and select “Device Manager” from the context menu.
– Locate the “Printers” or “Print queues” category and expand it.
– Right-click on your printer and select “Update driver.”
– Choose the option to automatically search for updated driver software.
– If an updated driver is found, follow the on-screen instructions to install it.
4. Check for Windows updates:
– Press the Windows key + I to open the Settings app.
– Go to “Update & Security” and click on “Windows Update” in the left sidebar.
– Click on “Check for updates” and allow Windows to search for and install any available updates.
– Restart your computer after the updates are installed.
5. Verify printer compatibility:
– Ensure that your printer is compatible with Windows 10 by checking the manufacturer’s website or documentation.
– Some older printers may not have compatible drivers for Windows 10, in which case you may need to consider upgrading your printer or using it with a different operating system.
6. Restart the Print Spooler service:
– Press the Windows key + R to open the Run dialog box.
– Type “services.msc” and press Enter to open the Services window.
– Scroll down and locate “Print Spooler” in the list of services.
– Right-click on “Print Spooler” and select “Restart” from the context menu.
7. Test with a different printer:
– If possible, connect a different printer to your computer to see if it is detected.
– This can help determine if the issue is specific to your printer or a more general problem with the computer’s USB ports or drivers.
Adding Network Printers to Devices and Printers
To add network printers to Devices and Printers in Windows 10, follow these steps:
1. Connect the printer to your local network. Make sure it is powered on and connected to the same network as your computer.
2. Open the Control Panel by pressing the Windows key + X and selecting “Control Panel” from the menu.
3. In the Control Panel, click on “Devices and Printers” to open the Devices and Printers window.
4. Click on the “Add a printer” button located at the top of the window.
5. A new window will appear. Select the option “Add a network, wireless or Bluetooth printer”.
6. Windows will now search for available printers on the network. It may take a few moments for the search to complete.
7. Once the search is complete, a list of available printers will be displayed. Select the printer you want to add and click “Next”.
8. Windows will now install the necessary driver for the printer. Make sure your computer is connected to the internet to download the driver if needed.
9. Follow the on-screen instructions to complete the installation process. Once the installation is complete, the printer will be added to the Devices and Printers window.
10. You can now use the added printer for printing from your computer.
Enabling and Managing the Print Spooler Service
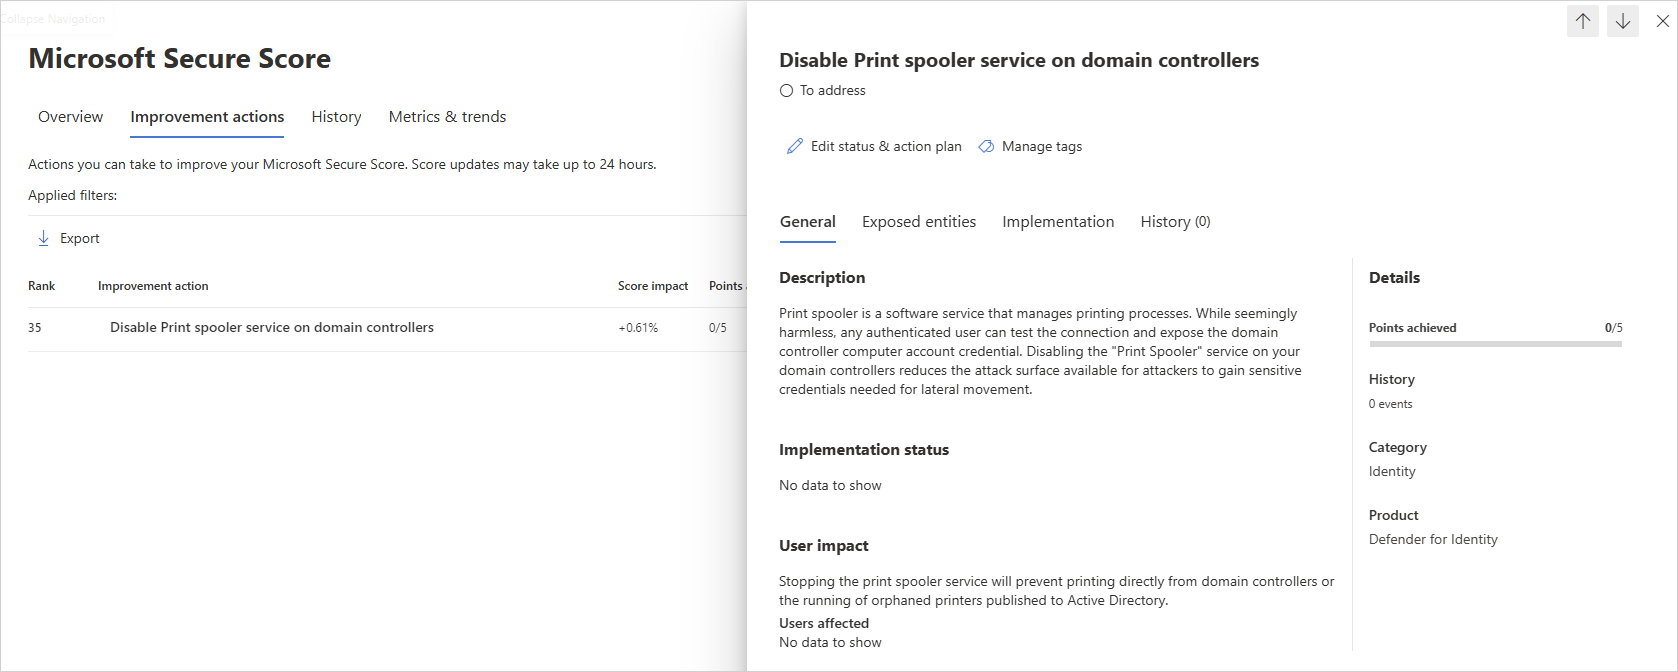
To enable and manage the Print Spooler Service on Windows 10, follow these steps:
1. Press the Windows key + R to open the Run dialog box.
2. Type “services.msc” and press Enter to open the Services window.
3. Scroll down and locate the “Print Spooler” service in the list.
4. Right-click on the “Print Spooler” service and select “Properties.”
5. In the General tab, ensure that the “Startup type” is set to “Automatic.”
6. If the service is not currently running, click the “Start” button to start it.
7. Click “OK” to save the changes and close the Properties window.
To troubleshoot the issue of Windows 10 not detecting a printer, try the following steps:
1. Ensure that the printer is properly connected to your computer and turned on.
2. Check the printer’s USB or network connection and make sure it is securely plugged in.
3. Restart your computer and the printer to refresh the connection.
4. Update the printer driver. Go to the manufacturer’s website and download the latest driver for your printer model.
5. Install the printer driver by double-clicking on the downloaded file and following the on-screen instructions.
6. If the printer is still not detected, try using a different USB port or connecting the printer to a different computer to rule out hardware issues.
7. Check for Windows updates and install any available updates, as they may include fixes for printer detection issues.
8. If you are using a wireless printer, make sure it is connected to the same network as your computer.
9. Reset the print spooler service by following the steps mentioned earlier.
10. If the issue persists, try using the “Add a printer” wizard in Windows to manually install the printer.
Utilizing the Printer Troubleshooter
- Open the Control Panel:
- Click on the Start button.
- Type Control Panel in the search bar.
- Click on the Control Panel app from the search results.
- Navigate to the “Hardware and Sound” section:
- In the Control Panel, click on Hardware and Sound.
- Select the “Troubleshoot a problem” option:
- Under the “Devices and Printers” section, click on Troubleshoot a problem.
- Run the Printer Troubleshooter:
- In the Troubleshoot window, scroll down and locate the Printer section.
- Click on the Printer option.
- Click on the Next button to start the Printer Troubleshooter.
- Follow the on-screen instructions:
- Read the instructions provided by the Printer Troubleshooter.
- Follow the prompts and select appropriate options when asked.
- Apply recommended fixes:
- If the Printer Troubleshooter detects any issues, it will provide a list of recommended fixes.
- Review the suggested fixes and select the ones you want to apply.
- Restart your computer:
- After applying the recommended fixes, restart your computer to allow the changes to take effect.
Advanced Methods for Driver Update and Maintenance
| Method | Description |
|---|---|
| Method 1: Update Printer Drivers |
|
| Method 2: Use Windows Update |
|
| Method 3: Reinstall Printer Drivers |
|
| Method 4: Use the Printer Troubleshooter |
|
| Method 5: Check Printer Connection and Hardware |
|
F.A.Qs
Why is my computer suddenly not recognizing my printer?
Your computer may not be recognizing your printer because they are not connected to the same wireless network. If you have a dual-band router and both networks share the same name/SSID, the printer may not be able to connect.
Why can my device not find my printer?
Your device may not be able to find your printer due to outdated apps or drivers that are not compatible with the latest software versions. To resolve this, you can check for updates on the Google Play Store or the printer manufacturer’s website. Additionally, clearing the print spooler can help fix any print job-related connectivity issues.
How do I get Windows 10 to recognize my USB printer?
To get Windows 10 to recognize your USB printer, plug the USB cable into your PC’s available port, turn on the printer, and open the Printers & scanners system setting by searching for “Printers” in the taskbar search bar.
How do you add a printer that isn’t showing up?
To add a printer that isn’t showing up, you can follow these steps:
– Open the Windows Start menu,
– Go to Settings,
– Click on Devices,
– Select Printers & Scanners,
– Click Add a Printer,
– Choose “The printer that I want isn’t listed,”
– Select “Add a local printer or network printer with manual settings,”
– Click Next.


