Having trouble with the Realtek audio driver in Windows 10? Let’s explore effective solutions to fix the issue and get your audio back up and running smoothly.
Understanding Realtek HD Audio Drivers
![]()
Realtek HD Audio Drivers are essential for the proper functioning of your audio devices on Windows 10. If you’re experiencing issues with your Realtek audio driver, here are some steps you can take to fix the problem.
First, ensure that you have the latest version of the Realtek HD Audio Drivers installed on your computer. You can download the latest drivers from the Realtek website or through Windows Update.
If updating the drivers doesn’t resolve the issue, try restarting your computer. Sometimes, a simple reboot can fix minor software glitches.
If the problem persists, you can try uninstalling and reinstalling the Realtek audio driver. To do this, open the Device Manager by right-clicking on the Start menu and selecting “Device Manager” from the context menu. Locate the “Sound, video, and game controllers” section and expand it. Right-click on the Realtek audio driver and select “Uninstall device.” Follow the on-screen instructions to complete the uninstallation.
Once the driver is uninstalled, you can reinstall it by visiting the Realtek website or through Windows Update. Alternatively, you can use a driver update tool, such as Driver Easy, to automatically download and install the latest version of the Realtek audio driver.
If none of these steps resolve the issue, you can try rolling back to a previous version of the audio driver. To do this, open the Device Manager, right-click on the Realtek audio driver, and select “Properties.” Go to the “Driver” tab and click on the “Roll Back Driver” button. Follow the on-screen instructions to complete the rollback.
If you’re still experiencing issues, it’s possible that there’s a hardware problem with your audio device. In this case, you may need to contact the manufacturer for further assistance or consider replacing the hardware.
Common Realtek Audio Driver Issues
1. No sound or audio playback issues: If you’re experiencing a lack of sound or audio playback, try restarting your computer and checking the volume settings. Also, make sure your speakers or headphones are properly connected. If the issue persists, update your Realtek audio driver to the latest version.
2. Crackling or distorted audio: If you’re hearing crackling or distorted audio, it could be due to outdated or incompatible drivers. To fix this, go to the Realtek website and download the latest driver for your specific operating system. Once downloaded, double-click the installer file and follow the on-screen instructions to install the updated driver.
3. Audio jack not working: If your audio jack is not working, try plugging your headphones or speakers into a different audio port on your computer. You can also try rebooting your system to see if that resolves the issue. If not, check the Realtek audio settings in the taskbar and make sure the correct audio output device is selected.
4. Missing Realtek HD Audio Manager: If you can’t find the Realtek HD Audio Manager on your computer, it may be due to a missing or outdated driver. Try reinstalling the Realtek audio driver from the manufacturer’s website to restore the HD Audio Manager.
5. Uninstalling Realtek driver: If you need to uninstall the Realtek audio driver, go to the Control Panel and navigate to the “Programs” or “Apps & Features” section. Find the Realtek audio driver in the list, right-click on it, and select “Uninstall”. Follow the prompts to complete the uninstallation process.
Updating Realtek Audio Drivers via Device Manager
To update Realtek audio drivers via Device Manager, follow these steps:
1. Press the Windows key + X on your keyboard and select “Device Manager” from the context menu.
2. In Device Manager, expand the “Sound, video, and game controllers” category.
3. Locate and right-click on the Realtek audio device driver.
4. Select “Update driver” from the menu.
5. Choose the option to “Search automatically for updated driver software.”
6. Windows will now search for the latest driver software and install it if available.
7. Once the installation is complete, restart your computer to apply the changes.
Updating your Realtek audio drivers can help fix issues with the audio not working on Windows 10.
Manually Updating Realtek Audio Drivers
To manually update Realtek audio drivers in Windows 10, follow these steps:
1. Start by identifying your current Realtek audio driver version. Right-click on the Start menu and select “Device Manager.”
2. In the Device Manager window, expand the “Sound, video, and game controllers” category.
3. Locate and right-click on the Realtek audio driver. Select “Properties” from the context menu.
4. In the Properties window, go to the “Driver” tab. Take note of the current driver version.
5. Open your preferred web browser and visit the Realtek website. Search for the latest version of the Realtek audio driver compatible with your operating system.
6. Once you find the appropriate driver, download it to your computer.
7. After the download is complete, locate the downloaded file and double-click on it to start the installation process.
8. Follow the on-screen instructions provided by the driver installer. Make sure to select the “Custom” or “Advanced” installation option, if available, to have more control over the installation process.
9. Once the driver installation is complete, reboot your computer to apply the changes.
10. After the reboot, check if the Realtek audio driver is now working properly. Test the audio by playing some sound or music.
If you encounter any error messages or issues during the installation or after updating the driver, refer to the Realtek website for troubleshooting steps or contact their support for further assistance.
Utilizing Automatic Update for Realtek Drivers
To fix the issue of Realtek audio driver not working in Windows 10, you can make use of the automatic update feature. This will ensure that you have the latest and most compatible drivers installed on your system. Here’s how you can do it:
1. Open the Device Manager by right-clicking on the Start menu and selecting “Device Manager” from the menu.
2. In the Device Manager window, expand the “Sound, video and game controllers” category.
3. Locate the Realtek audio driver from the list. It may have a name like “Realtek High Definition Audio” or similar.
4. Right-click on the Realtek audio driver and select “Update driver” from the context menu.
5. In the next window, choose the option “Search automatically for updated driver software”. This will allow Windows to search for the latest driver version online and install it automatically.
6. Wait for Windows to complete the driver update process. If a newer driver is found, it will be downloaded and installed on your system.
7. Once the update is finished, restart your computer to apply the changes.
By utilizing the automatic update feature, you can easily fix the Realtek audio driver issue without much hassle.
Disabling Microsoft UAA Bus Driver for High Definition Audio
![]()
To fix the issue of the Realtek audio driver not working in Windows 10, you may need to disable the Microsoft UAA Bus Driver for High Definition Audio. Here’s a step-by-step guide to help you resolve this problem:
1. Press the Windows key + X on your keyboard and select “Device Manager” from the menu that appears.
2. In the Device Manager window, locate and expand the “Sound, video and game controllers” category.
3. Right-click on the “Microsoft UAA Bus Driver for High Definition Audio” option and select “Disable” from the context menu. This will temporarily disable the driver.
4. After disabling the driver, restart your computer to apply the changes.
Once your computer restarts, the Realtek audio driver should start functioning properly. If you encounter any error messages or issues while performing these steps, it is recommended to consult the manufacturer’s support or seek further assistance.
Turning Off Audio Enhancements
If you’re experiencing issues with your Realtek audio driver in Windows 10, one potential solution is to turn off audio enhancements. Audio enhancements can sometimes interfere with the normal functioning of the driver, causing it to stop working properly. To turn off audio enhancements:
1. Right-click on the speaker icon in the taskbar and select “Sounds” to open the Sound settings.
2. In the Sound settings window, go to the “Playback” tab and select your Realtek audio device. If you’re using a laptop, it may be labeled as “Speakers” or “Headphones.”
3. Once you’ve selected the Realtek audio device, click on the “Properties” button.
4. In the Properties window, go to the “Enhancements” tab.
5. Check the box that says “Disable all enhancements” to turn off any audio enhancements that may be causing issues with the driver.
6. Click “Apply” and then “OK” to save the changes.
By turning off audio enhancements, you’re disabling any additional audio processing that may be affecting the Realtek audio driver. This can help resolve issues such as distorted sound, no audio output, or audio playback errors. If you continue to experience problems with your Realtek audio driver, you may need to consider other troubleshooting steps or consult with a professional for further assistance.
Fixing Audio Issues by Rolling Back Drivers
If you’re experiencing audio issues with your Realtek Audio Driver in Windows 10, one potential solution is to roll back the drivers. Rolling back the drivers can help resolve compatibility issues or conflicts that may be causing the problem.
To begin, open the Device Manager on your computer. You can do this by right-clicking the Start button and selecting “Device Manager” from the menu that appears.
Once in the Device Manager, locate and expand the “Sound, video, and game controllers” category. Look for the Realtek Audio Driver in the list of devices.
Right-click on the Realtek Audio Driver and select “Properties” from the context menu.
In the Properties window, navigate to the “Driver” tab. Here, you will find the option to “Roll Back Driver.” Click on this option.
Follow the on-screen instructions to complete the rollback process. Keep in mind that you may need to restart your computer for the changes to take effect.
Rolling back the driver will revert it to a previous version, which may help resolve any issues you were experiencing. If the rollback is successful, your audio should start working again.
It’s worth noting that rolling back drivers is not always the solution for audio issues, and there may be other underlying factors causing the problem. If rolling back the driver doesn’t fix the issue, you may need to explore other troubleshooting steps or seek further assistance.
Remember to regularly backup your important files and create a restore point before making any changes to your drivers or system settings. This way, you can easily revert back if anything goes wrong during the process.
Using Generic High-Definition Audio Device Driver
If you are experiencing issues with your Realtek audio driver not working in Windows 10, one possible solution is to use a generic high-definition audio device driver. This can help resolve any compatibility or functionality issues you may be facing.
To use a generic high-definition audio device driver, follow these steps:
1. Press the Windows key + X on your keyboard and select “Device Manager” from the menu that appears.
2. In the Device Manager window, expand the “Sound, video, and game controllers” category.
3. Right-click on the Realtek audio driver and select “Update driver.”
4. Choose the option to “Browse my computer for drivers.”
5. Select “Let me pick from a list of available drivers on my computer.”
6. Look for the “High Definition Audio Device” driver in the list and select it.
7. Click “Next” and follow the on-screen instructions to install the generic driver.
By using a generic high-definition audio device driver, you can bypass any issues specific to the Realtek driver and potentially restore audio functionality to your Windows 10 device.
Keep in mind that using a generic driver may not provide the same advanced features or customization options as the specific Realtek driver. However, it can be a temporary solution until a compatible driver update becomes available.
Remember to create a backup of your current driver before proceeding with any driver updates or changes. This will allow you to rollback to the previous version if needed.
Note: This solution is specifically for Windows 10. If you are using a different operating system, the steps may vary.
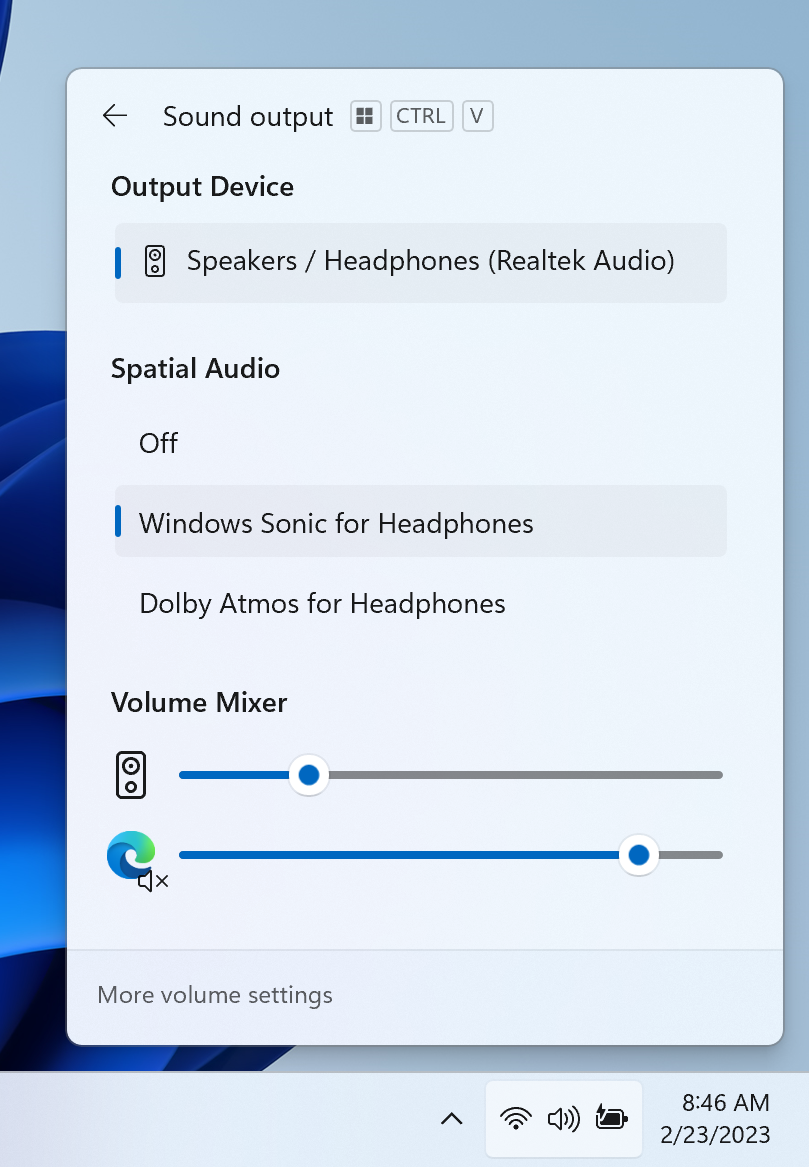
Selecting the Correct Output Device
- Identify the issue: Determine if the problem lies with the Realtek audio driver not working on your Windows 10 system.
- Check for driver updates: Visit the Realtek website or use a reliable driver updater tool to see if there are any available updates for your audio driver.
- Download and install the latest driver: If an update is available, download and install it to replace the existing driver on your computer.
- Uninstall and reinstall the driver: If updating the driver doesn’t resolve the issue, try uninstalling the current driver and then reinstalling it.
- Use Windows Troubleshooter: Run the built-in Windows troubleshooter to automatically detect and fix any problems with the Realtek audio driver.
- Check audio settings: Make sure the correct output device is selected in the audio settings of your Windows 10 system.
- Verify hardware connections: Ensure that all cables and connections between your computer and the audio output device are properly connected.
- Try a different output device: Test the audio output with a different device, such as headphones or external speakers, to see if the issue persists.
- Restart Windows Audio Services: Restart the Windows Audio Services to refresh the audio system and potentially fix any issues with the Realtek audio driver.
- Seek professional help: If none of the above solutions work, consider contacting a professional technician or the manufacturer for further assistance.
Reinstalling Realtek Sound Driver
To reinstall the Realtek sound driver on your Windows 10 computer, follow these steps:
1. Press the Windows key + X on your keyboard and select “Device Manager” from the menu that appears.
2. In the Device Manager window, expand the “Sound, video and game controllers” category.
3. Right-click on the Realtek audio device and select “Uninstall device” from the context menu. Confirm any prompts that appear.
4. Once the driver has been uninstalled, restart your computer.
5. After the restart, your computer will automatically reinstall the default driver for your sound card. However, it’s recommended to install the latest version of the Realtek driver for optimal performance.
6. Visit the Realtek website and locate the driver download section. Look for the appropriate driver for your Windows 10 version and download it.
7. Once the driver file is downloaded, open the file and follow the on-screen instructions to install the Realtek driver. Make sure to select the correct options during the installation process.
8. After the installation is complete, restart your computer once again to apply the changes.
9. Once your computer restarts, check if the Realtek audio driver is working properly. Test the sound by playing a video or music file.
F.A.Qs
Why is Realtek audio driver not working Windows 10?
The Realtek audio driver may not be working on Windows 10 due to an outdated driver. To resolve this issue, you can manually update the Realtek audio driver or utilize a driver updating tool like Advanced Driver Updater.
How do I reset my Realtek audio driver?
To reset your Realtek audio driver, you can follow these steps: Click the Windows logo and search for “Realtek audio console.” Right-click on the search result and select “app settings.” Scroll down and click on “Reset” to reset the app. Once the reset is complete, restart your system.
Why is Realtek digital output working but no sound?
Realtek digital output may be working but there is no sound because the default audio device is not set correctly. To fix this, right-click the speaker icon in the taskbar, select Sounds, go to the Playback tab, right-click on Speakers, and choose Set as Default Device. Click OK to save the changes and you should be able to hear sound from your computer speakers.
Why Realtek audio detected but no sound?
Realtek audio is detected but there is no sound. The recommended solution is to download and install the latest driver either manually or automatically. To do this manually, visit the sound card manufacturer’s website and search for the appropriate driver download.
