In this guide, I will walk you through the process of creating a repair disk for Windows 7.
Creating Your System Repair Disc
To create your system repair disc in Windows 7, follow these steps:
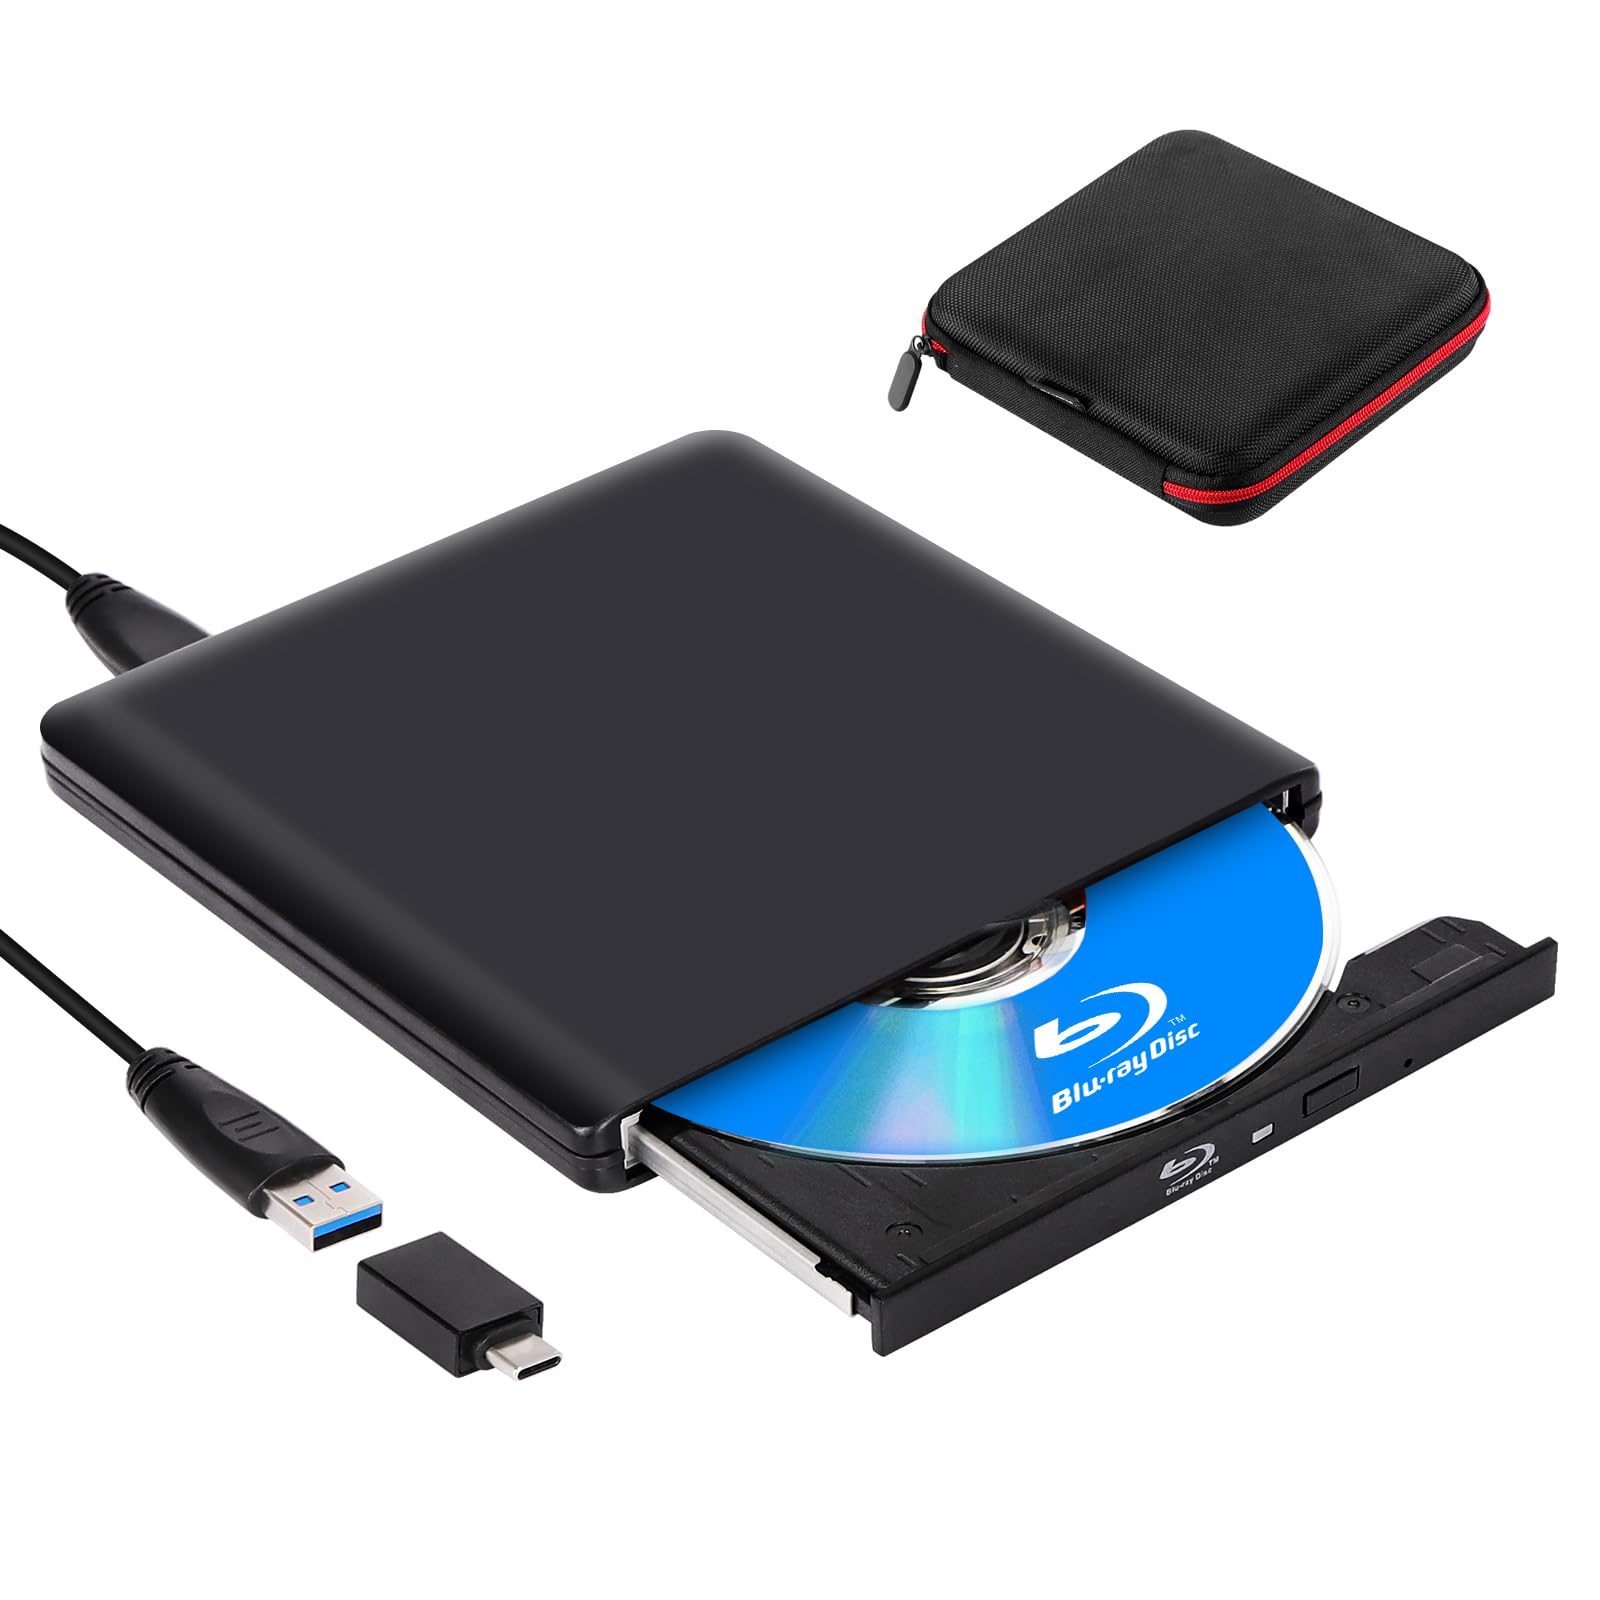
1. Insert a blank optical disc (DVD or CD) into your computer’s optical disc drive.
2. Click on the Start button and type “system repair” in the search box. Select “Create a system repair disc” from the search results.
3. A dialog box will appear. Select the optical disc drive containing the blank disc and click “Create”.
4. Windows will start creating the system repair disc. This process may take a few minutes.
5. Once the system repair disc is created, you can use it to boot your computer in case of system issues or errors.
Remember, the system repair disc is only compatible with the version of Windows you are using. It cannot be used to repair other versions of Windows, such as Windows 10, Windows 11, or any other operating system.
It is also important to note that the system repair disc is not the same as a recovery disc. The system repair disc is used for troubleshooting and fixing system errors, while a recovery disc is used to restore your computer to its original factory settings.
Having a system repair disc is a good practice as it can help you recover your system in case of emergencies. Make sure to keep it in a safe place and use it when needed.
If you don’t have an optical disc drive or prefer to use a USB flash drive, you can create a system repair disc on a USB drive instead. Simply follow the same steps, but select your USB flash drive instead of the optical disc drive.
By creating a system repair disc, you are taking a proactive step towards ensuring your computer’s stability and the ability to recover from any potential issues that may arise.
Utilizing Your Repair Disc Effectively
Once you have created your Windows 7 Repair Disk using the guide provided, it’s important to know how to effectively utilize it when needed. Here are some key steps to follow:
1. Booting from the Repair Disk: To start the repair process, you’ll need to boot your computer from the repair disk. Insert the repair disk into your computer’s optical drive and restart the system. When the computer boots up, you may need to access the BIOS settings by pressing a specific key (often F2, F12, or Del) to change the boot order and prioritize the optical drive.
2. Launching the Repair Options: Once the computer has successfully booted from the repair disk, a menu will appear. Use the computer keyboard or mouse to navigate through the options and select “Repair your computer.” This will launch the repair options menu.
3. Choosing the Repair Option: In the repair options menu, you’ll find various tools and options to help diagnose and fix issues with your Windows 7 system. Use the arrow keys or mouse to highlight the desired option and press Enter or click on it to proceed. Common options include System Restore, Startup Repair, and Command Prompt.
4. Following the On-Screen Instructions: Depending on the repair option you choose, you may be prompted to follow specific on-screen instructions. Pay close attention to any prompts or dialog boxes that appear, as they may require your input or confirmation.
5. Completing the Repair Process: Once you have followed the necessary steps and completed the repair process, restart your computer and remove the repair disk from the optical drive. Your Windows 7 system should now be repaired and ready to use.
Remember, the repair disk is a valuable tool for troubleshooting and fixing issues with your Windows 7 system. If you encounter any difficulties or questions during the repair process, consult the Windows 7 documentation or seek technical support for further assistance.
[Total word count: 236 words]
Recovery and Repair Disk Overview
A recovery and repair disk is an essential tool for troubleshooting and fixing issues with your Windows 7 operating system. It allows you to access advanced recovery options and repair tools that can help resolve common problems.
To create a Windows 7 repair disk, you’ll need a blank CD or DVD and a computer running Windows 7. Follow these steps:
1. Insert a blank CD or DVD into your computer’s optical drive.
2. Open the Start menu and type “Create a system repair disk” in the search bar.
3. Click on the “Create a system repair disk” option in the search results.
4. A dialog box will appear, asking you to select the CD/DVD drive that contains the blank disk. Choose the appropriate drive and click “Create.”
5. Windows will start creating the repair disk. This process may take a few minutes.
6. Once the repair disk is created, label it and store it in a safe place.
To use the repair disk, follow these steps:
1. Insert the repair disk into your computer’s optical drive.
2. Restart your computer and press the appropriate key (usually F12 or ESC) to access the boot menu.
3. Use the arrow keys to select the CD/DVD drive as the boot device and press Enter.
4. The repair disk will boot up, and you’ll be presented with a menu of advanced recovery options.
5. From here, you can choose options such as System Restore, Startup Repair, Command Prompt, and more to troubleshoot and repair your Windows 7 system.
Having a Windows 7 repair disk on hand can save you time and frustration when dealing with system issues. Remember to update your repair disk regularly to ensure it includes the latest patches and updates.
(Note: This guide specifically covers Windows 7 repair disk creation. For Windows 10 or other versions, refer to the appropriate guides.)
Downloading and Burning Recovery Media
- Step 1: Prepare a blank CD or DVD.
- Step 2: Visit the official Microsoft website.
- Step 3: Locate the download section for Windows 7 recovery media.
- Step 4: Enter your product key or select your computer’s make and model.
- Step 5: Choose the preferred language and edition of Windows 7.
- Step 6: Start the download and save the ISO file.
- Step 7: Install a reliable ISO burning software if needed.
- Step 8: Insert the blank CD or DVD into your computer.
- Step 9: Open the ISO burning software and select the ISO file.
- Step 10: Adjust burning settings if necessary.
- Step 11: Initiate the burning process and wait for it to complete.
- Step 12: Verify the burned recovery media for any errors.
Compatibility and Support Across Brands

| Computer Brand | Compatible with Windows 7 Repair Disk? | Official Support |
|---|---|---|
| HP | Yes | Officially supported |
| Dell | Yes | Officially supported |
| Lenovo | Yes | Officially supported |
| Acer | Yes | Officially supported |
| Asus | Yes | Officially supported |
| Samsung | Yes | Officially supported |
| Toshiba | Yes | Officially supported |
| Apple | No | Not officially supported |
FAQs
How do I repair a disk in Windows 7?
To repair a disk in Windows 7, insert your bootable Windows installation media and restart your PC. Press F8 multiple times before the Windows logo appears. Select “Repair your computer” when prompted, then click on “Troubleshoot” and choose “Advanced options.” Finally, select “Command Prompt.”
How do I create a repair disk for Windows 7?
To create a repair disk for Windows 7, you can open Backup and Restore in the Control Panel. From there, navigate to System and Maintenance and then click on Backup and Restore. In the left pane, select Create a system repair disc and follow the provided instructions.
How do I run a repair on Windows 7?
To run a repair on Windows 7, you can boot from the Windows 7 DVD and select “Repair your computer.” Then, choose the Windows 7 installation you want to repair and select “Startup Repair.” Follow any prompts and accept suggested changes.
How to fix Windows 7 startup repair without CD?
To fix Windows 7 startup repair without a CD, you can try repairing the Windows 7 installation. Choose your language, click Next, then select the operating system you want to repair. Finally, click on the Startup Repair link from the list of recovery tools in System Recovery Options.
