Having trouble installing Windows 10? Discover solutions to common installation errors.
General Fixes
1. Check system requirements: Ensure that your computer meets the minimum requirements for installing Windows 10. You can find these requirements on Microsoft’s official website.
2. Update drivers: Outdated or incompatible device drivers can cause installation errors. Update your drivers by visiting the manufacturer’s website or using a driver updating software.
3. Disable antivirus software: Sometimes, antivirus software can interfere with the installation process. Temporarily disable your antivirus software before attempting to install Windows 10.
4. Disconnect unnecessary peripherals: Disconnect any unnecessary devices such as docking stations, printers, scanners, or headphones. Sometimes, these peripherals can cause conflicts during the installation process.
5. Perform a clean boot: A clean boot starts your computer with a minimal set of drivers and startup programs. This can help identify any software conflicts that might be causing installation errors. To perform a clean boot, follow the instructions provided by Microsoft.
6. Run Windows Update: Make sure your current version of Windows is up to date. Run Windows Update and install any available updates before attempting to install Windows 10.
7. Use the Windows Update Troubleshooter: If you encounter errors during the Windows Update process, use the built-in Windows Update Troubleshooter to identify and resolve the issue.
8. Check for disk space: Ensure that you have enough free space on your hard disk drive to install Windows 10. Delete unnecessary files and programs to free up disk space if needed.
9. Use the Windows 10 Media Creation Tool: If you’re upgrading from a previous version of Windows, consider using the Windows 10 Media Creation Tool to create a bootable USB flash drive or DVD. This tool can help resolve installation errors.
10. Seek help from Microsoft: If you’ve exhausted all troubleshooting steps and are still experiencing installation errors, reach out to Microsoft support for further assistance.
Addressing 0xC1900101 Errors
If you’re encountering the 0xC1900101 error during a Windows 10 installation, here are some troubleshooting steps to help you resolve the issue.
1. Disconnect any external devices: Unplug any unnecessary devices such as docking stations, USB flash drives, image scanners, printers, headphones, etc. Sometimes, incompatible or malfunctioning hardware can cause installation errors.
2. Update device drivers: Make sure all your device drivers are up to date. Outdated or incompatible drivers can interfere with the installation process. Visit the manufacturer’s website and download the latest drivers for your hardware.
3. Disable antivirus software: Temporarily disable any third-party antivirus software, including Microsoft Defender Antivirus. Sometimes, security software can interfere with the installation process. Remember to re-enable it once the installation is complete.
4. Check for Windows updates: Open Windows Update in the Control Panel and check for any pending updates. Installing the latest updates can fix known issues and improve compatibility during the installation process.
5. Run the Windows Update Troubleshooter: Use the built-in Windows Update Troubleshooter to automatically detect and fix common update-related issues. Open the Control Panel, search for “Troubleshooting,” and select the “Fix problems with Windows Update” option.
6. Clean boot your PC: Perform a clean boot to start Windows with a minimal set of drivers and startup programs. This can help identify if any third-party software is causing the error. Instructions for performing a clean boot can be found in the Microsoft Support documentation.
7. Check for disk errors: Run a disk check to scan and repair any corrupted or damaged files on your hard disk drive. Open File Explorer, right-click on your system drive (usually C:), select “Properties,” go to the “Tools” tab, and click on “Check” under the “Error checking” section.
8. Reset Windows Update components: If all else fails, you can try resetting the Windows Update components. Microsoft provides a dedicated troubleshooter tool called “Reset Windows Update Agent” that can help fix common update-related issues. Instructions can be found on the Microsoft Support website.
Resolving Other Common Errors
If you’re encountering errors during the Windows 10 installation process, here are some common issues and their solutions:
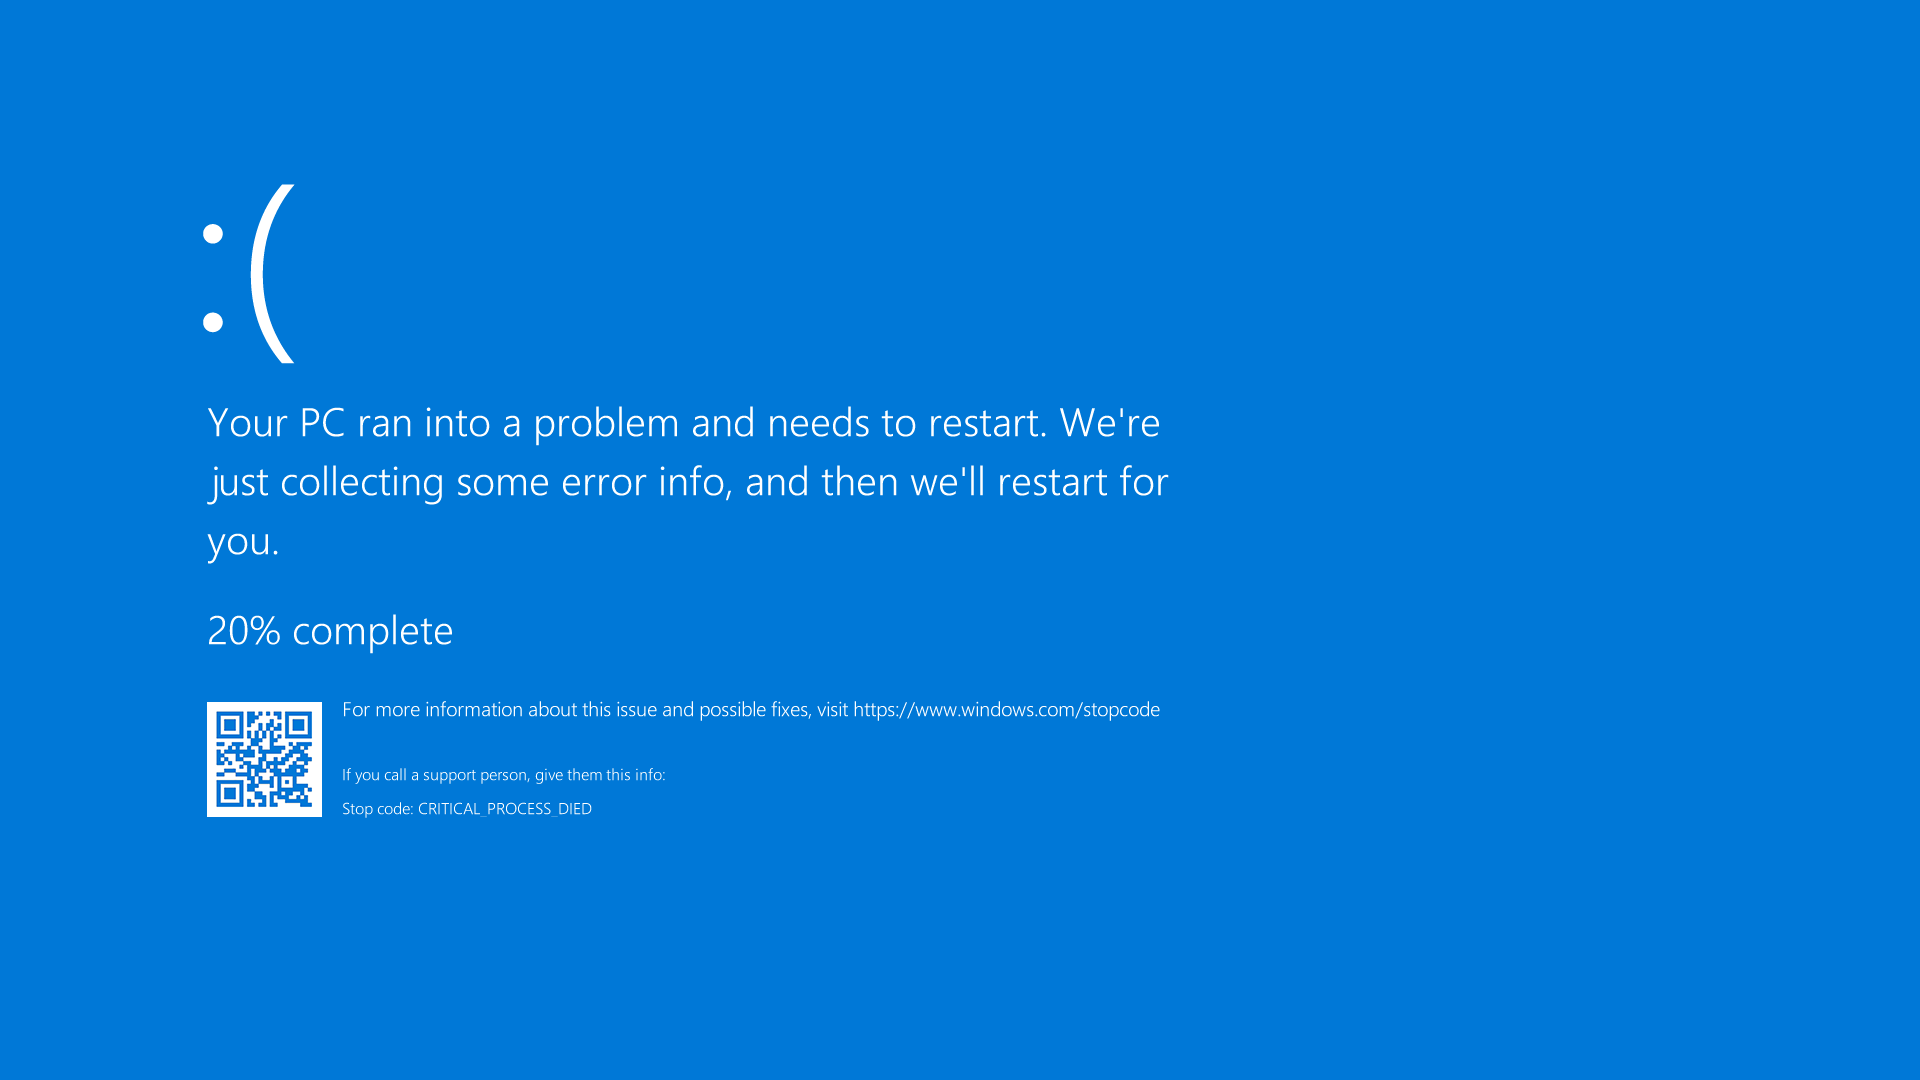
1. Error: “Windows 10 installation stuck at a certain percentage”
– Disconnect any unnecessary peripherals such as docking stations or USB flash drives.
– Restart the installation process and let it run without interruption.
– If the issue persists, try installing Windows 10 using a different installation media, such as a DVD or USB.
2. Error: “Windows 10 installation fails with an error message”
– Check if your computer meets the minimum system requirements for Windows 10.
– Make sure you have enough free disk space to accommodate the installation.
– Disable any antivirus or security software temporarily to prevent conflicts during installation.
– Update your device drivers to the latest version before attempting the installation.
3. Error: “Windows 10 installation freezes or crashes”
– Check for any hardware issues, such as faulty RAM or overheating, and resolve them before proceeding with the installation.
– Disconnect any unnecessary external devices, such as printers or scanners, during the installation process.
– Disable unnecessary startup programs and services to reduce system load.
4. Error: “Windows 10 installation rolls back or fails to complete”
– Ensure that you have a stable internet connection throughout the installation process.
– Make sure your computer is free from malware or viruses by running a scan with Microsoft Defender Antivirus or a reliable security software.
– Try installing Windows 10 in clean boot mode to avoid any conflicts with third-party applications or services.
Using Automatic Repair
If you’re encountering errors during the installation of Windows 10, the Automatic Repair feature can help you troubleshoot and resolve them. Here’s how to use Automatic Repair to fix installation issues:
1. Start the Automatic Repair process by booting your computer with the Windows 10 installation media. Insert the USB flash drive or DVD and restart your PC.
2. When the computer starts, you’ll see the Windows logo. Press and hold the power button to force a shutdown. Repeat this step two more times. On the third restart, Windows will enter Automatic Repair mode.
3. In the Automatic Repair screen, select “Advanced options” to access additional troubleshooting tools.
4. Choose “Troubleshoot” and then “Advanced options” to proceed further.
5. Select “Automatic Repair” from the list of options. Windows will then attempt to automatically fix any issues preventing the installation.
6. Follow the on-screen instructions and wait for the process to complete. This may take some time, so be patient.
7. After Automatic Repair finishes, your computer will restart. Check if the Windows 10 installation errors have been resolved. If not, you may need to try other troubleshooting methods or seek further assistance.
Remember to always keep your personal files backed up before attempting any repair process. This will ensure that your data is safe even if unexpected issues occur during the troubleshooting.
Enabling Administrator Account
To enable the Administrator account in Windows 10, follow these steps:
1. Press the Windows key + X on your keyboard and select “Command Prompt (Admin)” from the menu that appears. This will open an elevated Command Prompt window.
2. In the Command Prompt window, type net user administrator /active:yes and press Enter. This command will enable the Administrator account on your computer.
3. You should see a message stating that the command completed successfully. Close the Command Prompt window.
4. Now, when you sign out of your current account or restart your computer, you will see the Administrator account listed on the login screen. You can click on it to sign in as the Administrator.
5. Remember that the Administrator account has full control over your computer, so use it with caution. It is recommended to create a strong password for this account to ensure security.
By enabling the Administrator account, you can troubleshoot Windows 10 installation errors more effectively.
Changing Password Requirement
To change the password requirement in Windows 10 during installation, follow these steps:
1. Start the Windows 10 installation process on your personal computer or laptop.
2. When prompted to create a password, click on the “Next” button to proceed.
3. On the next screen, you will see an option that says “Make me change my password every X days.” Click on this option to enable it.
4. Enter the desired number of days in the designated field. For example, if you want to change your password every 30 days, type in “30”.
5. Once you have entered the desired number of days, click on the “Next” button to continue with the installation.
6. Complete the remaining steps of the installation process as prompted.
By following these steps, you can easily change the password requirement during the Windows 10 installation. This allows you to set a specific interval after which you will be prompted to change your password for added security.
Remember to choose a strong and unique password that includes a combination of uppercase and lowercase letters, numbers, and special characters. Additionally, it is recommended to avoid using common phrases or words that can be easily guessed.
If you encounter any error messages or issues during the installation process, refer to the troubleshooting guide for Windows 10 installation errors for further assistance.
Running Account Creation Wizard
If you’re encountering installation errors while trying to set up a Windows 10 account, the Account Creation Wizard can help you troubleshoot and resolve the issue. Here are some steps to guide you through the process:
1. Launch the Account Creation Wizard: Open the Start menu and search for “Account Creation Wizard.” Click on the app to launch it.
2. Follow the on-screen instructions: The wizard will guide you through the account creation process. Pay close attention to any error messages or notifications that appear.
3. Check your internet connection: A stable internet connection is crucial for a smooth installation. Make sure you’re connected to a reliable network and that your internet service is active.
4. Temporarily disable antivirus software: Sometimes, antivirus programs can interfere with the installation process. Temporarily disabling your antivirus software can help determine if it’s causing the issue.
5. Update Windows: Outdated software can lead to installation errors. Check for any available Windows updates by going to Settings > Update & Security > Windows Update. Install any pending updates and then retry the installation.
6. Troubleshoot hardware issues: Ensure that all your hardware components, such as the keyboard, mouse, and monitor, are properly connected to your personal computer. If you’re using a docking station, disconnect and reconnect it to eliminate any connection issues.
7. Update device drivers: Outdated or incompatible device drivers can cause installation errors. Update your drivers by going to Device Manager, right-clicking on the respective device, and selecting “Update driver.” Alternatively, you can visit the manufacturer’s website to download the latest drivers.
8. Use the Control Panel: Access the Control Panel by searching for it in the Start menu. From there, you can troubleshoot various system settings, uninstall unnecessary applications, and manage hardware devices.
9. Check for software conflicts: Certain applications or plug-ins might conflict with the installation process. Temporarily disable or uninstall any recently installed software to see if it resolves the issue.
10. Seek additional support: If you’re still encountering installation errors, consider reaching out to Microsoft support or visiting their online forums. They have a wealth of resources and a community of users who may have encountered similar problems.
Restoring to a Different Computer
Restoring your Windows 10 installation to a different computer can be a straightforward process if you follow these steps:
1. Start by creating a system image backup of your current computer. This will ensure that you have a complete copy of your Windows 10 installation, including all settings, files, and applications.
2. Connect an external storage device, such as a USB drive, to your current computer. Open the Control Panel and navigate to the “Backup and Restore (Windows 7)” option. Click on “Create a system image” and select the external storage device as the backup location.
3. Follow the on-screen instructions to create the system image backup. This may take some time, depending on the size of your installation and the speed of your computer.
4. Once the backup is complete, disconnect the external storage device and connect it to the different computer where you want to restore your Windows 10 installation.
5. Start the different computer and insert a Windows 10 installation media, such as a USB drive or DVD. Boot from the installation media and select the appropriate language and region settings.
6. On the Windows Setup screen, click on “Repair your computer” at the bottom left corner. This will take you to the Advanced Startup Options.
7. In the Advanced Startup Options, select “Troubleshoot” and then choose “System Image Recovery.” This will open the System Image Recovery tool.
8. Follow the on-screen instructions to restore your Windows 10 installation from the system image backup. Select the external storage device where the backup is located and choose the system image you want to restore.
9. The restoration process will begin, and your different computer will be restored to the exact state of your previous computer, including all settings, files, and applications.
10. Once the restoration is complete, you may need to install any necessary device drivers for the different computer. You can do this by downloading the latest drivers from the manufacturer’s website or using Windows Update.
11. After the drivers are installed, restart your different computer and make sure everything is working properly.
Restoring your Windows 10 installation to a different computer can be a convenient way to transfer your setup without having to manually reinstall everything. Just remember to create a system image backup beforehand and follow the steps outlined above to ensure a successful restoration.
Checking Minimum Requirements Compatibility
| Minimum Requirement | Windows 10 Compatibility |
|---|---|
| Processor | 64-bit processor with at least 1 GHz clock speed |
| RAM | 1 GB for 32-bit or 2 GB for 64-bit |
| Hard Disk Space | 16 GB for 32-bit or 20 GB for 64-bit |
| Graphics Card | DirectX 9 or later with WDDM 1.0 driver |
| Display | 800×600 resolution or higher |
| Internet Connection | Internet access is necessary for certain features and updates |
Clearing Installation Folder Attributes
To troubleshoot Windows 10 installation errors, you may encounter issues with the installation folder attributes. Here’s how to clear them:
1. Open File Explorer by pressing the Windows key + E.
2. Navigate to the installation folder where you’re encountering the error.
3. Right-click on the folder and select “Properties” from the context menu.
4. In the Properties window, go to the “General” tab.
5. Under the Attributes section, you might see checkboxes for “Read-only” and “Hidden.”
6. Uncheck both checkboxes to clear the folder attributes.
7. Click “Apply” and then “OK” to save the changes.
If the installation folder attributes were causing the error, clearing them should resolve the issue. Retry the installation process to see if the error persists.
Rebuilding BCD
1. Boot your computer using a Windows 10 installation media. You can create one using a USB drive or DVD.
2. When the installation screen appears, press Shift + F10 to open the Command Prompt.
3. In the Command Prompt, type “bootrec /fixmbr” and press Enter. This command repairs the Master Boot Record (MBR) of the system.
4. Next, type “bootrec /fixboot” and press Enter. This command fixes any issues with the boot sector.
5. Then, type “bootrec /rebuildbcd” and press Enter. This command rebuilds the Boot Configuration Data (BCD) file.
6. You will be prompted to add the Windows installation to the BCD. Type “Y” and press Enter.
7. Restart your computer and check if the Windows 10 installation errors have been resolved.
Remember to follow these steps carefully and ensure that you have a backup of your important data before making any changes to your system.
If you still encounter issues, it may be helpful to consult Microsoft’s official documentation or seek assistance from their support forums.
Installing in Clean Boot Mode
Here’s how to install Windows 10 in Clean Boot Mode:
1. Press the Windows key + R to open the Run dialog box.
2. Type “msconfig” and press Enter to open the System Configuration window.
3. In the System Configuration window, go to the Services tab.
4. Check the box that says “Hide all Microsoft services” to prevent any essential Windows services from being disabled.
5. Click on the “Disable all” button to disable all non-Microsoft services.
6. Next, go to the Startup tab in the System Configuration window.
7. Click on the “Open Task Manager” link.
8. In the Task Manager window, go to the Startup tab.
9. Disable all the startup items by right-clicking on each item and selecting “Disable.”
10. Close the Task Manager and System Configuration windows.
11. Restart your computer.
12. Once your computer has restarted, try installing Windows 10 again.
Installing in Clean Boot Mode can help isolate any software conflicts that may be interfering with the installation process. This can be particularly useful if you’re experiencing error messages or encountering issues with specific applications or drivers.
If the Clean Boot Mode installation is successful, you can gradually enable the services and startup items one by one to identify which one may be causing the problem. This will allow you to troubleshoot further and potentially resolve the issue.
Remember to restore your computer to normal startup mode once you have completed the troubleshooting process. You can do this by opening the System Configuration window again and selecting the “Normal startup” option under the General tab.
Seeking Further Assistance
1. Check compatibility: Ensure that your computer meets the minimum system requirements for installing Windows 10. Make sure your hardware, device drivers, and applications are compatible with the operating system. This can help avoid installation errors.
2. Update drivers: Update your device drivers to the latest versions. Outdated or incompatible drivers can cause installation errors. Visit the manufacturer’s website or use Windows Update to download and install the latest drivers for your hardware.
3. Run Windows Update: Make sure your current version of Windows is up to date. Run Windows Update to apply any available updates. This can help resolve compatibility issues and improve the installation process.
4. Disconnect peripherals: Disconnect any unnecessary peripherals, such as docking stations, printers, scanners, or external drives. Sometimes, these devices can interfere with the installation process. Try installing Windows 10 with only essential hardware connected.
5. Disable antivirus software: Temporarily disable your antivirus software before installing Windows 10. Some security programs may interfere with the installation process. Remember to re-enable it once the installation is complete.
6. Use the Windows Update Troubleshooter: If you encounter errors during the installation, use the Windows Update Troubleshooter to identify and resolve any issues. Open the Control Panel, search for “Troubleshooting,” and select “Fix problems with Windows Update” from the list.
7. Uninstall conflicting applications: Certain applications or software can conflict with the installation of Windows 10. Uninstall any recently installed programs that may be causing conflicts. Open the Control Panel, navigate to “Programs” or “Programs and Features,” and select the application to uninstall.
8. Seek online support: If you’ve followed these troubleshooting steps and are still experiencing installation errors, consider seeking further assistance online. Visit the Microsoft Windows support website or community forums to search for specific error messages or seek guidance from others who have encountered similar issues.
Remember, when seeking further assistance, it’s helpful to provide specific details about the error messages, any recent changes to your computer’s hardware or software, and any troubleshooting steps you’ve already taken. This will enable others to provide more targeted and effective support.
Exploring Additional Options
- Check system requirements: Ensure that your computer meets the minimum system requirements for installing Windows 10.
- Verify installation media: Make sure that the installation media, such as a USB drive or DVD, is not damaged or corrupted.
- Disconnect external devices: Remove any unnecessary external devices connected to your computer, such as printers or USB drives, as they may interfere with the installation process.
- Disable security software: Temporarily disable any antivirus or firewall programs that could be blocking the installation or causing conflicts.
- Perform a clean boot: Start your computer with only essential services and drivers to eliminate any potential software conflicts during the installation.
- Update drivers: Ensure that all your device drivers are up to date, especially graphics and network drivers, as outdated drivers can cause installation errors.
- Run Windows Update: Check for and install any available Windows updates, as they may contain fixes for known installation issues.
- Use the Windows Update Troubleshooter: Run the built-in troubleshooter to automatically identify and fix common Windows Update problems.
- Perform a system file check: Use the System File Checker tool to scan for and repair any corrupted or missing system files that may be causing installation errors.
- Try a different installation method: If you’re encountering errors with a particular installation method, such as using a USB drive, try an alternative method like using a DVD or creating a bootable ISO file.
- Seek professional help: If you’ve exhausted all troubleshooting options and are still unable to install Windows 10, consider seeking assistance from a professional computer technician or Microsoft support.
Understanding the Blockage Issue

When troubleshooting Windows 10 installation errors, one common issue that users may encounter is a blockage. This can prevent the installation process from completing successfully. To address this problem, follow these steps:
1. Check for any external devices or peripherals connected to your computer, such as a docking station, printer, or image scanner. Sometimes, these devices can interfere with the installation process. Disconnect them temporarily and try the installation again.
2. Ensure that your computer meets the minimum hardware requirements for Windows 10. Insufficient hardware specifications can cause blockage issues during installation. Refer to Microsoft’s official documentation for the specific requirements.
3. Update your device drivers to the latest version. Outdated or incompatible drivers can also lead to installation errors. Visit the manufacturer’s website or use Windows Update to obtain the latest drivers for your hardware.
4. Disable any security software or firewall temporarily during the installation process. Sometimes, these programs can mistakenly identify the installation files as a threat and block them.
5. Clear your temporary files and folders. Accumulated junk files can interfere with the installation process. Open the Control Panel, navigate to “System and Security,” and select “Disk Cleanup.” Follow the prompts to clean up your system.
6. If you have recently installed or uninstalled any applications, it is possible that leftover files or registry entries are causing the blockage. Use a reliable uninstaller tool to remove any remnants of previous software installations.
7. Check for any error messages or codes displayed during the installation process. These can provide valuable clues about the specific issue causing the blockage. Search for the error message online or consult Microsoft’s support resources for guidance on resolving the problem.
Identifying the Phenomenon
When troubleshooting Windows 10 installation errors, it is important to identify the specific phenomenon causing the issue. This will help in finding the appropriate solution and resolving the problem efficiently.
One common phenomenon that can lead to installation errors is compatibility issues with other versions of Windows. For example, if you are trying to install Windows 10 on a computer that currently has Windows 7 or Windows 8.1, there may be conflicts that prevent a smooth installation. It is important to check the system requirements and ensure that your device meets them before proceeding.
Another phenomenon to consider is the presence of outdated or incompatible device drivers. Device drivers are software that allow your computer to communicate with hardware devices such as printers, scanners, or graphics cards. If these drivers are outdated or incompatible with Windows 10, it can cause installation errors. To address this, make sure to update your drivers to the latest version compatible with Windows 10.
Additionally, corrupted or missing system files can also be a common phenomenon behind installation errors. These files are essential for the proper functioning of the operating system. To fix this, you can use the built-in System File Checker tool in Windows. Open a command prompt as an administrator and type “sfc /scannow” to scan and repair any corrupted system files.
Furthermore, conflicting applications or software can also cause installation errors. It is important to temporarily disable or uninstall any antivirus or security software, as they can interfere with the installation process. Additionally, certain applications or plugins may not be compatible with Windows 10 and may need to be updated or removed.
In some cases, network-related issues can be the underlying phenomenon causing installation errors. This can include issues with internet connectivity, firewalls, or proxy settings. To troubleshoot this, ensure that your internet connection is stable and try disabling any firewalls or proxy settings temporarily.
Lastly, it is always helpful to consult the Windows 10 installation FAQ provided by Microsoft. This resource can provide answers to commonly asked questions and may address specific installation issues you may be experiencing.
By identifying the specific phenomenon causing the installation error, you can take the necessary steps to resolve the issue and successfully install Windows 10 on your device.
Addressing the Bottom Line
When troubleshooting Windows 10 installation errors, it’s important to focus on the bottom line: getting your installation up and running smoothly. Here are some direct instructions to help you resolve common issues and achieve a successful installation.
1. Check system requirements: Before proceeding with the installation, ensure that your computer meets the minimum system requirements for Windows 10. This includes having enough disk space, memory, and a compatible processor. Refer to the Microsoft Windows website for specific details on system requirements.
2. Update device drivers: Outdated or incompatible device drivers can cause installation errors. To address this, update your drivers to the latest versions. You can do this by visiting the manufacturer’s website or using a reliable driver update software. Remember to restart your computer after installing the updated drivers.
3. Scan for malware: Malware can interfere with the installation process and cause errors. Use a reputable antivirus program to scan your computer for any malicious software. If malware is detected, remove it and then attempt the installation again.
4. Disable unnecessary startup programs: Sometimes, background programs and services can conflict with the installation process. To troubleshoot this, open the Task Manager and navigate to the “Startup” tab. Disable any unnecessary programs that you don’t need running during the installation. This can help prevent potential conflicts.
5. Clear temporary files: Accumulated temporary files can sometimes interfere with the installation. To address this, open the Control Panel and navigate to the “System and Security” section. From there, select “Free up disk space” and follow the prompts to clean up temporary files.
6. Uninstall conflicting software: Certain applications or software can conflict with the Windows 10 installation process. If you have any third-party antivirus programs, firewalls, or similar software installed, consider temporarily uninstalling them before attempting the installation. Remember to reinstall them once the installation is complete.
7. Disable unnecessary peripherals: Sometimes, external devices such as printers, scanners, or USB devices can cause installation errors. Disconnect any unnecessary peripherals from your computer and try the installation again. You can reconnect them once the installation is successful.
8. Use the Windows Update Troubleshooter: If you encounter errors during the installation process, try running the Windows Update Troubleshooter. This built-in tool can help identify and resolve common issues related to Windows updates and installations. Search for “Windows Update Troubleshooter” in the Windows search bar and follow the on-screen instructions.
Remember, these troubleshooting steps are just a starting point. If you still encounter errors after following these instructions, it may be helpful to consult the Windows 10 support forums or contact Microsoft support for further assistance.
By addressing the bottom line and following these direct instructions, you can troubleshoot Windows 10 installation errors effectively and get your system up and running smoothly.
F.A.Qs
How do I fix Windows could not complete installation?
To fix the error “Windows could not complete installation,” restart the computer and press F8. Enter Safe Mode and select Command Prompt with Networking. Then, type “chkdsk /r” and schedule it to run on the next reboot. Finally, restart the computer.
How do I fix a Windows 10 installation that won’t boot?
To fix a Windows 10 installation that won’t boot, you can try unplugging all USB devices, booting in Safe Mode, checking the battery and charger, disabling Fast Boot, reviewing BIOS/UEFI settings, scanning for malware, or booting to the Command Prompt interface.
Why does Windows keep failing to install?
Windows keeps failing to install because the Windows installation is severely corrupted. To resolve this issue, it is recommended to perform a repair upgrade using the Media Creation Tool. This procedure will repair all Windows files, apps, services, and registry keys.
