Having trouble with your wireless mouse? It can be frustrating when it stops working out of the blue. In this article, we will delve into some troubleshooting tips to help you get your wireless mouse up and running again.
Troubleshooting Basics

1. Check the batteries: Ensure that the wireless mouse has fresh batteries and that they are properly inserted. Replace the batteries if necessary.
2. Check the USB receiver: Make sure the USB receiver is securely plugged into your computer’s USB port. Try switching to a different USB port to see if that resolves the issue.
3. Restart your computer: Sometimes, a simple restart can fix connectivity problems. Turn off your computer, wait a few seconds, and then turn it back on.
4. Check for software conflicts: Some programs or operating system updates can interfere with the wireless mouse. Update your operating system and check for any conflicting software.
5. Reinstall the device driver: If the wireless mouse is still not working, uninstall and reinstall the device driver. This can often resolve any driver-related issues.
6. Check for physical obstructions: Remove any objects that may be blocking the wireless signal between the mouse and the USB receiver. Ensure that there are no obstacles between the two.
7. Test the mouse on a different surface: If you are using a mousepad, try using the mouse directly on a smooth surface like a desk. Some mousepads can interfere with the mouse’s tracking.
8. Consider using a wired mouse: If all else fails, you may want to try using a wired mouse instead. This can help determine if the issue is with the wireless mouse itself or with your computer’s settings.
Reinstall the Driver
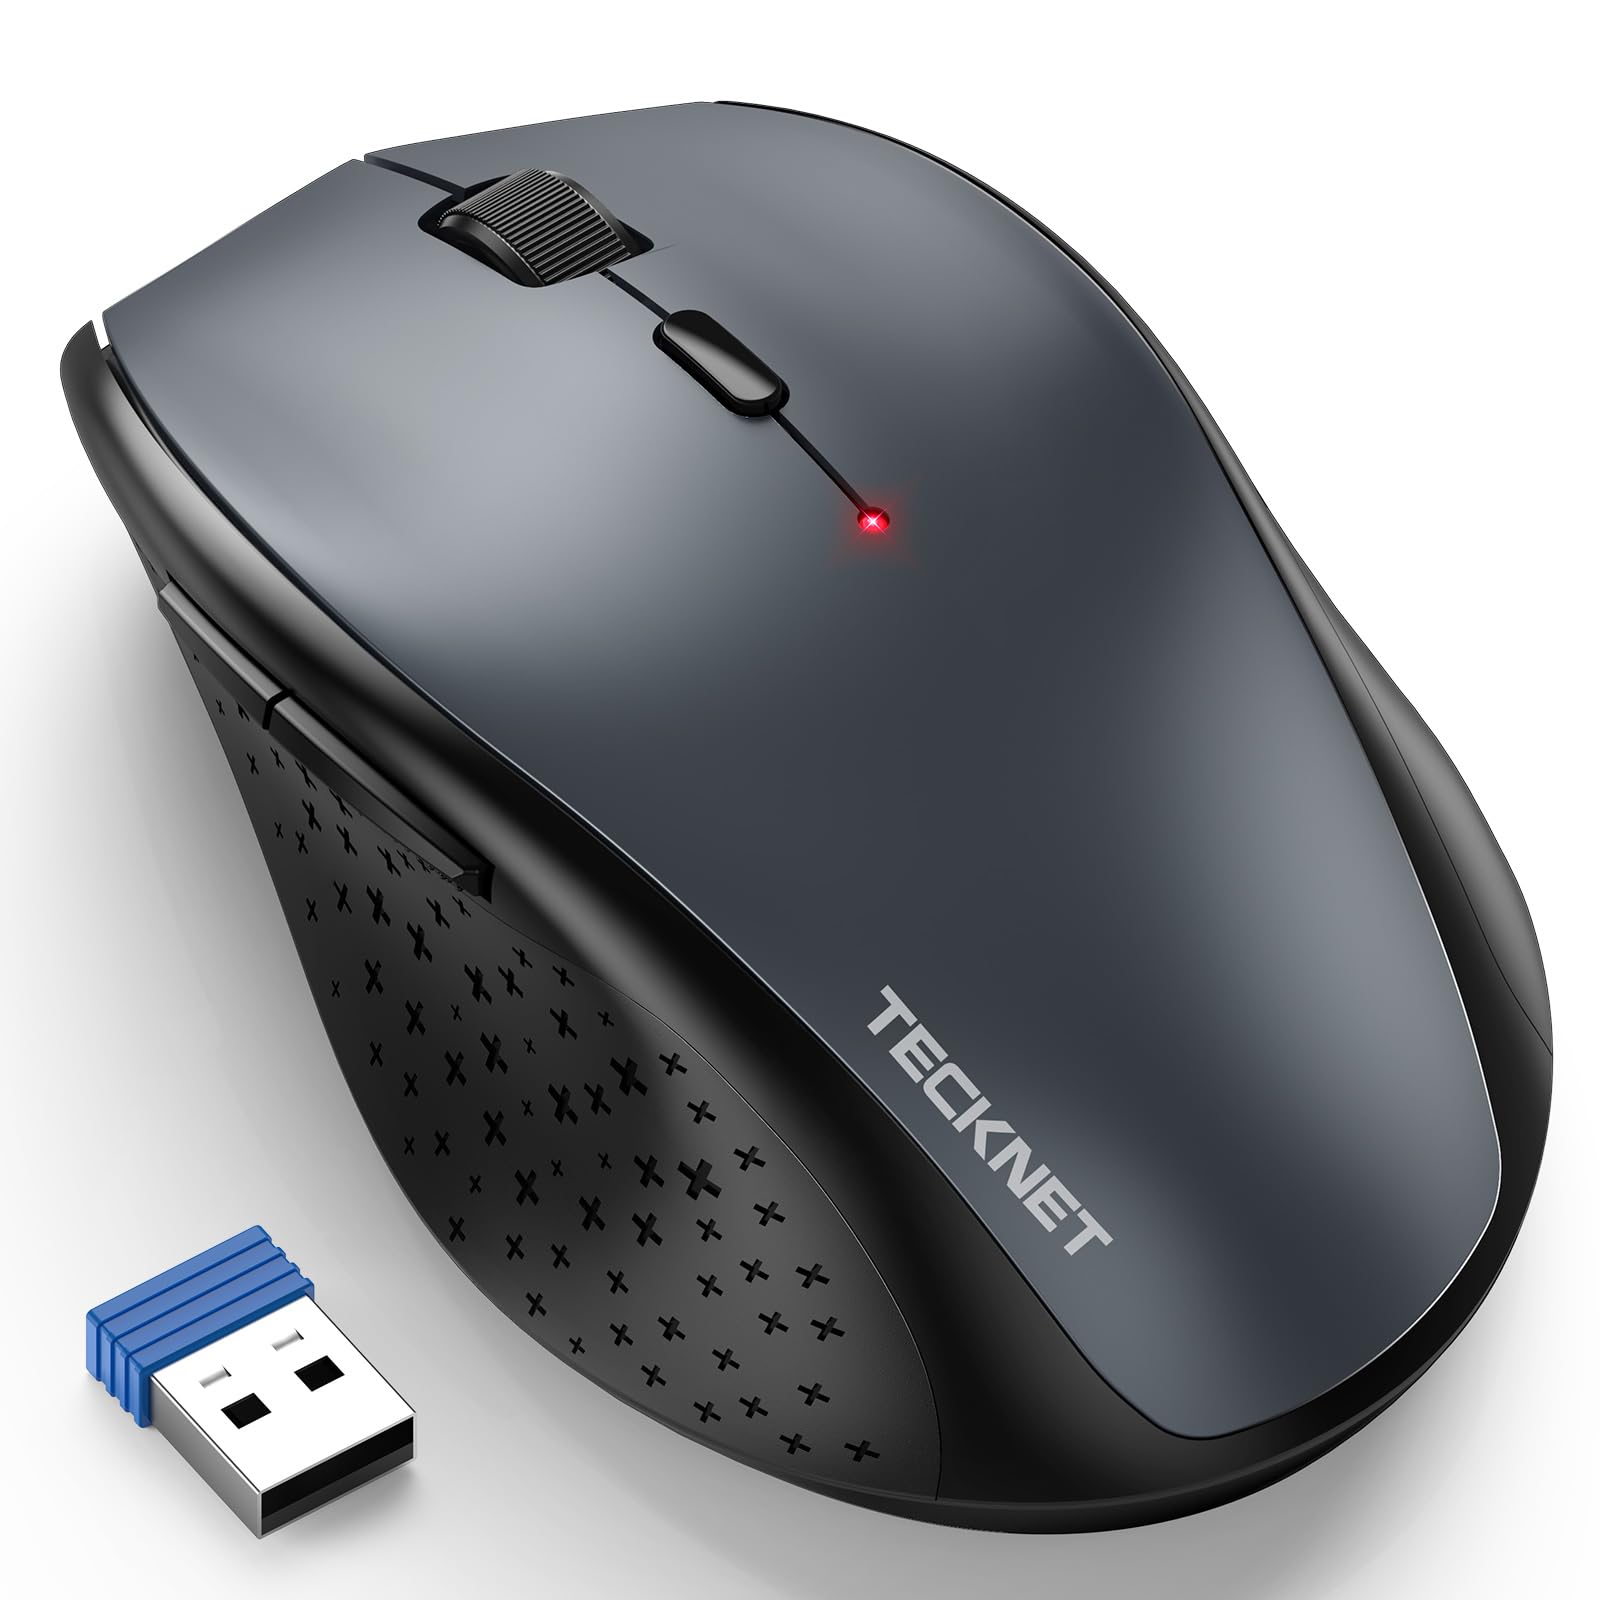
1. Start by disconnecting the wireless receiver from your computer. This is usually a small USB device that you plug into your computer’s USB port.
2. Next, open the Start menu and search for “Device Manager.” Click on the first result that appears.
3. In the Device Manager window, expand the “Mice and other pointing devices” category.
4. Locate your wireless mouse in the list and right-click on it.
5. From the context menu that appears, choose “Uninstall device.”
6. Confirm the uninstallation if prompted.
7. Now, reconnect the wireless receiver to your computer.
8. Wait for your computer to automatically detect and install the driver for your wireless mouse.
9. If the driver doesn’t automatically install, you may need to visit the manufacturer’s website and download the latest driver for your specific mouse model.
10. Once the driver is installed, restart your computer.
Your wireless mouse should now be working properly. If you’re still experiencing issues, it may be worth trying a different USB port or replacing the batteries in your mouse.
Update Drivers
To update the drivers for your wireless mouse, follow these steps:
1. Start by opening the Device Manager on your computer. You can do this by pressing the Windows key + X and selecting “Device Manager” from the menu that appears.
2. In the Device Manager window, locate the category for “Mice and other pointing devices” and expand it by clicking on the arrow next to it.
3. Right-click on your wireless mouse in the list of devices and select “Update driver” from the context menu.
4. A new window will open asking how you want to search for the driver software. Choose the option “Search automatically for updated driver software” and let Windows search for the latest driver online.
5. If Windows finds an updated driver, it will automatically download and install it. Follow any on-screen instructions if prompted.
6. Once the driver update is complete, restart your computer to ensure the changes take effect.
If the above steps don’t resolve the issue, you may also consider visiting the manufacturer’s website to manually download and install the latest driver for your specific mouse model.
Hardware and Connection Checks
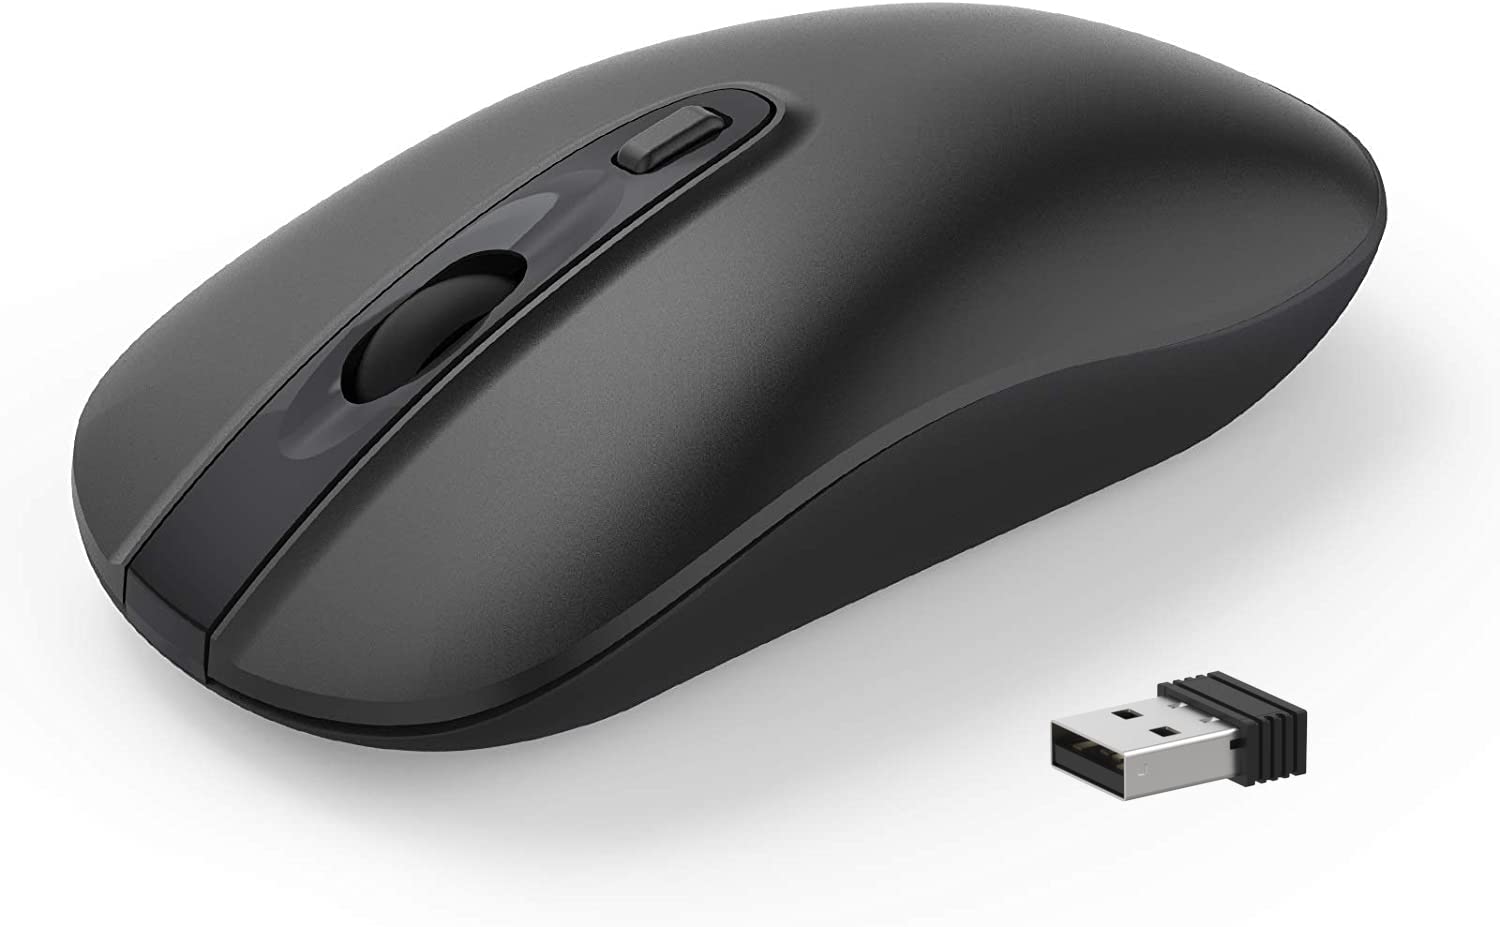
- Check the batteries
- Remove the battery cover on the mouse
- Check if the batteries are properly inserted
- Replace the batteries if they are old or depleted
- Verify the wireless receiver
- Locate the wireless receiver and ensure it is securely plugged into a USB port
- Try using a different USB port to rule out any issues with the current port
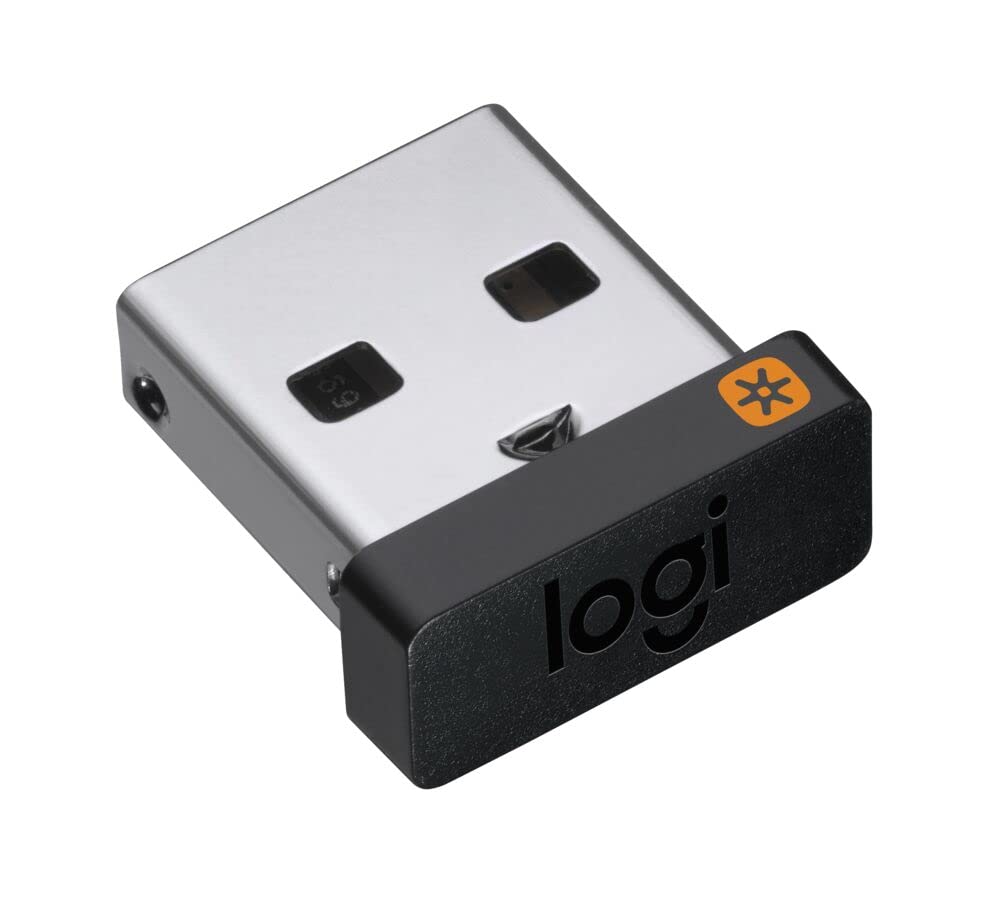
- If using a USB hub, bypass it and plug the receiver directly into a USB port on your computer
- Check for obstructions
- Ensure there are no objects or barriers blocking the path between the mouse and the receiver
- Remove any nearby electronic devices that may interfere with the wireless signal
- Test the mouse on a different surface
- Place the mouse on a different mouse pad or a smooth surface
- Avoid reflective or uneven surfaces that may cause tracking issues
- Restart the computer
- Save any unsaved work and close all open programs
- Click on the “Start” menu, select “Restart” or “Shut down” and then turn on the computer again
System File Repair
To begin, you will need to access the Command Prompt on your computer. You can do this by pressing the Windows key + R, typing “cmd” into the Run dialog box, and pressing Enter.
Once the Command Prompt window is open, you will need to run a system file scan. Type “sfc /scannow” and press Enter. This command will scan your system files for any errors and automatically repair them.
Please note that this process may take some time to complete. It is important not to interrupt the scan or restart your computer during this time.
After the scan is complete, you can close the Command Prompt window and restart your computer. Once your computer has restarted, check if your wireless mouse is now working properly.
If the issue persists, you may need to consider other troubleshooting steps or seek further assistance.
Finding Drivers Effortlessly
- Check the Device Manager
- Open the Start menu by clicking on the Windows icon in the bottom-left corner of the screen.
- Type “Device Manager” into the search bar and click on the “Device Manager” option that appears.
- In the Device Manager window, expand the “Mice and other pointing devices” category.
- Look for your wireless mouse listed under this category.
- If there is a yellow exclamation mark or a red “X” next to your mouse, it indicates a driver issue.
- Update the Mouse Driver
- Right-click on the wireless mouse listed in the Device Manager and select “Update driver.”
- Choose the option to automatically search for updated driver software.
- Follow the on-screen instructions to complete the driver update process.
- Download Drivers from Manufacturer’s Website
- Visit the website of the mouse manufacturer.
- Look for a “Support” or “Downloads” section.
- Enter your mouse’s model number or select the appropriate product from the list.
- Download the latest driver for your wireless mouse.
- Once downloaded, run the driver installation file and follow the prompts to install the driver.
- Use Driver Update Software
- Download and install a reputable driver update software.
- Launch the software and run a scan for outdated or missing drivers.
- If the software detects any issues with your wireless mouse driver, follow the on-screen instructions to update it.
F.A.Qs
How do I fix an unresponsive wireless mouse?
To fix an unresponsive wireless mouse, first, check the batteries and ensure they are properly inserted and have sufficient power. If the batteries are low, replace them with new ones. Next, ensure that the wireless receiver or USB dongle is securely plugged into a functional USB port on your computer.
How do I reset my wireless mouse?
To reset your wireless mouse, start by turning it off. Then, hold down the left and right mouse buttons simultaneously. While keeping the buttons pressed, turn the mouse back on. After approximately 5 seconds, release the buttons. A successful reset will be indicated by an LED flash.
Why is my wireless mouse not working even with new batteries?
Your wireless mouse may not be working even with new batteries for a few possible reasons. First, ensure that the batteries are inserted correctly and that there is a solid connection. Additionally, check for any obstructions, loose connections, or corrosion in the recharging base or cable if it is a rechargeable device. If necessary, remove or clean the compartment.
How do I get my computer to recognize my wireless mouse?
To get your computer to recognize your wireless mouse, press and hold the ‘Pairing’ button on your mouse. This will make the mouse discoverable via Bluetooth, usually indicated by a flashing light.

