Having trouble with WSUS Code 80244019? Let’s dive into troubleshooting and find the solution.
Troubleshooting and Repairing System Files
To troubleshoot and repair WSUS code 80244019, follow these steps:
1. Run the System File Checker tool to check for and repair any corrupted system files. Open a command prompt with administrative privileges and type sfc /scannow. This will scan your system for any errors and automatically fix them if possible.
2. Check your computer’s keyboard settings. Make sure the Control key is not stuck or malfunctioning, as this can affect your ability to input commands.
3. Check for any pending updates in Windows Update. Sometimes, the error code 80244019 can be caused by a failed or incomplete update. Go to the Windows Update settings and click on “Check for updates” to see if there are any updates that need to be installed.
4. Restart the Windows Server Update Services (WSUS) service. Open the Services console by pressing the Windows key + R, typing services.msc, and pressing Enter. Locate the WSUS service, right-click on it, and select “Restart”.
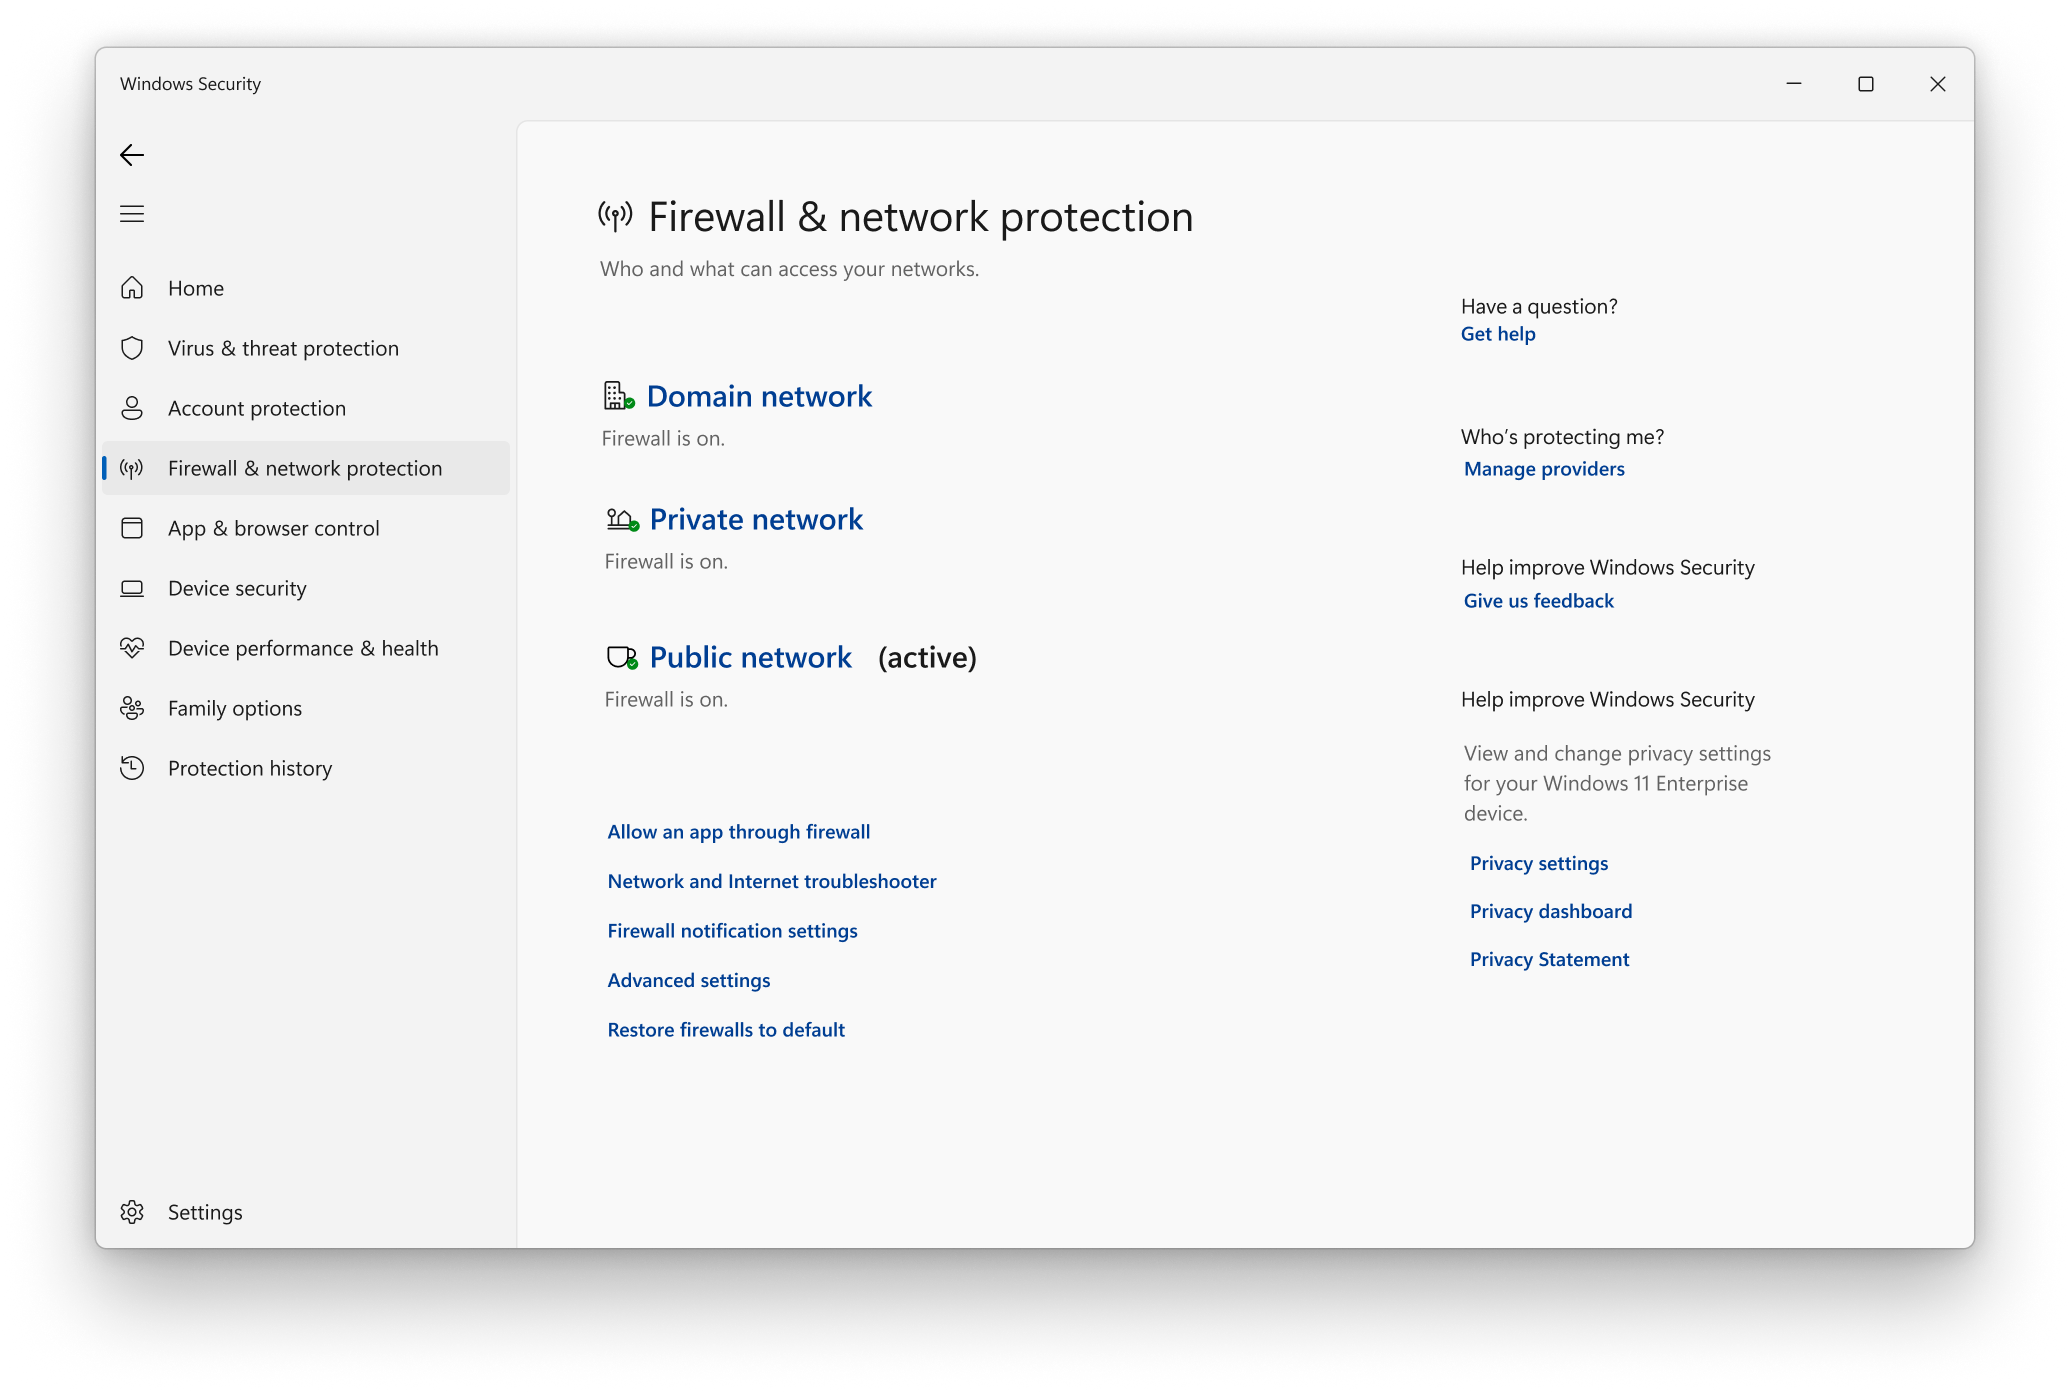
5. If you are using Windows 10, you can try using the Windows Update Troubleshooter. Open the Settings app, go to Update & Security, and click on “Troubleshoot”. Then, select “Windows Update” and follow the on-screen instructions to fix any issues.
6. Check if there are any issues with the WSUS server itself. Make sure it is running and accessible. You can also try reinstalling WSUS to ensure a fresh installation.
Remember to always back up your important data before making any changes to your system.
If the problem persists, it may be helpful to reach out to Microsoft support or consult online forums for further assistance.
Restarting and Configuring Update Services
To restart and configure Update Services on WSUS to troubleshoot the WSUS Code 80244019 error, follow these steps:
1. Press the Windows key on your computer keyboard to open the Start menu.
2. Type “services.msc” in the search bar and press Enter to open the Services window.
3. Scroll down and locate the “Windows Server Update Services” service from the list.
4. Right-click on the service and select “Restart” from the context menu.
5. Once the service has restarted, right-click on it again and select “Properties” from the context menu.
6. In the Properties window, navigate to the “Recovery” tab.
7. Set the “First failure,” “Second failure,” and “Subsequent failures” options to “Restart the Service.”
8. Click “Apply” and then “OK” to save the changes.
9. Close the Services window.
Enabling Data Execution Prevention
To enable Data Execution Prevention (DEP) for troubleshooting WSUS Code 80244019, follow these steps:
1. Press the Windows key on your keyboard to open the Start menu.
2. Type “System” and click on “System” from the search results to open the System settings.
3. Click on “Advanced system settings” on the left-hand side of the window.
4. In the System Properties window, click on the “Settings” button under the Performance section.
5. In the Performance Options window, click on the “Data Execution Prevention” tab.
6. Select the option “Turn on DEP for essential Windows programs and services only.”
7. Click on the “Apply” button and then click “OK” to save the changes.
Enabling DEP can help troubleshoot the WSUS Code 80244019 error by preventing the execution of malicious code. By limiting DEP to essential Windows programs and services, you can ensure system stability while still protecting against potential threats.
Note: DEP may not be available on all versions of Windows. If you do not see the “Data Execution Prevention” tab, your operating system may not support this feature.
Manual Update Installation and Troubleshooting
- Check the internet connection
- Ensure that the computer has a stable internet connection
- Check if other websites can be accessed successfully
- Restart the router if necessary
- Confirm WSUS server availability
- Ensure that the WSUS server is running and accessible
- Check the server’s network connectivity
- Verify that the WSUS server is not experiencing any issues or maintenance
- Reset Windows Update components
- Open Command Prompt as an administrator
- Type net stop wuauserv and press Enter
- Type net stop cryptSvc and press Enter
- Type net stop bits and press Enter
- Type net stop msiserver and press Enter
- Type ren C:\Windows\SoftwareDistribution SoftwareDistribution.old and press Enter
- Type ren C:\Windows\System32\catroot2 catroot2.old and press Enter
- Type net start wuauserv and press Enter
- Type net start cryptSvc and press Enter
- Type net start bits and press Enter
- Type net start msiserver and press Enter
- Manually install the pending updates
- Open Command Prompt as an administrator
- Type wuauclt.exe /detectnow and press Enter
- Wait for the detection to complete
- Type wuauclt.exe /updatenow and press Enter
- Wait for the updates to be downloaded
- Type wuauclt.exe /reportnow and press Enter
- Wait for the updates to be installed
- Check firewall and antivirus settings
- Ensure that the Windows Firewall or any third-party firewall is not blocking the WSUS connection
- Verify that the antivirus software is not interfering with the update process
- Add exceptions or exclusions for WSUS in the firewall and antivirus settings
- Restart the Windows Update service
- Open Command Prompt as an administrator
- Type net stop wuauserv and press Enter
- Type net start wuauserv and press Enter
- Check if the issue has been resolved
F.A.Qs
What is WSUS error code 80244010?
WSUS error code 80244010 is a common Windows update error that occurs when Windows is unable to search for new updates. This error can be caused by various factors, including generic glitches and damaged temporary files.
