Miracast is a convenient wireless display technology that allows you to mirror your PC screen to a compatible device. However, if your PC doesn’t support Miracast, don’t worry! There’s an easy fix for this issue.
Understanding Miracast Functionality
If your PC doesn’t support Miracast, don’t worry, there’s an easy fix. Miracast is a wireless display technology that allows you to mirror your PC screen to a compatible TV or display. Here’s how you can enable Miracast functionality on your PC:
1. Check your Wi-Fi connection: Make sure your PC is connected to a Wi-Fi network. Miracast uses Wi-Fi Direct to establish a wireless connection between your PC and the display.
2. Update your graphics card drivers: Miracast requires the latest graphics card drivers to work properly. Visit the website of your graphics card manufacturer and download the latest drivers for your specific model.
3. Enable Miracast in Windows settings: Open the Settings app on your PC and go to the System section. Click on “Display” and scroll down to the “Multiple displays” section. Here, you should see an option to “Connect to a wireless display.” Click on it and follow the on-screen instructions to enable Miracast.
4. Check your display’s compatibility: Not all displays support Miracast. Make sure your TV or display is Miracast-compatible by referring to the manufacturer’s specifications or checking the user manual.
5. Troubleshoot any errors: If you encounter any error messages or issues while trying to enable Miracast, you can try the following steps:
– Restart your PC and display.
– Disable and re-enable Wi-Fi on your PC.
– Restart your Wi-Fi router.
– Update your Windows operating system to the latest version.
– Disable any firewall or antivirus software that may be blocking the Miracast connection.
Common Causes of Compatibility Issues
- Outdated graphics drivers
- Incompatible graphics card
- Disabled Miracast support in BIOS
- Insufficient system requirements
Repair Steps:
- Update graphics drivers
- Open Device Manager by right-clicking on the Start button and selecting Device Manager
- Expand the Display adapters category
- Right-click on your graphics card and select Update driver
- Choose the Search automatically for updated driver software option
- Follow the on-screen instructions to complete the driver update process
- Check graphics card compatibility
- Visit the official website of your graphics card manufacturer
- Search for your specific graphics card model
- Check the specifications or system requirements to verify Miracast support
- If your graphics card is not compatible, consider upgrading to a compatible one

- Enable Miracast support in BIOS
- Restart your computer and enter the BIOS setup by pressing the appropriate key (usually Del or F2) during startup
- Navigate to the Advanced or System Configuration section
- Look for an option related to Miracast or Wireless Display
- Enable or set it to Enabled
- Save the changes and exit the BIOS
- Ensure system requirements are met
- Check the minimum system requirements for Miracast support
- Verify that your computer meets the requirements for processor, RAM, and operating system

- If your system falls short, consider upgrading the necessary components
Verifying Device Compatibility

If you’re experiencing issues with Miracast on your PC and getting the “Your PC Doesn’t Support Miracast” error message, here’s an easy fix to verify device compatibility.
First, ensure that your PC and the device you want to connect to support Wi-Fi Direct. Wi-Fi Direct allows devices to connect and communicate with each other without the need for a wireless network.
To check if your PC supports Wi-Fi Direct, follow these steps:
1. Open the Start menu and type “Device Manager” in the search bar. Press Enter to open the Device Manager.
2. Expand the Network adapters section and look for a network interface controller that mentions Wi-Fi Direct or has “Wi-Fi” in its name.
If you find a network adapter that supports Wi-Fi Direct, your PC is compatible. If not, you may need to update your PC’s drivers or consider using a different device.
Additionally, make sure that your PC supports the necessary protocols for Miracast, such as Wi-Fi Protected Setup (WPS) and Wi-Fi Protected Access (WPA). These protocols ensure secure wireless connections.
Lastly, check if your PC meets the minimum requirements for Miracast, such as having Windows 10 or a compatible operating system, a supported graphics processing unit (GPU), and sufficient network bandwidth.
By verifying device compatibility and ensuring that your PC meets the necessary requirements, you can resolve the “Your PC Doesn’t Support Miracast” issue and enjoy wireless streaming to your desired device.
Steps to Enable Wi-Fi Connectivity
![]()
1. Check your Wi-Fi adapter: Open the Device Manager by pressing Windows key + X and selecting “Device Manager.” Expand the “Network Adapters” section and ensure that your Wi-Fi adapter is listed and enabled. If it’s not, right-click on the adapter and select “Enable.”
2. Update your Wi-Fi driver: Right-click on your Wi-Fi adapter in the Device Manager and select “Update driver.” Choose the option to search automatically for updated driver software. If an update is found, follow the on-screen instructions to install it.
3. Enable Wi-Fi in Windows settings: Press Windows key + I to open the Windows Settings app. Go to “Network & Internet” and select “Wi-Fi” from the left-hand menu. Make sure the “Wi-Fi” toggle switch is turned on.
4. Check your router settings: Ensure that Wi-Fi is enabled on your wireless router. Consult your router’s user manual or contact your internet service provider for instructions on how to enable Wi-Fi.
5. Troubleshoot network connections: Open the Windows Settings app, go to “Network & Internet,” and select “Status” from the left-hand menu. Click on “Network troubleshooter” and follow the prompts to diagnose and fix any network connection issues.
6. Restart your PC and router: Sometimes a simple restart can resolve connectivity issues. Turn off your PC and unplug your router from the power source. Wait for a few minutes, then plug in the router and turn on your PC.
7. Consider a Wi-Fi adapter: If your PC still doesn’t support Miracast after following the above steps, you may need to purchase a separate Wi-Fi adapter that is compatible with Miracast. Consult the manufacturer’s specifications to ensure compatibility with your PC.
Updating Drivers for Optimal Performance
To update drivers for optimal performance on your PC, follow these simple steps:
1. Identify the driver: Determine which driver needs to be updated. In this case, it’s the driver related to Miracast support.
2. Visit the manufacturer’s website: Go to the website of your PC’s manufacturer and look for the support or downloads section.
3. Locate the driver: Find the driver that corresponds to your PC model and operating system. Download the latest version of the driver.
4. Install the driver: Once the driver is downloaded, locate the file and double-click on it to start the installation process. Follow the on-screen instructions to complete the installation.
5. Restart your PC: After the installation is complete, it’s recommended to restart your PC to ensure the new driver is properly loaded.
6. Test Miracast support: After the restart, try using Miracast again to see if the issue is resolved. If not, continue troubleshooting or seek further assistance.
Troubleshooting with Wireless Mode Adjustments
| Issue | Possible Solution |
|---|---|
| 1. Miracast option is not available in PC settings | Adjust wireless mode to enable Miracast: – Open Device Manager – Expand “Network Adapters” – Right-click on your wireless adapter and select “Properties” – Go to the “Advanced” tab – Look for a setting related to “Wireless Mode” or “802.11 Mode” – Change the value to “Auto” or “802.11n/ac” – Click “OK” to save changes – Restart your PC and check if Miracast is now available |
| 2. Miracast connection is unstable or frequently disconnects | Adjust wireless mode to improve stability: – Open Device Manager – Expand “Network Adapters” – Right-click on your wireless adapter and select “Properties” – Go to the “Advanced” tab – Look for a setting related to “Wireless Mode” or “802.11 Mode” – Change the value to “802.11n/ac” or “802.11ac” – Click “OK” to save changes – Restart your PC and check if Miracast connection is stable |
| 3. Miracast streaming quality is poor | Adjust wireless mode to improve streaming quality: – Open Device Manager – Expand “Network Adapters” – Right-click on your wireless adapter and select “Properties” – Go to the “Advanced” tab – Look for a setting related to “Wireless Mode” or “802.11 Mode” – Change the value to “802.11ac” or “802.11ax” – Click “OK” to save changes – Restart your PC and check if Miracast streaming quality improves |
| 4. Miracast option is available but fails to connect to external display | Adjust wireless mode to resolve connection issues: – Open Device Manager – Expand “Network Adapters” – Right-click on your wireless adapter and select “Properties” – Go to the “Advanced” tab – Look for a setting related to “Wireless Mode” or “802.11 Mode” – Change the value to “802.11n/ac” or “802.11ac” – Click “OK” to save changes – Restart your PC and try connecting to the external display again |
Exploring Miracast Alternatives
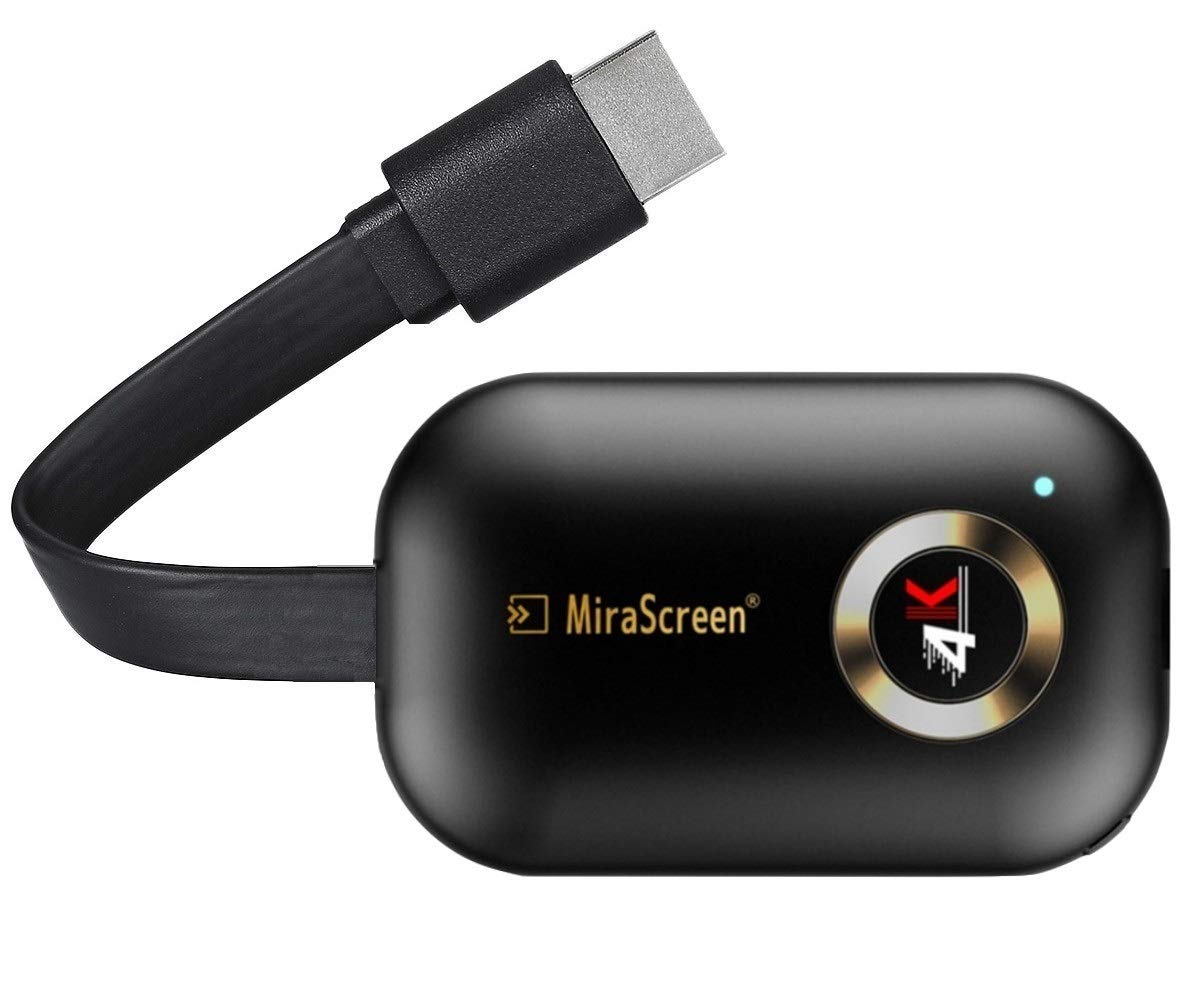
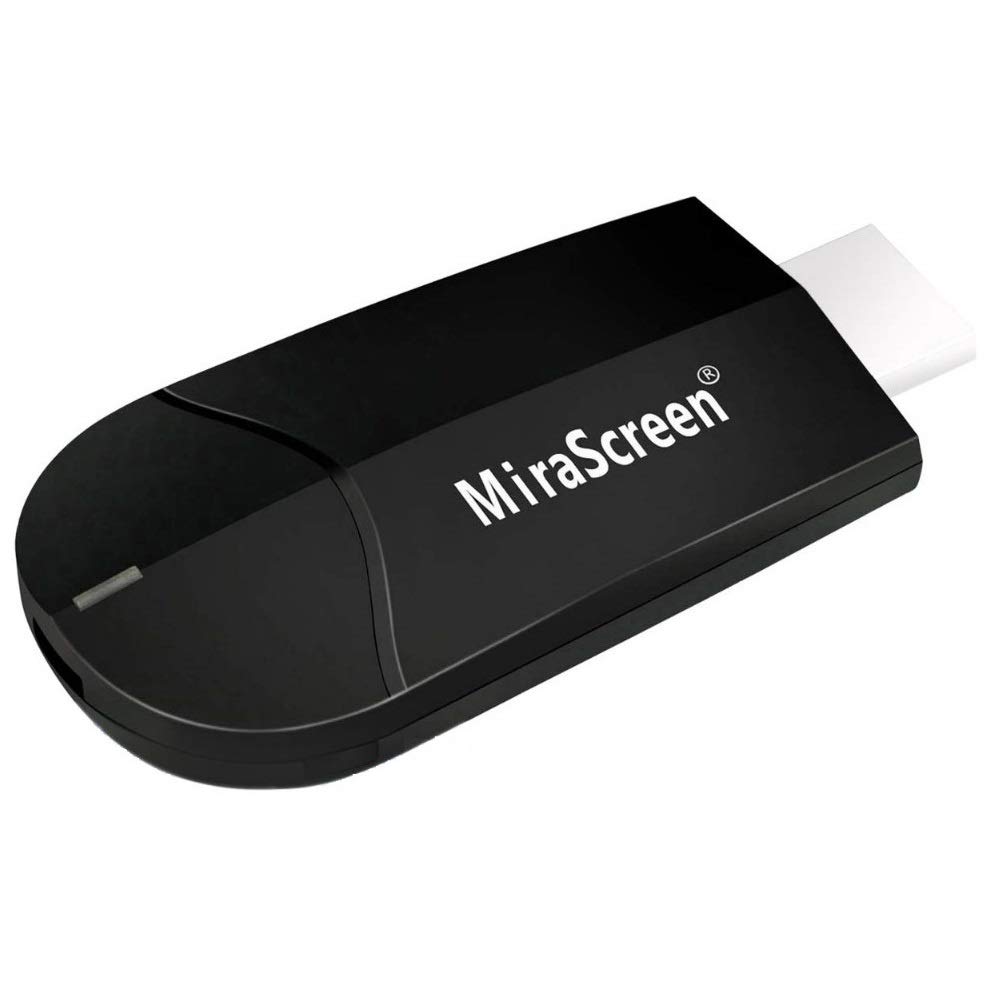
If your PC doesn’t support Miracast, there are alternative solutions you can explore. One option is to use a Wi-Fi adapter that supports Miracast-like functionality. These adapters can be plugged into your PC’s USB port and provide the necessary wireless capabilities to connect to other devices. Another option is to use third-party software that allows you to mirror your PC’s screen to a compatible device. Some popular options include AirServer, Reflector, and X-Mirage. These software solutions often offer additional features and customization options.
To set up an alternative solution, follow these steps:
1. Connect a Wi-Fi adapter: Purchase a Wi-Fi adapter that supports Miracast-like functionality. Plug it into your PC’s USB port and install any necessary drivers or software.
2. Install third-party software: Download and install a third-party software solution that allows screen mirroring. Follow the instructions provided by the software to set it up on your PC.
3. Connect to a compatible device: Ensure that the device you want to mirror to (e.g., a smartphone, tablet, or TV) supports the alternative solution you’ve chosen. Connect your PC and the device to the same wireless network.
4. Enable screen mirroring: Open the third-party software on your PC and follow the instructions to enable screen mirroring. This may involve selecting the device you want to mirror to or entering a code displayed on the device.
5. Enjoy your mirrored display: Once screen mirroring is enabled, your PC’s screen should be mirrored on the connected device. You can now enjoy your content on a larger screen or share presentations with ease.
Frequently Asked Questions
Why Miracast doesn t work Windows 11?
Miracast may not work on Windows 11 due to outdated or incompatible Wi-Fi drivers. To resolve this issue, you can either update or reinstall the Wi-Fi drivers.
Why can’t I connect to Miracast?
You may not be able to connect to Miracast if your display does not support it or if it is not turned on. In such cases, you would need a Miracast adapter to connect to an HDMI port. Additionally, ensure that your device drivers are up to date and the latest firmware is installed for your wireless display, adapter, or dock.
How do I enable Miracast on my PC?
To enable Miracast on your PC, ensure that your Miracast dongle or adapter is connected to the display. Turn on Wi-Fi on your PC, then go to the right side of the taskbar and click on the Network icon. From there, select “Cast” and choose your display or adapter. Follow any on-screen instructions that may appear.
How do I fix this PC doesn’t support Miracast?
To fix a PC that doesn’t support Miracast, you can try the following steps:
1. Make sure both devices are connected to the same WiFi network.
2. Check if the devices are compatible with Miracast.
3. Update or reinstall the driver for Miracast on your PC.
4. Set the wireless adapter to auto mode.
5. Disable any third-party VPN software that may interfere with Miracast.

