Encountering the ‘We Couldn’t Create a New Partition’ error in Windows 10 can be frustrating. However, fear not, as I have discovered effective solutions to help you resolve this issue swiftly.
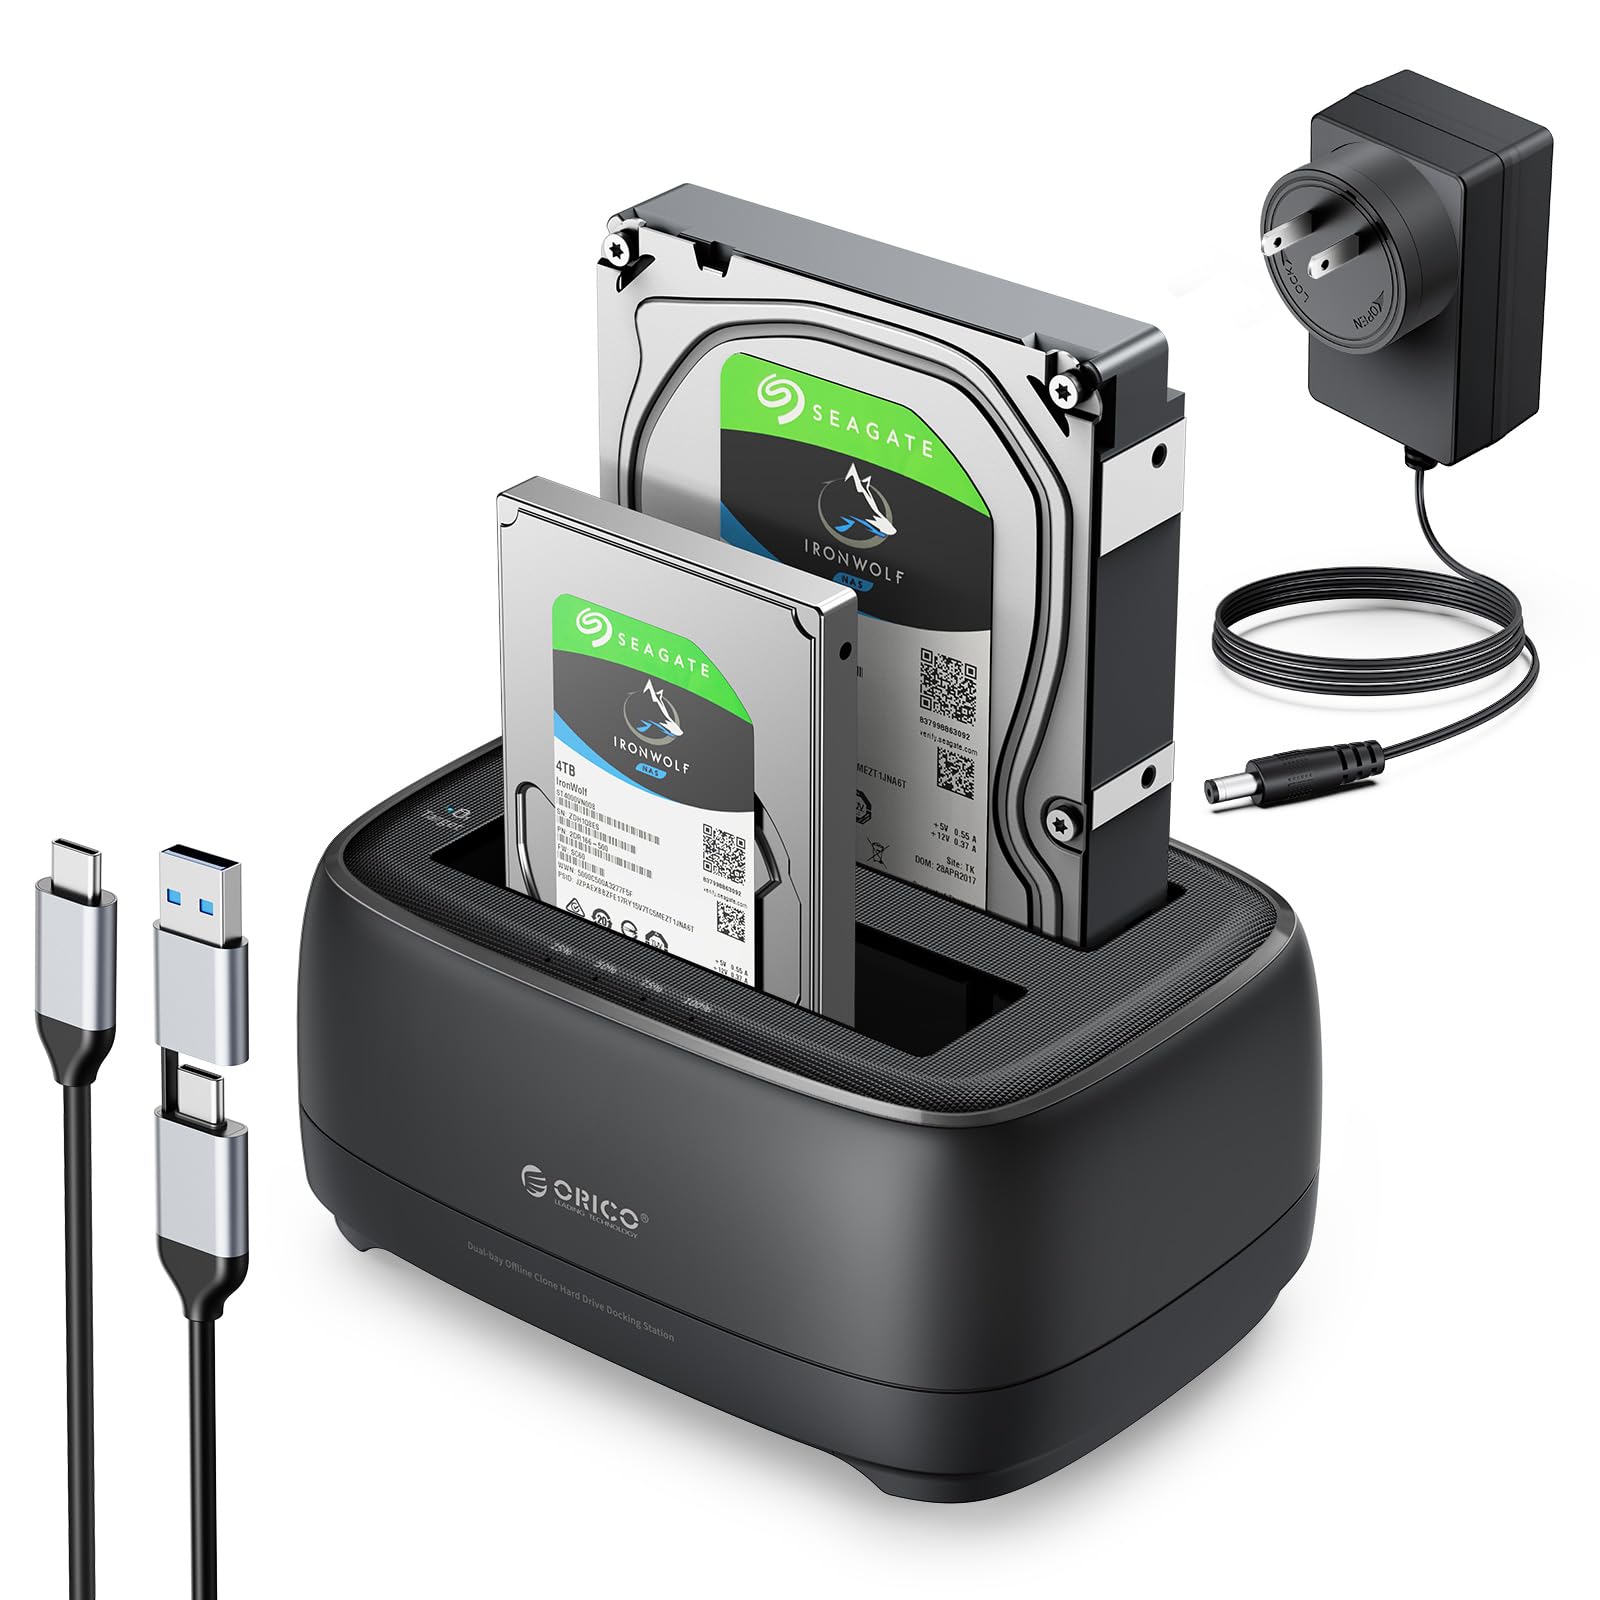
Disconnect Peripherals and External Drives

Disconnecting peripherals and external drives can help resolve the ‘We Couldn’t Create a New Partition’ error in Windows 10. To do this, follow these steps:
1. Turn off your computer and unplug any USB devices, such as printers, scanners, or external hard drives.
2. Remove any SD cards or DVDs from their respective slots or drives.
3. If you have a laptop, make sure it is not connected to a docking station or any other external devices.
4. Restart your computer and wait for it to fully boot up.
By disconnecting these peripherals and external drives, you eliminate any potential conflicts or interference during the partitioning process. This allows Windows 10 to focus solely on creating a new partition without any distractions.
Once you have successfully created the new partition, you can reconnect your peripherals and external drives if needed.
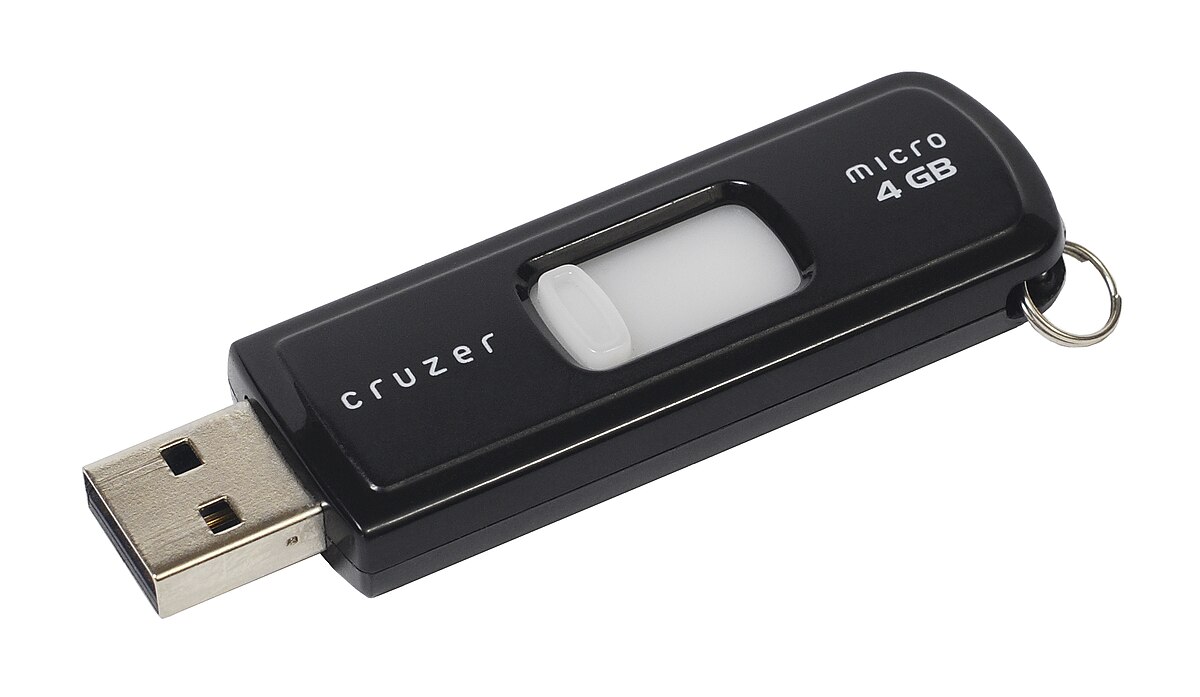
Create a Bootable USB Drive with Third-Party Tools

To fix the ‘We Couldn’t Create a New Partition’ error in Windows 10, you can create a bootable USB drive using third-party tools. Here’s a step-by-step guide:
1. First, download and install a reliable third-party tool like EaseUS Partition Master.
2. Insert a USB flash drive into your computer. Make sure it has enough storage capacity and is empty, as all data will be erased.
3. Open EaseUS Partition Master and select “Create WinPE bootable disk” from the toolbar.
4. Choose “USB” as the bootable media, and click on “Proceed” to start creating the bootable USB drive.
5. Once the process is complete, restart your computer and enter the BIOS settings.
6. In the BIOS, change the boot order to prioritize the USB drive as the first boot device.
7. Save the changes and exit the BIOS. Your computer will now boot from the USB drive.
8. Follow the on-screen instructions to access Windows Preinstallation Environment (Windows PE).
9. From the Windows PE environment, launch Windows Setup.
10. When prompted to select a partition, use the diskpart command-line tool to create a new partition. Open the command prompt and type “diskpart” to enter the diskpart interface.
11. Use the list disk command to list all available disks on your computer.
12. Identify the disk on which you want to create a partition and note its number.
13. Type “select disk [disk number]” to select the desired disk.
14. Use the “clean” command to remove any existing partitions on the selected disk. This will erase all data on the disk, so make sure to back up any important files.
15. Type “create partition primary” to create a new primary partition on the disk.
16. Exit the diskpart tool by typing “exit“.
17. Proceed with the Windows installation as usual, selecting the newly created partition for installation.
Use Diskpart to Format or Activate Partition
To format or activate a partition using Diskpart in Windows 10, follow these steps:
1. Press the Windows key + X and select “Command Prompt (Admin)” to open an elevated Command Prompt.
2. In the Command Prompt window, type “diskpart” and press Enter to launch the Diskpart utility.
3. Type “list disk” and press Enter to view a list of available disks on your computer. Note the number of the disk that contains the partition you want to format or activate.
4. Type “select disk [disk number]” and press Enter, replacing “[disk number]” with the appropriate disk number from the previous step.
5. Type “list partition” and press Enter to view a list of partitions on the selected disk.
6. Type “select partition [partition number]” and press Enter, replacing “[partition number]” with the number of the partition you want to format or activate.
7. To format the partition, type “format fs=ntfs quick” and press Enter. This will format the partition with the NTFS file system. You can replace “ntfs” with “fat32” or another file system if desired.
8. To activate the partition, type “active” and press Enter. This will mark the partition as active.
9. Once the formatting or activation process is complete, you can exit Diskpart by typing “exit” and pressing Enter.
Set Boot Priority in BIOS Settings
To set the boot priority in BIOS settings, follow these steps:
1. Restart your computer and enter the BIOS settings by pressing the designated key (usually Esc, F2, or Delete) during the boot process. The key may vary depending on your computer’s manufacturer.
2. Once you’re in the BIOS settings, navigate to the “Boot” or “Boot Priority” section.
3. In the boot priority list, you’ll see a list of devices that your computer can boot from, such as hard drives, USB drives, and optical drives. Use the arrow keys to highlight the device you want to boot from first.
4. Press the “+” or “-” key to change the boot order. Move the device you want to prioritize to the top of the list.
5. Save the changes and exit the BIOS settings. The key combination to save and exit may vary, but it’s usually F10 or a similar key.
Now, when you restart your computer, it will boot from the device you set as the top priority in the BIOS settings. This can be helpful if you’re encountering the “We Couldn’t Create a New Partition” error in Windows 10 and need to boot from a specific device to troubleshoot or fix the issue.
Convert Partition to GPT Format
To convert a partition to GPT format and fix the “We Couldn’t Create a New Partition” error in Windows 10, follow these steps:
1. Open the Command Prompt as an administrator by right-clicking the Start button and selecting “Command Prompt (Admin).”
2. In the Command Prompt window, type “diskpart” and press Enter to open the DiskPart utility.
3. Type “list disk” and press Enter to see a list of available disks. Note the number of the disk you want to convert to GPT format.
4. Type “select disk X” (replace X with the disk number from the previous step) and press Enter to select the disk.
5. Type “clean” and press Enter to remove all partitions and volumes from the disk.
6. Type “convert gpt” and press Enter to convert the disk to GPT format.
7. Once the conversion is complete, you can exit the DiskPart utility by typing “exit” and pressing Enter.
8. Close the Command Prompt window and proceed with the Windows installation or partition creation process.
Utilize Third-Party Partition Managers
- Download and install a reliable third-party partition manager software.
- Search online for a reputable third-party partition manager software.
- Download the software from a trusted source or the official website of the software provider.
- Run the installer and follow the on-screen instructions to install the software on your computer.
- Launch the third-party partition manager software.
- Locate the newly installed software in your computer’s list of programs.
- Double-click on the software’s icon or select it and click “Open” to launch the program.
- Identify the problematic hard drive or disk partition.
- Within the third-party partition manager software, you should see a list of available hard drives or disk partitions.
- Review the list and identify the one that is causing the “We Couldn’t Create a New Partition” error.
- Select the problematic hard drive or disk partition.
- Click on the identified hard drive or disk partition to select it within the partition manager software.
- Choose the option to create a new partition.
- Look for an option or button that allows you to create a new partition on the selected hard drive or disk partition.
- Click on the option or button to initiate the process of creating a new partition.
- Follow the on-screen instructions provided by the partition manager software.
- Read and carefully follow the instructions provided by the software to create a new partition on the selected hard drive or disk partition.
- Make sure to provide any necessary information or settings as prompted by the software.
- Complete the partition creation process.
- Wait for the partition manager software to complete the process of creating the new partition.
- Ensure that there are no errors or interruptions during the partition creation.
- Restart your computer.
- Close the partition manager software and any other open programs.
- Click on the “Start” menu, select “Power,” and choose “Restart” to restart your computer.
- Check if the “We Couldn’t Create a New Partition” error is resolved.
- After the computer restarts, try creating a new partition on the previously problematic hard drive or disk partition.
- If the error message no longer appears, then the issue has been resolved.
- If the error persists, you may need to try alternative repair methods or seek further assistance.
FAQs
Why can’t I install Windows on my partition?
You may be unable to install Windows on your partition because your partition style may not be compatible with your BIOS version.
How to create new partition in Windows 10 during installation?
To create a new partition during Windows 10 installation, start by inserting the installation disc and booting your computer from it. Then, press Shift+F10 at the Windows Setup screen to open a command line prompt. If you choose to use the New button to create partitions, it will generate a system partition for an MBR disk.
Why can’t I create a new partition?
You may not be able to create a new partition because Windows may be recognizing the wrong boot device. To resolve this issue, you can change the hard drive sequence and set the USB drive as the first boot device.
Why setup was unable to create a new system partition?
The setup was unable to create a new system partition because the computer’s BIOS is not configured to boot from the correct drive. To resolve this issue, it is necessary to change the boot order in the BIOS and ensure that the correct drive is listed first.

