Having trouble with the MSI Installer on Windows 10? Here’s how to troubleshoot and fix it.
Symptoms of Installer Issues
1. Error messages: One of the most common symptoms of installer issues is encountering error messages during the installation process. These messages can range from generic ones like “Installation failed” to more specific ones that indicate the cause of the issue.
2. Installation freezing or hanging: If the installation process suddenly stops or hangs at a certain point without progressing further, it could be a sign of installer issues. This can be frustrating, especially when you’re unable to complete the installation or uninstallation of a program.
3. Incomplete installations: Another symptom of installer issues is when the installation process completes, but certain components or files are missing or not functioning as expected. This could result in a program not launching properly or showing errors when trying to access certain features.
4. Slow or unresponsive installer: If the installer takes an unusually long time to start or becomes unresponsive during the installation process, it could indicate problems with the installer itself. This can be particularly frustrating when you’re trying to install or uninstall multiple programs.
5. Unexpected system crashes: Installer issues can sometimes cause unexpected system crashes or restarts during the installation process. If you notice your computer crashing or restarting without any apparent reason while installing a program, it’s likely related to installer issues.
6. Missing or corrupted files: Installer issues can lead to missing or corrupted files, which can prevent the successful installation or uninstallation of a program. This can happen due to various reasons, such as interrupted downloads or conflicts with other software.
7. Inability to install or uninstall programs: If you’re unable to install or uninstall programs on your Windows 10 system, it could be a clear indication of installer issues. This can be frustrating, as it limits your ability to manage and customize your software.
If you’re experiencing any of these symptoms, it’s important to troubleshoot and fix the installer issues to ensure smooth installation and uninstallation processes.
Common Error Messages and Their Meanings
| Error Message | Meaning |
|---|---|
| Error 1500: Another installation is in progress | There is already an ongoing installation process which needs to be completed or terminated before starting a new installation. |
| Windows Installer service could not be accessed | The Windows Installer service is not functioning properly or is not running. It needs to be enabled and running for the installation to proceed. |
| Error 1719: Windows Installer service could not be accessed | The Windows Installer service is either disabled or not running. It needs to be enabled and running for the installation to proceed. |
| Internal error occurred during installation | An internal error occurred during the installation process. This could be due to various factors such as corrupt installation files or conflicts with other software. |
| Installation ended prematurely | The installation process was terminated abruptly before completion. This could be due to various factors such as missing files, insufficient permissions, or conflicts with antivirus software. |
| Error 1603: Fatal error during installation | A fatal error occurred during the installation process. This could be due to various factors such as incompatible software, insufficient disk space, or corrupted installation files. |
| MSI Error 2732: Directory Manager not initialized | An error occurred while initializing the directory manager. This could be due to improper installation settings or missing/invalid directory paths. |
| Error 2753: The File ‘filename.exe’ is not marked for installation | The specified file is not marked for installation or is missing. This could be due to incorrect installation settings or missing/corrupted files. |
Verify Administrator Rights
1. Press the “Windows” key and type “cmd” in the search bar.
2. Right-click on “Command Prompt” and select “Run as administrator.”
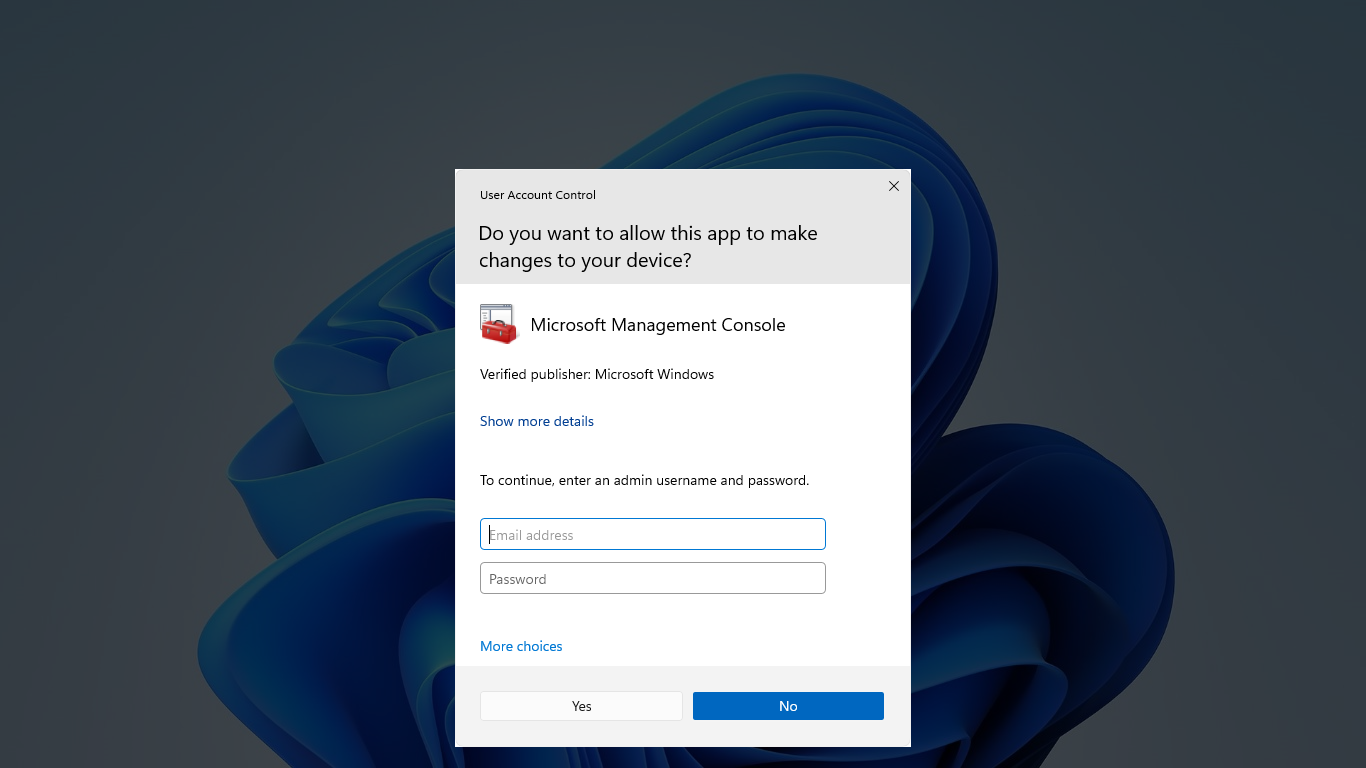
3. A dialog box may appear asking for permission to make changes, click “Yes” to continue.
4. In the Command Prompt window, type “net user administrator” and press Enter.
5. Look for the line that says “Account active” and verify that it says “Yes.” This confirms that you have administrator rights.
If you do not have administrator rights, you will need to log in with an account that has administrative privileges or contact your system administrator for assistance.
It is important to have administrator rights when troubleshooting MSI installer issues on Windows 10. Without these rights, you may encounter errors or limitations when trying to fix installation problems.
By verifying your administrator rights, you ensure that you have the necessary permissions to perform troubleshooting steps, such as modifying system files and accessing the Windows Registry. This will help you resolve any issues with the MSI installer and ensure smooth installation of software or updates.
Remember to always exercise caution when making changes to your operating system, especially when working with administrative privileges. Mistakes can lead to system instability or security vulnerabilities.
If you are still experiencing issues with the MSI installer after verifying your administrator rights, you may need to consider other troubleshooting steps or seek further assistance from Microsoft or other reliable sources.
Solutions for Common MSI Errors
- Perform a System File Check
- Open the Command Prompt as an administrator.
- Type the command sfc /scannow and press Enter.
- Wait for the scan to complete and follow any prompts to fix corrupted system files.
- Reset Windows Store Cache
- Open the Command Prompt as an administrator.
- Type the command wsreset.exe and press Enter.
- Wait for the process to complete and restart your computer.
- Re-register Windows Installer Service
- Open the Command Prompt as an administrator.
- Type the command msiexec /unregister and press Enter.
- Type the command msiexec /regserver and press Enter.
- Restart your computer.
- Check Windows Installer Service Status
- Open the Run dialog box by pressing Windows Key + R.
- Type services.msc and press Enter.
- Locate the Windows Installer service in the list.
- Right-click on it and select Properties.

- Ensure the Startup Type is set to Automatic.
- If the service is not running, click on Start to start it.
- Click OK to save the changes.
- Use Microsoft Program Install and Uninstall Troubleshooter
- Download and run the Microsoft Program Install and Uninstall Troubleshooter tool.
- Follow the on-screen instructions to diagnose and fix MSI installer errors.
Repair Installer Registration

1. Open the Command Prompt as an administrator. To do this, press the Windows key + X and select “Command Prompt (Admin)” from the menu.
2. In the Command Prompt window, type “msiexec /unregister” and press Enter. This will unregister the Windows Installer service.
3. Next, type “msiexec /regserver” and press Enter. This will re-register the Windows Installer service.
4. Close the Command Prompt window and restart your computer.
5. After the restart, try running the MSI installer that was causing issues. It should now work properly.
If the problem persists, you can also try running the Windows Installer Troubleshooter to automatically detect and fix any issues with the installer. Here’s how:
1. Go to the Windows Settings by pressing the Windows key + I.
2. Click on “Update & Security” and then select “Troubleshoot” from the left sidebar.
3. Scroll down and click on “Additional Troubleshooters”.
4. Locate the “Windows Installer” troubleshooter and click on it.
5. Click on “Run the troubleshooter” and follow the on-screen instructions.
The troubleshooter will scan your system for any problems related to the Windows Installer and attempt to fix them.
If none of these methods work, you may need to consider reinstalling the Windows operating system to resolve the issue. Remember to back up your important files before performing a reinstallation.
Note: These steps are specifically for repairing MSI installer issues on Windows 10.
Reinstallation for Troubleshooting
To reinstall the MSI Installer in Windows 10 for troubleshooting purposes, follow these steps:
1. Open the Run command by pressing the Windows key + R on your keyboard.
2. Type “msiexec /unregister” in the Run dialog box and press Enter. This will unregister the MSI Installer.
3. Next, type “msiexec /regserver” in the Run dialog box and press Enter. This will re-register the MSI Installer.
4. Restart your computer to apply the changes.
5. After restarting, try installing or uninstalling the problematic program again to see if the issue has been resolved.
If you continue to encounter errors or issues with the MSI Installer, you may need to consider other troubleshooting steps or seek further assistance from Microsoft support or online forums. Remember to provide specific details about the error message or problem you are experiencing to receive more accurate guidance.
It is worth noting that these steps are specific to Windows 10. If you are using a different version of Windows, such as Windows 7, Windows Vista, or Windows XP, the steps may vary slightly.
System Integrity Verification

To perform System Integrity Verification, follow these steps:
1. Open the Command Prompt as an administrator by pressing **Windows key + X** and selecting **Command Prompt (Admin)**.
2. In the Command Prompt window, type **sfc /scannow** and press **Enter**. This command will initiate the System File Checker tool, which will scan for any corrupted or missing system files.
3. Wait for the scan to complete. This may take some time, so be patient.
4. Once the scan is finished, you will see the results. If any corrupted or missing system files are found, the tool will attempt to repair them automatically.
5. After the repair process is complete, restart your computer to apply the changes.
Performing System Integrity Verification can help resolve MSI Installer issues on Windows 10 by ensuring the integrity of the system files. This can prevent installation errors, conflicts, and other issues that may arise during software installation or uninstallation.
Remember, it is important to run this command as an administrator to have the necessary permissions to scan and repair system files. Additionally, make sure to restart your computer after the repair process is complete to fully apply the changes.
Advanced Registry Adjustments
1. Before making any changes to the Windows Registry, it is important to create a backup to avoid any potential issues. To do this, open the Registry Editor by pressing the Windows key + R, typing “regedit” and pressing Enter. Then, go to File > Export and save a copy of the registry to a safe location.
2. If you are experiencing issues with the MSI Installer not working properly, you can try resetting its settings by deleting certain registry keys. To do this, navigate to the following path in the Registry Editor: HKEY_LOCAL_MACHINE\SYSTEM\CurrentControlSet\Services\MSIServer. Right-click on the MSIServer key and select Delete. Confirm the action and restart your computer.
3. If the above step didn’t resolve the issue, you can try re-registering the Windows Installer service. Open the Command Prompt as an administrator by pressing the Windows key + X and selecting “Command Prompt (Admin)”. Then, type the following command and press Enter: msiexec /unregister. After that, type: msiexec /regserver and press Enter again. Restart your computer and check if the MSI Installer is functioning correctly.
4. In some cases, a specific registry entry called “PendingFileRenameOperations” can cause issues with the MSI Installer. To fix this, open the Registry Editor and navigate to the following path: HKEY_LOCAL_MACHINE\SYSTEM\CurrentControlSet\Control\Session Manager. Look for the “PendingFileRenameOperations” entry and delete it. Restart your computer and see if the problem persists.
FAQs
How to install MSI installer in Windows 10?
To install an MSI installer in Windows 10, you can follow these steps:
1. Right-click on the Windows Start button.
2. Choose Command Prompt (Admin).
3. In the command prompt, enter “msiexec /i “path\setup.msi”” (replace “path” with the actual file path of the MSI installer).
4. Press Enter to initiate the installation process.
Why can’t i install MSI files?
You cannot install MSI files because you need administrative privileges.
How do I fix a corrupted Windows Installer?
To fix a corrupted Windows Installer, you can manually restart the Windows Installer service. Open the “Run” dialog (Win + R), type `services.msc`, find “Windows Installer” in the list, right-click it, and choose “Restart.” Reinstalling the Windows Installer service can also be a helpful solution.
How do I fix my MSI problem?
To fix your MSI problem, you can try the following steps:
1. Open the command prompt.
2. Type “MSIExec” and press Enter.
3. If there are no error messages, the MSI engine is working fine.
4. If you receive an error message, search for the exact error message on search engines like Bing or Google.
5. Look for troubleshooting information specific to your issue to find a solution.
