In this guide, I will provide a step-by-step tutorial on how to download and install the glew32dll file.
File Description and Library Overview
File Description:
The glew32dll file is a dynamic-link library (DLL) that is used to provide OpenGL extension management for applications. It contains functions and resources that enable software to access and utilize OpenGL extensions.
Library Overview:
The glew32dll library is an essential component for developers working with OpenGL. It provides a wide range of functions and resources that simplify the management and usage of OpenGL extensions. By using this library, developers can easily access and utilize the latest features and functionality offered by OpenGL.
Installation and Setup:
To download and install glew32dll, follow these steps:
1. Visit the official website of the glew32dll library.
2. Locate the download section and choose the appropriate version for your operating system (e.g., Windows).
3. Click on the download link and save the file to your computer.
4. Once the download is complete, navigate to the downloaded file and extract its contents using a program like WinZip or any other ZIP file extractor.
5. Locate the extracted file and copy it to the system folder of your operating system (e.g., C:\Windows\System32 for Windows).
6. Register the glew32dll file in the Windows Registry by opening the command prompt as an administrator and running the command: regsvr32 “path\to\glew32dll”. Replace “path\to\glew32dll” with the actual path to the file.
7. After successful registration, the glew32dll library is ready to be used in your applications.
Note: It is important to ensure the integrity of the downloaded file by checking its hash value using algorithms like SHA-1 or MD5. This helps prevent the installation of malware or corrupted files.
Usage and Integration:
To use the glew32dll library in your application, you need to include it in your source code and link it during compilation. Here is a sample code snippet demonstrating the integration:
“`
#include
int main() {
// Initialize GLEW
glewInit();
// Use OpenGL functions and extensions
// …
return 0;
}
“`
Make sure to link the glew32dll library during the compilation process to resolve any function calls and dependencies.
Frequently Asked Questions (FAQ):
Q: What is the purpose of glew32dll?
A: The glew32dll library provides OpenGL extension management for applications, allowing them to access and utilize the latest features and functionality offered by OpenGL.
Q: How do I install glew32dll?
A: Follow the download and installation steps mentioned above to install glew32dll on your system.
Q: Can I use glew32dll on other operating systems?
A: The glew32dll library is primarily designed for Windows operating systems. However, there are alternative libraries available for other platforms like GLFW, which provide similar functionality.
Q: What should I do if I encounter errors or issues with glew32dll?
A: If you face any errors or issues with glew32dll, make sure to check the installation steps and verify that the library is properly integrated into your application. Additionally, consult the documentation or seek assistance from a system administrator or developer community for further troubleshooting.
Setup and Installation Guide
1. Downloading the glew32dll file:
– Visit a trusted website that offers the glew32dll file for download.
– Locate the download link and click on it to start the download.
– Choose a location on your computer where you want to save the file.
2. Extracting the downloaded file:
– Once the download is complete, locate the downloaded ZIP file on your computer.
– Right-click on the ZIP file and select “Extract All” from the context menu.
– Choose a destination folder where you want to extract the contents of the ZIP file.
3. Placing the glew32dll file in the correct directory:
– Open the extracted folder and locate the glew32dll file.
– Right-click on the glew32dll file and select “Copy” from the context menu.
– Navigate to the directory where your application or software is installed.
– Paste the glew32dll file into the same directory as your application or software.
4. Registering the glew32dll file (optional):
– Open the Command Prompt as an administrator.
– Type “regsvr32 glew32dll” and press Enter.
– You should see a confirmation message indicating that the registration was successful.
5. Testing the installation:
– Open your application or software that requires the glew32dll file.
– If the installation was successful, the application should now run without any errors related to the glew32dll file.
6. Troubleshooting common installation issues:
– If you encounter any error messages during the installation process, try restarting your computer and repeating the steps.
– Make sure you have downloaded the correct version of the glew32dll file for your operating system.
– Scan the downloaded file for malware using an antivirus program before extracting and installing it.
Project Building Essentials
To successfully download and install glew32dll for your project, follow these essential steps:
1. Download the glew32dll library:
– Visit the official website or a trusted source to download the glew32dll library file.
– Look for the appropriate version compatible with your operating system (e.g., Windows).
– Click on the download link and save the file to your computer.
2. Extract the downloaded file:
– Locate the downloaded file (typically in your “Downloads” folder).
– Right-click on the file and select “Extract” or “Extract Here” to unzip its contents.
– Choose a suitable destination folder to extract the files.
3. Locate the project directory:
– Identify the directory where your project’s source code is located.
– Open the project directory in a file explorer.
4. Copy the glew32dll files:
– Navigate to the directory where you extracted the glew32dll files.
– Select all the DLL files (e.g., glew32.dll) and copy them.
– Paste the copied files into your project directory.
5. Link the library to your project:
– Open your project’s source code in a code editor.
– Locate the necessary section or file where you configure project dependencies.
– Add the necessary linking instructions to include the glew32dll library.
– Save the changes to your project file.
6. Build and compile your project:
– Open your project in your preferred development environment.
– Build and compile your project to ensure that it includes the glew32dll library correctly.
– Resolve any compilation errors or linker issues if encountered.
7. Test your project:
– Run your project to verify that the glew32dll library is functioning as expected.
– Test the relevant functionality that relies on glew32dll.
– If any issues arise, double-check your installation steps and project configuration.
By following these concise steps, you should be able to successfully download and install the glew32dll library for your project. Remember to consult the documentation or seek additional resources if you encounter any difficulties or need further assistance.
Note: It is important to ensure that you download the glew32dll library from a trusted source to avoid any potential security risks. Always verify the file’s integrity using methods like SHA-1 or MD5 checksums.
If you have any specific questions or encounter common issues during the installation, refer to the FAQ section or seek guidance from a knowledgeable community or system administrator.
Available Extensions and Compatibility
| Extension | Compatibility |
|---|---|
| OpenGL | Windows, macOS, Linux |
| DirectX | Windows |
| Vulkan | Windows, macOS, Linux |
| OpenCL | Windows, macOS, Linux |
| GLX | Linux |
| WGL | Windows |
| EGL | Windows, macOS, Linux |
Recent Updates and Useful Resources
- Newest version: glew32dll 2.2.0 released
- Enhanced compatibility with Windows 10
- Improved performance and bug fixes
- Step-by-step guide on how to download and install glew32dll
- Updated documentation with comprehensive examples
- Compatibility with OpenGL 4.6
- Useful troubleshooting tips to resolve common installation issues
- Added support for Visual Studio 2019
- FAQ section addressing common user queries
- Updated changelog highlighting recent modifications
- Recommended system requirements for optimal performance
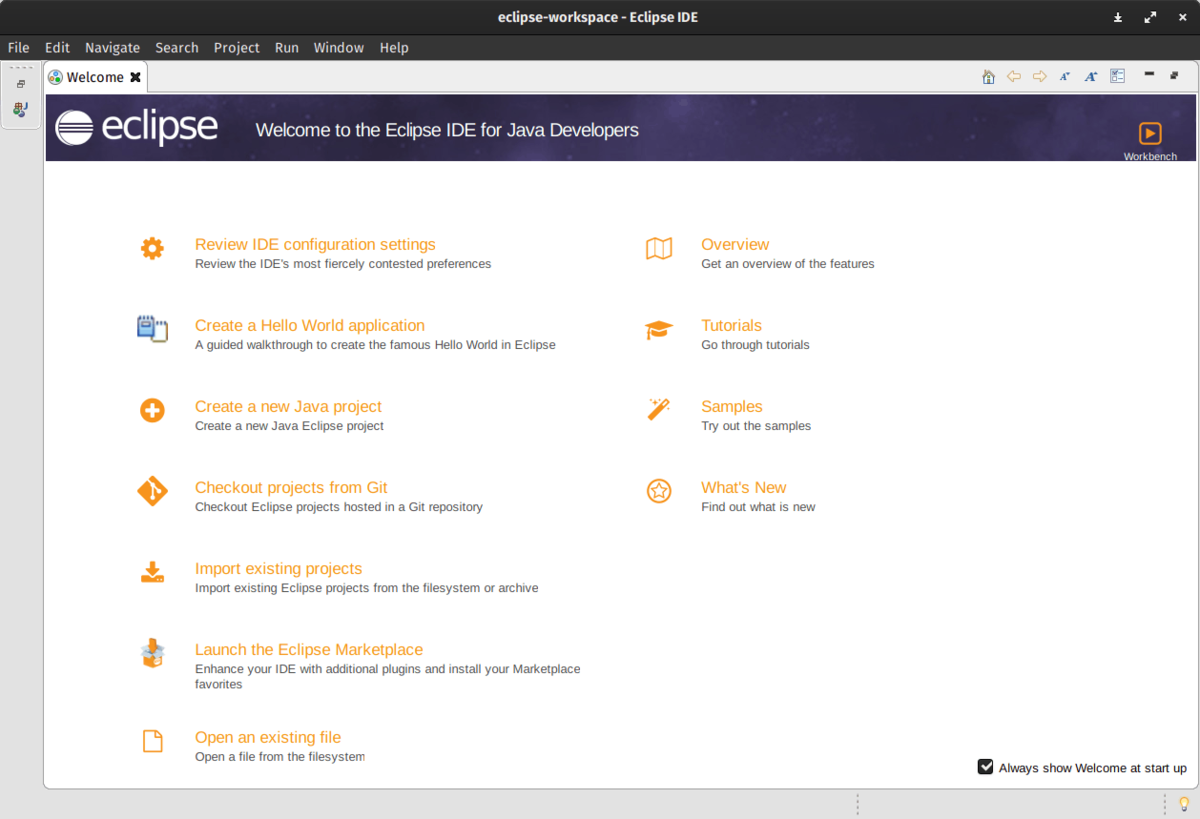
- Integration with popular IDEs such as Visual Studio Code and Eclipse
- Community forums for discussions and sharing experiences
- Added support for macOS Mojave
- Video tutorial demonstrating the installation process
- Enhanced error handling and stability
FAQ
How to install GLEW in Visual Studio Code?
To install GLEW in Visual Studio Code, follow these steps:
1. Copy the path of the include folder (e.g., SomeOtherStuff\glew-VER.NUM\include\GL).
2. Open your project in Visual Studio Code.
3. Go to Project Properties -> Configuration Properties -> C/C++ -> General -> Additional Include Directories.
4. Paste the copied path into the Additional Include Directories field, ensuring that the path is correct.
Where do I put the glew32 dll?
To properly address the issue, you should either reinstall the glew32.dll file in the Windows system folder or place it in the installation folder of the program or game that requires it.
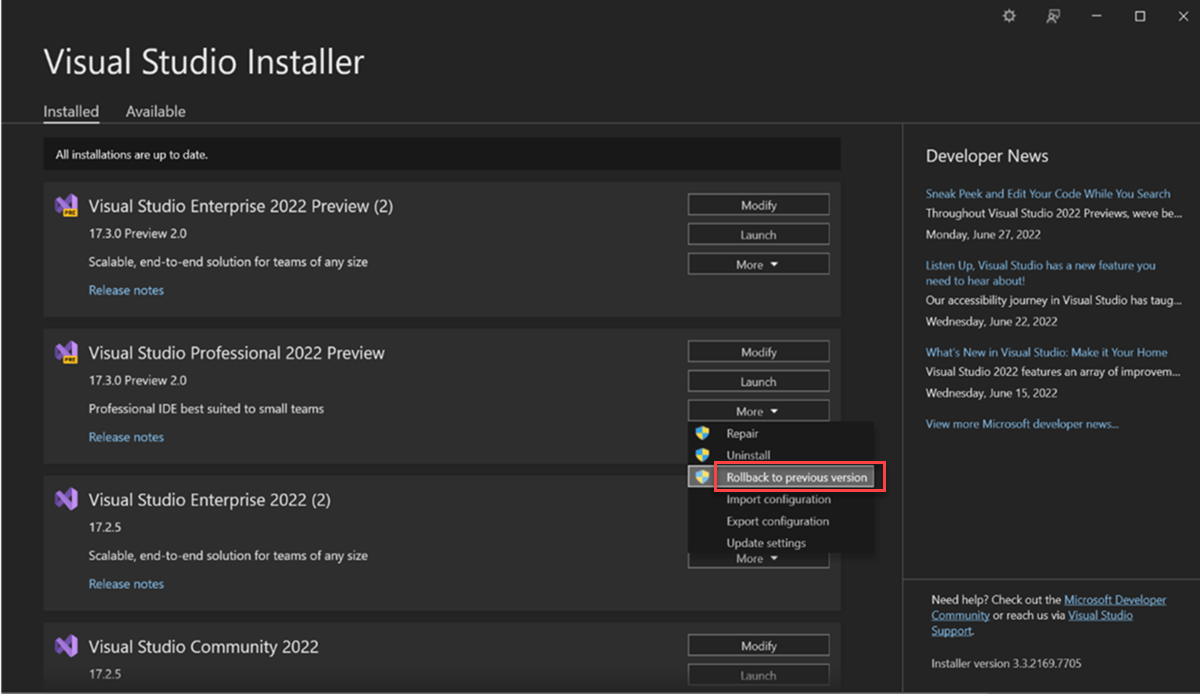
How do I fix opengl32 dll?
To fix opengl32.dll, you can try restoring or reinstalling the program that utilizes opengl32.dll. Additionally, updating the drivers for hardware devices associated with opengl32.dll might help. If errors occurred after updating a specific driver, consider rolling back to a previous version.
