Having a PC stuck on the “Preparing to Configure Windows” screen can be frustrating. In this article, I will present five effective methods to fix this issue.
Reasons for Configuration Delays

Configuration delays on a PC can be frustrating, but understanding the reasons behind them can help you find a solution. Here are some common causes of configuration delays and five methods to fix them.
1. Software conflicts: Conflicting programs or drivers can cause configuration delays. Use the MSConfig tool to disable unnecessary startup programs and services.
2. Windows Update issues: Windows Update may fail or get stuck during the configuration process. Restart your PC and try running Windows Update again. If the issue persists, run the System Restore tool to revert your system to a previous working state.
3. Data corruption: Corrupted system files can lead to configuration delays. Open the Command Prompt as an administrator and run the sfc /scannow command to scan and repair any corrupted files.
4. Hardware problems: Faulty hardware, such as a failing hard drive or faulty memory, can cause configuration delays. Check your hardware components for any signs of damage or malfunction. If necessary, consult a professional for repairs or replacements.
5. Insufficient resources: A lack of available resources, such as disk space or memory, can slow down the configuration process. Free up disk space by deleting unnecessary files and uninstalling unused programs. Consider upgrading your hardware if your PC consistently struggles with resource-intensive tasks.
By addressing these common issues, you can resolve configuration delays and get your PC back to normal operation.
Effective Solutions and Fixes
- Press the Windows key on your keyboard or click on the Start button to open the Start menu.
- Click on the Power button.
- Select Restart from the options.
Method 2: Use Safe Mode
- Restart your PC.
- Press the F8 key repeatedly while your computer is restarting.
- Use the arrow keys to select Safe Mode and press Enter.
- Once in Safe Mode, press the Windows key and R at the same time to open the Run dialog box.
- Type “msconfig” in the Run dialog box and press Enter.
- In the System Configuration window, go to the Services tab.
- Check the box next to “Hide all Microsoft services“.
- Click on Disable all to disable non-Microsoft services.
- Go to the Startup tab.
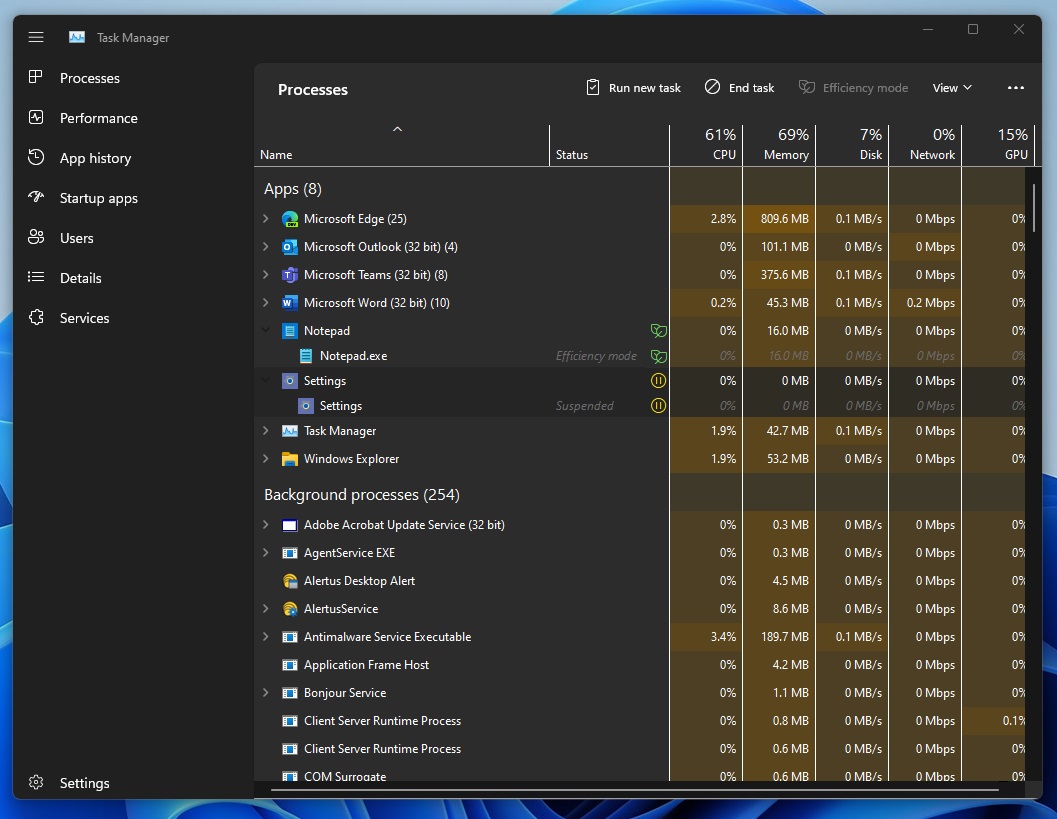
- Click on Open Task Manager to open the Task Manager.
- In the Task Manager, go to the Startup tab.
- Disable any suspicious or unnecessary startup programs by right-clicking on them and selecting Disable.
- Close the Task Manager and go back to the System Configuration window.
- Click on Apply and then OK.

- Restart your PC normally and check if the problem is resolved.
Method 3: Run System File Checker
- Press the Windows key and R at the same time to open the Run dialog box.
- Type “cmd” in the Run dialog box and press Ctrl+Shift+Enter to open Command Prompt as an administrator.
- In the Command Prompt window, type “sfc /scannow” and press Enter.
- Wait for the scan to complete.
- If any corrupt or missing system files are found, the System File Checker will attempt to repair them automatically.
- Restart your PC and check if the issue is fixed.
Method 4: Use System Restore
- Press the Windows key on your keyboard or click on the Start button to open the Start menu.
- Type “System Restore” in the search bar and select Create a restore point from the results.
- In the System Properties window, click on the System Restore button.
- Click on Next and select a restore point from the list.
- Follow the on-screen instructions to restore your system to the selected restore point.
- Once the restoration process is complete, check if the problem is resolved.
Method 5: Reset Windows Update Components
- Press the Windows key and R at the same time to open the Run dialog box.
- Type “cmd” in the Run dialog box and press Ctrl+Shift+Enter to open Command Prompt as an administrator.
- In the Command Prompt window, type the following commands one by one, pressing Enter after each command:
- net stop wuauserv
- net stop cryptSvc
- net stop bits
- net stop msiserver
- Type the following commands to rename the SoftwareDistribution and Catroot2 folders:
- ren C:\Windows\SoftwareDistribution SoftwareDistribution.old
- ren C:\Windows\System32\catroot2 Catroot2.old
- Type the following commands to restart the services:
- net start wuauserv
- net start cryptSvc
- net start bits
- net start msiserver
- Close the Command Prompt window and restart your PC.
- Check if the issue is resolved.
Advanced Repair Techniques

1. Perform a System Restore: Boot your PC in Safe Mode and use System Restore to revert your system to a previous working state. This can help resolve any software conflicts causing the issue.
2. Run System File Checker: Open Command Prompt as an administrator and type “sfc /scannow“. This will scan your system files for any corruption and automatically repair them.
3. Use Windows Update Troubleshooter: Download and run the Windows Update Troubleshooter tool from the official Microsoft website. This will detect and fix any issues with the Windows Update service.
4. Reset Windows Update Components: Open Command Prompt as an administrator and type the following commands, pressing Enter after each one: “net stop wuauserv“, “net stop cryptSvc“, “net stop bits“, “net stop msiserver“. Then, type “ren C:\Windows\SoftwareDistribution SoftwareDistribution.old” and “ren C:\Windows\System32\catroot2 catroot2.old“. Finally, restart the Windows Update service by typing “net start wuauserv“, “net start cryptSvc“, “net start bits“, “net start msiserver“.
5. Perform a Clean Boot: Open the System Configuration tool by typing “msconfig” in the Run dialog box. Go to the Services tab and check the “Hide all Microsoft services” box. Then, click “Disable all” and go to the Startup tab to disable all startup items. Restart your PC and see if the issue is resolved.
Essential Maintenance Tips
- Restart your PC: Sometimes, a simple restart can resolve the issue of your PC being stuck on “Preparing to Configure Windows.”
- Disconnect external devices: Unplug any external devices such as USB drives or printers, as they may interfere with the configuration process.
- Perform a System Restore: Use the System Restore feature to revert your PC back to a previous working state and fix any configuration errors.
- Run Windows Update Troubleshooter: Use the built-in Windows Update Troubleshooter tool to automatically detect and fix any issues related to Windows updates.
- Manually reset Windows Update components: Resetting the Windows Update components can help resolve any underlying issues that are causing the configuration process to hang.
F.A.Qs
Why is my PC stuck on preparing Windows?
Your PC may be stuck on preparing Windows due to a system error or a conflict with a recent update. One potential solution is to boot into Safe Mode by repeatedly pressing the F11 key until you see the “Choose an option” screen. From there, you can restart your computer and hopefully resolve the issue.
How do I restart preparing Windows stuck?
To restart preparing Windows stuck, you can try the following steps:
– Wait for some time.
– Shut down your PC and power reset it.
– Perform a system restore or system image recovery.
– Run System File Checker.
– Perform Windows Startup Repair.
– Uninstall recently installed updates in Safe Mode.
How long should preparing to configure Windows take?
Preparing to configure Windows can take around 2 hours, but it may take longer if updates get stuck at a certain point.

