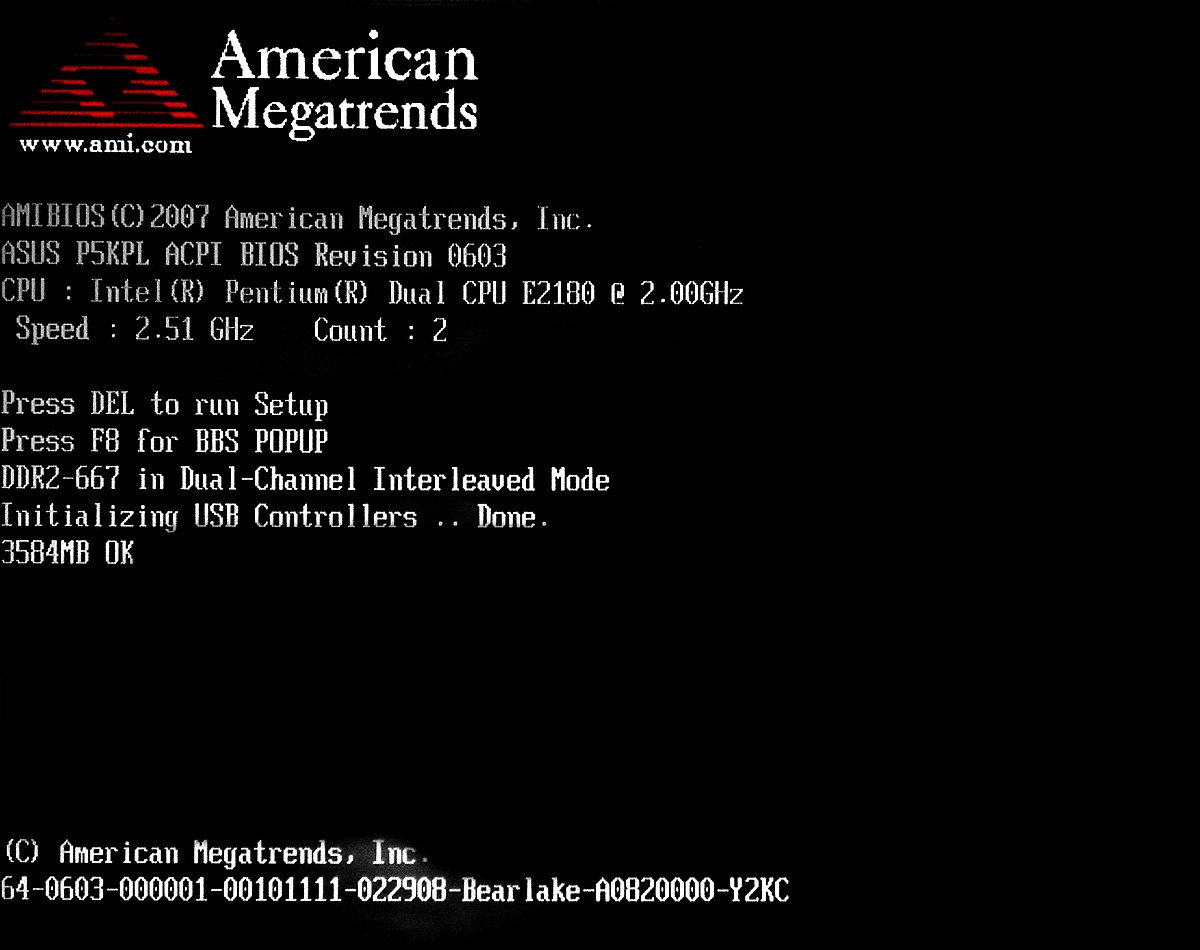
In this article, I will discuss the issue of “Fix Bootrec Fixboot Access Denied Windows 7” and provide potential solutions to resolve it.
Understanding the Root Causes of Boot Issues

One common cause of boot issues is a corrupt or missing boot sector on the system drive. The boot sector contains essential information about the boot process and if it gets damaged, the system may fail to start. To fix this issue, you can use the “bootrec” command in the Windows Recovery Environment.
To resolve the “Fixboot Access Denied” error in Windows 7, follow these steps:
1. Boot your computer using a Windows 7 installation disk or a Windows 7 USB flash drive.
2. When prompted, choose your language settings and click “Next.”
3. Click “Repair your computer” at the bottom left corner of the screen.
4. Select the operating system you want to repair and click “Next.”
5. In the System Recovery Options, choose “Command Prompt.”
Once you’re in the Command Prompt, follow these steps:
1. Type bootrec /fixboot and press Enter. This command repairs the boot sector of the system drive.
2. If you receive an “Access Denied” error message, it may be due to the drive being locked. In this case, you can try running the following commands:
– Type diskpart and press Enter to open the DiskPart utility.
– Type list volume and press Enter to see a list of all volumes on your system.
– Identify the volume that corresponds to your system drive (usually labeled “System Reserved” or “Windows”) and note its volume number.
– Type select volume X (replace X with the volume number of your system drive) and press Enter.
– Type attributes volume clear readonly and press Enter to clear the read-only attribute on the volume.
– Type exit and press Enter to exit the DiskPart utility.
– Retry the bootrec /fixboot command.
By following these steps, you should be able to fix the “Fixboot Access Denied” error in Windows 7 and restore the boot sector on your system drive. Afterward, restart your computer and check if the boot issue has been resolved.
It’s important to note that these instructions specifically apply to Windows 7. If you’re using a different version of Windows, such as Windows 10 or Windows XP, the process may vary slightly. Additionally, if you’re not comfortable working with command-line tools, it’s recommended to seek assistance from a knowledgeable professional or use third-party software like EaseUS Partition Master to fix boot-related issues.
Repair Methods for Bootloader and Boot Files

Repairing the bootloader and boot files in Windows 7 can be done using the Fixboot command in the Bootrec tool. However, sometimes you may encounter an “Access Denied” error while trying to fix the boot issues. Here are some methods to resolve this issue:
1. Run Command Prompt as an Administrator: To fix the “Access Denied” error, you need administrative privileges. Right-click on the Command Prompt shortcut and select “Run as administrator”. This should give you the necessary permissions to execute the Fixboot command.
2. Use the Windows Recovery Environment: If running Command Prompt as an administrator doesn’t solve the issue, you can try using the Windows Recovery Environment. Boot your computer using a Windows installation disc or a bootable USB drive. Select your language preferences and click “Next”. Then choose “Repair your computer” and select the operating system you want to repair. In the System Recovery Options, click on “Command Prompt” to open a Command Prompt window with administrative privileges. From there, you can execute the Fixboot command.
3. Utilize Third-Party Software: If the above methods don’t work, you can try using third-party software like EaseUS Partition Master. This software provides an easy-to-use interface to repair boot issues. You can create a bootable disk or USB flash drive using EaseUS Partition Master and boot your computer from it. Then, select the “Bootable disk” option and follow the on-screen instructions to repair the bootloader and boot files.
Running Startup Repair and CHKDSK for Boot Errors
Running Startup Repair and CHKDSK can help fix boot errors in Windows 7.
To start, you will need a Windows 7 installation disc or a system repair disc.
1. Insert the Windows 7 installation disc or system repair disc into your computer’s CD/DVD drive.
2. Restart your computer and boot from the disc. You may need to change the boot order in the BIOS settings to prioritize the disc drive.
3. When prompted, select your language preferences and click “Next.”
4. Click on “Repair your computer.”
5. Select the operating system you want to repair (usually Windows 7) and click “Next.”
6. Click on “Startup Repair” and wait for the process to complete. This may take some time.
7. If the Startup Repair does not fix the issue, go back to the System Recovery Options menu and select “Command Prompt.”
8. In the Command Prompt, type chkdsk C: /f /r and press Enter. This will run CHKDSK on the C: drive to check for and fix any errors.
9. If prompted, type “Y” to schedule a CHKDSK scan at the next system restart.
10. Restart your computer and let CHKDSK scan and fix any errors.
Running Startup Repair and CHKDSK can help resolve boot errors in Windows 7 by repairing any corrupted system files or fixing disk errors.
Recovering Your PC with Backups and Reinstallation Options
- Insert the Windows installation disc or a system repair disc into your computer.
- Restart your computer and boot from the disc.
- Select your language preferences and click “Next”.
- Click “Repair your computer”.
- Select the operating system you want to repair and click “Next”.
- Click “Startup Repair”.
- Follow the on-screen instructions to complete the repair process.
Method 2: Use Command Prompt
- Insert the Windows installation disc or a system repair disc into your computer.
- Restart your computer and boot from the disc.
- Select your language preferences and click “Next”.
- Click “Repair your computer”.
- Select the operating system you want to repair and click “Next”.
- Click “Command Prompt”.
- Type the command bootrec /fixboot and press Enter.
- If you receive an “Access is denied” error, proceed to the next method.
Method 3: Use Diskpart
- Insert the Windows installation disc or a system repair disc into your computer.
- Restart your computer and boot from the disc.
- Select your language preferences and click “Next”.
- Click “Repair your computer”.
- Select the operating system you want to repair and click “Next”.
- Click “Command Prompt”.
- Type the command diskpart and press Enter.
- Type the command list volume and press Enter.
- Identify the volume that contains the Windows installation and note its volume number.
- Type the command select volume X (replace X with the volume number) and press Enter.
- Type the command active and press Enter.
- Type the command exit and press Enter.
- Type the command bootrec /fixboot and press Enter.
- If you receive an “Access is denied” error, proceed to the next method.
Frequently Asked Questions
How to FixBoot Windows 7?
To fix the boot issue in Windows 7, follow these steps:
1. Insert the Windows 7 installation media into your computer and boot it.
2. During the boot process, press F8 to access the Advanced Boot Options menu.
3. Choose your preferred language, time, currency, keyboard, and input method, then click Next.
4. Click on “Repair your computer” option.
What does Bootrec FixBoot do?
Bootrec FixBoot writes a new boot sector to the system partition that is compatible with Windows Vista or Windows 7. It is used when the boot sector has been replaced with a nonstandard Windows Vista or Windows 7 boot sector.
How do I run FixBoot on Windows 10?
To run FixBoot on Windows 10, boot into setup and access Command Prompt. Then, enter the command “BOOTREC /FIXMBR” and press “ENTER”.

