Having trouble running CCleaner on Windows 10? Here are some fixes.
Temporarily Disable Third-Party Antivirus and Firewall
1. Open your antivirus software and navigate to its settings or preferences.
2. Locate the option to temporarily disable the antivirus protection.
3. Click on the option to disable the antivirus software.
4. Confirm any prompts or warnings that may appear.
5. Next, you need to disable the firewall. Open the Windows Security app by searching for it in the Windows 10 Start menu.
6. In the Windows Security app, click on “Firewall & network protection.”
7. Click on “Private network” or “Public network,” depending on your network type.
8. Toggle the switch to turn off the Windows Firewall.
9. Now that both your antivirus and firewall are disabled, try running CCleaner again to see if the issue is resolved.
Remove Entries from Registry Editor

To remove entries from the Registry Editor in Windows 10 and fix the issue of CCleaner not running, follow these steps:
1. Press the Windows key + R to open the Run command.
2. Type “regedit” and press Enter to open the Registry Editor.
3. In the Registry Editor, navigate to the following location: HKEY_CURRENT_USER\Software\Piriform\CCleaner.
4. Right-click on the entry you want to remove and select “Delete” from the context menu.
5. Confirm the deletion by clicking “Yes” in the dialog box that appears.
6. Repeat steps 4 and 5 for any other entries you want to remove.
7. Close the Registry Editor.
8. Restart your computer to apply the changes.
By removing these entries from the Registry Editor, you can resolve issues with CCleaner not running on Windows 10. This troubleshooting step can help fix any registry-related conflicts or errors that may be preventing CCleaner from functioning properly.
Run with Administrative Privileges
To troubleshoot CCleaner not running on Windows 10, you can try running the program with administrative privileges. This can help resolve any permission issues that may be preventing CCleaner from running properly.
Here’s how to run CCleaner with administrative privileges:
1. Locate the CCleaner shortcut on your desktop or in the Start menu.
2. Right-click on the shortcut and select “Run as administrator” from the context menu. If you don’t see this option, hold the Shift key and right-click on the shortcut again, then choose “Run as different user” and enter your administrator credentials.
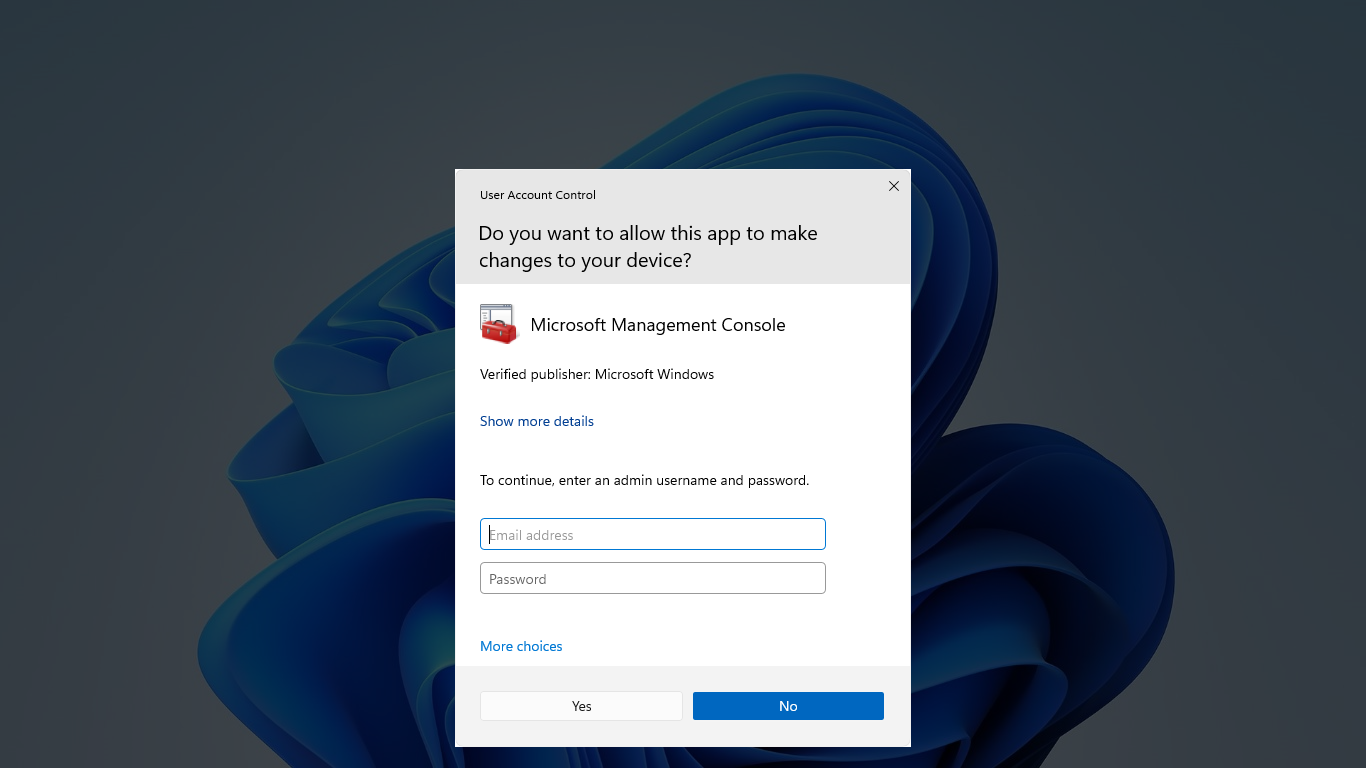
3. If prompted by User Account Control, click “Yes” to grant CCleaner administrative privileges.
4. CCleaner should now launch with administrative privileges, allowing it to perform tasks that require elevated permissions.
By running CCleaner with administrative privileges, you can ensure that the program has the necessary access to clean up your system effectively. This can help resolve any issues you may be experiencing with CCleaner not running on Windows 10.
Remember to always use caution when running programs with administrative privileges and only grant these privileges to programs you trust.
Keep in mind that if you’re still experiencing issues with CCleaner not running, there may be other factors at play. It’s always a good idea to check for any conflicting antivirus or firewall software, clear your web browsing history, and ensure that you have the latest version of CCleaner installed.
Clear Temporary Files and Update
- Open File Explorer by pressing Win+E.
- Navigate to the C: drive.
- Click on Windows folder.
- Locate and double-click on the Temp folder.
- Press Ctrl+A to select all files and folders in the folder.
- Press Shift+Delete to permanently delete the selected files and folders.
Repair Method 2: Update CCleaner
- Open CCleaner on your Windows 10 computer.
- Click on the Options tab in the left-hand menu.
- Click on About to check for updates.
- If an update is available, click on the Check for updates button.
- Follow the on-screen instructions to download and install the update.
FAQs
How do I get rid of CCleaner virus?
To get rid of the CCleaner virus, you should start by uninstalling CCleaner from your system. Then, run an antivirus or anti-malware scan to detect and remove any remaining malware. Finally, set up reliable malware protection to prevent future infections.
Is CCleaner compatible with Windows 10?
CCleaner is compatible with Windows 10 but may experience occasional issues, such as receiving a “This app can’t run on this PC” message.
Why can’t i run CCleaner on Windows 10?
You may not be able to run CCleaner on Windows 10 due to the following reasons:
1. Third-party antivirus programs or Windows Firewall may be blocking CCleaner. Try temporarily disabling them before running CCleaner.
2. There may be issues with the CCleaner entry keys in the Registry Editor. Remove them to resolve any conflicts.
3. Run CCleaner as an administrator to ensure proper permissions and access.
4. Check the file permissions to ensure that CCleaner has the necessary rights to run on your Windows 10 system.
Why is CCleaner not working?
CCleaner may not be working due to a possible conflict with another app on your PC. To resolve this issue, you can try clean-booting Windows 11/10, which disables most third-party startup programs and services that could be causing the problem.
