Welcome to the world of Dell Windows 7 PC Support & Downloads.
Welcome Introduction
Welcome to Dell Windows 7 PC Support & Downloads. Here, you will find all the necessary resources to assist you with your Dell Windows 7 PC. Whether you need support or are looking for software and driver downloads, we have you covered.
If you are experiencing any issues with your Dell Windows 7 PC, our support section is here to help. Click here to access our support resources, including troubleshooting guides and FAQs. Our experienced technicians are available to assist you with any technical problems you may encounter.
In addition to support, we also provide a wide range of software and driver downloads for your Dell Windows 7 PC. Click here to access our downloads section, where you can find the latest drivers and software updates for your system. Keeping your PC up to date is essential for optimal performance and security.
Dell Technologies is a leader in the technology industry, known for its reliable and innovative products. With our Dell Windows 7 PC Support & Downloads, we aim to provide you with the best possible assistance for your Dell Windows 7 PC.
Please feel free to explore our support and downloads sections to find the information you need. If you have any further questions, do not hesitate to reach out to our dedicated support team. We are here to ensure your Dell Windows 7 PC runs smoothly and efficiently.
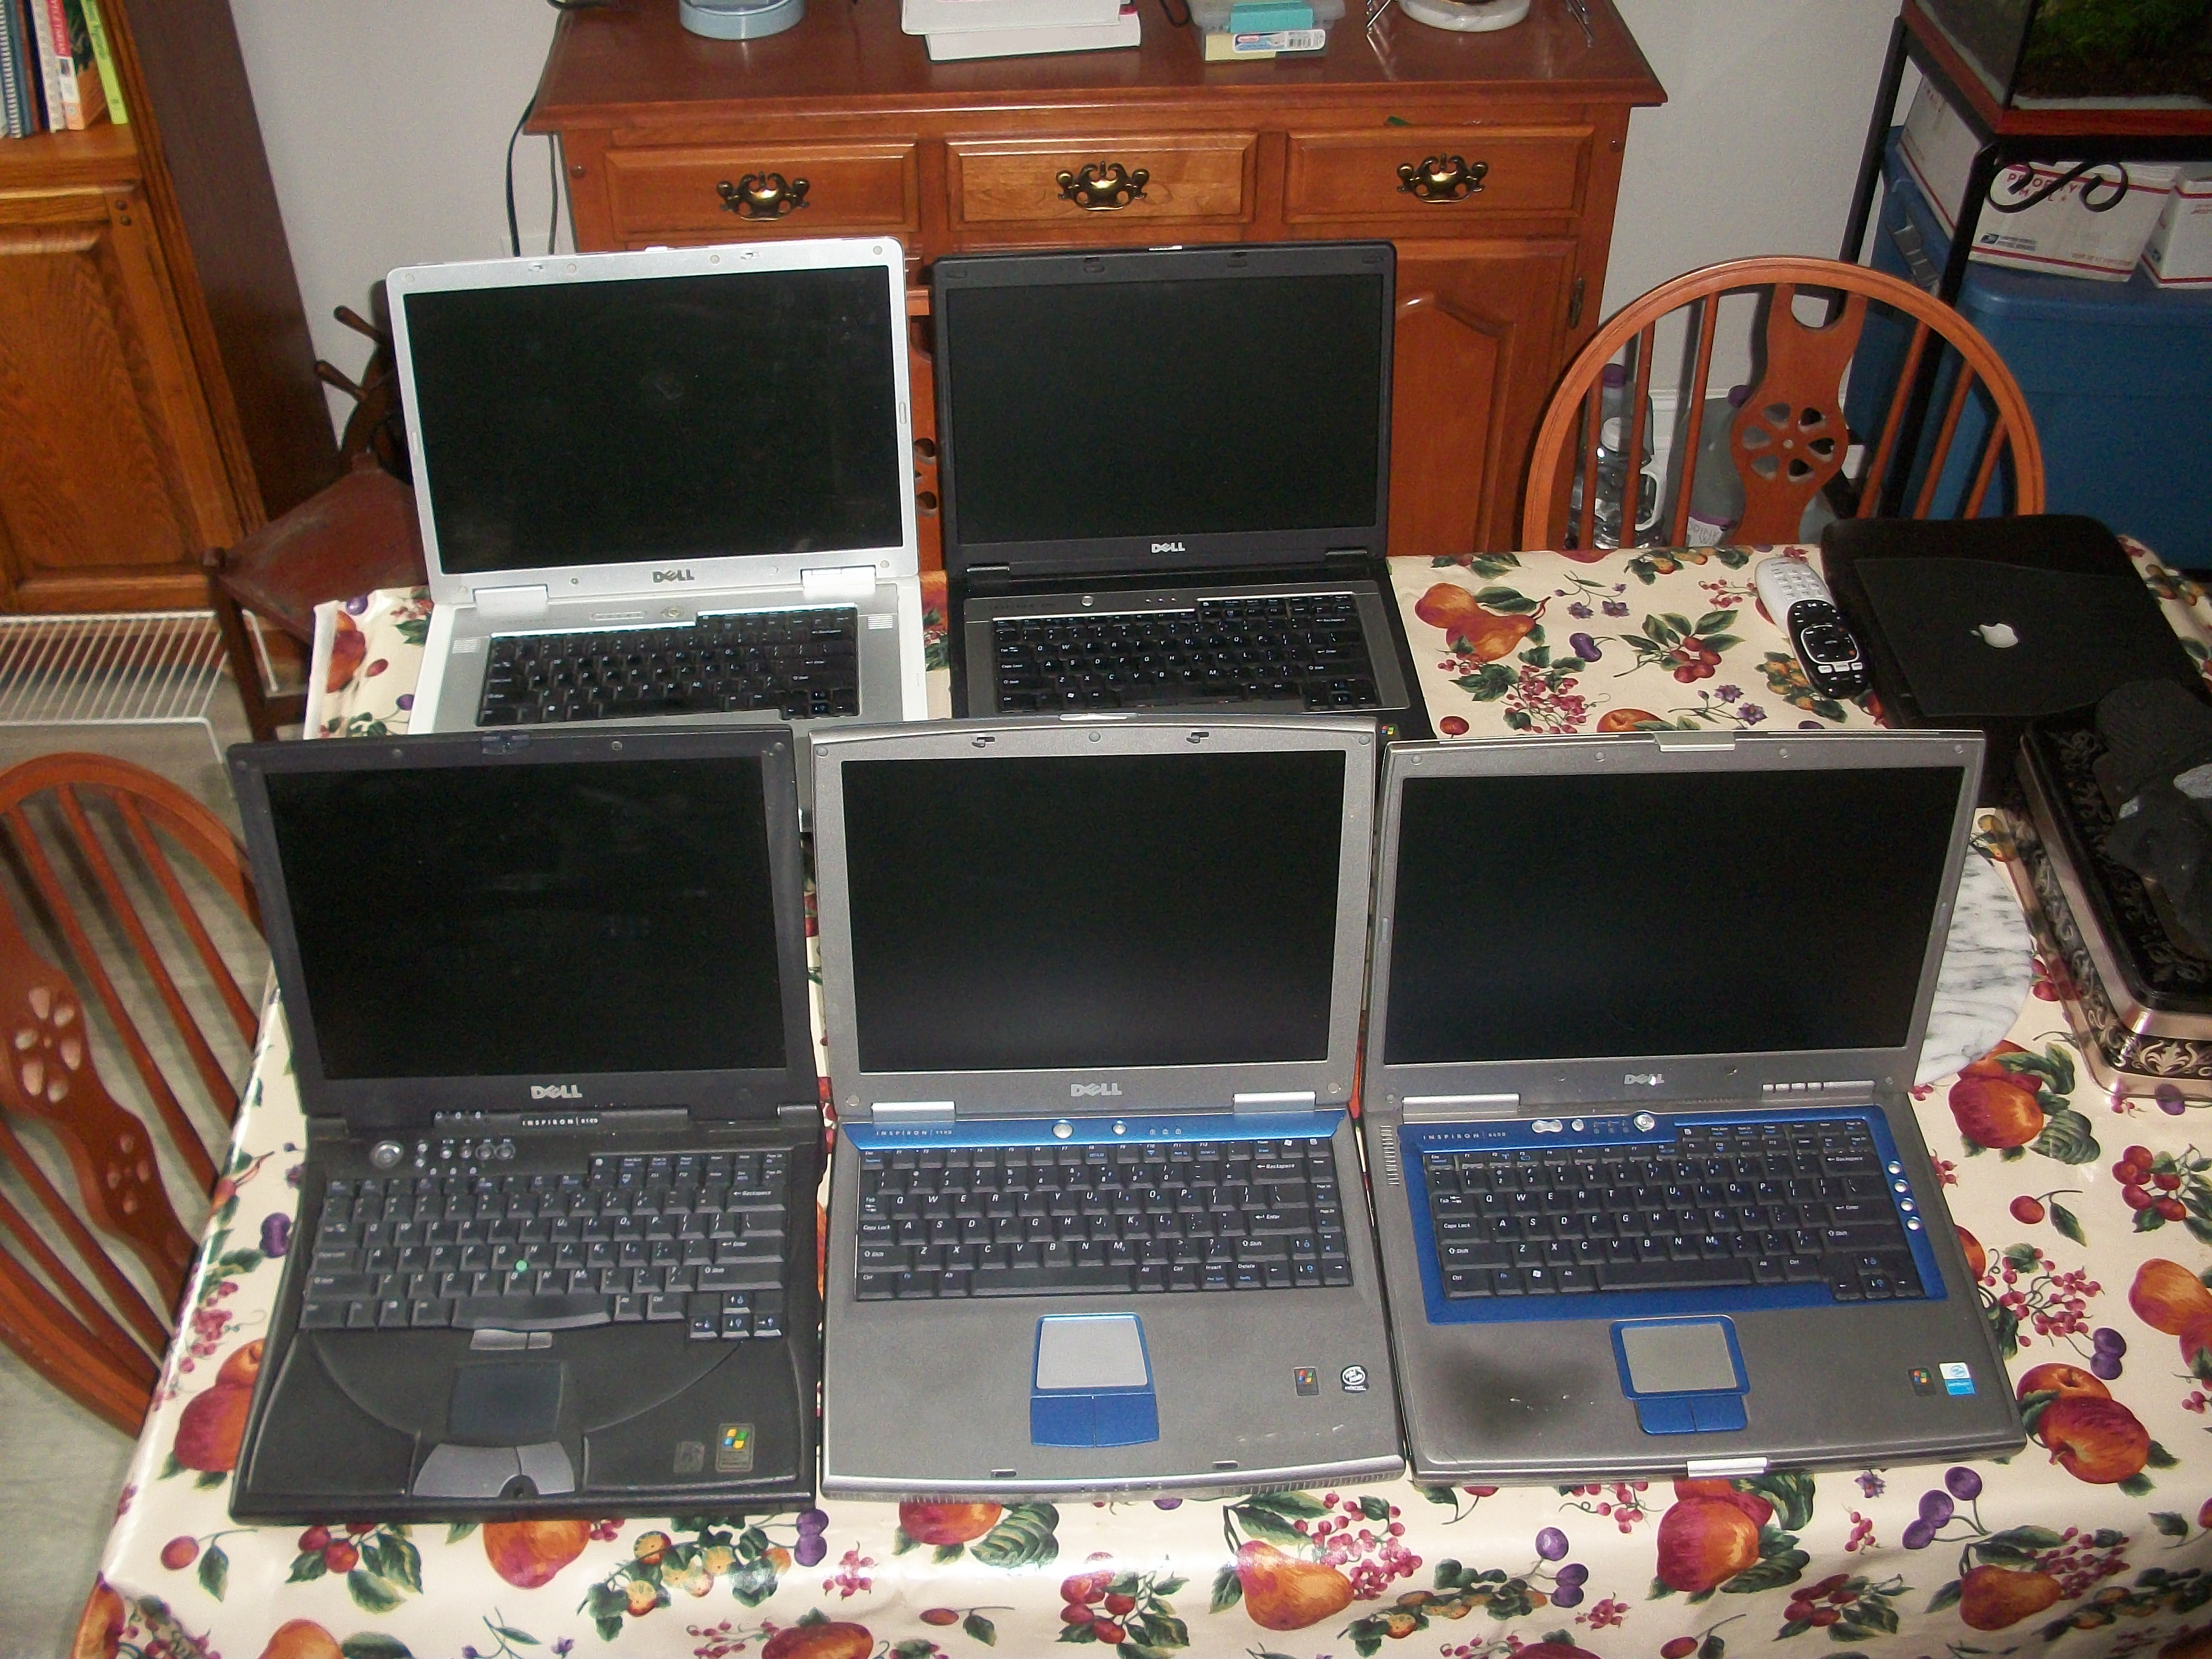
Buying Options: Auction and Direct Purchase
- Auction: Bid on a Dell Windows 7 PC from various online auction platforms.
- Direct Purchase: Buy a Dell Windows 7 PC directly from Dell or authorized retailers.
- Consider the condition of the PC, ensuring it meets your requirements.
- Compare prices: Evaluate different sellers or auction listings to find the best deal.
- Check the specifications and compatibility of the PC with your needs.
- Read reviews: Look for feedback from other buyers to gauge the reliability and performance of the PC.
- Confirm warranty information with the seller to ensure post-purchase support.
- Check for software updates and drivers: Visit Dell’s official website for Windows 7 PC support and downloads.

- Ensure the PC comes with necessary accessories and peripherals.
Customization Choices for OptiPlex PCs
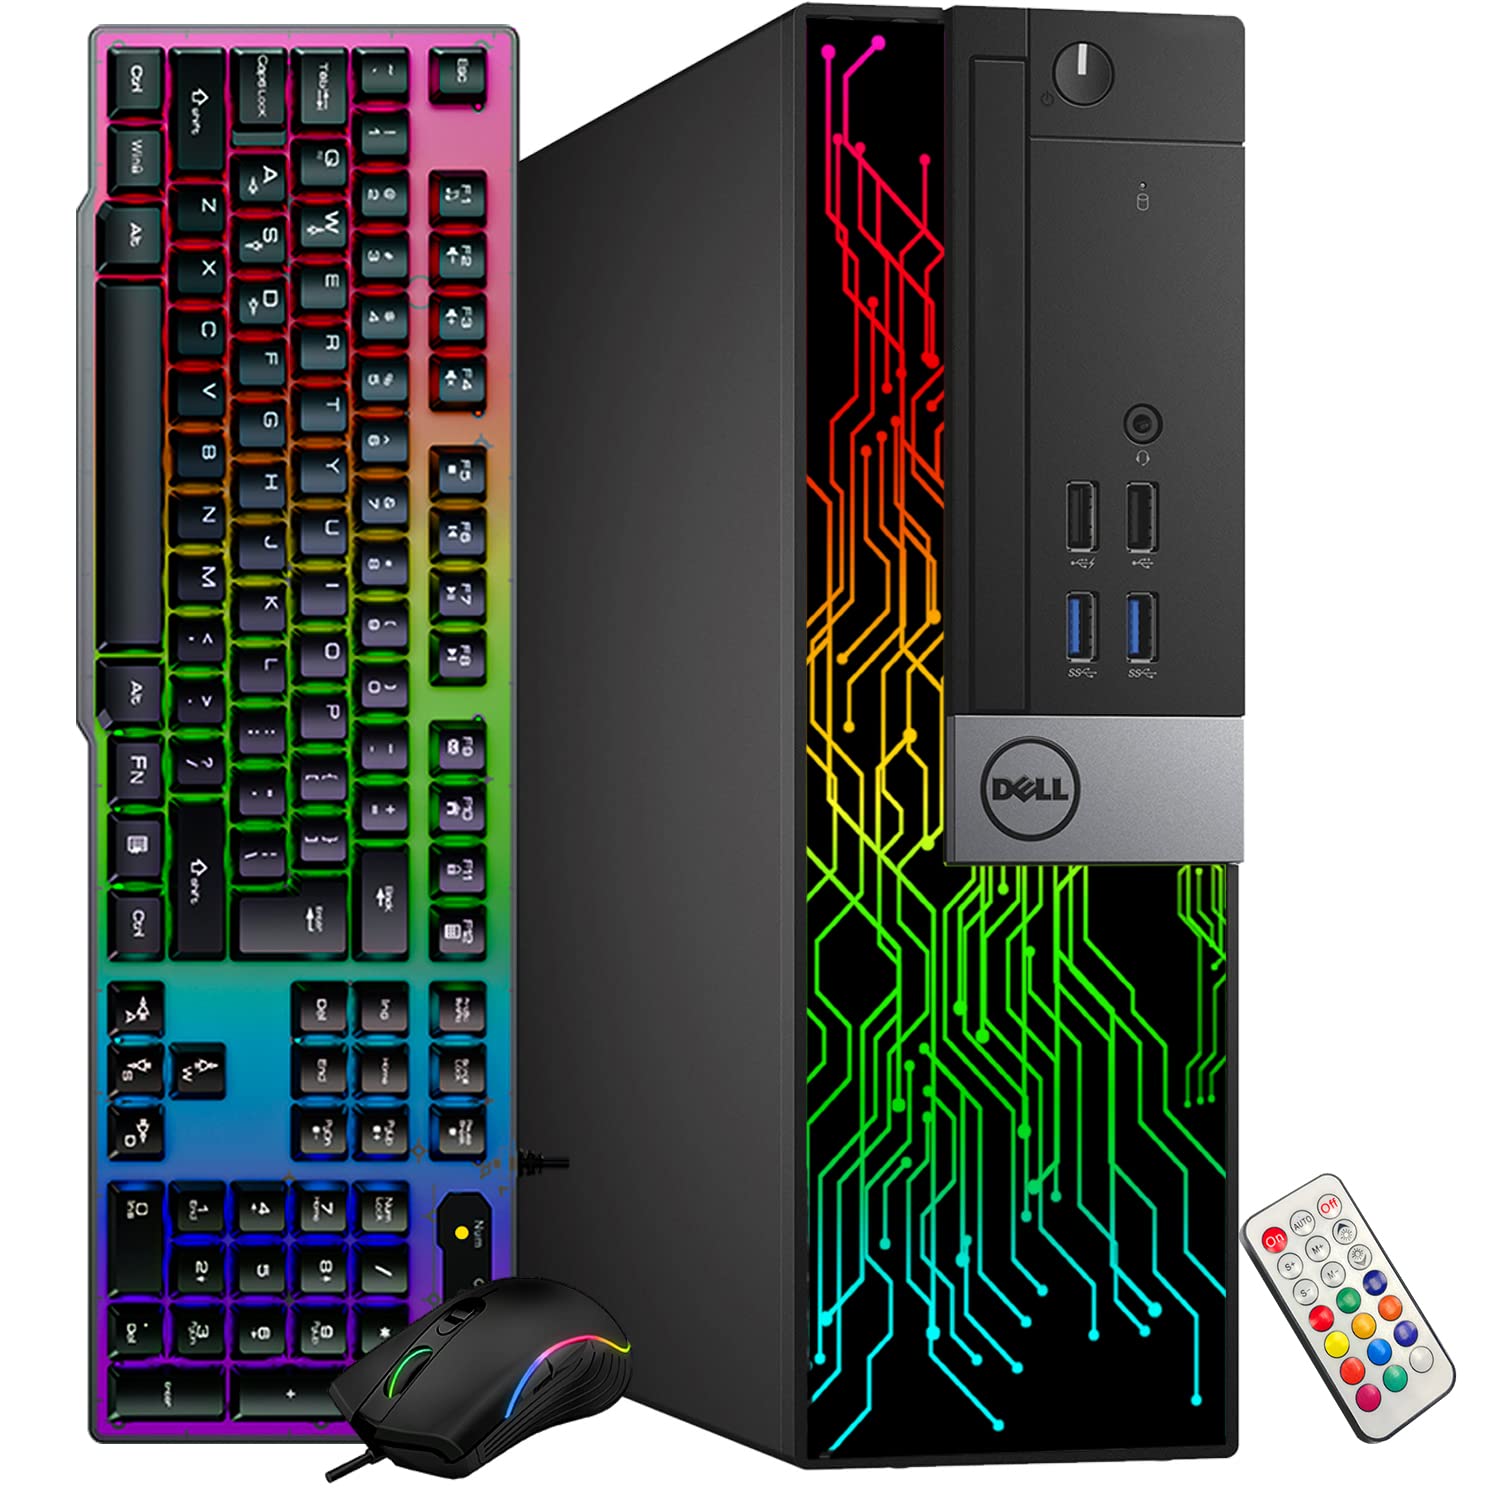
When it comes to customizing your OptiPlex PC, Dell offers a range of options to meet your specific needs. Whether you’re looking for increased processing power, more storage capacity, or specialized graphics capabilities, you can tailor your OptiPlex to your exact requirements.
Processor: Choose from a variety of Intel processors to ensure optimal performance for your tasks. From the entry-level Intel Core i3 to the high-end Intel Core i9, there’s a processor that suits your needs.
Memory: OptiPlex PCs can be configured with different memory capacities to handle your multitasking demands. Upgrade to higher memory options for smoother performance when running multiple applications simultaneously.
Storage: Select the storage option that best suits your requirements. Opt for a traditional hard drive for ample storage space or choose a solid-state drive (SSD) for faster boot times and improved overall performance.
Graphics: If you rely on graphics-intensive applications or gaming, consider upgrading the graphics card on your OptiPlex PC. This allows for smoother visuals and enhanced performance in demanding tasks.
Form Factor: Dell offers different form factors for OptiPlex PCs, including Mini Tower, Small Form Factor, and Micro. Choose the one that fits your workspace and requirements.
Operating System: OptiPlex PCs come preloaded with Windows 10, but if you prefer Windows 7 for compatibility reasons, Dell provides support and downloads for Windows 7 on OptiPlex PCs.
Whether you need a powerful workstation for complex tasks or a compact PC for limited space, Dell’s customization choices for OptiPlex PCs ensure that you get the right configuration to meet your needs. Explore the options available and create a PC that works best for you.
Detailed Listings: Core i5 and i7 Models
| Model | Processor | RAM | Storage |
|---|---|---|---|
| Dell XPS 13 | Intel Core i5-1035G1 | 8GB | 256GB SSD |
| Dell XPS 15 | Intel Core i7-10750H | 16GB | 512GB SSD |
| Dell Inspiron 14 | Intel Core i5-1135G7 | 8GB | 512GB SSD |
| Dell Inspiron 15 | Intel Core i7-1165G7 | 16GB | 1TB SSD |
Agilent Applications on OptiPlex Computers
To support Agilent applications on OptiPlex computers, Dell offers comprehensive Windows 7 PC support and downloads. Whether you are a researcher, scientist, or engineer, Dell understands the importance of seamless compatibility between Agilent software and your OptiPlex workstation.
To get started, visit the Dell website and navigate to the Windows 7 PC support section. Here, you will find a range of resources including drivers, software updates, and troubleshooting guides specifically tailored for OptiPlex computers running on Windows 7.
When downloading Agilent applications onto your OptiPlex, it is crucial to follow the installation instructions carefully. Start by ensuring that your computer meets the minimum system requirements for the specific Agilent software you are using. This information can usually be found in the software documentation or on the Agilent website.
Once you have verified compatibility, download the required Agilent software from the official Agilent website or trusted sources. Before installation, it is recommended to disable any antivirus or firewall software that may interfere with the installation process.
During installation, be sure to:
– Close any other applications running on your OptiPlex to avoid conflicts.
– Follow the prompts and select the appropriate options for your needs.
– Restart your computer if prompted to complete the installation.
If you encounter any issues during the installation or while using Agilent applications on your OptiPlex, Dell offers comprehensive customer support. You can reach out to Dell’s technical support team via phone, email, or live chat for immediate assistance.
OptiPlex and Inspiron Selections
- Check for driver updates
- Go to the Dell Support website
- Enter your OptiPlex or Inspiron model number
- Click on “Drivers and Downloads”
- Download and install any available driver updates
- Run hardware diagnostics
- Restart your computer and press the F12 key repeatedly during startup
- Select “Diagnostics” from the boot menu
- Follow the on-screen instructions to run the hardware diagnostics
- Note any errors or issues detected

- Perform a system restore
- Click on the Start menu
- Type “system restore” in the search bar and press Enter
- Select “System Restore” from the search results
- Choose a restore point prior to the issue occurring
- Follow the on-screen instructions to complete the system restore process
- Reinstall Windows 7
- Back up all your important files and data
- Insert the Windows 7 installation disc into your computer
- Restart your computer and press any key to boot from the disc
- Follow the on-screen instructions to reinstall Windows 7
- Reinstall any necessary drivers and software after the installation is complete
Features of XPS Gaming Desktops
The XPS Gaming Desktops from Dell offer a range of impressive features for gamers. These desktops are specifically designed to deliver an exceptional gaming experience with powerful performance and stunning visuals.
One of the standout features of the XPS Gaming Desktops is their high-performance processors. Powered by Intel Core processors, these desktops can handle even the most demanding games and applications with ease. Whether you’re playing the latest AAA titles or running resource-intensive software, the XPS Gaming Desktops won’t let you down.
In addition to powerful processors, the XPS Gaming Desktops also come with ample storage options. With the ability to support multiple hard drives and SSDs, you can store all your games, media, and files without worrying about running out of space. Plus, with Dell Technologies and Dell EMC, you can trust that your data will be secure and protected.
Another noteworthy feature of the XPS Gaming Desktops is their stunning graphics capabilities. Equipped with NVIDIA GeForce graphics cards, these desktops can deliver lifelike visuals and smooth gameplay. Whether you’re exploring vast open worlds or engaging in intense multiplayer battles, the XPS Gaming Desktops will immerse you in the action.
Moreover, the XPS Gaming Desktops come with customizable options. You can choose the specifications and components that best suit your gaming needs. From the amount of RAM to the type of storage, you have the flexibility to create a desktop that’s tailored to your preferences.
To ensure you have the latest drivers and software for your XPS Gaming Desktop, Dell offers comprehensive support and downloads. Visit the Dell website and navigate to the support section to access the latest drivers, firmware, and software updates for your XPS Gaming Desktop. With Dell’s support, you can keep your desktop running smoothly and optimize its performance for the best gaming experience.
Restoring Windows 7: A Step-by-Step Guide
Restoring Windows 7 on your Dell PC is a straightforward process that can be done in a few simple steps. Follow this guide to get your computer back to its original state.
Step 1: Start by backing up your important files and data to an external storage device. This will ensure that you don’t lose any important information during the restoration process.
Step 2: Restart your Dell PC and press the F8 key repeatedly as it starts up. This will bring up the Advanced Boot Options menu.
Step 3: Use the arrow keys to select “Repair Your Computer” and press Enter. This will launch the System Recovery Options.
Step 4: Select your language preferences and click “Next” to continue.
Step 5: Choose the operating system you want to repair (in this case, Windows 7) and click “Next”.
Step 6: On the System Recovery Options screen, select “Dell DataSafe Restore and Emergency Backup” and click “Next”.
Step 7: Follow the on-screen instructions to choose the type of restoration you want to perform. You can either restore your computer to its factory settings or choose a specific restore point.
Step 8: Once you’ve made your selection, click “Next” and then “Yes” to start the restoration process.
Step 9: Wait for the restoration process to complete. This may take some time, so be patient.
Step 10: Once the restoration is finished, your Dell PC will restart and Windows 7 will be restored to its original state.
Remember to reinstall any necessary software and update your drivers after the restoration process is complete.
If you have any further questions or need additional assistance, please refer to the Dell EMC website or contact their customer support.
System Restore Strategies Inside Windows 7
– How to access System Restore in Windows 7
– Creating a restore point
– Restoring your computer to an earlier date
– Using advanced options in System Restore
– Troubleshooting common issues with System Restore
In Windows 7, you have access to a built-in feature called System Restore that can help you undo changes made to your computer and restore it to a previous working state. This can be particularly useful if you encounter issues with your Dell Windows 7 PC.
To access System Restore:
1. Click on the Start button and type “System Restore” in the search bar.
2. Click on the “System Restore” option that appears in the search results.
Creating a restore point:
1. Once in System Restore, click on the “Create a restore point” option.
2. Follow the prompts to give your restore point a name and create it.
Restoring your computer to an earlier date:
1. In System Restore, click on the “Restore my computer to an earlier time” option.
2. Select a restore point from the list and click “Next”.
3. Follow the prompts to complete the restoration process.
Using advanced options in System Restore:
1. In System Restore, click on the “Choose a different restore point” option.
2. Select a restore point and click on the “Scan for affected programs” button to see a list of programs that will be affected by the restoration.
3. You can also click on the “Show more restore points” checkbox to see additional restore points.
Troubleshooting common issues with System Restore:
– If you encounter errors while trying to create a restore point, try disabling your antivirus temporarily and try again.
– If you are unable to restore your computer to an earlier date, try using a different restore point.
– If System Restore is not working at all, you may need to check if it has been disabled or if there are any system errors that need to be fixed.
Installing Essential Dell Drivers
To install essential Dell drivers on your Windows 7 PC, follow these steps:
1. Visit the Dell Support website and navigate to the Drivers & Downloads section.
2. Enter your PC’s Service Tag or select your product from the list.
3. Select your operating system, which in this case is Windows 7.
4. Locate the drivers you need, such as chipset, graphics, audio, or network drivers.
5. Click on the download button for each driver to start the download process.
6. Once the download is complete, locate the downloaded files on your PC.
7. Double-click on each file to initiate the installation process.
8. Follow the on-screen prompts to complete the installation for each driver.
9. Restart your PC to apply the changes and ensure the drivers are properly installed.
Updates and Reinstallations: Applications and Data
![]()
To keep your Dell Windows 7 PC running smoothly, it’s important to stay updated with the latest applications and reinstall any necessary data. Here are some helpful steps to guide you through the process:
1. Check for Updates: Regularly check for updates for your applications and operating system. This ensures that you have the latest features and security patches. You can do this by going to the “Control Panel” and selecting “Windows Update.”
2. Update Applications: Visit the official websites of your installed applications and check for any available updates. Download and install them to keep your applications running optimally.
3. Reinstall Applications: If you’re experiencing issues with a specific application, you may need to reinstall it. First, uninstall the problematic application through the “Control Panel” and then download the latest version from the official website. Install the application and follow the prompts to complete the process.
4. Backup Data: Before reinstalling applications, it’s essential to back up your data to prevent any loss. You can do this by copying your important files and folders to an external storage device or using a cloud-based backup service.
5. Restore Data: After reinstalling the applications, restore your data from the backup. Simply copy the files and folders back to their original locations or use the backup service’s restore function.
FAQs
How old is Dell Windows 7?
Dell Windows 7 is an operating system that was released to manufacturing on July 22, 2009, and became generally available on October 22, 2009.
Does Dell have Windows 7?
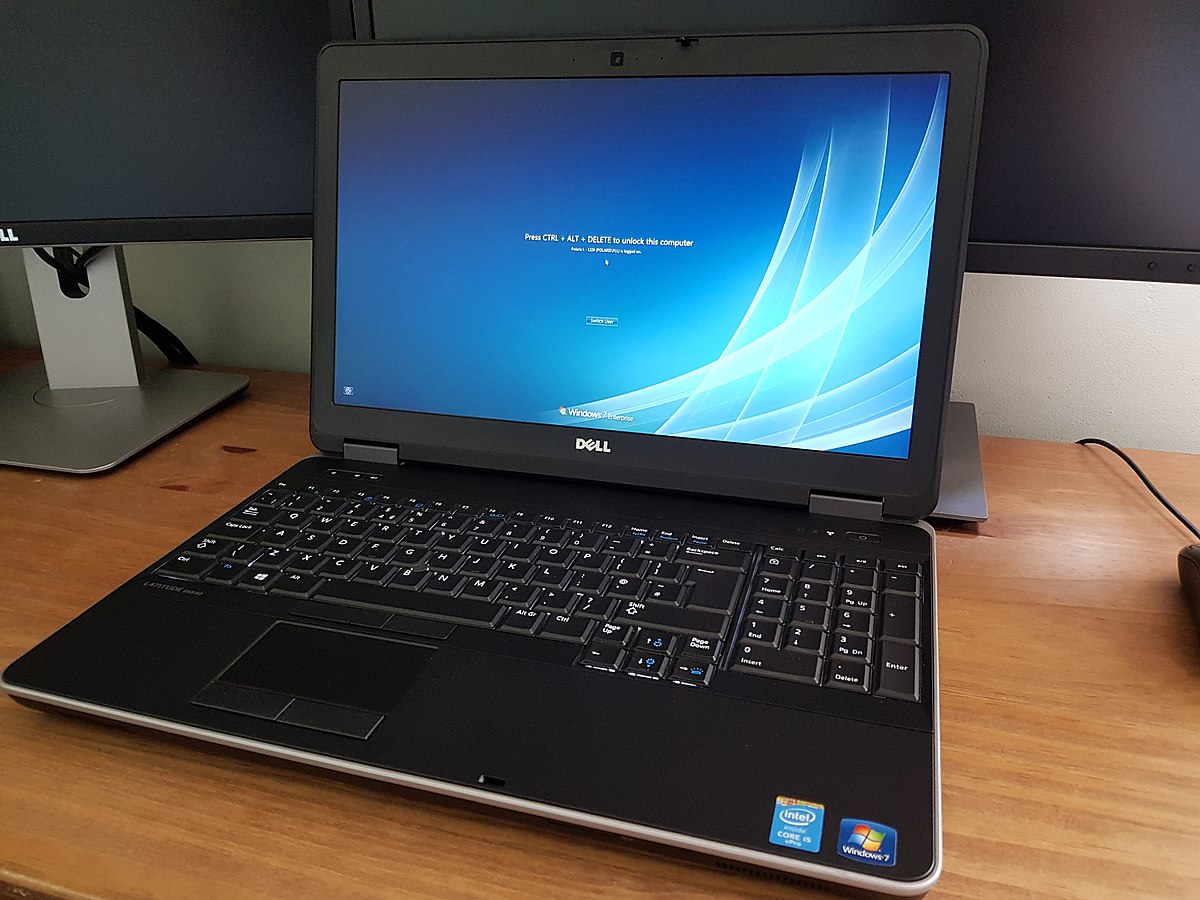
Yes, Dell has laptops with Windows 7 available, such as the Dell Inspiron Windows 7 and Dell Latitude Windows 7 models.
Can I update my Dell Windows 7 to Windows 10?
Yes, you can update your Dell Windows 7 to Windows 10. Dell has confirmed that if your computer model is listed, your Windows 7 or Windows 8.1 drivers are compatible with Windows 10. If any driver does not work correctly, Windows Update will install an updated driver during the upgrade process.
Why is my Dell Windows 7 so slow?
Your Dell Windows 7 may be slow because of having too many open programs and running for extended periods of time, leading to a potential shortage of RAM. To optimize performance, it is recommended to shut down your computer when not in use and restart it at least once per week, as suggested by Dell Technologies.
