Having trouble with your HDMI port on your PC? This article provides troubleshooting tips and fixes for resolving the issue.
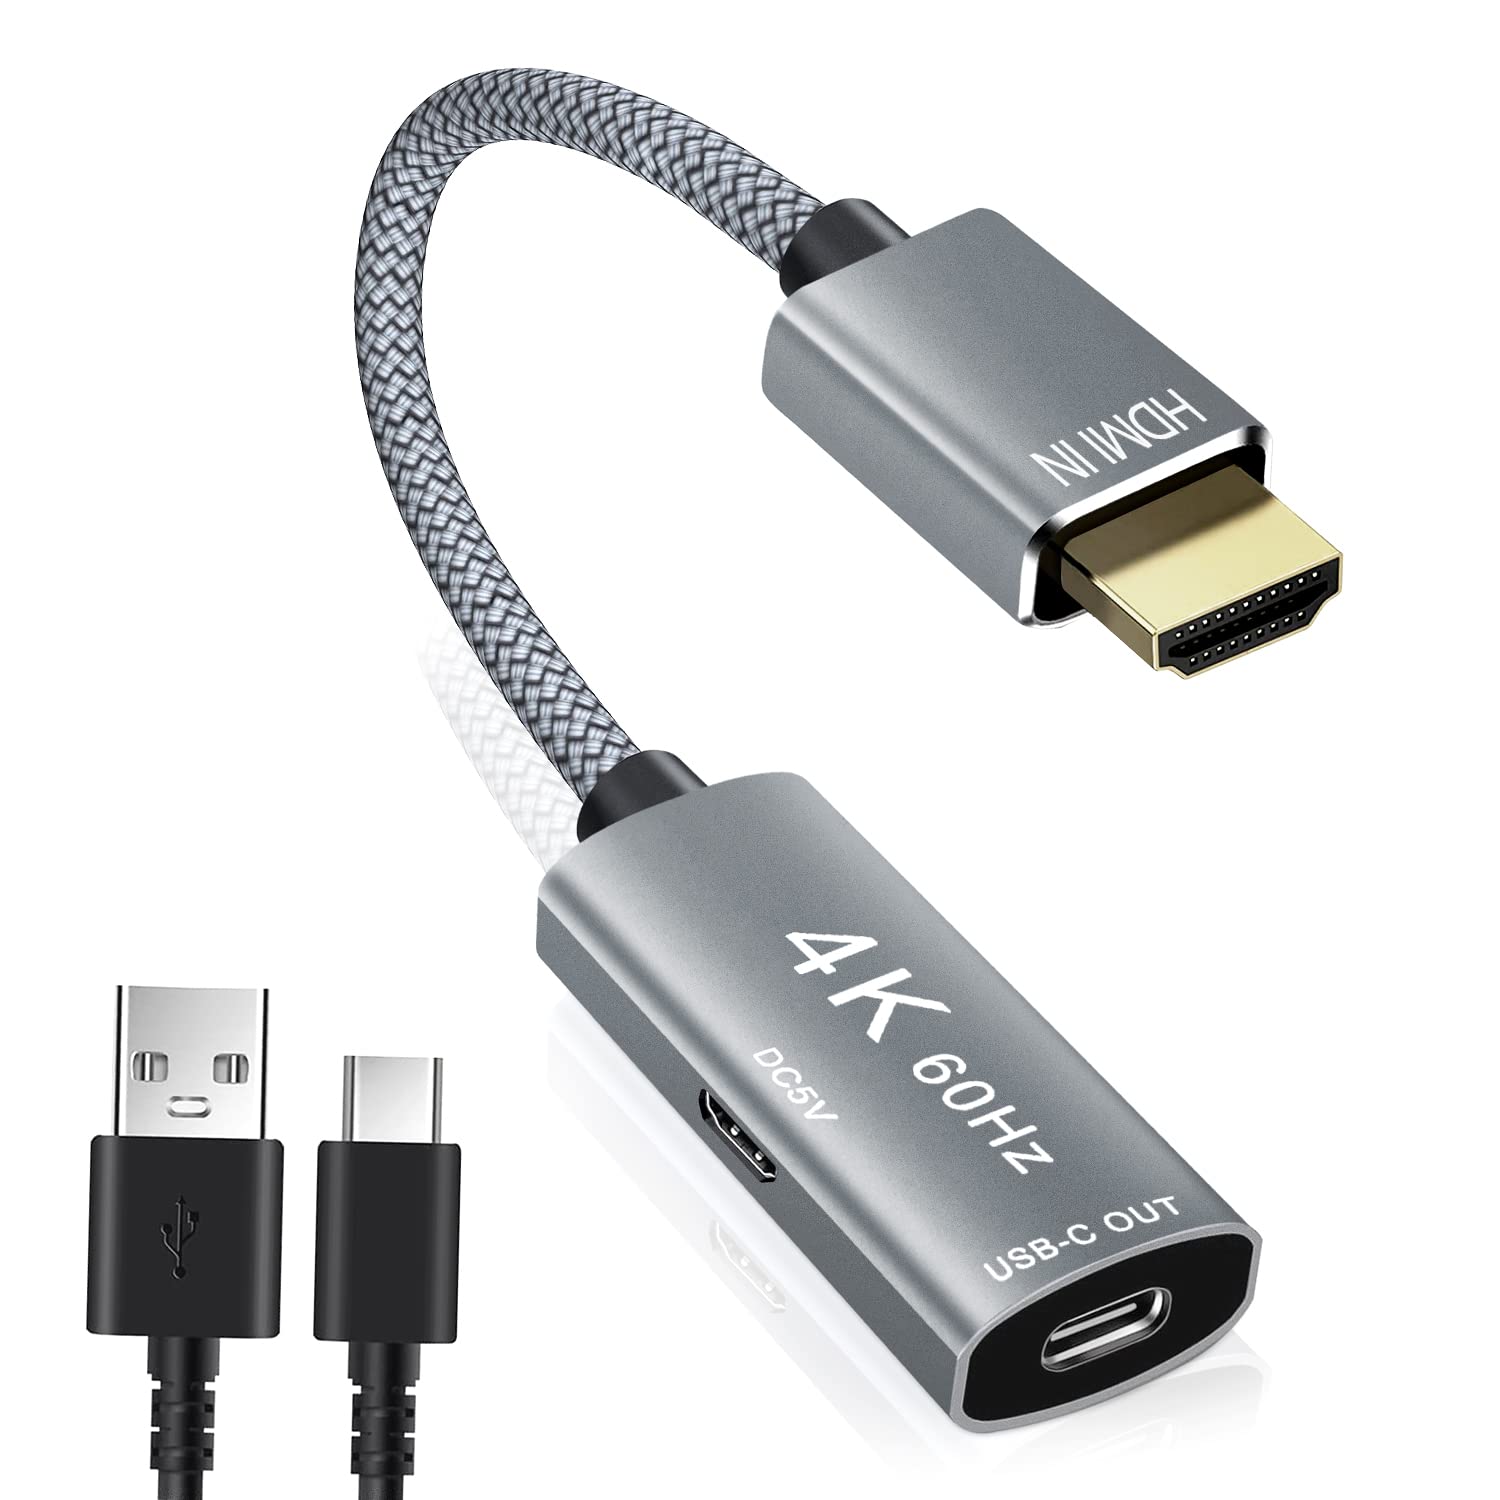
Check HDMI Cable and Connection
To check the HDMI cable and connection, follow these steps:
1. Make sure both ends of the HDMI cable are securely plugged into the HDMI ports on your PC and the display device (e.g., TV, monitor, projector).
2. Inspect the HDMI cable for any visible damage, such as cuts, bends, or frayed wires. If you find any, replace the cable.
3. Try using a different HDMI cable, if available, to rule out cable issues.
4. Verify that the HDMI port on your PC is not damaged or blocked by debris. Use a can of compressed air to remove any dust or debris from the port.
5. Restart your PC and the display device.
6. Press the Windows key + P on your keyboard to open the Project menu. Select “Duplicate” or “Extend” to enable the HDMI connection.
7. Check the display settings on your PC to ensure the correct resolution and refresh rate are selected for the HDMI connection.
8. Update your graphics driver to the latest version. You can do this by visiting the manufacturer’s website or using a driver update software.
9. If you are using a laptop, make sure that the HDMI output is enabled in the BIOS settings.
10. Try connecting the HDMI cable to a different HDMI port on your PC, if available.
11. If you have recently installed any new software or updates, try uninstalling them to see if they are causing the issue.
12. If none of the above steps resolve the problem, consider contacting a tech expert or reaching out to the manufacturer for further assistance.
Try Different HDMI Inputs and Cables
- Check for loose connections:
- Ensure that the HDMI cable is securely plugged into both the HDMI port on the PC and the HDMI input on the display device.
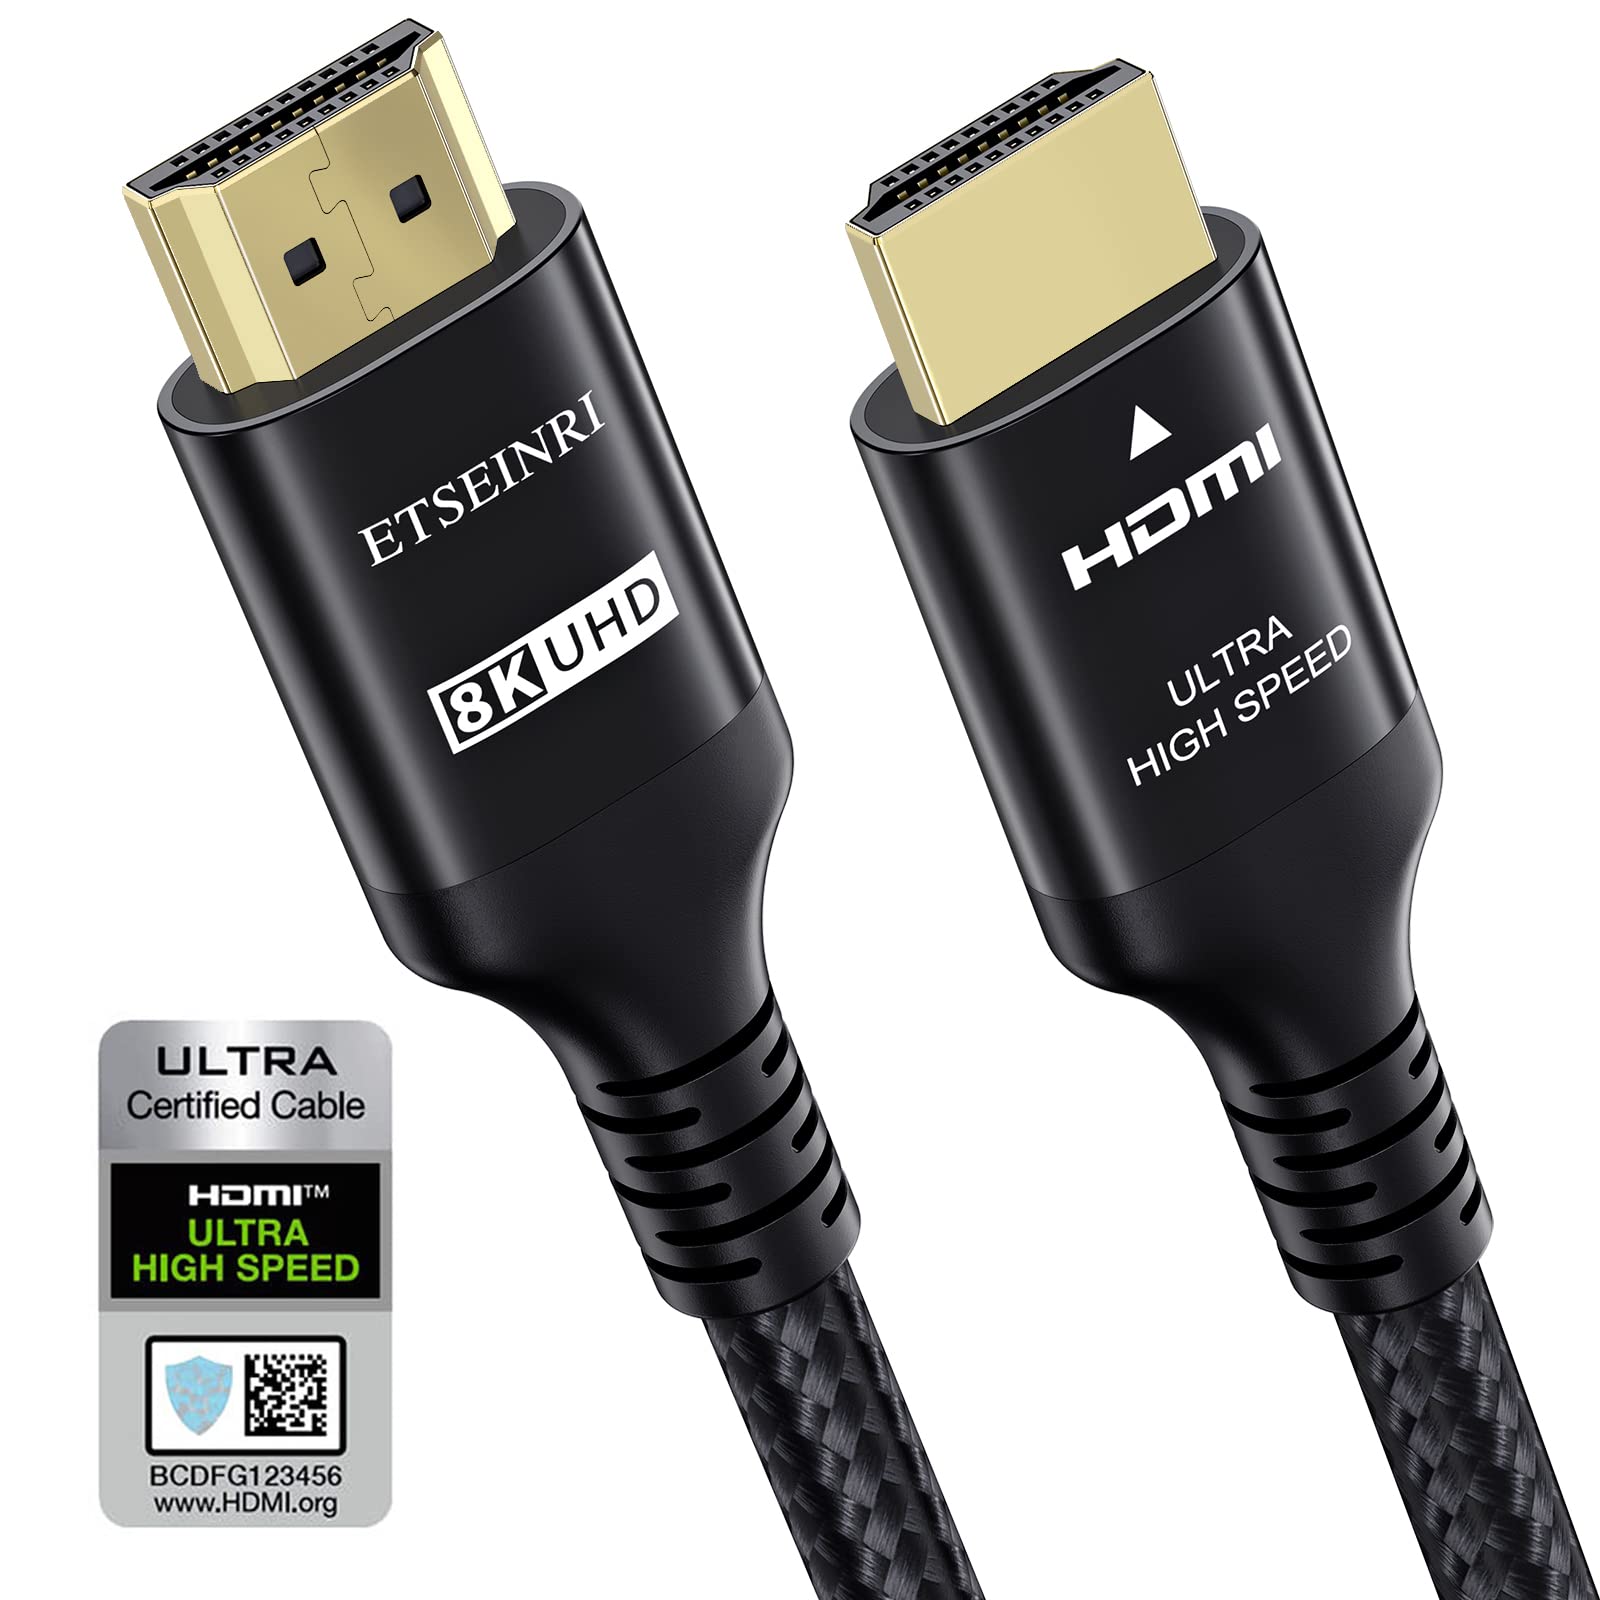
- Try a different HDMI cable:
- Replace the current HDMI cable with a known working one to eliminate the possibility of a faulty cable.
- Use a different HDMI input:
- If your PC has multiple HDMI ports, switch to a different input to see if the issue is specific to a particular port.
- Check the display device:
- Connect the PC to a different display device (e.g., TV or monitor) using the same HDMI cable to determine if the problem lies with the PC or the original display device.
Configure Display and System Settings
1. Check the physical connections: Ensure that the HDMI cable is securely plugged into both your PC’s HDMI port and the display device (such as a monitor or TV). Also, make sure the HDMI port on your PC is not damaged or dirty, as dust or wear and tear can affect the connection.
2. Update graphics drivers: Outdated or faulty graphics drivers can cause HDMI connection issues. Open the Device Manager and expand the “Display adapters” section. Right-click on your graphics card and select “Update driver.” Follow the on-screen instructions to download and install the latest driver from the manufacturer’s website.
3. Adjust display settings: Right-click on the desktop and select “Display settings” from the context menu. In the Display settings window, make sure the correct display device is selected as the main display. You can also adjust the resolution, orientation, and other display settings to troubleshoot any compatibility issues.
4. Verify the audio output: Sometimes, the HDMI connection may not carry audio. Right-click on the speaker icon in the taskbar and select “Open Sound settings.” Under the “Output” section, ensure that the HDMI device is set as the default audio output.
5. Check for Windows updates: Update your Windows 10 operating system to ensure that you have the latest bug fixes and patches. Open the Settings app, go to “Update & Security,” and click on “Check for updates.” Install any available updates and restart your PC.
6. Test with another HDMI cable or device: If possible, try using a different HDMI cable or connect your PC to a different display device. This will help determine if the issue is with the cable, the display, or your PC’s HDMI port.
Restart Devices and Reconnect

To troubleshoot and fix the HDMI port not working on your PC, start by restarting your devices and reconnecting the HDMI cable. This simple step can often resolve connectivity issues.
First, turn off your PC and any connected devices such as your monitor or television. Unplug the HDMI cable from both the PC and the display device.
Next, plug the HDMI cable back in securely to both the PC and the display device. Ensure that the cable is properly inserted into the HDMI ports on both ends.
Once the cable is securely connected, turn on your PC and the display device. Wait for them to fully boot up.
If the HDMI port still isn’t working, try using a different HDMI cable or connecting to a different HDMI port on your PC or display device.
If these steps don’t resolve the issue, you can also try updating your graphics drivers. To do this, open the Device Manager on your PC and locate the Display Adapters category. Right-click on your graphics card and select “Update Driver.” Follow the prompts to download and install any available updates.
If the problem persists, you may need to perform a deeper troubleshooting process or seek expert help. Keep in mind that wear and tear on cables and connectors can also cause HDMI port issues, so consider replacing them if necessary.
Troubleshoot and Repair HDMI Port Damage
- Inspect the HDMI port:
- Check for physical damage or obstructions in the port.
- Ensure that the port is clean and free from dust or debris.
- Check the HDMI cable:
- Inspect the cable for any visible damage or frayed wires.
- Try using a different HDMI cable to rule out cable issues.
- Restart the PC and display device:
- Power off both the PC and the display device.
- Unplug them from the power source.
- Wait for a few minutes, then plug them back in and power them on.
- Update graphics drivers:
- Open Device Manager by pressing Win+X and selecting Device Manager.
- Expand the Display adapters category.
- Right-click on the graphics card driver and select Update driver.
- Follow the on-screen instructions to complete the driver update.
- Check the display settings:
- Right-click on the desktop and select Display settings.
- Ensure that the correct display is selected and set as the main display.
- Adjust the screen resolution and refresh rate if necessary.
- Try a different HDMI port:
- If your PC has multiple HDMI ports, try connecting the cable to a different port.
- Test with a different display device:
- Connect the PC to a different display device, such as a TV or another monitor, using the HDMI cable.
- If it works with the alternate display device, the issue may be with the original display device.
- Consider professional repair:
- If none of the above steps resolve the issue, it may be necessary to seek professional repair or replacement of the HDMI port.
Update or Reinstall Graphics Drivers
If your HDMI port is not working on your PC, one possible solution is to update or reinstall your graphics drivers. Outdated or corrupted drivers can cause issues with the HDMI port, preventing it from working properly. To update or reinstall your graphics drivers, follow these steps:
1. Open the Device Manager by right-clicking on the Start button and selecting “Device Manager” from the context menu.
2. Expand the “Display adapters” category to see the graphics card installed on your PC.
3. Right-click on the graphics card and select “Update driver” from the context menu.
4. Choose the option to search automatically for updated driver software. Windows will then search for and install the latest graphics driver for your card.
5. If Windows doesn’t find a new driver, you can also visit the manufacturer’s website and download the latest driver manually. Make sure to select the correct driver for your graphics card and operating system.
6. Once the driver installation is complete, restart your computer and check if the HDMI port is now working.
If updating or reinstalling the graphics drivers doesn’t solve the issue, you can also try the following troubleshooting steps:
1. Make sure the HDMI cable is securely connected to both your PC and the display device (e.g., TV, monitor, projector).
2. Try using a different HDMI cable to rule out any cable issues.
3. Check if the HDMI port on your PC and the display device are both working by connecting a different device (e.g., gaming console, Blu-ray player) to them.
4. Restart your PC and display device to refresh the connection.
5. Try connecting your PC to a different HDMI port on the display device, if available.
6. If you’re using a laptop, make sure the HDMI output is enabled. You can usually do this by pressing a designated function key on your keyboard (e.g., Fn + F8).
7. If you have recently installed any software or updates, try uninstalling them to see if they are causing the issue.
8. If all else fails, you can try booting your PC into Safe Mode and check if the HDMI port works in that mode. If it does, there may be a software conflict causing the issue.
Clean Temporary Files and Run SFC Scan
To troubleshoot and fix an HDMI port not working on your PC, you can try cleaning temporary files and running an SFC scan. These steps can help resolve any software-related issues that may be causing the problem.
To clean temporary files on your Windows 10 PC, follow these steps:
1. Press the Windows key + R to open the Run dialog box.
2. Type “%temp%” (without quotes) and press Enter.
3. This will open the Temp folder. Select all the files and folders inside and delete them.
4. Empty your Recycle Bin to permanently remove these files.
Next, you can run an SFC (System File Checker) scan to check for any corrupted system files. Here’s how:
1. Press the Windows key and type “Command Prompt“.
2. Right-click on Command Prompt and select “Run as administrator”.
3. In the Command Prompt window, type “sfc /scannow” (without quotes) and press Enter.
4. The scan will begin and may take some time. Let it complete the process.
5. Once the scan is finished, check if the HDMI port is now working.
Perform System Restore or Delete Recent Downloads
![]()
Performing a system restore or deleting recent downloads can help troubleshoot and fix HDMI port issues on your PC. Here’s how to do it:
To perform a system restore:
1. Press the Windows key on your keyboard and type “Control Panel.”
2. Click on the “Control Panel” application to open it.
3. In the Control Panel window, search for “Recovery” and click on “Recovery” from the search results.
4. Select “Open System Restore.”
5. Click on “Next” and choose a restore point from the list. It’s recommended to select a restore point before the HDMI port issue started occurring.
6. Follow the on-screen instructions to complete the system restore process. Your PC will restart during this process.
To delete recent downloads:
1. Press the Windows key on your keyboard and type “Control Panel.”
2. Click on the “Control Panel” application to open it.
3. In the Control Panel window, search for “Programs” and click on “Uninstall a program” from the search results.
4. A list of installed programs will appear. Sort the list by “Installed On” to see the most recent downloads.
5. Identify any recently installed applications that may be causing conflicts with the HDMI port.
6. Right-click on the application and select “Uninstall” to remove it from your PC.
7. Follow the on-screen instructions to complete the uninstallation process.
Performing a system restore or deleting recent downloads can help resolve HDMI port issues on your PC. If the problem persists, consider seeking further assistance from a professional technician or contacting the manufacturer of your PC.
Start PC in Safe Mode and Uninstall New Software
To start your PC in Safe Mode and uninstall new software, follow these steps:
1. Press the Windows key + R to open the Run dialog box.
2. Type “msconfig” and press Enter to open the System Configuration window.
3. In the System Configuration window, go to the “Boot” tab.
4. Check the box next to “Safe boot” and select the “Minimal” option.
5. Click Apply and then OK to save the changes.
6. Restart your computer, and it will boot into Safe Mode.
In Safe Mode, your PC will only load essential system files and drivers, allowing you to troubleshoot and uninstall problematic software. To uninstall the new software:
1. Press the Windows key + X and select “Device Manager” from the menu.
2. In Device Manager, expand the category that corresponds to the software you want to uninstall.
3. Right-click on the software and select “Uninstall.”
4. Follow the on-screen prompts to complete the uninstallation process.
After uninstalling the software, restart your PC normally and check if the HDMI port is working. If the issue persists, you may need to further troubleshoot or seek additional assistance.
F.A.Qs
Why is my HDMI saying no signal?
Your HDMI is saying no signal because there may be issues with the cables or connections. Ensure that all cables are properly seated and connected in the right places. Additionally, make sure the power to your source device is switched on.
Why does my PC suddenly say HDMI no signal?
When your PC suddenly says “HDMI no signal,” there are a few possible reasons. First, try reconnecting or replacing the HDMI cable. Next, check the monitor input source condition. You may also need to update the corresponding driver. Lastly, ensure that your computer hardware is in good condition.
How do I reset my HDMI port on my computer?
To reset your HDMI port on your computer, start by turning on your HDMI device and computer. Then, turn off the HDMI devices while keeping the Windows system on. After that, unplug all HDMI connections and plug them back in again with your HDMI device and system.
Why did my HDMI stop working on my PC?
Your HDMI might have stopped working on your PC due to a faulty cable. Try using a different cable to see if that resolves the issue. If the cable is damaged, such as being broken or frayed, you will need to replace it.
