Having trouble with your webcam? Here’s how to troubleshoot the issue and get it working again.
Before You Begin
1. Check the physical connection: Ensure that your webcam is securely connected to your computer or laptop’s USB port. If it’s a built-in webcam, make sure it’s not covered or blocked.
2. Update drivers: Go to the manufacturer’s website or the Microsoft Store to download and install the latest webcam drivers for your operating system. This can help resolve compatibility issues and improve functionality.
3. Check privacy settings: Make sure your webcam is allowed to access your computer’s camera in the privacy settings. On Windows, go to Settings > Privacy > Camera and toggle on “Allow apps to access your camera.”
4. Restart your computer: Sometimes a simple restart can fix minor software glitches that may be causing issues with your webcam.
5. Test with another application: Open a different application that uses the webcam, such as Skype or Zoom, to see if the issue is specific to one program or if it persists across multiple applications.
6. Disable antivirus software temporarily: Some antivirus programs may mistakenly block your webcam, thinking it’s a security threat. Temporarily disable your antivirus software and see if the webcam starts working.
7. Check for software conflicts: If you recently installed any new applications or updates, they might be conflicting with your webcam. Uninstall or disable any recently added software and check if the webcam starts functioning.
8. Try a different USB port: If you’re using an external webcam, try connecting it to a different USB port on your computer. Sometimes, certain USB ports may not provide enough power or have compatibility issues.
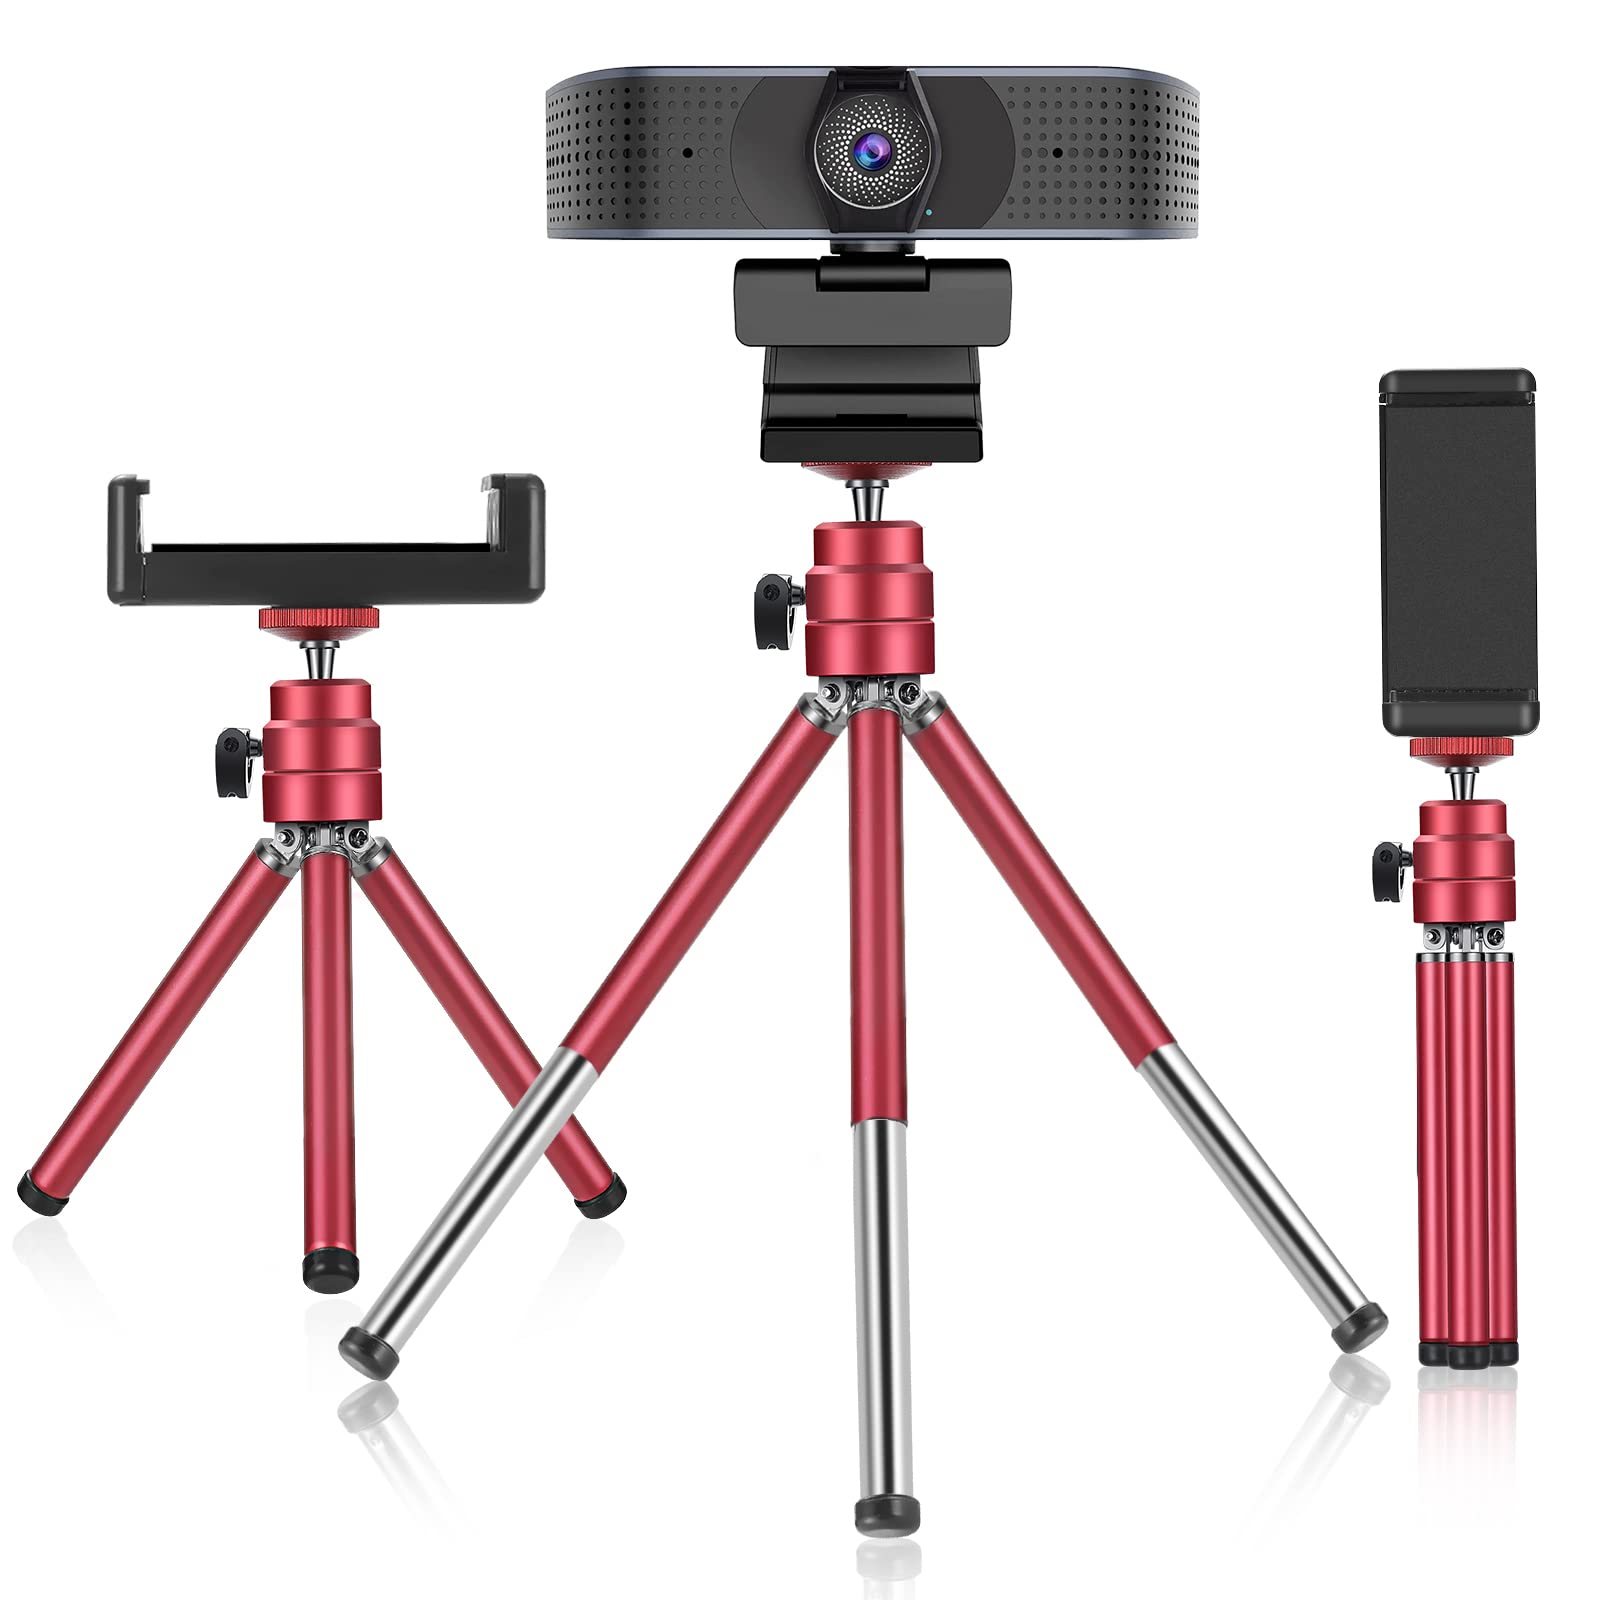
Check for a Camera Switch or Button
If your webcam is not working, one possible solution is to check for a camera switch or button on your device. Some laptops and desktop computers have a physical switch or button that can turn the webcam on or off.
First, locate the physical switch or button on your device. It is usually located near the webcam or on the side of the computer. Look for any icons or labels that indicate it controls the camera.
Once you have located the switch or button, make sure it is in the “on” position. Press or slide the switch to the “on” position if it is currently off.
After turning on the camera switch or button, check if your webcam starts working. Open an application or website that uses the webcam and see if the video feed appears. If the webcam still does not work, proceed with other troubleshooting steps or refer to your device’s user guide for further assistance.
Verify Camera Settings
1. Open the camera app or video conferencing software on your device.
2. Look for a gear or settings icon within the app. Click on it to access the camera settings.
3. Check the video settings to ensure that the correct webcam is selected. Sometimes, if you have multiple cameras connected to your computer, the wrong one may be selected by default. Select the appropriate webcam from the list if needed.
4. Make sure the camera is not disabled or blocked. Some laptops have a physical switch or button to enable or disable the webcam. Check if it’s turned on. Additionally, some software or privacy settings may block the camera’s access. Go to the settings or privacy section on your device and make sure the camera is allowed to function.
5. Adjust the camera resolution if necessary. Higher resolutions may require more processing power, so if your webcam is not working properly, try lowering the resolution to see if it improves performance.
6. Check the lighting conditions. Poor lighting can affect the quality of the webcam image. Make sure you are in a well-lit area or adjust the lighting settings in the camera app to improve visibility.
7. Test the microphone settings if your webcam has an integrated microphone. Ensure that the correct microphone is selected and that the volume level is appropriate.
8. Restart your computer and try again. Sometimes, a simple restart can resolve software conflicts or temporary issues that may be preventing the webcam from working.
Remember to consult your device’s user guide or the manufacturer’s website for specific instructions related to your webcam model and operating system.
Adjust App Permissions
1. Open the Settings app by pressing the Windows key + I.
2. Click on “Privacy” in the Settings menu.
3. Select “Camera” from the left sidebar.
4. Toggle the “Allow apps to access your camera” switch to the “On” position.
5. Scroll down to the “Choose which apps can access your camera” section.
6. Review the list of apps and make sure the desired apps have camera access enabled. Toggle the switches next to each app to adjust their permissions accordingly.
7. If the app you want to use the webcam with is not listed, click on the “Change” button under “Allow desktop apps to access your camera” and enable the app from the list that appears.
8. Additionally, ensure that the app you’re using to access the webcam has camera permissions enabled within its own settings.
By adjusting app permissions, you can grant access to the webcam for specific applications and resolve any issues preventing it from working properly. Remember to check the app’s settings as well to ensure camera access is enabled within the app itself.
Note: The steps may vary slightly depending on your operating system version or device, such as a Mac computer or mobile device. Refer to the specific instructions for your device if needed.
Review Antivirus Interference
If you are experiencing issues with your webcam not working, antivirus interference may be the culprit. Antivirus software plays a crucial role in protecting your personal computer from malware and other threats. However, sometimes it can mistakenly block certain features or applications, including your webcam.
To troubleshoot this issue, follow these steps:
1. Temporarily disable your antivirus software: Many antivirus programs have a built-in option to disable or pause protection. Check your antivirus settings and disable it temporarily to see if it resolves the webcam problem. Remember to re-enable your antivirus once you have finished troubleshooting.
2. Whitelist your webcam application: Some antivirus software allows you to whitelist specific applications, giving them permission to run without interference. Locate the settings or preferences section of your antivirus software and add your webcam application to the whitelist.
3. Update your antivirus software: Outdated antivirus software can sometimes cause compatibility issues with other programs. Check for any available updates for your antivirus software and install them. This can often resolve any conflicts with your webcam.
4. Check for conflicting software: Sometimes, multiple antivirus programs or security software can conflict with each other, causing issues with your webcam. Ensure that you only have one antivirus program installed on your computer and uninstall any conflicting software.
5. Contact antivirus support: If the above steps do not resolve the issue, reach out to the support team of your antivirus software. They may have specific troubleshooting steps or recommendations tailored to your antivirus program.
Remember, always exercise caution when temporarily disabling your antivirus software, as it leaves your computer vulnerable to threats. Only disable it for troubleshooting purposes and re-enable it once you have resolved the webcam issue.
Update Hardware Drivers
| Step | Description |
|---|---|
| 1 | Identify the webcam manufacturer and model number. This information can usually be found on the webcam itself or in the documentation that came with it. |
| 2 | Visit the manufacturer’s website. Most manufacturers provide support pages where you can download the latest drivers for their devices. |
| 3 | Locate the drivers for your webcam model on the manufacturer’s website. Look for a section specifically dedicated to drivers or downloads. |
| 4 | Download the appropriate driver for your operating system. Ensure that you choose the driver that matches your webcam model and the version of your operating system. |
| 5 | Once the driver file is downloaded, double-click on it to initiate the installation process. |
| 6 | Follow the on-screen instructions to install the driver. This may involve accepting the terms and conditions and selecting the desired installation location. |
| 7 | After the installation is complete, restart your computer to ensure that the new driver is properly applied. |
| 8 | Test your webcam to see if it is now functioning correctly. Open a webcam application or visit a website that allows webcam usage to verify if the issue has been resolved. |
Experiment with Different USB Ports
Experimenting with different USB ports can often help troubleshoot webcam issues on your personal computer. If your webcam is not working, try the following steps:
1. Check all available USB ports: Connect your webcam to different USB ports on your computer. Sometimes, certain ports may not be functioning properly, so trying different ones can help determine if the issue lies with a specific port.
2. Use USB 2.0 ports: Some webcams may not be compatible with USB 3.0 ports. If you have both USB 2.0 and USB 3.0 ports on your computer, try connecting the webcam to a USB 2.0 port instead. This can resolve compatibility issues.
3. Restart your computer: After connecting the webcam to a different USB port, restart your computer. This can help refresh the system and allow it to recognize the webcam properly.
4. Update device drivers: Ensure that you have the latest device drivers installed for your webcam. Visit the manufacturer’s website or use Microsoft Windows Update to check for any available driver updates. Updating the drivers can often resolve compatibility issues and improve the performance of the webcam.
5. Test on another computer: If the webcam still doesn’t work after trying different USB ports and updating the drivers, test it on another computer. This will help determine if the issue is specific to your computer or if the webcam itself is faulty.
Revert to Previous Camera Driver
If your webcam is not working properly, one troubleshooting step you can try is reverting to the previous camera driver. This can help resolve any compatibility issues or conflicts that may be causing the problem.
To revert to the previous camera driver, follow these steps:
1. Open the Device Manager by pressing the Windows key + X and selecting “Device Manager” from the menu that appears.
2. In the Device Manager window, locate and expand the “Cameras” category.
3. Right-click on your webcam device and select “Properties” from the context menu.
4. In the Properties window, go to the “Driver” tab.
5. Click on the “Roll Back Driver” button.
6. Follow the on-screen instructions to complete the driver rollback process.
After the driver rollback is complete, restart your computer and check if your webcam is working properly. If the issue persists, you can try other troubleshooting steps or consider updating the camera driver to the latest version.
It’s important to note that the steps may vary slightly depending on the version of Windows you are using. Additionally, if you have a Mac computer or a mobile device, the process for reverting to the previous camera driver may be different.
If you’re unable to find the previous driver or encounter any difficulties during the process, you can also try uninstalling the current driver and then letting Windows automatically reinstall it. This can sometimes resolve driver-related issues.
Remember to always ensure that you have a backup of your important files before making any changes to your computer’s hardware or drivers.
If you’re still experiencing issues with your webcam after trying these troubleshooting steps, it may be helpful to seek further assistance from a professional or refer to official support resources provided by the manufacturer of your device.
Uninstall and Reinstall Camera Driver
To troubleshoot a webcam not working issue, one potential solution is to uninstall and reinstall the camera driver. This can help resolve any software conflicts or issues that may be causing the problem.
Here’s how you can uninstall and reinstall the camera driver:
1. Press the Windows key + X on your keyboard and select Device Manager from the menu that appears.
2. In the Device Manager window, expand the Imaging devices or Cameras category.
3. Right-click on your webcam and select Uninstall device. Confirm the uninstallation if prompted.
4. Restart your computer.
5. After the restart, Windows will automatically detect the webcam as a new device and attempt to install the appropriate driver.
6. If Windows doesn’t install the driver automatically, you can manually install it.
– Visit the manufacturer’s website and search for the latest driver for your webcam model.
– Download the driver and follow the on-screen instructions to install it.
– Restart your computer again after the installation is complete.
7. Once the driver is installed, test your webcam to see if it’s working properly. You can use applications like Skype, Zoom, or the built-in Camera app to test the functionality.
If uninstalling and reinstalling the camera driver doesn’t resolve the issue, you may need to consider other troubleshooting steps or consult the manufacturer’s support for further assistance.
Remember to keep your operating system and drivers up to date to ensure optimal performance and compatibility.
Opt for UVC Driver Compatibility
![]()
When troubleshooting a webcam that is not working, one important factor to consider is UVC driver compatibility. UVC stands for USB Video Class, which is a standard driver that allows webcams to communicate with the operating system. Ensuring that your webcam is UVC driver compatible can help resolve many common issues.
To check if your webcam is UVC driver compatible, follow these steps:
1. Open the Device Manager on your Windows computer. You can do this by pressing the Windows key + X and selecting “Device Manager” from the menu.
2. In the Device Manager, expand the “Cameras” or “Imaging devices” category.
3. Look for your webcam in the list of devices. It should be listed with its specific name or model number.
4. Right-click on your webcam and select “Properties” from the context menu.
5. In the webcam properties window, navigate to the “Driver” tab.
6. Look for the driver provider and version information. If the driver provider is listed as “Microsoft” and the driver version is relatively recent, it is likely that your webcam is UVC driver compatible.
If your webcam is not UVC driver compatible, you may need to update the driver. Here’s how:
1. Visit the manufacturer’s website for your webcam or search for the specific driver online.
2. Download the latest driver for your webcam.
3. Once downloaded, double-click on the driver file to begin the installation process.
4. Follow the on-screen instructions to complete the installation.
5. After the driver installation is complete, restart your computer.
If updating the driver doesn’t resolve the issue, you can also try connecting your webcam to a different USB port on your computer. Sometimes, certain USB ports may not provide enough power or have compatibility issues.
Stop Competing Applications
If you’re troubleshooting a webcam that’s not working, one possible issue could be competing applications. Sometimes, multiple programs try to access the webcam at the same time, causing conflicts and preventing it from functioning properly.
To stop competing applications and get your webcam working again, follow these steps:
1. Close all applications that might be using the webcam. This includes video conferencing software, messaging apps, and any other programs that may have camera functionality.
2. Check the system tray or taskbar for any hidden icons related to webcam applications. Right-click on these icons and choose to exit or close the program.
3. Press the Ctrl + Alt + Delete keys simultaneously to open the Task Manager. Look for any processes or applications that might be using the webcam. Select them and click on the “End Task” button.
4. Open the Device Manager by right-clicking on the Windows Start button and selecting “Device Manager” from the menu. Expand the “Imaging Devices” or “Cameras” section and locate your webcam. Right-click on it and choose “Disable” from the context menu. Wait a few seconds, then right-click again and select “Enable.”
5. If you’re using a laptop, some models have function keys (usually labeled with a camera icon) that can toggle the webcam on and off. Press the corresponding function key (often combined with the Fn key) to ensure the webcam is enabled.
6. Restart your computer to apply any changes and ensure that competing applications are fully closed.
Ensure Comprehensive Software Updates
To troubleshoot webcam issues, it is crucial to ensure comprehensive software updates. This ensures that your operating system and applications have the latest bug fixes and improvements that can potentially address webcam-related problems.
Firstly, check for updates specific to your operating system. For Windows users, navigate to “Settings” and click on “Update & Security.” Then, click on “Windows Update” and select “Check for updates.” Install any available updates for Windows 10 or Windows 11.
In addition to the operating system updates, it is essential to update your device drivers. These drivers facilitate communication between the webcam and the operating system. To update device drivers on Windows, follow these steps:
1. Press the Windows key + X on your keyboard and select “Device Manager.”
2. Locate the “Cameras” or “Imaging devices” category and expand it.
3. Right-click on your webcam and select “Update driver.”
4. Choose the option to automatically search for updated driver software.
For Mac users, updating the operating system through the Mac App Store can help resolve webcam issues. Open the App Store, click on the “Updates” tab, and install any available updates for your Mac.
Furthermore, make sure to update any applications that utilize the webcam. This includes video conferencing software, photo editing applications, and any other programs that require camera functionality. Check the respective app stores or official websites for updates.
Lastly, keep an eye out for firmware updates for your webcam or computer hardware. Manufacturers often release firmware updates to address specific issues or improve compatibility. Visit the manufacturer’s website or contact their support for instructions on updating firmware.
By regularly updating your operating system, device drivers, applications, and firmware, you can ensure that your webcam functions optimally. Remember to restart your computer after installing updates to ensure they take effect.
Reset System Management Components
To reset the system management components on your computer and troubleshoot a webcam that is not working, follow these steps:
1. Press the Windows key and type “Command Prompt” in the search bar. Right-click on “Command Prompt” and select “Run as administrator.”
2. In the Command Prompt window, type the following command and press Enter: net stop wscsvc
3. Next, type the following command and press Enter: net stop CryptSvc
4. Then, type the following command and press Enter: net stop BITS
5. After that, type the following command and press Enter: net stop msiserver
6. Now, you need to rename the SoftwareDistribution and Catroot2 folders. To do this, type the following commands one by one and press Enter after each command:
ren C:\Windows\SoftwareDistribution SoftwareDistribution.old
ren C:\Windows\System32\catroot2 Catroot2.old
7. Once you’ve renamed the folders, you need to restart the services. Type the following commands in the Command Prompt window and press Enter after each command:
net start wscsvc
net start CryptSvc
net start BITS
net start msiserver
8. Finally, restart your computer and check if the webcam is now working properly.
By resetting the system management components, you can resolve any issues that might be causing the webcam to not work. This process helps to refresh the necessary services and folders related to Windows, allowing the webcam to function correctly.
Frequently Asked Questions
Why is my webcam on but not working?
Your webcam may be on but not working due to various reasons such as malfunctioning hardware, outdated drivers, privacy settings issues, or conflicts with antivirus software.
Why is my integrated webcam not working?
Your integrated webcam may not be working due to missing drivers, antivirus program blocking the camera, privacy settings restricting camera access, or issues with the specific app you are trying to use.
Why is my external webcam not working?
Your external webcam may not be working due to a faulty connection or outdated driver. Try switching to a different USB port or testing it on another computer to determine the issue.
How do I enable my webcam?
To enable your webcam, start by installing the webcam device. Once installed, find and open the Camera app to view the video from your webcam. To allow camera access, go to Settings > Privacy > Camera and grant permission. Additionally, make sure to enable camera access in your browser and restart it if necessary.
