Are you experiencing high CPU usage due to Windows Search Indexer? Discover effective strategies to optimize its performance.
Restarting the Search Service
![]()
To restart the Search Service and optimize Windows Search Indexer CPU usage, follow these steps:
1. Open the Task Manager by pressing Ctrl + Shift + Esc.
2. Click on the “Processes” tab to view all running processes.
3. Scroll down and locate the “SearchIndexer.exe” process.
4. Right-click on “SearchIndexer.exe” and select “End Task” from the context menu. This will stop the Search Service.
5. Open File Explorer and navigate to the following location: C:\ProgramData\Microsoft\Search\Data\Applications\Windows.
6. Delete all the files and folders inside the “Windows” folder. These files are the search database and deleting them will force Windows to rebuild the index.
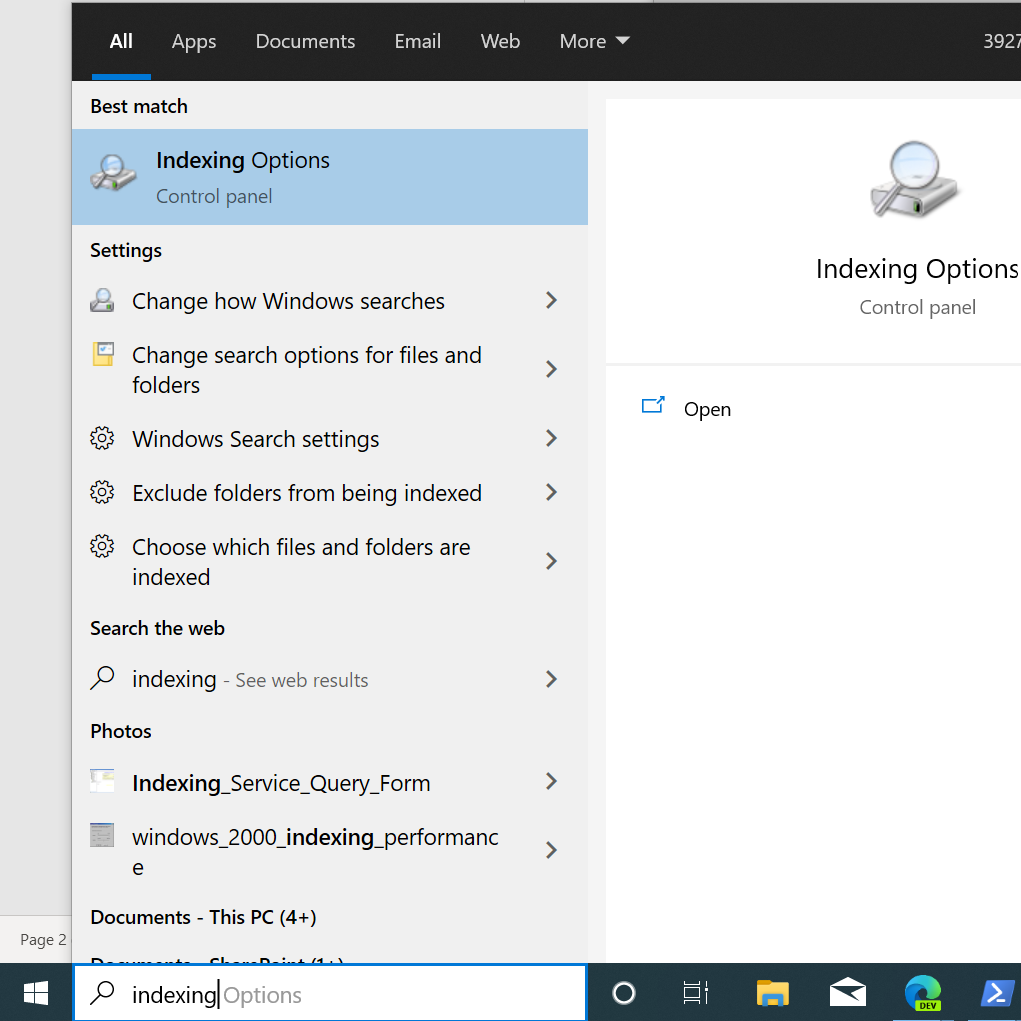
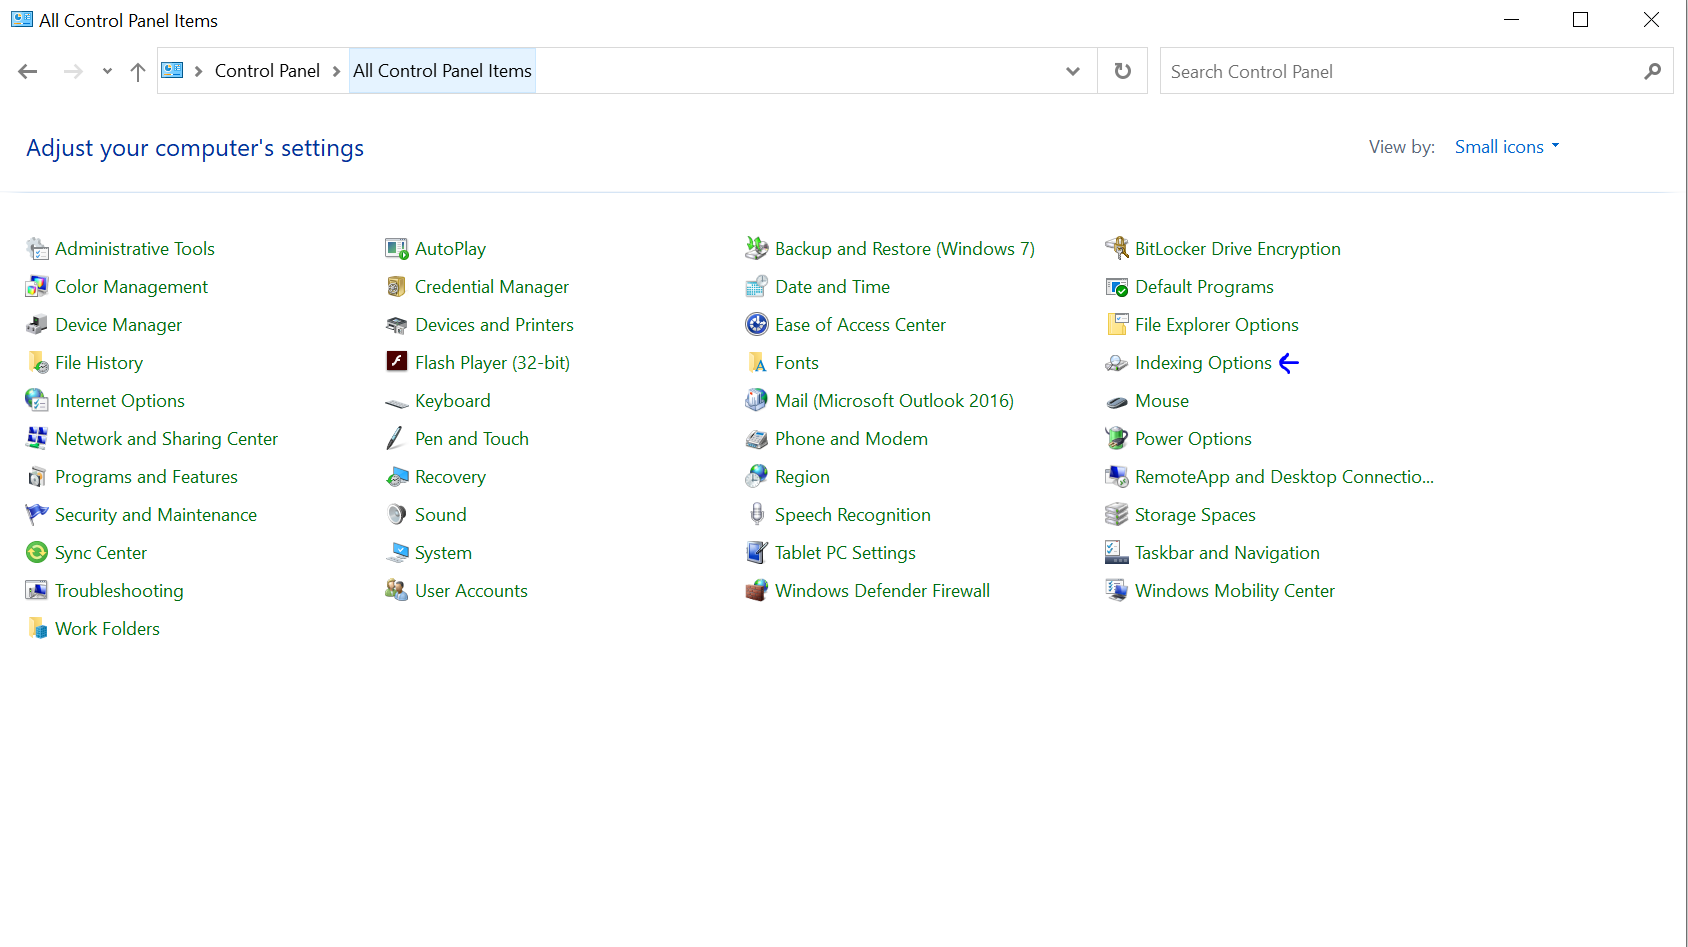
7. Open the Control Panel and search for “Indexing Options.”
8. Click on “Indexing Options” to open the Indexing Options window.
9. Click on “Advanced” and then click on “Rebuild” under the Troubleshooting section. This will start the rebuilding process of the search index.
10. Wait for the indexing process to complete. This may take some time depending on the size of your index and the performance of your computer.
11. Once the indexing is complete, restart your computer to ensure the changes take effect.
Running System and Disk Scans
Running regular system and disk scans can help optimize Windows Search Indexer CPU usage and improve overall system performance. These scans can help identify and fix any issues that may be causing high CPU usage or slowing down the search indexing process.
To start, open the Task Manager by right-clicking on the taskbar and selecting “Task Manager” from the context menu. In the Task Manager, go to the “Processes” tab and look for any processes related to the Windows Search Indexer. If you notice high CPU usage, you can end the process by right-clicking on it and selecting “End Task”.
Next, open File Explorer and navigate to the following directory: C:\Windows\System32. Look for a file called “SearchIndexer.exe” and right-click on it. Select “Properties” from the context menu and go to the “Details” tab. Take note of the file version and compare it to the latest version available on the Microsoft website. If there is a newer version available, consider updating it to potentially resolve any issues.
You can also use the System File Checker (SFC) tool to scan and repair any corrupted system files that may be impacting the search indexing process. Open the Command Prompt as an administrator and type the following command: sfc /scannow. This will initiate the scanning process, and if any corrupted files are found, they will be repaired automatically.
It’s also important to ensure that your system is free from malware, as malicious software can consume CPU resources and affect the search indexing process. Use a reliable antivirus program to scan your system for any potential threats and remove them accordingly.
In addition to these scans, regularly backing up your important files and keeping your operating system and applications up to date with the latest patches and updates can help maintain a stable and efficient system.
Managing Indexed Locations
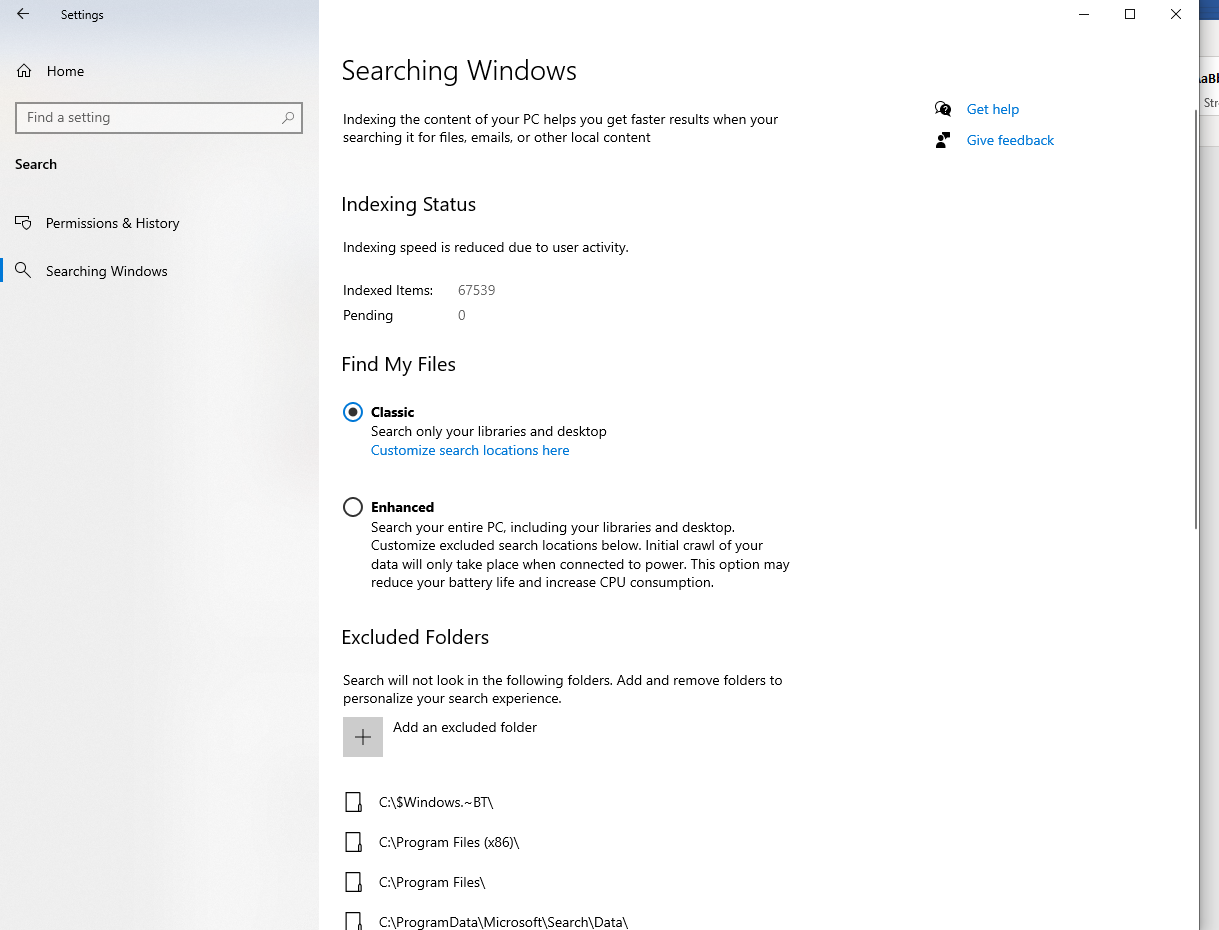
- Open Control Panel by searching for it in the Windows search bar.
- Click on Indexing Options to open the Indexing Options window.
- In the Indexing Options window, click on the Modify button.
- Uncheck the boxes for any unnecessary indexed locations that you don’t need to be included in the search index.
- Click OK to save the changes.
Repair Method 2: Limit the Number of Files Indexed
- Open Control Panel by searching for it in the Windows search bar.
- Click on Indexing Options to open the Indexing Options window.
- In the Indexing Options window, click on the Advanced button.
- In the Advanced Options window, click on the File Types tab.
- Uncheck the boxes for file types that you don’t want to be indexed.
- Click OK to save the changes.
Repair Method 3: Change the Indexing Schedule
- Open Control Panel by searching for it in the Windows search bar.
- Click on Indexing Options to open the Indexing Options window.
- In the Indexing Options window, click on the Modify button.
- Click on the Advanced button.
- In the Index Settings tab of the Advanced Options window, click on the Change Schedule button.
- Choose a different schedule option or select Manual to disable automatic indexing.
- Click OK to save the changes.
Repair Method 4: Rebuild the Search Index
- Open Control Panel by searching for it in the Windows search bar.
- Click on Indexing Options to open the Indexing Options window.
- In the Indexing Options window, click on the Advanced button.
- In the Advanced Options window, click on the Index Settings tab.
- Click on the Rebuild button.
- Click OK to start the rebuilding process.
Rebuilding the Index
![]()
To rebuild the index, follow these steps:
1. Open the Task Manager by pressing Ctrl + Shift + Esc and go to the “Processes” tab. Look for the “SearchIndexer.exe” process and end it if it’s running.
2. Run the System File Checker tool to ensure that all system files are intact. Open the Command Prompt as an administrator by searching for “cmd.exe” in the Start menu, right-clicking on it, and selecting “Run as administrator.” Then, type sfc /scannow and press Enter. This will scan and repair any corrupt system files.
3. Check your system for malware using reliable antivirus software. Malware can sometimes interfere with the indexing process and cause high CPU usage. Perform a full scan of your system to remove any malicious programs.
4. Open the Control Panel and navigate to “Indexing Options.” Click on the “Advanced” button and then the “Rebuild” button under the Troubleshooting section. This will initiate the process of rebuilding the index.
5. Depending on the size of your index and the speed of your computer, the rebuilding process may take some time. Be patient and let it complete.
By rebuilding the index, you are essentially creating a fresh database that Windows can use for faster and more efficient searches. This can help reduce CPU usage and improve the overall performance of your system.
Remember to keep your system up to date with the latest Windows updates, as they often include patches and improvements for the search indexing functionality.
If you continue to experience high CPU usage or encounter any issues, consider seeking further assistance from professional troubleshooting services or Microsoft support.
Adjusting Startup Applications

To adjust startup applications, follow these steps:
1. Open Task Manager by pressing Ctrl + Shift + Esc or by right-clicking on the taskbar and selecting “Task Manager.”
2. Go to the “Startup” tab in Task Manager. Here, you’ll see a list of applications that launch at startup.
3. Review the list of applications and identify any that you don’t need to start automatically. These could be non-essential programs or applications that you rarely use.
4. Right-click on the application you want to disable and select “Disable.” This will prevent the application from launching at startup.
5. Repeat this process for any other applications you want to disable.
6. Restart your computer to apply the changes. You should notice a decrease in CPU usage by the Windows Search Indexer.
It’s important to note that disabling certain applications at startup may affect their functionality or convenience. If you experience any issues, you can re-enable the applications by following the same steps and selecting “Enable” instead of “Disable.”
F.A.Qs
How do I check my CPU logs on Windows?
To check CPU logs on Windows, open Task Manager by pressing Ctrl+Shift+Esc on your keyboard. Then, select the Performance tab and view the CPU usage. To identify the apps using the most CPU, go to the Processes tab.
Why is Windows Search running?
Windows Search is running because it is indexing files and folders on your PC, allowing for quick searches in File Explorer or the Start Menu. It operates in the background and can be managed in the Index Options window.
Why is Windows Search taking up CPU?
Windows Search may be taking up CPU because it runs for an extended period of time, causing other tasks to open and resulting in high CPU usage. Restarting the service can help reduce the CPU load.
