Have you encountered the frustrating issue of Windows Spotlight images not showing up on your computer?
Understanding Windows Spotlight
Windows Spotlight is a feature in Windows 10 that displays a rotating selection of images on your lock screen. However, sometimes these images may not show up as expected. Here are some troubleshooting steps to fix this issue:
1. Check your Windows Spotlight settings:
– Open the Start menu and click on the Settings icon.
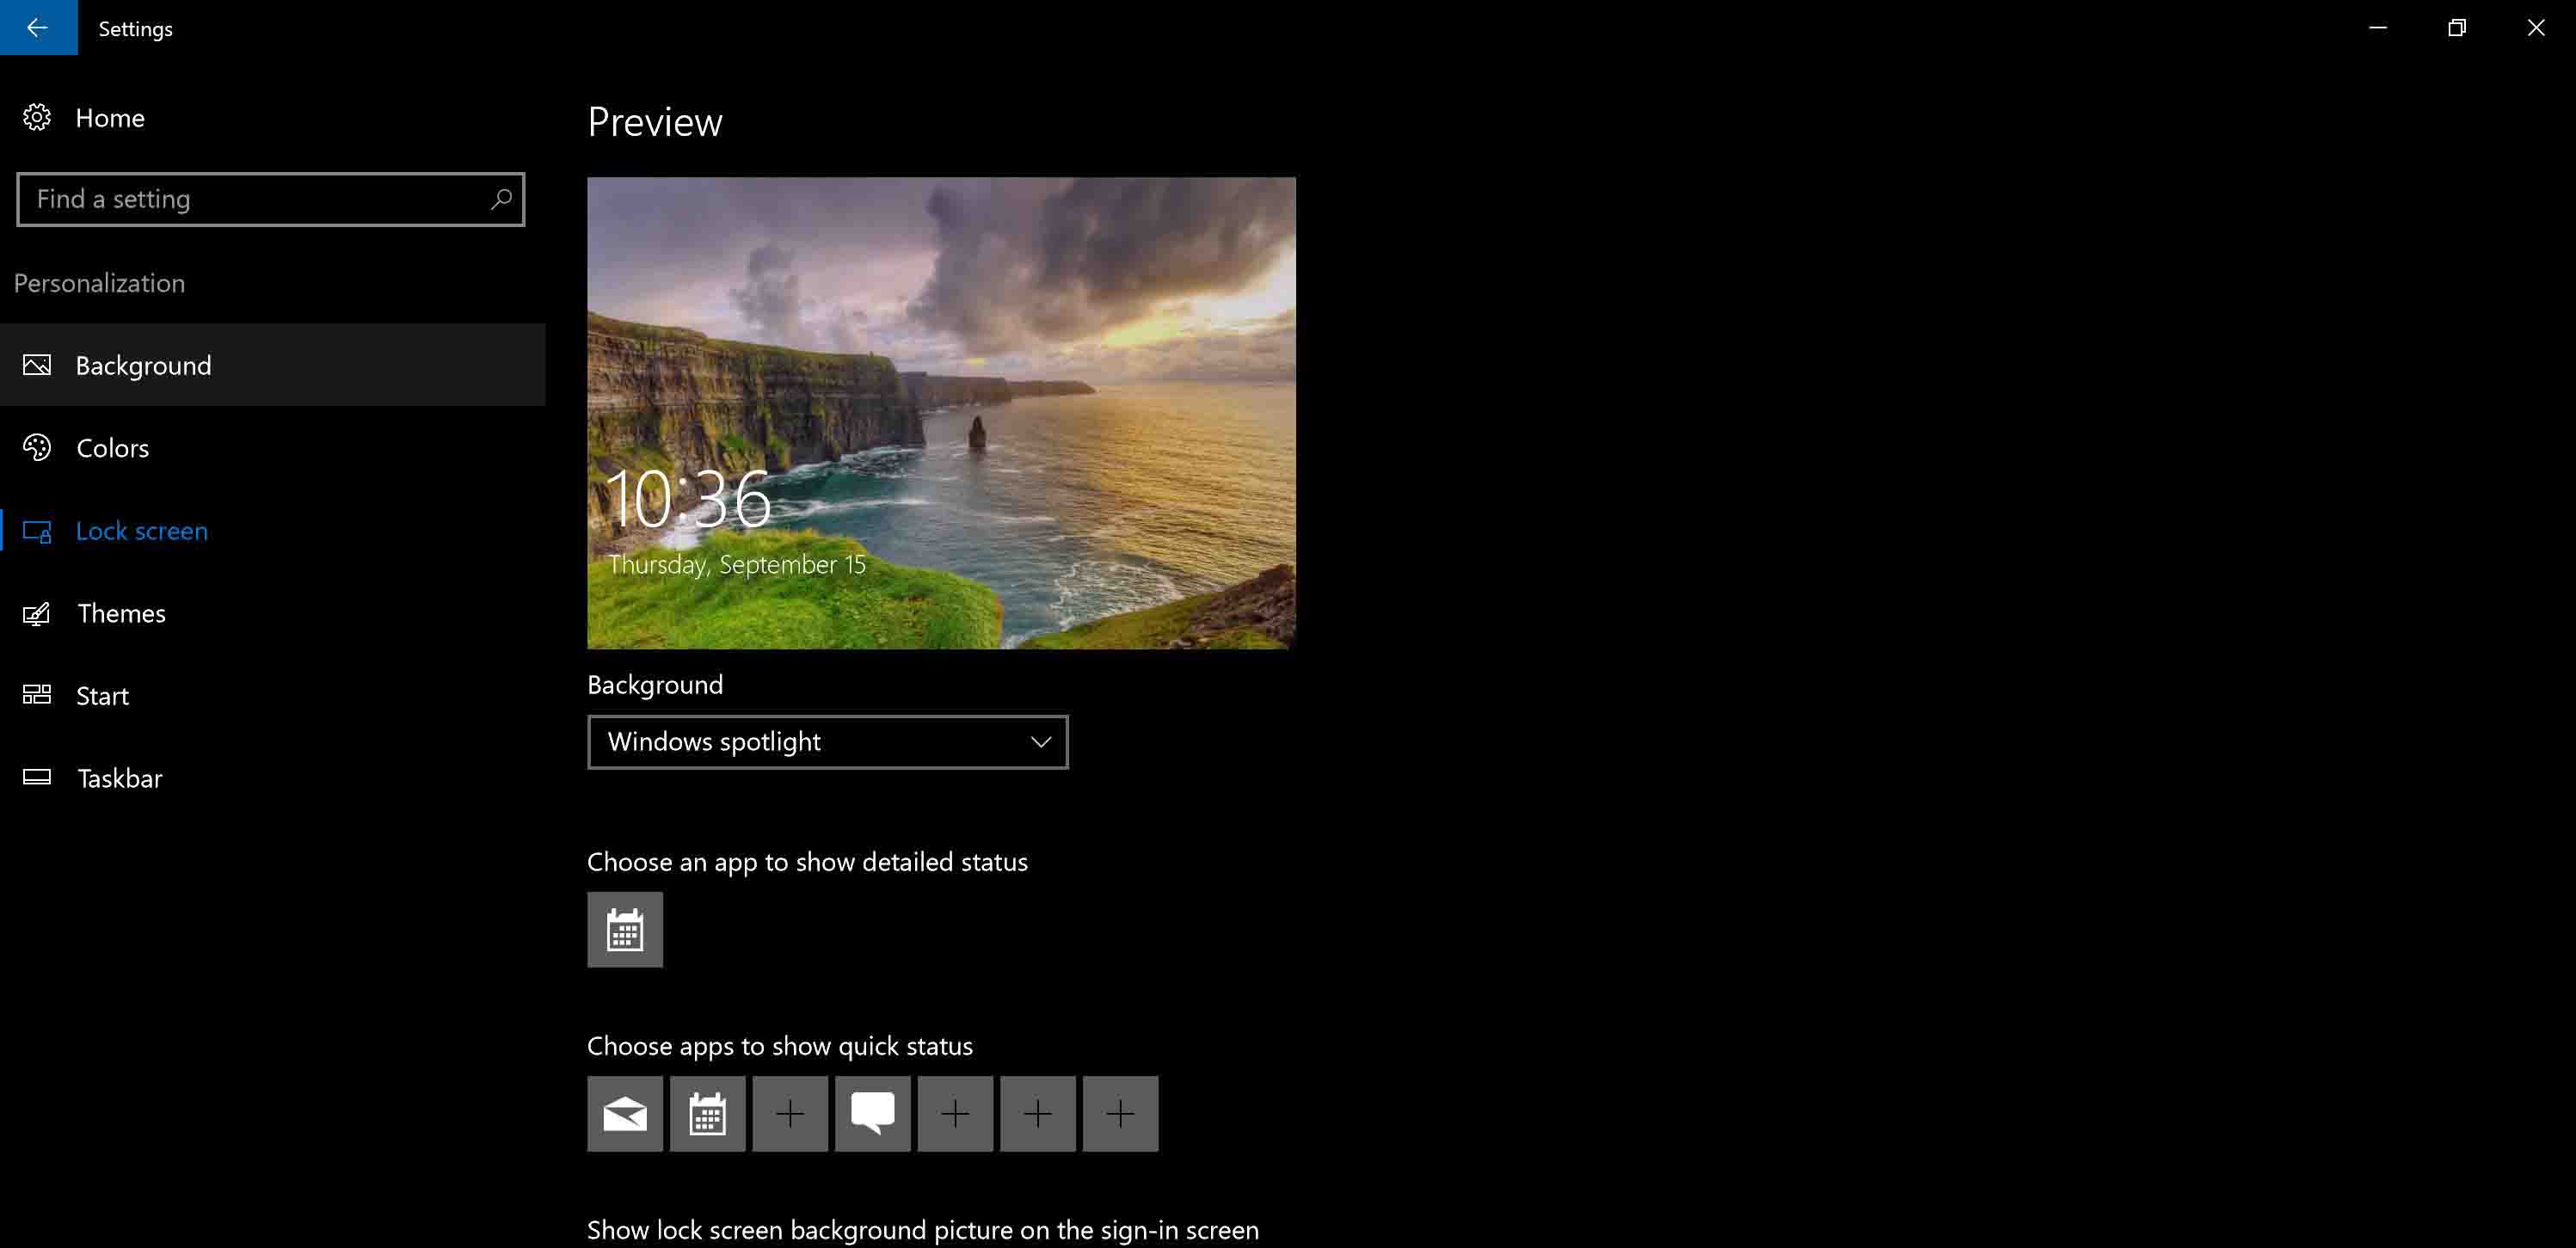
– In the Settings window, select “Personalization” and then “Lock screen” from the left-hand menu.
– Make sure that “Windows Spotlight” is selected under the “Background” dropdown menu.
2. Reset the Windows Spotlight settings:
– Press the Windows key + R to open the Run dialog box.
– Type “cmd” and press Enter to open the Command Prompt.
– In the Command Prompt, type “cd %LOCALAPPDATA%\Packages\Microsoft.Windows.ContentDeliveryManager_cw5n1h2txyewy\LocalState\Assets” and press Enter.
– Type “del *” and press Enter to delete all the files in the Assets folder.
– Close the Command Prompt and restart your computer.
3. Clear the Windows Spotlight cache:
– Press the Windows key + R to open the Run dialog box.
– Type “%LOCALAPPDATA%\Packages\Microsoft.Windows.ContentDeliveryManager_cw5n1h2txyewy\Settings” and press Enter.
– In the Settings folder, locate and delete the files named “settings.dat” and “roaming.lock“.
– Restart your computer.
4. Check your network connection:
– Make sure you have a stable internet connection.
– Check if you are connected to a Wi-Fi network or have internet access.
5. Update Windows:
– Open the Start menu and click on the Settings icon.
– In the Settings window, select “Update & Security” and then “Windows Update” from the left-hand menu.
– Click on “Check for updates” and install any available updates.
If none of these steps resolve the issue, you can try performing a System Restore to revert your computer back to a previous state when the Windows Spotlight images were working fine. Alternatively, you can try using a different lock screen background option or a third-party application to display images on your lock screen.
Troubleshooting Basics: Ensure Proper Setup
To troubleshoot Windows Spotlight images not showing, it is important to ensure proper setup. Follow these steps:
1. Check the Taskbar: Right-click on the Taskbar and select “Taskbar settings.” Make sure the “Windows spotlight” option is selected under the “Background” dropdown menu.
2. Verify Windows 10 version: Press the Windows key + I to open the Settings app. Go to “System” and then “About” to check if you are running the latest version of Windows 10. If not, update your operating system using Windows Update.
3. Reset File Explorer: Open File Explorer and click on “View” in the top menu. Select “Options” and then click on the “Reset Folders” button under the “View” tab. Restart your computer after resetting.
4. Reboot your computer: Sometimes a simple reboot can resolve the issue. Press the Windows key, click on the power button, and select “Restart.”
5. Check for Windows Update: Open the Settings app and go to “Update & Security.” Click on “Check for updates” to make sure your system is up to date.
6. Use PowerShell: Press the Windows key + X and select “Windows PowerShell (Admin)” to open PowerShell with administrative privileges. Type the following command and press Enter: Get-AppXPackage -AllUsers | Foreach {Add-AppxPackage -DisableDevelopmentMode -Register “$($_.InstallLocation)\AppXManifest.xml”} This will re-register all the built-in Windows apps.
7. Create a new user profile: Press the Windows key + I to open the Settings app. Go to “Accounts” and then “Family & other users.” Click on “Add someone else to this PC” and follow the prompts to create a new user profile. Sign in to this new profile and check if the images are showing.
8. Use System Restore: If the issue started recently, you can try using System Restore to revert your system back to a previous state where the images were working. Press the Windows key + R, type “rstrui.exe,” and press Enter to open System Restore.
Advanced Fixes: Registry and PowerShell Solutions
![]()
If you’re experiencing issues with Windows Spotlight images not showing, you can try some advanced fixes using Registry and PowerShell. These solutions can help resolve the problem and get the images to display properly again.
To begin, it’s important to note that modifying the registry can be risky, so it’s recommended to create a backup before proceeding. Here’s what you can do:
1. Press the Windows key + R to open the Run dialog box, then type regedit and press Enter to open the Registry Editor.
2. Navigate to the following key: HKEY_CURRENT_USER\Software\Microsoft\Windows\CurrentVersion\ContentDeliveryManager
3. Right-click on an empty space in the right pane and select New > DWORD (32-bit) Value. Name the new value RotatingLockScreenEnabled.
4. Double-click on the new value and set its Value data to 1. Click OK to save the changes.
5. Restart your computer and check if the Windows Spotlight images are now showing.
If the above steps didn’t resolve the issue, you can also try using PowerShell to fix it. Here’s what you need to do:
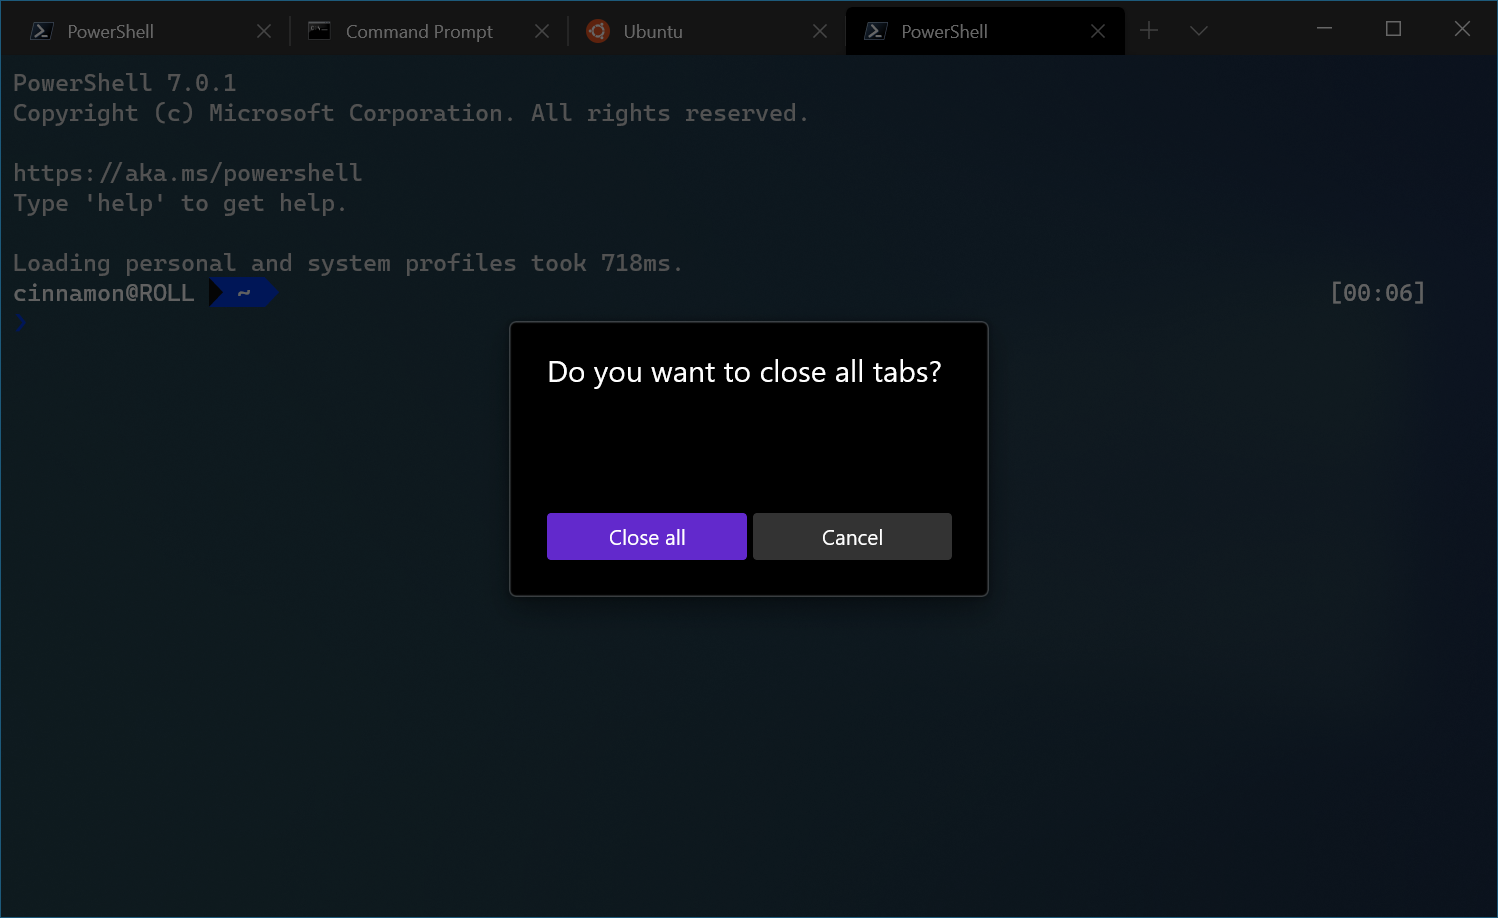
1. Press the Windows key + X and select Windows PowerShell (Admin) to open PowerShell with administrative privileges.
2. Type the following command and press Enter to execute it: Get-AppXPackage -AllUsers | Foreach {Add-AppxPackage -DisableDevelopmentMode -Register “$($_.InstallLocation)\AppXManifest.xml”}
3. Wait for the command to complete, then restart your computer.
By following these advanced fixes using Registry and PowerShell, you should be able to resolve the issue of Windows Spotlight images not showing. Remember to proceed with caution when modifying the registry and create a backup beforehand.
If you’re still experiencing the issue after trying these solutions, it’s recommended to seek further assistance from Microsoft support or consult online forums for additional troubleshooting steps.
Resetting Spotlight Assets
- Open File Explorer by pressing Win + E on your keyboard.
- Navigate to the following location: C:\Users\%username%\AppData\Local\Packages\Microsoft.Windows.ContentDeliveryManager_cw5n1h2txyewy\LocalState\Assets.
- Select all the files in the Assets folder and delete them.
- Open Command Prompt by typing cmd in the search bar and selecting Command Prompt from the results.
- Type the following command and press Enter: CD %UserProfile%\AppData\Local\Packages\Microsoft.Windows.ContentDeliveryManager_cw5n1h2txyewy\Settings.
- Type the command del roaming.lock and press Enter.
- Close Command Prompt.
- Press Win + I to open the Settings app.
- Go to Personalization and select Lock screen from the left panel.
- Under the Background section, select Picture or Slideshow instead of Windows Spotlight.
- Restart your computer.
- After the restart, go back to the Lock screen settings.
- Select Windows Spotlight again.
- Wait for a few minutes and check if the Windows Spotlight images are now showing on your lock screen.
Frequently Asked Questions
Why doesn t Windows Spotlight work anymore?
Windows Spotlight may not work anymore due to a Windows Update crash or corruption in image files or the Windows Spotlight system files.
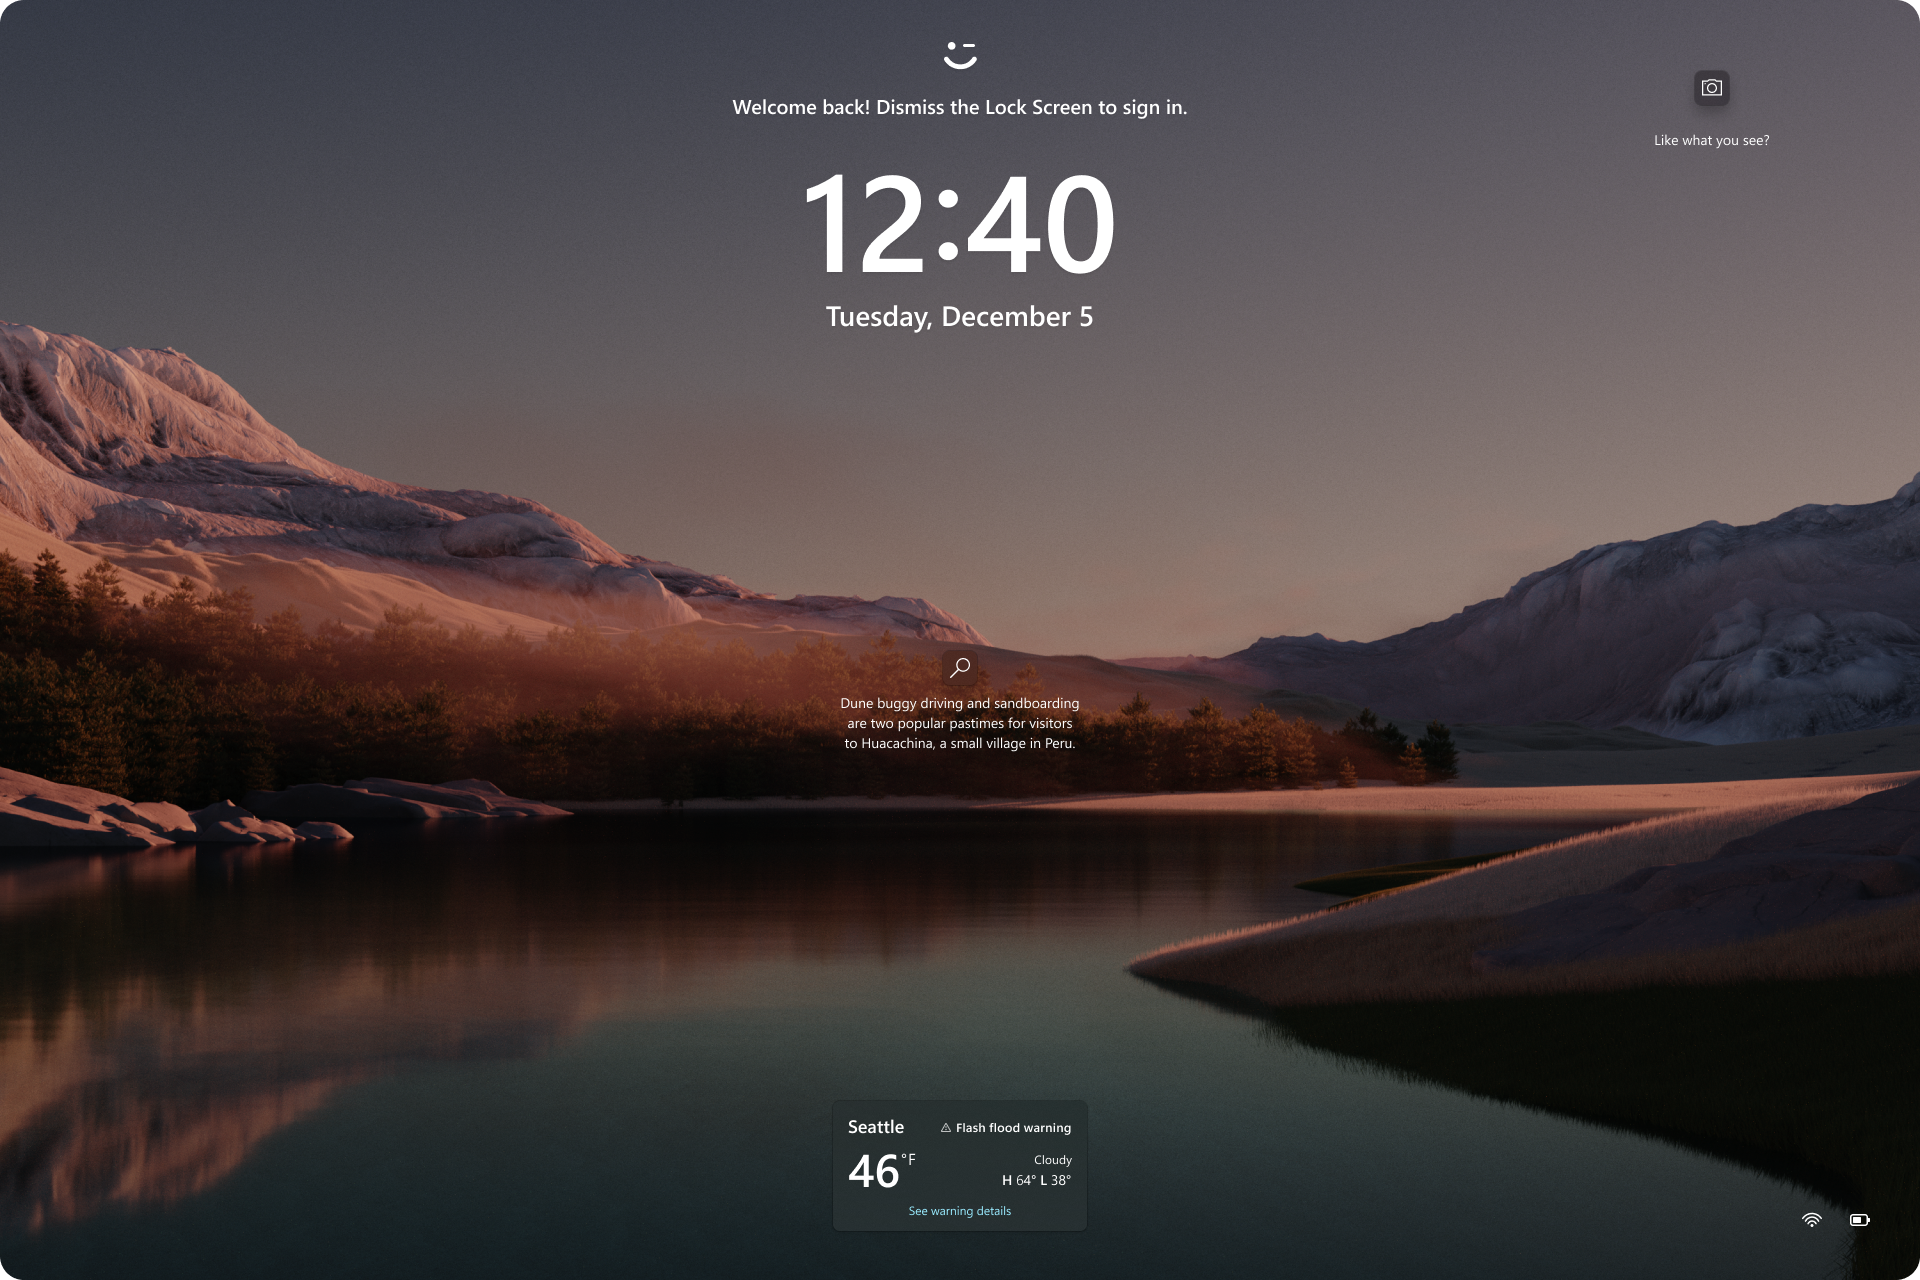
How do I enable Windows Spotlight images?
To enable Windows Spotlight images, go to Start > Settings > Personalization > Lock screen. Ensure that the “Show lock screen background picture on the sign-in screen” option is turned on.
How do I fix Spotlight not working in Windows 11?
To fix Spotlight not working in Windows 11, you can try the following steps:
Make sure you have a stable internet connection.
Reset Windows Spotlight by opening Settings.
Delete the Windows Spotlight cache.
Ensure that the Metered Connection is turned off.
Use the System Maintenance Troubleshooter to resolve any issues.
