Connecting your iPhone to iTunes on Windows 10 is a straightforward process that allows you to manage your device’s content effortlessly.
Download and Install iTunes
1. Visit the Apple website: Open your preferred web browser and go to the Apple website.
2. Go to the iTunes download page: Navigate to the iTunes download page on the Apple website. Look for the “Download iTunes” button and click on it.
3. Start the download: Once you click the download button, the iTunes installer will start downloading to your computer.
4. Open the installer: Locate the downloaded file (usually in your Downloads folder) and double-click on it to open the installer.
5. Install iTunes: Follow the instructions provided by the installer to complete the installation process. You may need to agree to the terms and conditions and choose your preferred installation options.
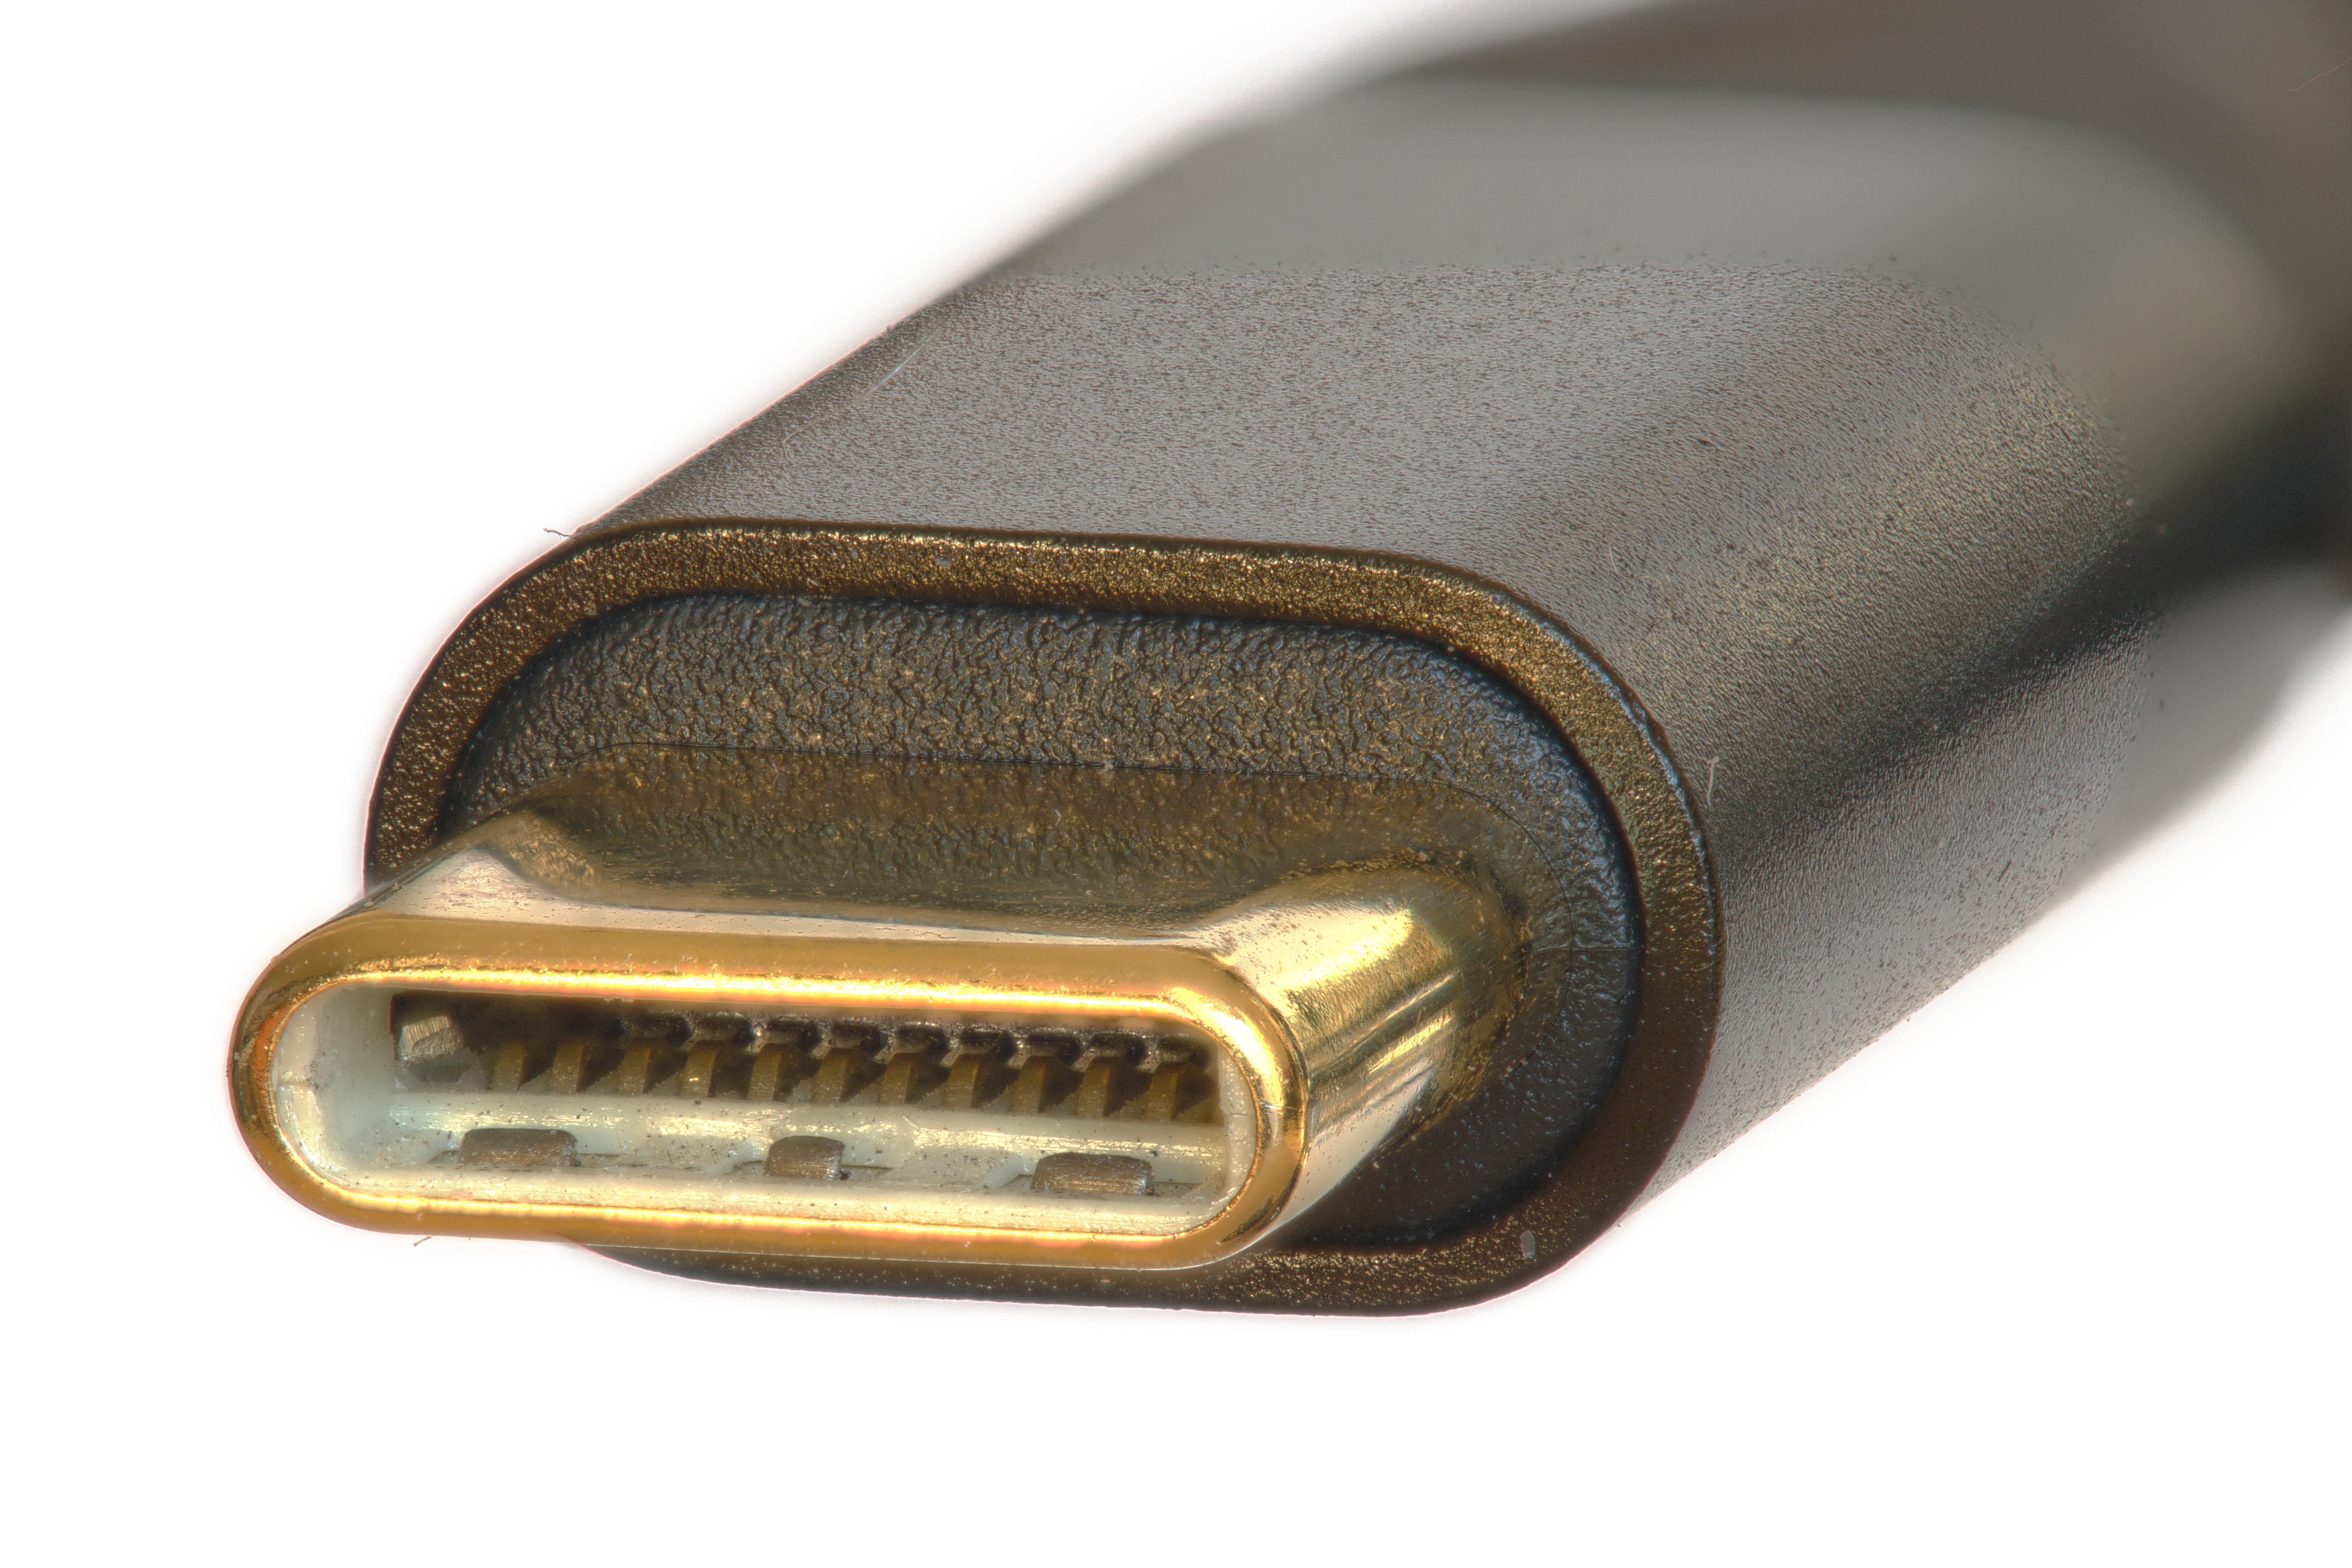
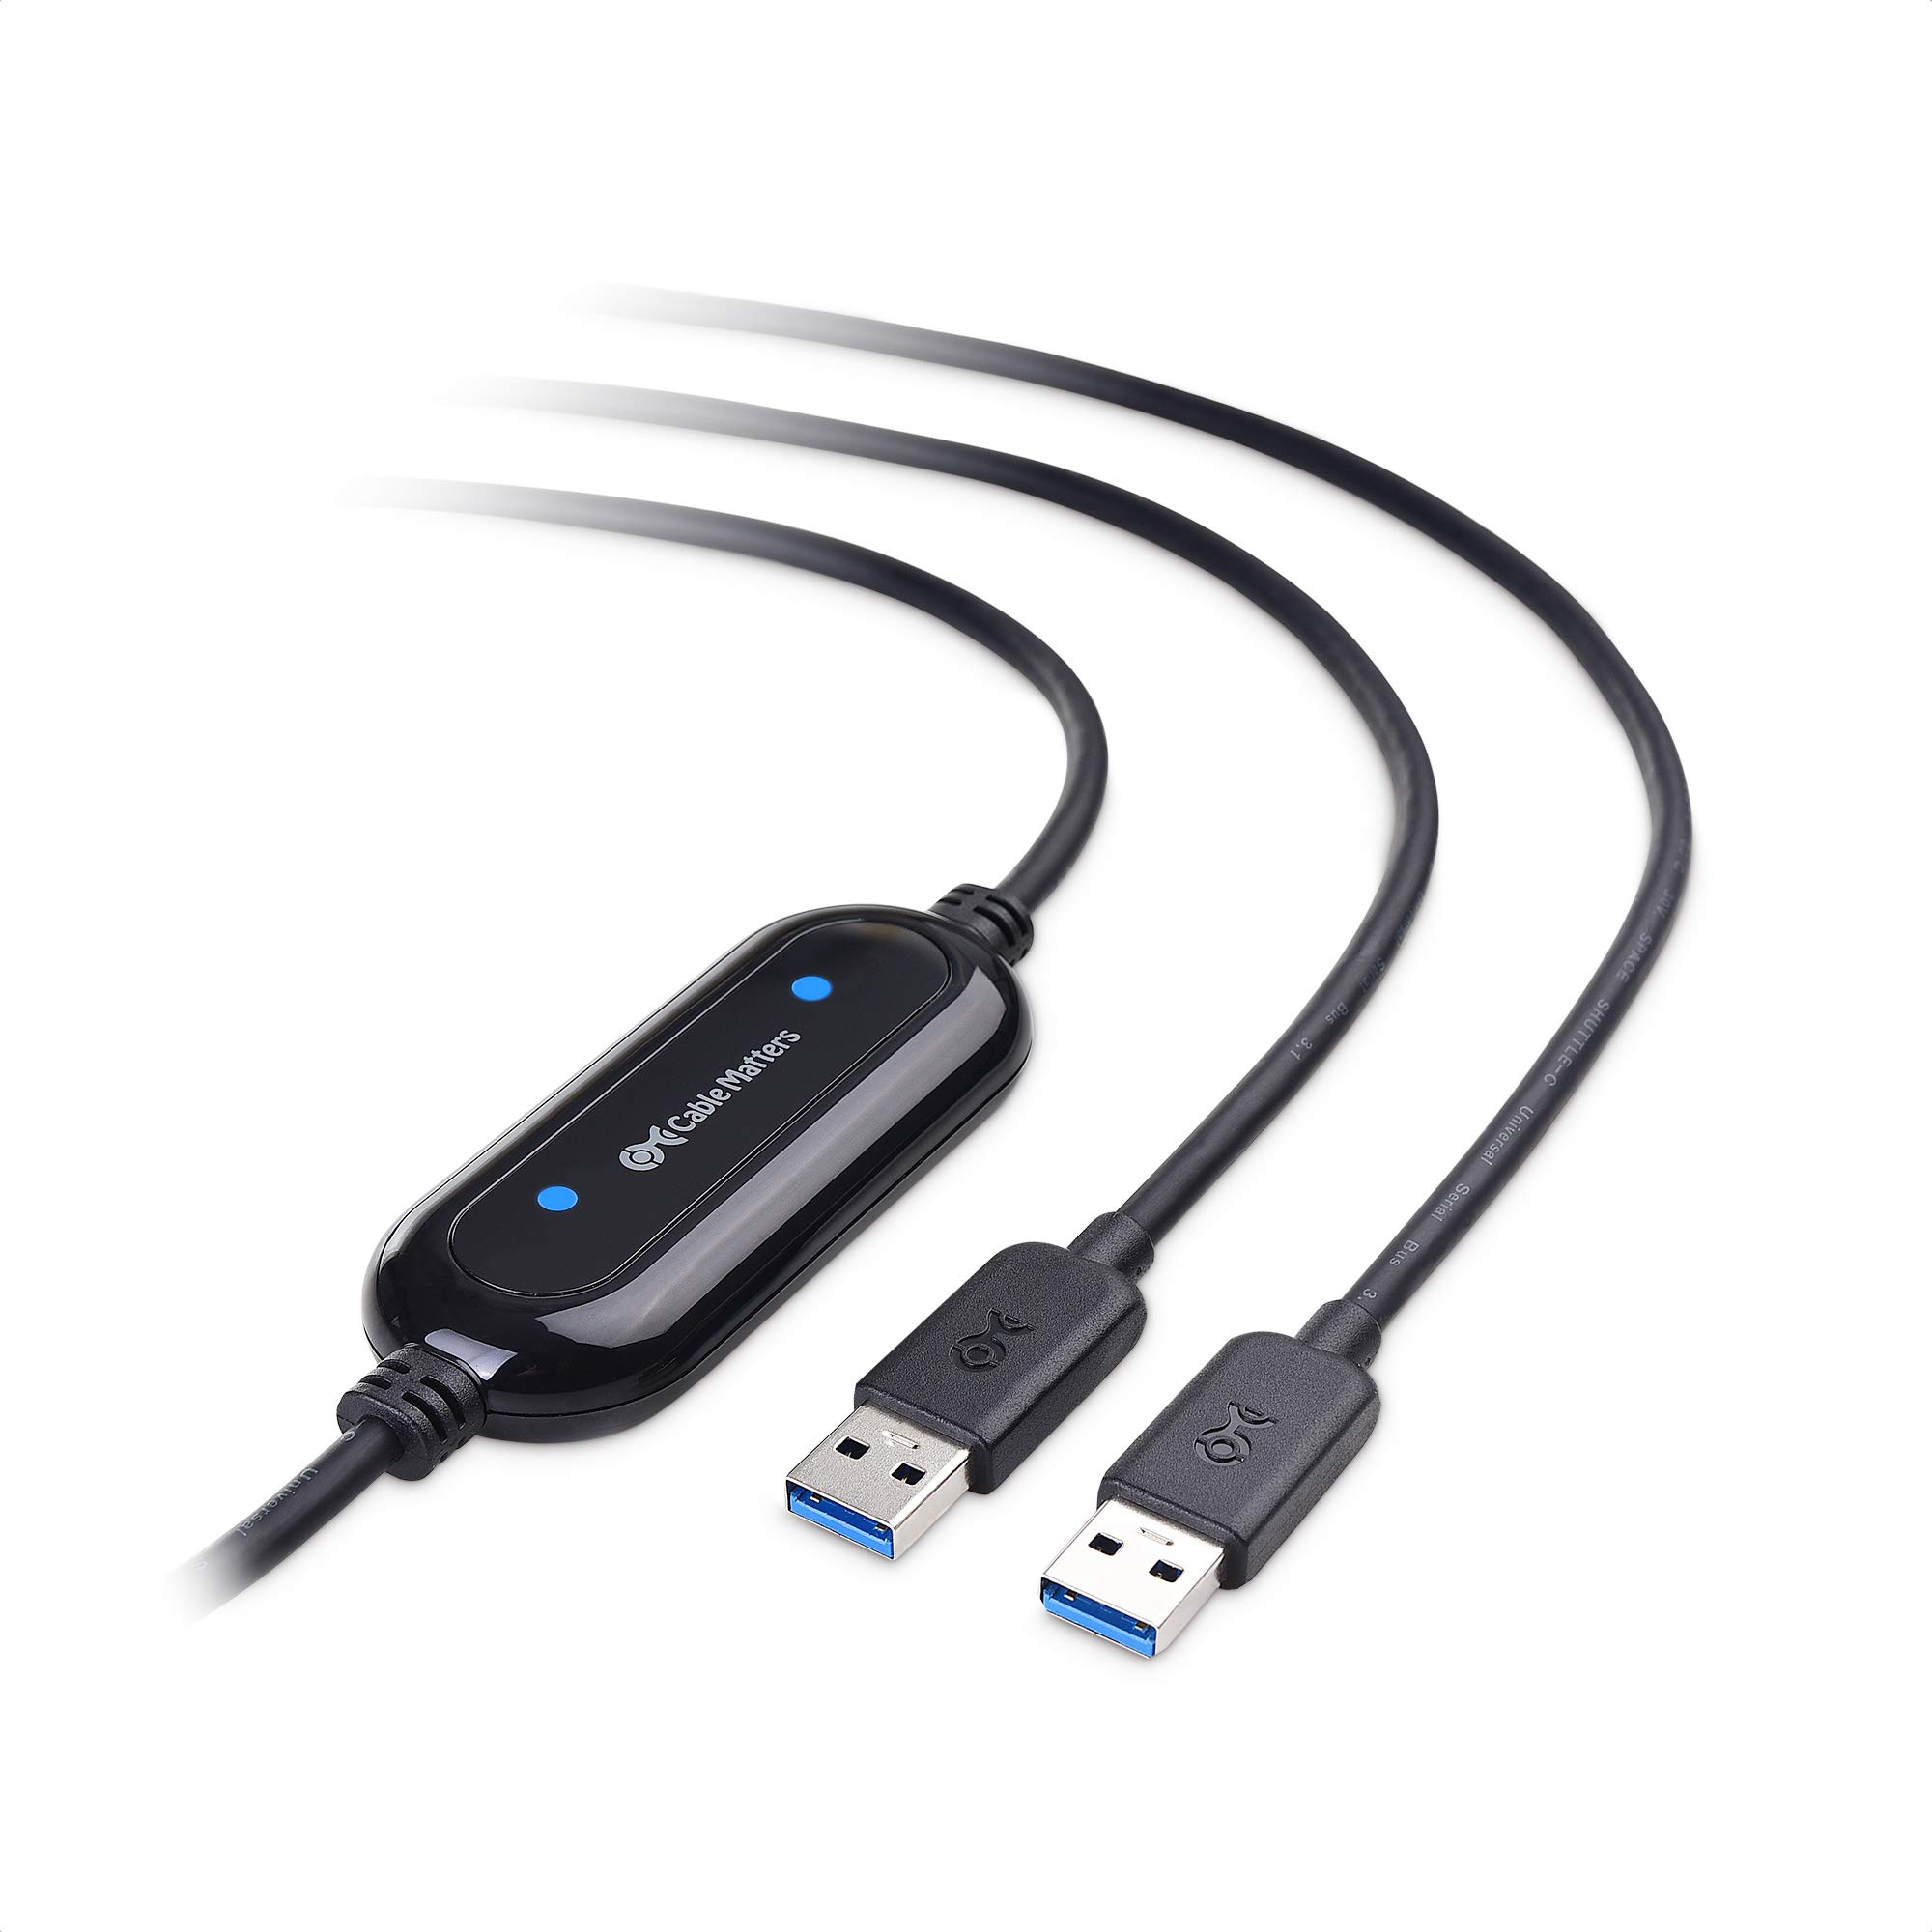
6. Connect your iPhone: After installing iTunes, connect your iPhone to your Windows 10 computer using a USB cable. Make sure your iPhone is unlocked and on the home screen.
7. Trust the computer: When you connect your iPhone for the first time, a message will appear on your iPhone asking if you trust this computer. Tap “Trust” to proceed.
8. Launch iTunes: Once your iPhone is connected and trusted, iTunes should automatically launch. If it doesn’t, you can manually open iTunes from your desktop or Start menu.
9. Set up synchronization: In iTunes, you will see an iPhone icon in the upper-left corner. Click on it to access your iPhone’s settings. From here, you can choose what content to sync with your iPhone, such as music, photos, and apps.
10. Sync your iPhone: To sync your iPhone with iTunes, click on the “Sync” button in the lower-right corner of the iTunes window. This will transfer the selected content from your computer to your iPhone.
Remember to keep your iPhone connected to your computer via USB during the syncing process.
That’s it! You have successfully downloaded and installed iTunes on your Windows 10 computer and connected your iPhone. Now you can manage and sync your iPhone’s content using iTunes.
Connect iPhone and Sync Content
- Connect your iPhone to your computer using a USB cable.
- Locate the USB port on your computer and plug one end of the USB cable into it.

- Take the other end of the USB cable and connect it to the charging port on your iPhone.
- Launch iTunes on your Windows 10 computer.
- Click on the Start menu located at the bottom left corner of your screen.
- Type “iTunes” in the search bar and click on the iTunes app from the search results.
- Authorize your computer to access your iPhone.
- Enter your Apple ID and password when prompted to sign in to your iTunes account.
- If you have two-factor authentication enabled, enter the verification code sent to your trusted device.
- Click on the device icon in iTunes.
- Once iTunes is opened, look for the device icon located near the top-left corner of the iTunes window.
- Click on the device icon to access your iPhone’s settings in iTunes.
- Select the “Sync” option to begin syncing content.
- In the left sidebar of the iTunes window, click on the “Summary” tab.
- Scroll down to the “Options” section and check the box next to “Sync with this iPhone over Wi-Fi” if you want to enable wireless syncing.
- In the “Options” section, choose the specific content you want to sync, such as music, photos, apps, etc.
- Click on the “Apply” or “Sync” button located at the bottom-right corner of the iTunes window to start syncing your selected content.
Manage iPhone Content and Back Up Data
To manage your iPhone content and back up your data, you can easily connect your iPhone to iTunes on Windows 10. Here’s a step-by-step guide on how to do it:
1. Make sure you have the latest version of iTunes installed on your Windows 10 computer. You can download it from the Apple website.
2. Connect your iPhone to your computer using a USB cable. Make sure your iPhone is unlocked and on the home screen.
3. Open iTunes on your Windows 10 computer. If it doesn’t open automatically, you can find it in the Start menu or by searching for it in the taskbar.
4. Once iTunes is open, you should see an iPhone icon at the top-left corner of the iTunes window. Click on it to access your iPhone’s settings.
5. On the left sidebar, you’ll find different options to manage your iPhone content. Let’s explore some of the key features:
– Music: Click on the “Music” tab to manage your iPhone’s music library. You can sync your favorite songs, albums, and playlists from your iTunes library to your iPhone. To add music to your iPhone, simply drag and drop the songs or playlists onto your iPhone icon in iTunes.
– Movies, TV Shows, and Podcasts: You can also manage your iPhone’s video and podcast library using iTunes. Just like with music, you can sync your favorite movies, TV shows, and podcasts to your iPhone.
– Books: If you have audiobooks or ebooks in your iTunes library, you can sync them to your iPhone by clicking on the “Books” tab.
– Photos: To manage your iPhone’s photos and videos, click on the “Photos” tab. You can choose to sync your entire photo library or select specific albums to transfer to your iPhone.
6. Backing up your iPhone is crucial to protect your data. To back up your iPhone to iTunes on Windows 10, simply go to the “Summary” tab and click on the “Back Up Now” button. This will create a backup of your iPhone’s data, including your settings, app data, messages, and more.
7. You can also customize your backup settings by selecting the “This Computer” option under the “Automatically Back Up” section. This ensures that your iPhone is automatically backed up to iTunes whenever it’s connected to your Windows 10 computer.
8. Once you’ve managed your iPhone content and backed up your data, you can safely disconnect your iPhone from your computer. Simply click on the eject button next to your iPhone icon in iTunes, and then unplug the USB cable.
Troubleshoot Connection Issues

| Troubleshoot Connection Issues | |
|---|---|
| Problem | Solution |
| iPhone not recognized by iTunes | 1. Ensure iTunes is up to date. 2. Try using a different USB cable or USB port. 3. Restart your computer and iPhone. 4. Disable any security software that might interfere with the connection. 5. Try connecting the iPhone to a different computer to rule out hardware issues. |
| Error message “iTunes could not connect to this iPhone” | 1. Update iTunes to the latest version. 2. Restart your computer and iPhone. 3. Disable any VPN or proxy settings. 4. Check if your iPhone is trusted on your computer. 5. Reset the Lockdown folder on Windows. |
| iTunes freezes or crashes when connecting iPhone | 1. Update iTunes to the latest version. 2. Restart your computer and iPhone. 3. Disable any security software temporarily. 4. Check for conflicting software or drivers on your computer. 5. Reset the Lockdown folder on Windows. |
| iPhone not showing up in File Explorer | 1. Update iTunes to the latest version. 2. Restart your computer and iPhone. 3. Install Apple Mobile Device USB Driver. 4. Enable “Show hidden files” in File Explorer. 5. Reset the Lockdown folder on Windows. |
| Unable to sync or transfer data | 1. Update iTunes to the latest version. 2. Restart your computer and iPhone. 3. Check if you have enough storage on your iPhone and computer. 4. Reset the Lockdown folder on Windows. 5. Restore your iPhone and set it up as new. |
Frequently Asked Questions
How do I connect my iPhone to iTunes on my computer?
To connect your iPhone to iTunes on your computer, open iTunes and use a USB cable to connect your device. Then, click the device icon in the upper-left corner of the iTunes window. From there, you can select the specific content you want to sync or remove by clicking on the corresponding settings on the left side of the iTunes window.
Why is my iPhone not connecting to iTunes on Windows 10?
Your iPhone may not be connecting to iTunes on Windows 10 due to issues with your computer, USB port, or USB cable. Try using a different port, cable, or computer to troubleshoot the problem. Additionally, check for any debris in the charging port on your iPhone.
How do I get my iTunes Music from my computer to my iPhone?
To get your iTunes Music from your computer to your iPhone, you can use the iTunes app on your PC. Simply click the Device button at the top left of the iTunes window. Then, select the type of content you want to sync, such as Music. It’s important to note that if you use iCloud Photos and Apple Music, your photos and music will automatically sync with iCloud.

