Is your Windows PC experiencing stuttering issues? Discover effective troubleshooting techniques to fix stuttering on your computer.
Update Graphics Card Drivers
To update your graphics card drivers on a Windows PC and fix stuttering issues, follow these steps:
1. Open the Device Manager by pressing the Windows key + X and selecting “Device Manager” from the context menu.
2. Expand the “Display adapters” category to see your graphics card.
3. Right-click on your graphics card and select “Update driver.”
4. Choose the option to search automatically for updated driver software.
5. Windows will search for the latest driver and install it if available.
6. Restart your computer to apply the changes.
Updating your graphics card drivers can help improve performance and resolve stuttering issues caused by outdated or incompatible drivers. It’s important to keep your drivers up to date to ensure optimal performance and compatibility with your hardware and software.
Note: If you’re experiencing persistent stuttering issues, you may also want to check for updates for your operating system, Windows 10 or Windows 11, as well as other device drivers. Additionally, running a malware scan with Microsoft Defender Antivirus or using third-party antivirus software can help rule out any malware-related issues.
Close Unneeded Background Tasks
To fix stuttering on your Windows PC, it’s important to close any unneeded background tasks that may be causing performance issues.
To do this, follow these steps:
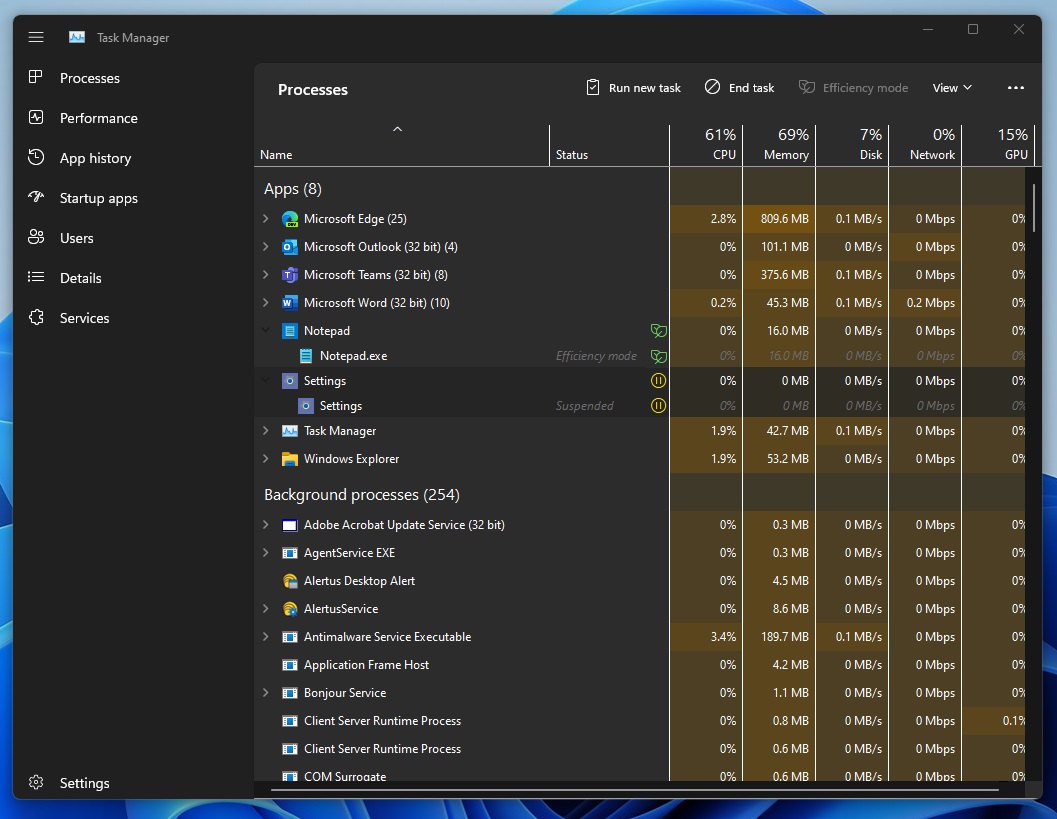
1. Open the Task Manager by pressing Ctrl + Shift + Esc on your keyboard.
2. In the Task Manager window, click on the “Processes” tab.
3. Look for any processes that are using a high amount of CPU, memory, or disk resources.
4. Right-click on the process and select “End Task” to close it.
5. Repeat this process for any other unnecessary background tasks.
Closing unneeded background tasks can help free up system resources and improve overall performance, reducing stuttering and lag on your Windows PC.
It’s also worth considering other factors that may be contributing to stuttering, such as outdated device drivers, software bugs, or malware infections. Make sure to keep your operating system, device drivers, and antivirus software up to date, and regularly scan your system for any potential threats.
By taking these steps, you can optimize your Windows PC and reduce stuttering for a smoother computing experience.
Uninstall Problematic Software
1. Open the Control Panel by pressing the Windows key and typing “Control Panel” in the search bar. Hit Enter.
2. In the Control Panel, click on “Uninstall a program” under the “Programs” category.
3. Look for the software causing the stuttering issue in the list of installed programs.
4. Once you find the software, right-click on it and select “Uninstall” from the context menu.
5. Follow the on-screen prompts to complete the uninstallation process.
6. After uninstalling the software, it’s a good idea to restart your computer to ensure all changes take effect.
If you’re unable to uninstall the software through the Control Panel, you can use a third-party uninstaller program or the software’s own uninstaller tool, if available.
Remember to check your computer for any leftover files or registry entries related to the software and remove them manually if necessary. This can be done by searching for the software’s name in the File Explorer and Registry Editor.
By uninstalling problematic software, you can eliminate potential conflicts and improve the overall performance and stability of your Windows PC.
Adjust Power Management Settings
- Adjust power management settings to optimize performance
- Access the Control Panel by searching for it in the Start menu
- Select the Power Options category
- Choose the High Performance power plan
- Click on Change plan settings next to the selected power plan
- Adjust the advanced power settings by clicking on it
- Expand the Processor power management option
- Set the Minimum processor state to a higher value
- Set the Maximum processor state to 100%
- Click on Apply and then OK to save the changes
Perform a Virus Scan
1. Open your preferred antivirus software. If you don’t have one installed, consider using Microsoft Defender Antivirus, which comes pre-installed on Windows 10 and Windows 11.
2. Launch the antivirus program and navigate to the scan options. Look for a button or tab labeled “Scan” or “Scan Now.”
3. Click on the scan option to start the virus scan. The antivirus software will begin scanning your computer for any malicious files or programs.
4. Wait for the scan to complete. This process may take some time, depending on the size of your hard drive and the number of files on your system.
5. Once the scan is finished, the antivirus software will display the results. If any viruses or malware are detected, follow the recommended actions to quarantine or remove them from your system.
6. After removing any threats, restart your computer to ensure that all changes take effect.
Performing a virus scan regularly can help prevent future stuttering issues and keep your system running smoothly. It is also important to keep your antivirus software and operating system up to date to protect against new threats.
Run System File Checker (SFC) Scan
To fix stuttering on your Windows PC, you can run a System File Checker (SFC) scan. This scan checks for any corrupted or missing system files and automatically repairs them.
Here’s how to run an SFC scan:
1. Open the Command Prompt by pressing the Windows key + R and typing “cmd” in the Run dialog box. Press Enter.
2. In the Command Prompt window, type “sfc /scannow” and press Enter.
3. The scan will begin and may take some time to complete. Do not close the Command Prompt window until the scan is finished.
4. Once the scan is complete, you will see a message indicating whether any errors were found and repaired.
Running an SFC scan can help resolve stuttering issues on your Windows PC by ensuring that all the necessary system files are intact and functioning properly.
Disable Notifications and Action Center
To fix stuttering on your Windows PC, you can disable notifications and the Action Center. These features can sometimes consume resources and cause performance issues. Here’s how to disable them:
1. Open the Control Panel by pressing the Windows key and typing “Control Panel”. Press Enter to open it.
2. In the Control Panel, search for “Notification” in the search bar at the top right corner.
3. Click on “Notification & actions settings” from the search results.
4. In the “Notifications” section, toggle off the “Get notifications from apps and other senders” option. This will disable all notifications from apps.
5. Scroll down and toggle off the “Show me the Windows welcome experience after updates and occasionally when I sign in to highlight what’s new and suggested” option.
6. Next, click on the “Turn system icons on or off” link located below the “Notifications” section.
7. In the “System icons” list, toggle off the “Action Center” option.
8. Close the Control Panel.
By disabling notifications and the Action Center, you can potentially reduce background processes and free up system resources, which may help to fix stuttering on your Windows PC.
Disable Wallpaper Slideshow
- Disable Wallpaper Slideshow: Turn off the feature that automatically changes desktop wallpapers.
Free Up Disk Space
1. Clean up your disk: Open the Disk Cleanup tool by searching for it in the Start menu. Select the drive you want to clean up and check the boxes next to the types of files you want to delete. Click “OK” and then “Delete Files” to remove unnecessary files and free up disk space.
2. Uninstall unnecessary programs: Open the Control Panel and click on “Uninstall a program” under the “Programs” category. Select the programs you no longer need and click “Uninstall” to remove them from your PC and free up disk space.
3. Remove temporary files: Press the Windows key + R to open the Run dialog box. Type “%temp%” and click “OK” to open the Temporary folder. Select all the files and folders inside, and press the “Delete” key to remove them and free up disk space.
4. Disable hibernation: Open the Command Prompt as an administrator by searching for “cmd” in the Start menu, right-clicking on “Command Prompt,” and selecting “Run as administrator.” Type “powercfg -h off” and press Enter to disable hibernation and free up disk space.
5. Move files to an external storage device: If you have large files or folders that you don’t need immediate access to, consider moving them to an external storage device like a USB flash drive or an external hard drive. This will help free up disk space on your PC.
Disable and Re-enable CD/DVD Drive
To disable and re-enable your CD/DVD drive on your Windows PC, follow these simple steps:
1. Open the Device Manager by pressing the Windows key + X and selecting “Device Manager” from the menu.
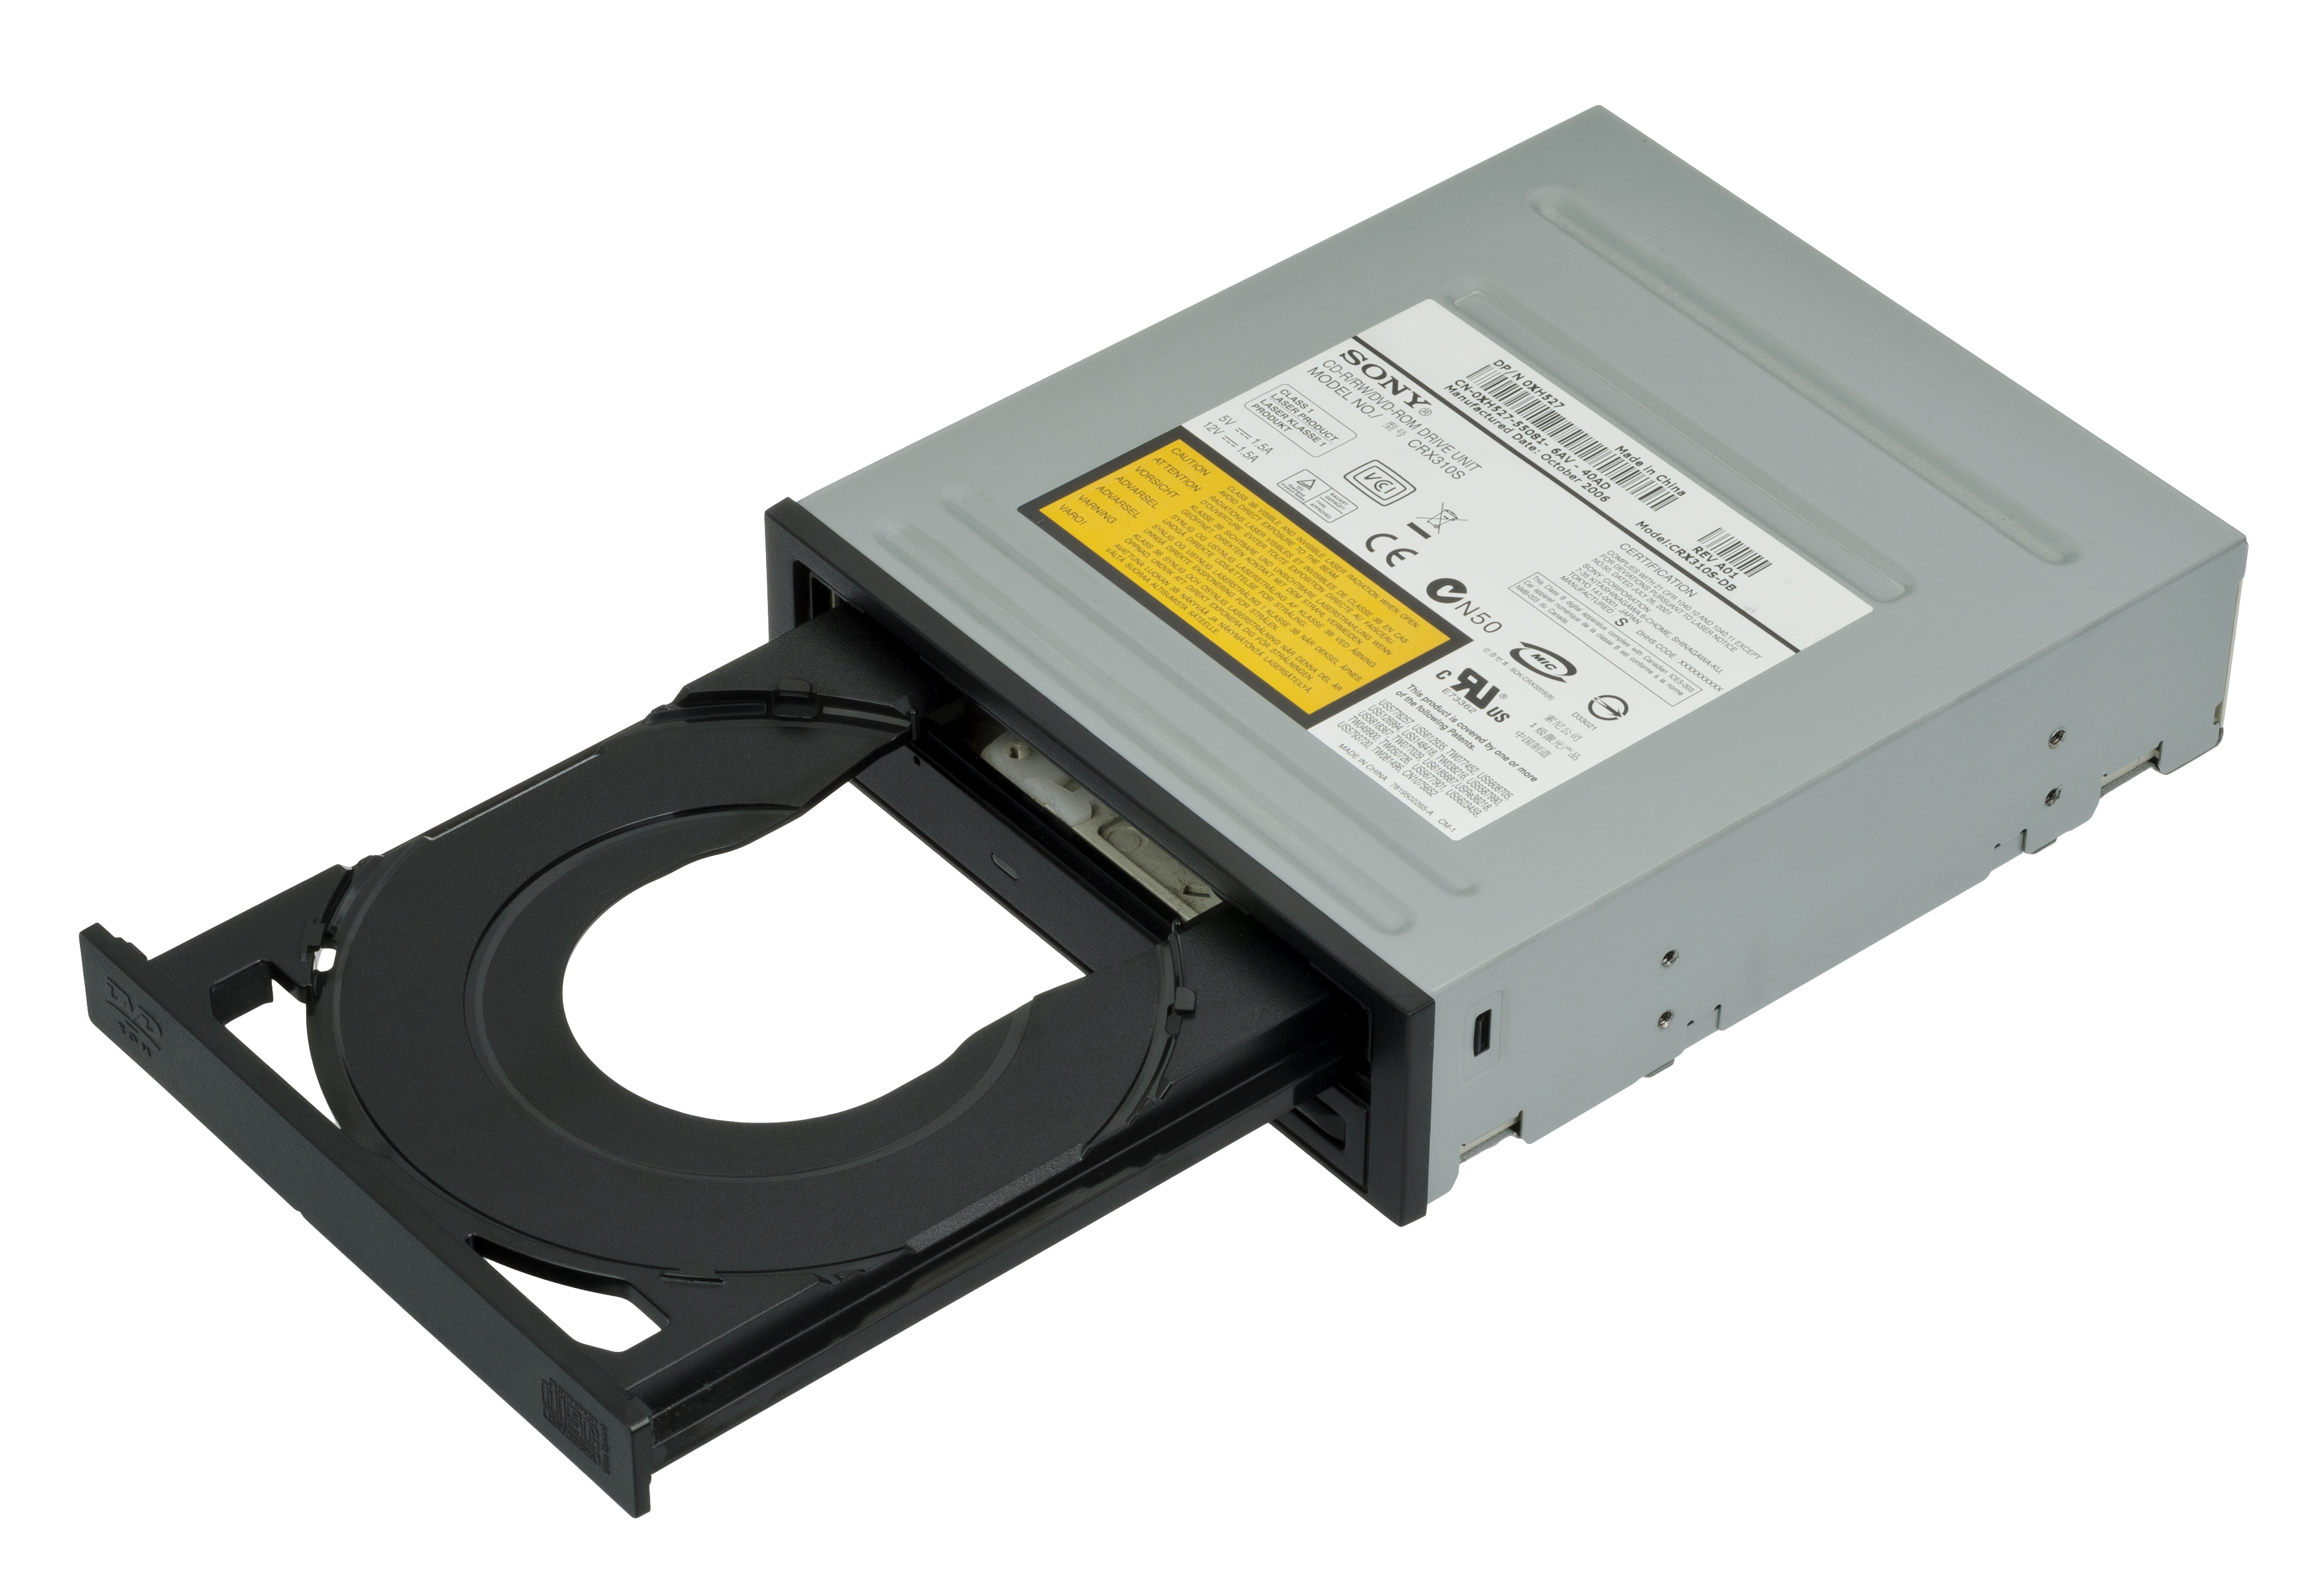
2. In the Device Manager window, expand the “DVD/CD-ROM drives” category.
3. Right-click on your CD/DVD drive and select “Disable device” from the context menu. This will disable the drive.
4. After a few seconds, right-click on the disabled CD/DVD drive again and select “Enable device” from the context menu. This will re-enable the drive.
By disabling and re-enabling your CD/DVD drive, you can troubleshoot and fix any stuttering issues you may be experiencing. This process can also help if you’re encountering problems with the drive not reading discs or being recognized by your computer.
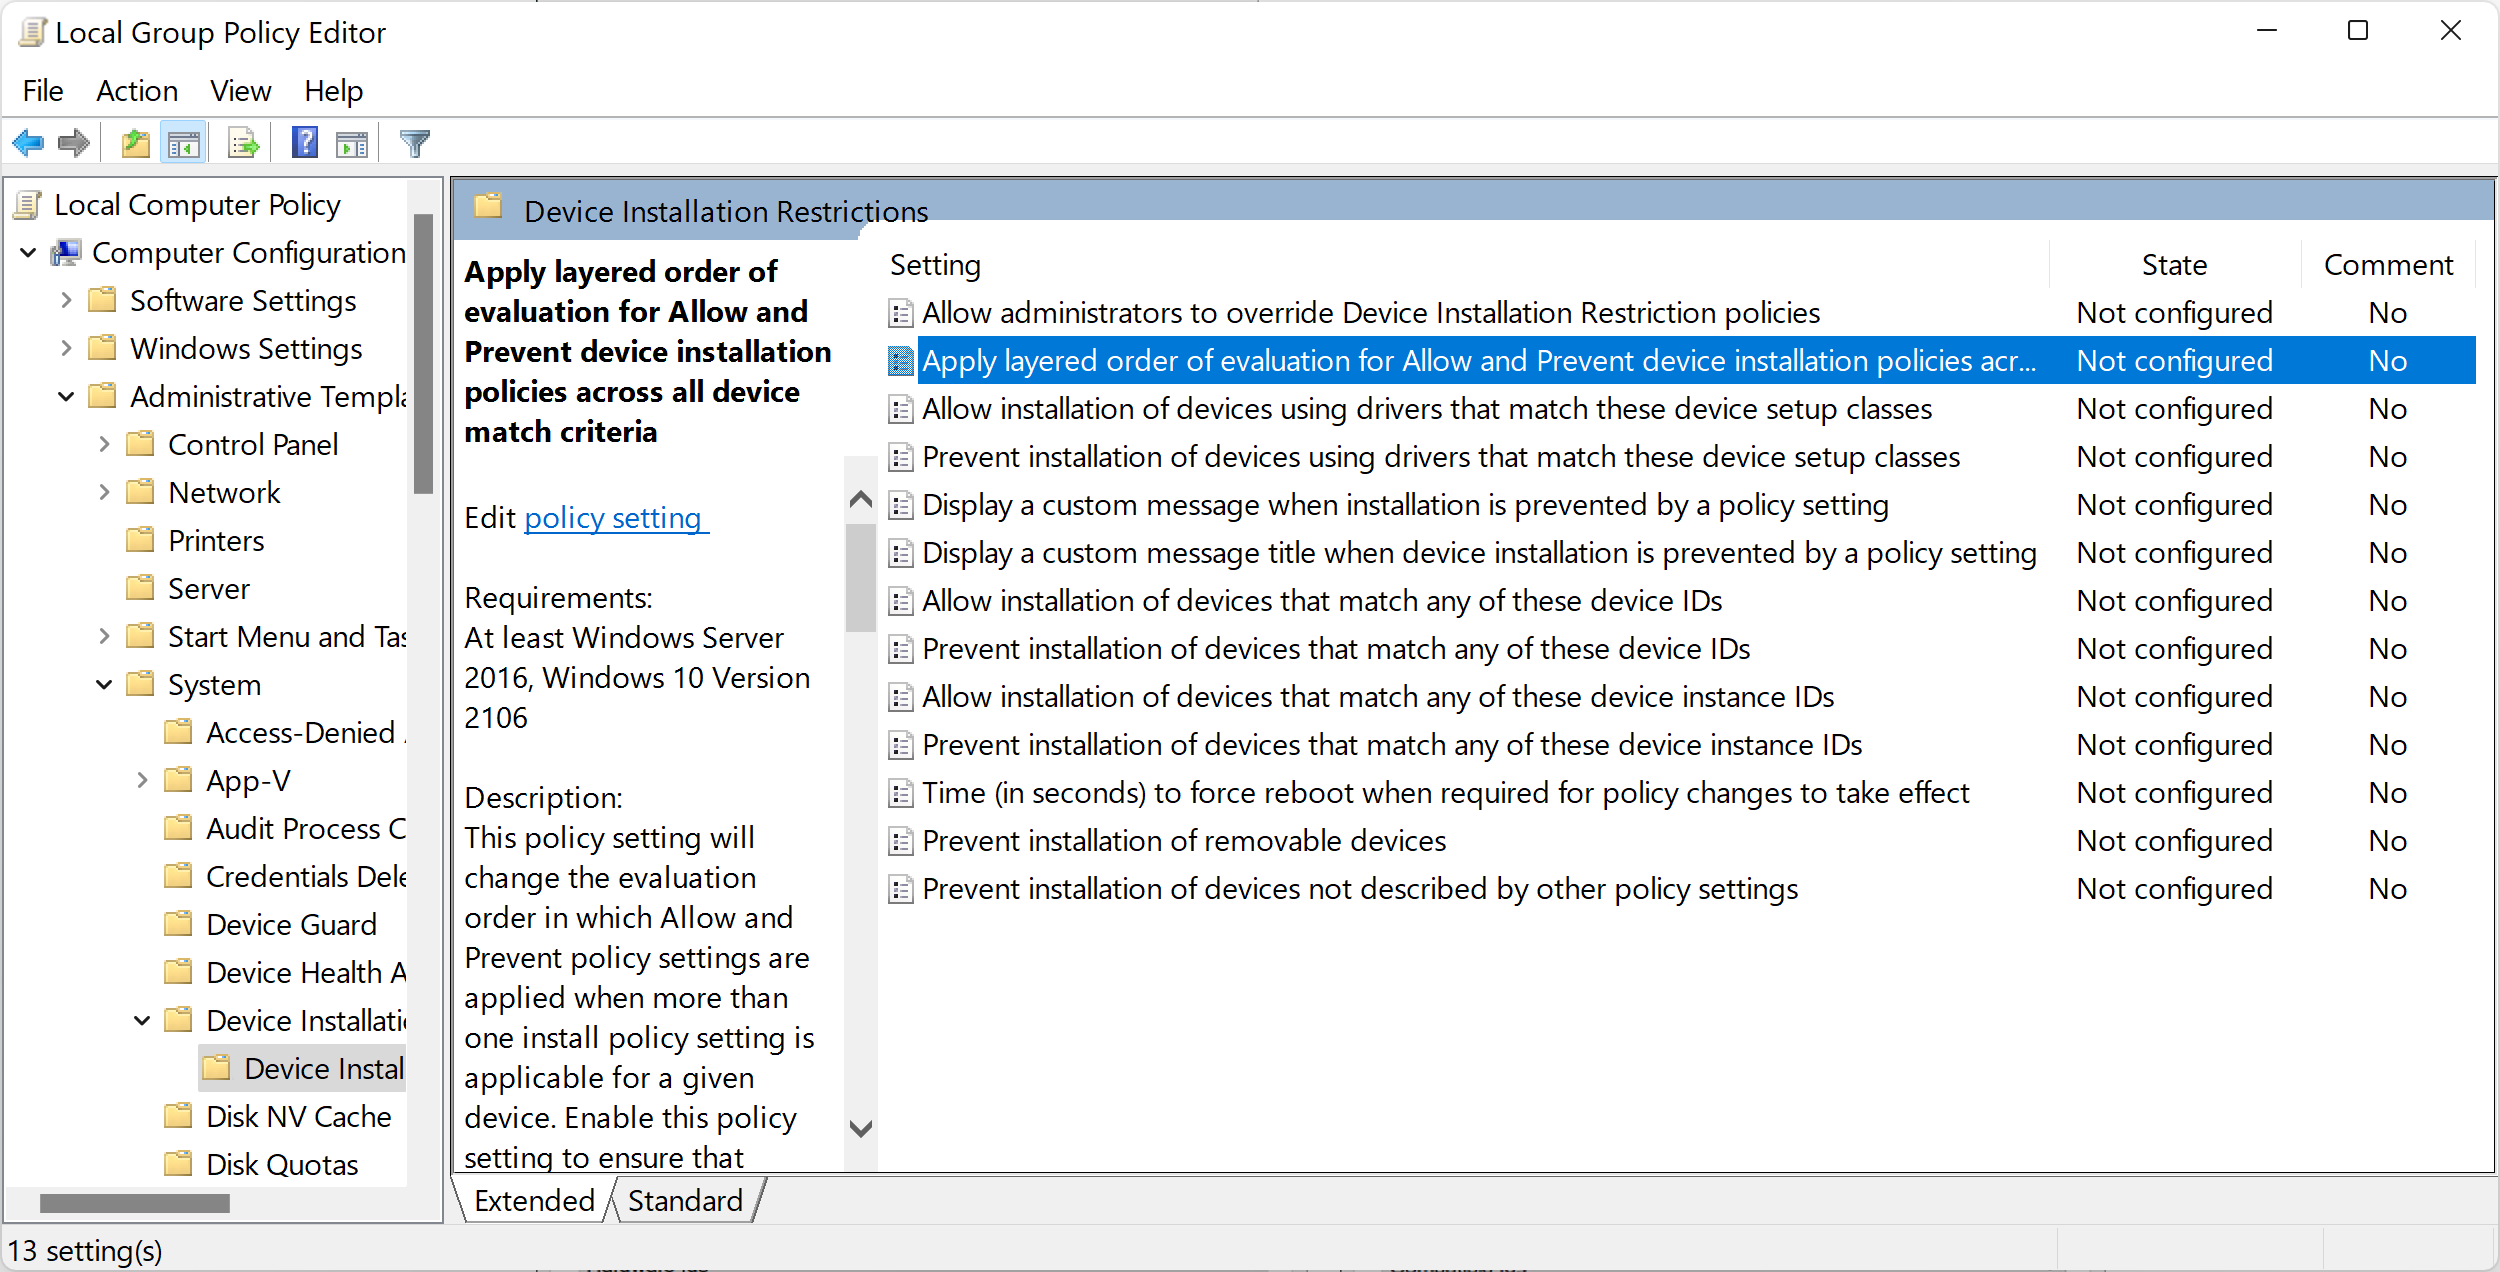
Address Software Compatibility Issues
![]()
- Update software: Ensure that all software, including the operating system and applications, are up to date to avoid compatibility issues.
- Check system requirements: Verify if the software you are using is compatible with your Windows PC by reviewing the system requirements specified by the software developer.
- Install compatibility patches: Some software may require additional patches or updates to function properly on certain Windows versions. Look for these patches on the developer’s website.
- Disable conflicting programs: Identify and disable any unnecessary background programs or services that could potentially conflict with the software causing stuttering issues.
- Run software in compatibility mode: Right-click on the software’s shortcut or executable file, go to Properties, and select the compatibility tab. Enable compatibility mode and choose the appropriate Windows version the software is designed for.
- Update drivers: Ensure that your system’s drivers, especially graphics and audio drivers, are up to date. Check the manufacturer’s website for the latest driver versions.
- Adjust visual effects: Reduce the visual effects on your Windows PC by going to System Properties > Advanced system settings > Performance > Settings. Select “Adjust for best performance” or customize the settings to minimize system resource usage.
- Disable unnecessary startup programs: Open the Task Manager (Ctrl + Shift + Esc), go to the Startup tab, and disable any programs that are not essential for your PC’s operation.
- Scan for malware: Perform a thorough scan of your computer using reliable antivirus software to detect and remove any malicious programs that could be causing software compatibility issues.
- Reinstall problematic software: If the software continues to stutter, try uninstalling and reinstalling it to ensure a fresh installation and resolve any potential conflicts.
FAQ
How do I stop my computer from stuttering?
To stop your computer from stuttering, you can try the following methods:
1. Disable and then re-enable the CD/DVD drive.
2. Close any unnecessary background tasks.
3. Uninstall any problematic applications.
4. Adjust the power management settings.
5. Disable notifications and the Action Center.
Is my CPU causing stuttering?
Your CPU may be causing stuttering if it is experiencing high usage or if your GPU usage and RAM are also overloaded.
Why is my high end PC stuttering?
Your high-end PC may be experiencing stuttering due to faulty hardware components or incompatible drivers. It is important to check for any hardware issues, such as a malfunctioning GPU, and address them accordingly.
How do I get rid of screen stuttering?
To get rid of screen stuttering, ensure your graphics drivers are up to date and adjust the refresh rate of your monitor for smoother motion and less stuttering.
