Having trouble with Windows 10 printer recognition? Let’s troubleshoot.
Initial Steps for Troubleshooting
1. Check the physical connections: Ensure that your printer is properly connected to your computer via a USB cable or through a network connection. Make sure the printer is turned on and that there are no loose cables.
2. Verify printer compatibility: Ensure that your printer is compatible with Windows 10. Check the manufacturer’s website for any specific drivers or software updates for Windows 10.
3. Check for printer driver issues: Open the Start menu and type “Device Manager” in the search bar. Click on the Device Manager app to open it. Expand the “Printers” category and look for any items with a yellow exclamation mark. Right-click on the problematic printer, select “Update driver,” and follow the on-screen instructions.
4. Run Windows Update: Open the Start menu and type “Windows Update” in the search bar. Click on “Windows Update settings” to open the Windows Update menu. Click on “Check for updates” and install any available updates for your computer, including printer-related updates.
5. Restart your computer and printer: Sometimes a simple restart can resolve recognition issues. Turn off your computer and printer, wait for a few minutes, and then turn them back on.
6. Reset the print spooler: Open the Start menu and type “Services” in the search bar. Click on the “Services” app to open it. Scroll down and locate the “Print Spooler” service. Right-click on it and select “Restart” from the context menu. If the service is not running, select “Start” instead.
Verify Network and USB Connections

1. Check Network Connection:
– Ensure that your printer is connected to the same network as your computer.
– Verify that the network cables are securely plugged in at both ends.
– If using a wireless connection, make sure that the printer’s Wi-Fi is enabled and connected to the correct network.
– Restart both your printer and computer to refresh the network connection.
2. Verify USB Connection:
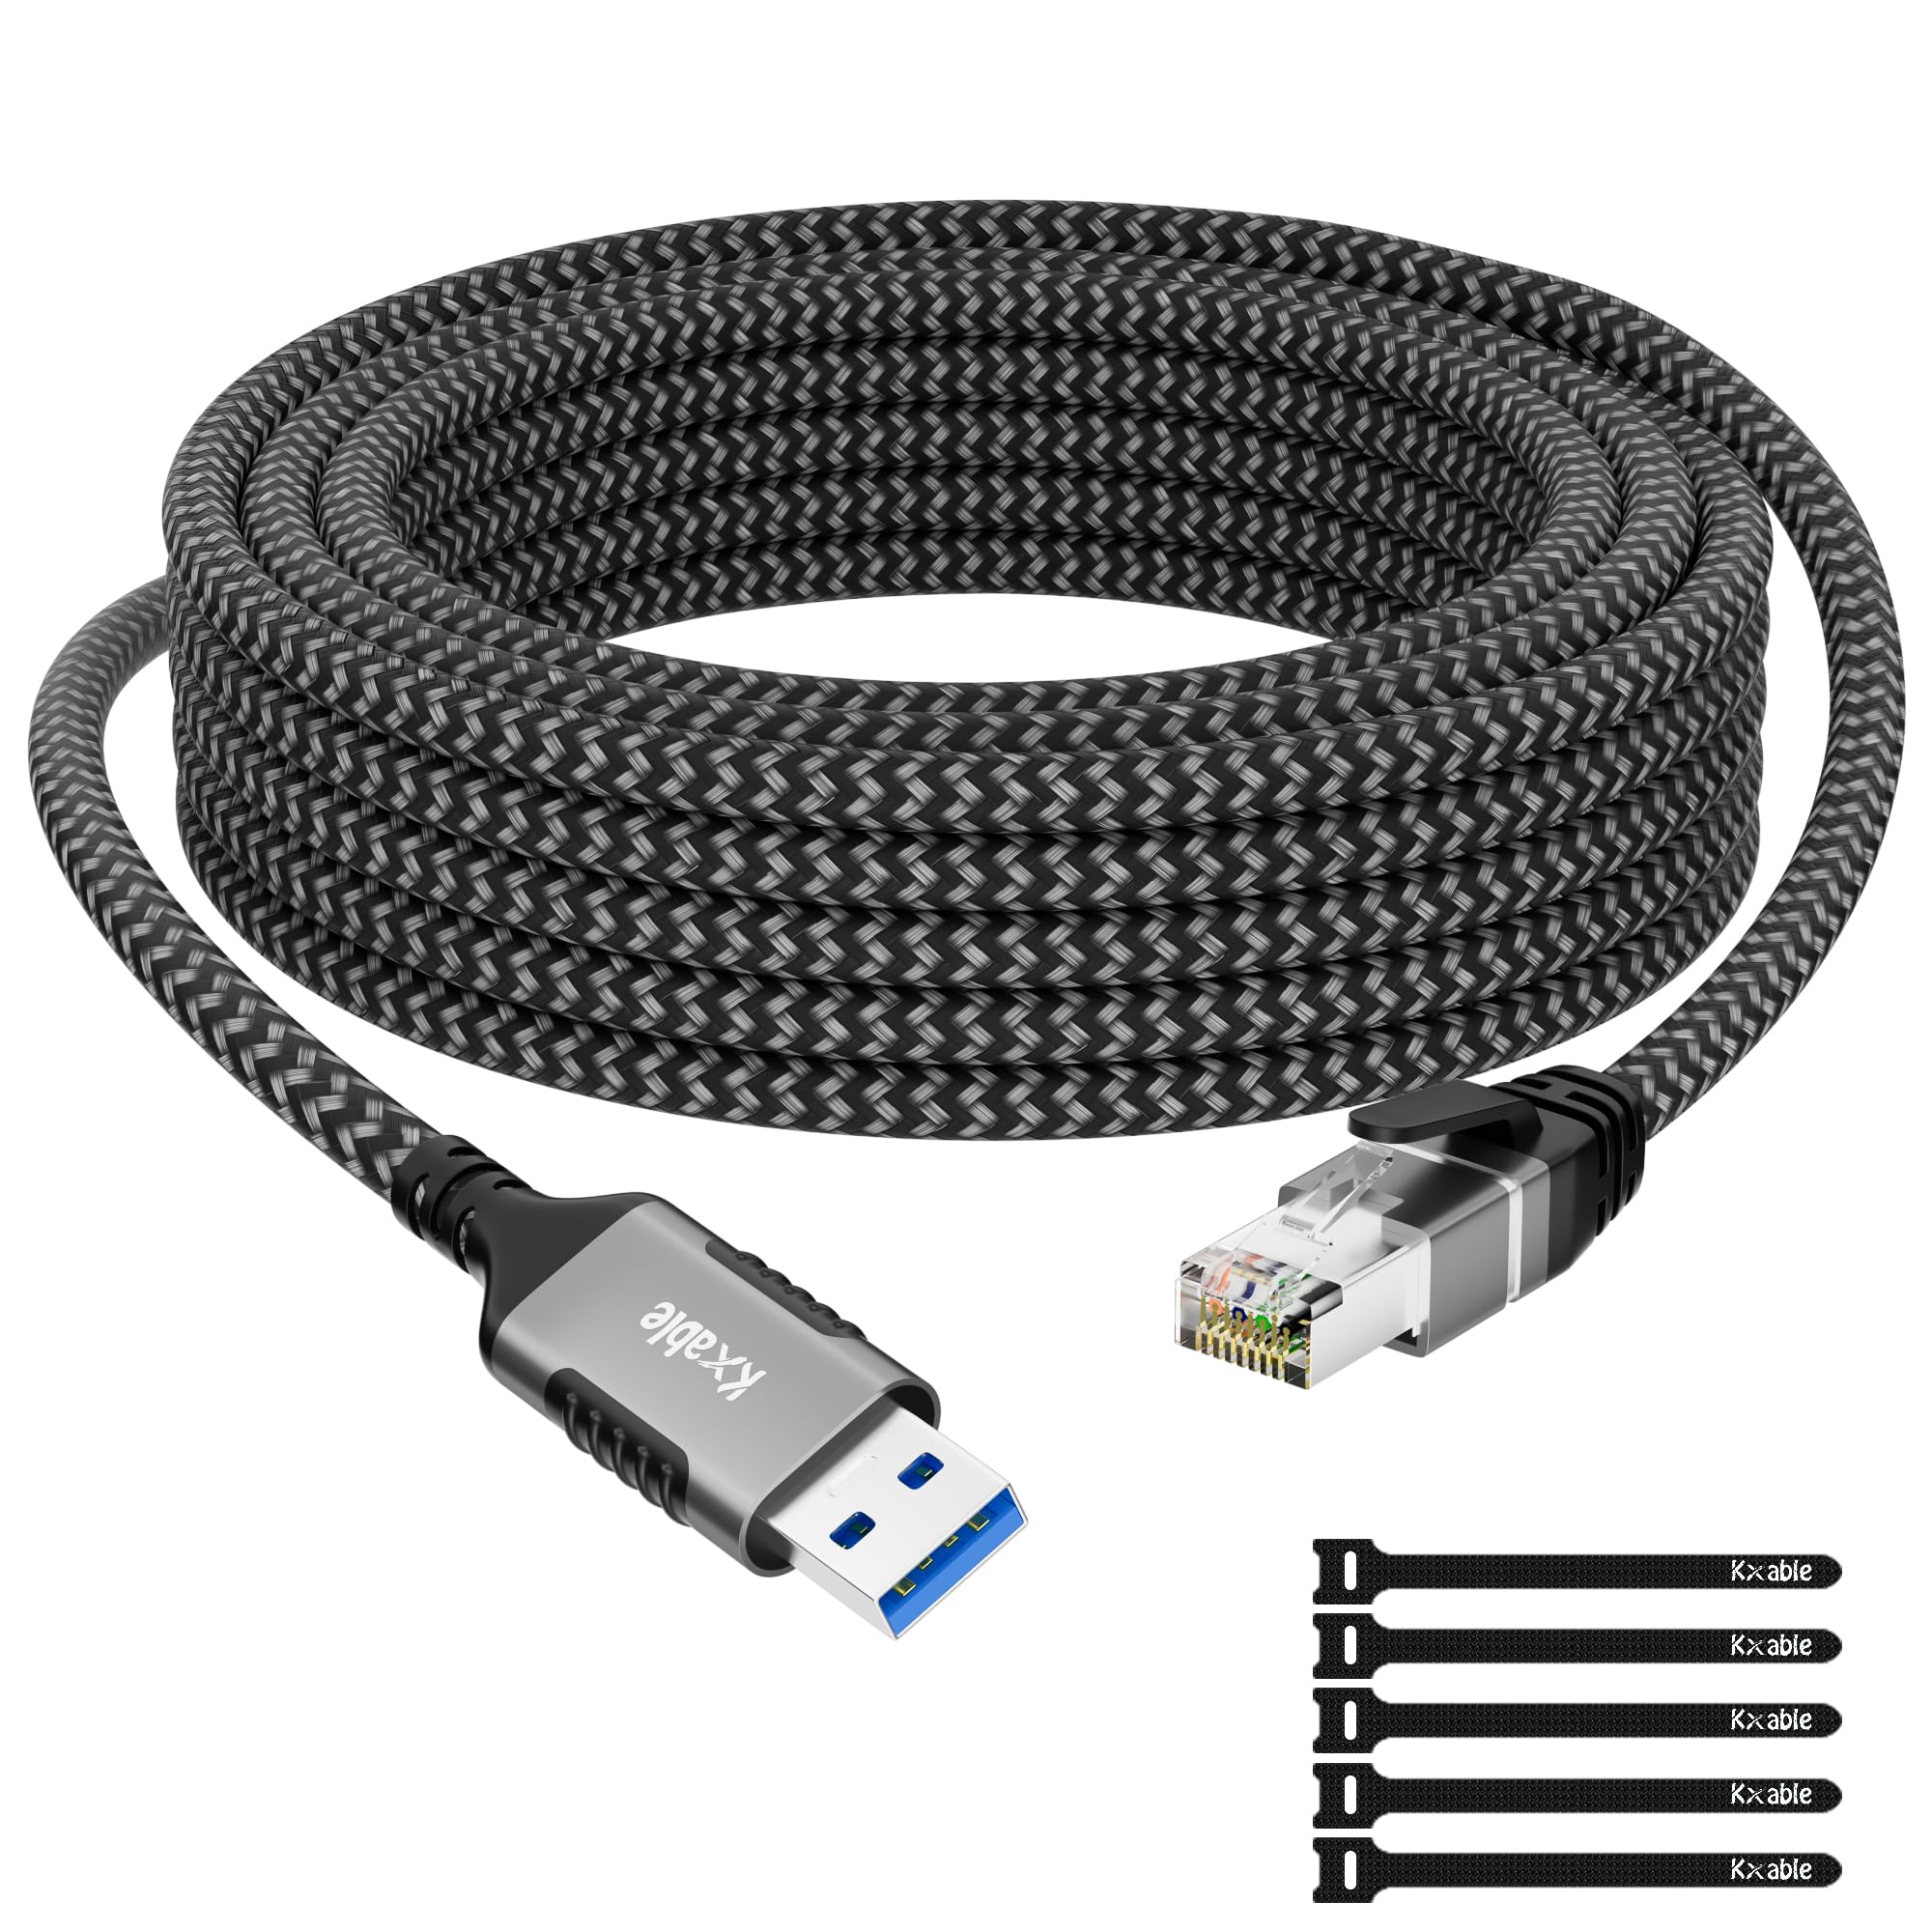
– If you are using a USB connection, make sure the USB cable is properly connected to both the printer and your computer.
– Try using a different USB port on your computer.
– Ensure that the USB cable is not damaged or faulty.
– Restart your printer and computer to reset the USB connection.
3. Check Device Drivers:
– Open the Device Manager on your computer by pressing the Windows key + X and selecting “Device Manager”.
– Look for any exclamation marks or question marks next to your printer or USB devices.
– If you see any, it indicates a problem with the device driver.
– Right-click on the problematic device and select “Update driver software” to automatically search for updated drivers online.
– If no updates are found, visit the manufacturer’s website and download the latest drivers for your printer model.
4. Use Plug and Play:
– Windows 10 has a built-in feature called Plug and Play, which automatically detects and installs compatible drivers for connected devices.
– Connect your printer to your computer and wait for Windows to recognize it.
– If prompted, choose the option to install the driver automatically.
– Follow any on-screen instructions to complete the installation process.
5. Restart Print Spooler:
– Press the Windows key + R to open the Run dialog box.
– Type “services.msc” and hit Enter to open the Services window.
– Scroll down and locate the “Print Spooler” service.
– Right-click on it and select “Restart”.
– This will clear any print jobs stuck in the queue and refresh the printer connection.
Update Your Printer’s Driver
1. Open the Start menu and type “Device Manager” in the search bar. Click on the “Device Manager” app that appears in the search results.
2. In the Device Manager window, expand the “Print queues” category to see a list of installed printers.
3. Right-click on the printer that you want to update the driver for and select “Update driver” from the context menu.
4. In the Update Driver Software window, you have two options: “Search automatically for updated driver software” and “Browse my computer for driver software”.
5. If you choose the first option, Windows will search for the latest driver online and install it automatically if found. This is the recommended option.
6. If you choose the second option, you will need to manually browse your computer for the driver software. This is useful if you have downloaded the driver from the printer manufacturer’s website.
7. After selecting the desired option, follow the on-screen instructions to complete the driver update process.
Remember to regularly update your printer’s driver to ensure compatibility with the latest Windows 10 updates and to take advantage of any performance improvements or bug fixes provided by the manufacturer.
By keeping your printer driver up to date, you can avoid potential printing issues, improve print quality, and enhance overall printer functionality.
Note: If you encounter any issues during the driver update process, you can try restarting your computer and repeating the steps, or you can visit the printer manufacturer’s website for further troubleshooting and support.
Updating your printer’s driver is an essential maintenance task for your Windows 10 personal computer. It helps to ensure that your printer functions properly and optimally with the latest software updates.
Utilize Driver Update Tools
When troubleshooting printer recognition issues on Windows 10, utilizing driver update tools can be a helpful solution. These tools can assist in identifying and updating outdated or incompatible drivers, which could be causing the problem.
To begin, you’ll want to find a reliable driver update tool. There are several options available online, some free and some paid. Look for tools that are compatible with Windows 10 and have positive user reviews.
Once you have selected a driver update tool, follow these steps:
1. Download and install the driver update tool from a trusted source.
2. Launch the tool and allow it to scan your system for outdated or problematic drivers.
3. Review the scan results and identify any printer-related drivers that need updating.
4. Select the outdated drivers and choose the option to update them.
5. Follow the on-screen instructions provided by the tool to complete the driver update process.
Note: It’s important to only download drivers from reputable sources to avoid downloading malware or other harmful software. Stick to official manufacturer websites or trusted driver databases.
After updating the drivers, restart your computer and check if the printer recognition issue has been resolved. If not, you may need to explore other troubleshooting steps or consult with a professional for further assistance.
Adjust Printer Settings in Devices and Printers
1. Open Devices and Printers: Go to the Start menu and type “Devices and Printers” in the search bar. Click on the “Devices and Printers” option that appears.
2. Locate your printer: In the Devices and Printers window, you will see a list of all the printers connected to your computer. Find the printer you want to adjust the settings for.
3. Right-click on the printer: Once you have located your printer, right-click on its icon.
4. Select “Printer properties”: From the right-click menu, choose “Printer properties”. This will open a new window with various tabs for different printer settings.
5. Adjust printer settings: In the Printer properties window, navigate through the different tabs to find the specific settings you want to adjust. You can customize options such as paper size, print quality, color settings, and more.
6. Apply the changes: After making the desired adjustments, click on the “Apply” or “OK” button to save the changes.
7. Test the settings: To ensure that the new settings are working correctly, try printing a test page or a document.
Restart the Print Spooler Service
1. Press the Windows key + R to open the Run dialog box.
2. Type “services.msc” and press Enter to open the Services window.
3. Scroll down and locate the “Print Spooler” service.
4. Right-click on the “Print Spooler” service and select “Restart” from the context menu.
5. Wait for the service to restart. This may take a few moments.
6. Once the service has restarted, close the Services window.
7. Try printing again to see if the issue has been resolved.
If you continue to experience problems with printer recognition, you may need to update your printer drivers or check for any patches or updates available for your operating system.
Run the Printer Troubleshooter
To troubleshoot printer recognition issues on Windows 10, you can use the built-in Printer Troubleshooter. This tool helps identify and resolve common problems that may prevent your printer from being recognized by your computer.
To run the Printer Troubleshooter, follow these steps:
1. Press the Windows key + I on your keyboard to open the Settings app.
2. Click on “Update & Security”.
3. In the left-hand menu, click on “Troubleshoot”.
4. Scroll down and click on “Printer” under the “Find and fix other problems” section.
5. Click on the “Run the troubleshooter” button.
The troubleshooter will now scan your system for any printer recognition issues and attempt to fix them automatically. It may take a few minutes to complete the process.
If the troubleshooter detects and fixes any problems, it will display a summary of the issues and their resolutions. Follow any additional instructions provided to ensure that your printer is properly recognized.
If the troubleshooter is unable to resolve the issue, it may suggest additional steps or recommend contacting your printer manufacturer for further assistance.
Remember to double-check that your printer is properly connected to your computer and turned on before running the troubleshooter. Also, make sure you have the latest drivers installed for your printer. If not, visit the manufacturer’s website to download and install the appropriate drivers for your printer model.
By using the Printer Troubleshooter in Windows 10, you can quickly diagnose and fix common printer recognition problems without the need for advanced technical knowledge or third-party software.
Common Reasons for USB Detection Failure

- Problem with USB port
- Outdated or incompatible USB drivers
- USB device not properly connected
- USB device malfunctioning or damaged
- USB device not supported by Windows 10
Repair Steps:
1. Problem with USB port:
- Check if other USB devices are working in the same port
- If other devices work, try plugging the USB device into a different port
- If the USB device works in a different port, the original port may be faulty
- Consider replacing the faulty USB port or contacting a technician for further assistance
2. Outdated or incompatible USB drivers:
- Open Device Manager by pressing Windows key + X and selecting Device Manager
- Expand the category Universal Serial Bus controllers
- Right-click on the USB device and select Update driver
- Choose Search automatically for updated driver software
- Wait for Windows to search and install the latest driver for the USB device
- Restart the computer and check if the USB device is now recognized
3. USB device not properly connected:
- Disconnect the USB device from the computer
- Inspect the USB connector and make sure it is not damaged
- Reconnect the USB device firmly into the port
- Try using a different USB cable to connect the device if available
- Restart the computer and check if the USB device is now detected
4. USB device malfunctioning or damaged:
- Try connecting the USB device to another computer to see if it is recognized
- If the device is not recognized on any computer, it may be malfunctioning or damaged
- Consider contacting the manufacturer for repair or replacement options
5. USB device not supported by Windows 10:
- Visit the manufacturer’s website to check if the USB device is compatible with Windows 10
- If the device is not compatible, consider upgrading to a newer device or contacting the manufacturer for further assistance

FAQs
Why is my computer suddenly not recognizing my printer?
Your computer may not be recognizing your printer if it is not connected to the same wireless network as your PC. Ensure that both devices are connected to either the 2.4GHz or 5GHz network. If you have a Dual-band router and both networks have the same name/SSID, the printer may not be able to connect to the network.
Why can my device not find my printer?
Your device may not be able to find your printer due to outdated apps or drivers that are not compatible with the latest software versions. To resolve this issue, you can check for updates on the Google Play Store or the printer manufacturer’s website. Additionally, clearing the print spooler can help resolve any connectivity issues caused by stuck print jobs.
How do I get Windows 10 to recognize my USB printer?
To get Windows 10 to recognize your USB printer, plug the USB cable from your printer into an available USB port on your PC and turn the printer on. Then, search for “Printers” in the taskbar and select “Printers & scanners” from the search results to open the system settings.
Why is my computer not detecting my HP printer?
Your computer may not be detecting your HP printer because the printer is not connected to the same network as your computer or mobile device. Make sure the printer’s wireless signal is on and check if the light next to the Wireless icon or button is on. If it is off or blinking, the printer is disconnected from the network.

